


Overview
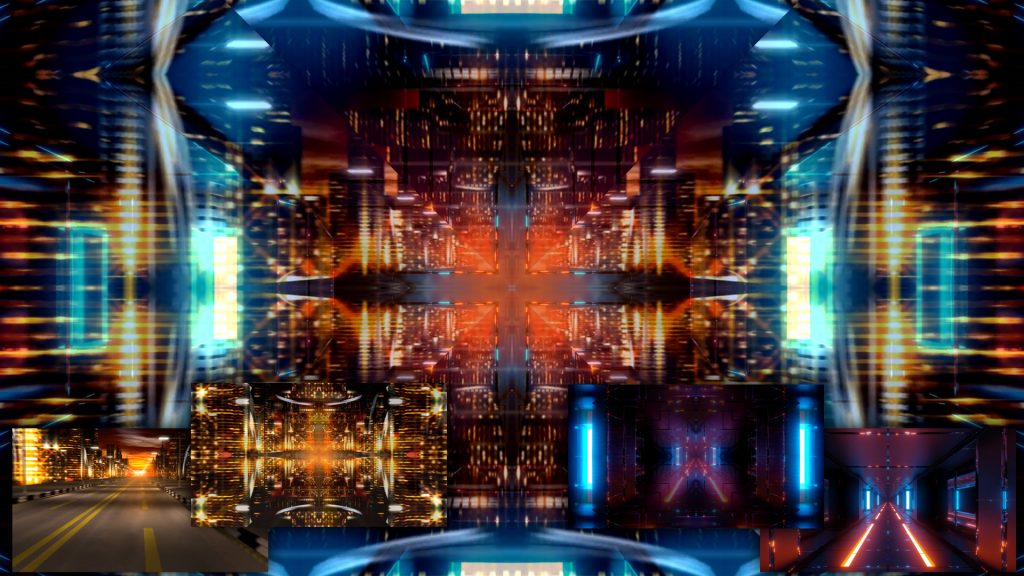
BCC Kaleida Dissolve creates a kaleidoscopic effect which automatically animates in intensity as your transition progresses to obscure the underlying dissolve between clips.
Parameter Controls
Presets and Common Controls
BCC filters come with a library of factory installed presets plus the ability to create your own custom presets and preview them with the BCC FX Browser™.
BCC filters also include common controls that configure global effect preferences and other host-specific effect settings. For more information about working with presets and other common controls, Click Here
Main Transition Group
Layer to Reveal – This layer selection popup is not relevant when you have applied the filter as a true NLE-style transition and it will be hidden or disabled in that context. When applied as a normal “effect” as opposed to a transition, however, this menu is used to select the “Incoming” or “Reveal” layer for the transition.
Animation: Menu controlling what drives the animation of the transition.
- Auto – automatically generates a transition based on the transition length (when used as a transition) or the clip length (when used as a filter).
- Percent Done – requires the user to set keyframes to control the transition progression. Can be useful in customizing the exact timing of the transition or when applying the filter as a stylized effect as opposed to a direct NLE-style transition.
Percent Done: Disabled/Hidden by default. When the Animation menu is changed to Percent Done then this slider can be manually keyframed to control the transition progression.
Kaleida Parameter Group
Filter Animation determines how the effect animates over the duration of the transition. There are three animation styles to choose from:
- Undistort: is the typical animation. The distortion is animated to build through the transition, peaking at the point where the clip changes, and then return to an undistorted reveal layer.
- Mix With Original: animates the distortion on top of the original footage. The animation process is the same as seen in Undistort, but in this instance the original footage is preserved and the transition fades in over it.
- Undistort and Mix: a combination of the previous options that creates the look of the distortion “bleeding” out of the original footage.
Output allows you to see, edit and mix the various tiles used to create the distortion effect. By default Output is set to Tile Mix, which will mix the distortions defined by Tile 1 and Tile 2.Tile 1 sets the animation to use only the Tile 1 shape.Tile 2 sets the animation to use only the Tile 2 shape
- Tile 1 and Tile 2 render the output from their respective parameter sub groups. Settings on the other sub group are ignored.
- Tile Mix creates a mix of the two parameter sub groups.
- Tile 1 Over Source and Tile 2 Over Source provide a way for you to see the part of the source image that is used by the tile. A red outline is drawn around the piece of the source image that is used in the output when only the corresponding tile is rendered. Pixels inside this outline are shown in their original color, pixels outside are tinted slightly red.
- Tile 1 Over Output and Tile 2 Over Output also show the part of the source image that is used by the tile. Points outside the region show the rendered image for that tile – again tinted slightly red.
- Single Tile 1 and Single Tile 2 render a single square tile centered in the output. The
- remainder of the image is transparent.
Tile Mix is enabled only when the Output is set to Tile Mix. It controls the mix of the two tiles as described above. It can be overdriven or underdriven with manual entry.
The Tile 1 and Tile 2 subgroups allow you to customize the look of the kaleidoscope pattern.
Center sets the X and Y center point for the tile used in the kaleidoscope.
Size sets the tile size. Larger tiles contain a greater portion of the image.
Style allows you to choose the type of kaleidoscopic effect you want. The choices are:
- Unfold
- Wheel
- Fishead
- Can Meas
- Flip Flop
- Flower
- Web
- Dia Cross
- Flipper
- Starlish
- 5 Point Star
- 6 Point STar
- 7 Point Star
- 9 Point Star
- 10 Point Star
- Variable Star
How a Style works: When Variable Star is chosen from the Style menu, the Star Count parameter appears. Star Count sets the number of star points. An even Star Count produces a star with half the number of points. For example, setting Star Count to 10 produces a 5 point star. Odd values produce less symmetrical patterns that appear to have 2 points pushed together. For example, setting Star Count to 11 produces a 6 point star with two of the points close together and the rest evenly spaced.
Star Count: is a slider that increases or decreases the star pattern throughout the kaleida effect. The Style menu needs to be set to Variable Star to contextually enable this slider.
Rotation changes the angle of the image in the kaleidoscope.
The Floating Center checkbox marks the center of the effect. When deselected, the center of the kaleidoscopic effect is centered on the layer.
Undistort removes distortion from the output, so that a value of 100 results in the original source image. It can be overdriven or underdriven with manual entry.
Mix With Original: Blends the effect back with the original unfiltered clip.
Flip Source will flip the source Image before the tile resamples it. The options are:
- None: the source remains unchanged
- Horizontal mirrors the source image along the X axis during the transition
- Vertical mirrors the source image along the Y axis during the transition
- Both mirrors the source image along the XY axis during the transition
Apply Kaleida To: Sets which layer the Kaleida effect is applied to.
- Dissolve applies prism to the transition effect directly
- Source Layer will apply prism to the outgoing source layer only.
- Reveal Layer will apply prism to the incoming reveal layer only
- Source and Reveal will apply brism to both the outgoing and incoming layers, but not the transition.
Region Transition Group
Region Animation allows you to fine tune the style and direction of the transition effect with various settings. These settings are disabled by default until an animation type is selected.
Animation Type sets the direction of the transition animation.
- None will set the transition animation to affect the entire image at once. This is the default setting.
- Out: the transition will begin at a central point and move outwards towards a edges.
- In: the transition will begin along the outer edge and move inwards towards a central point.
- Out & In: The transition will animate outwards and then rebound inwards over the course of the animation.
- In & Out: The transition will animate inwards and then rebound outwards over the course of the animation.
Region Type: determines the shape of the transition effect.
- Circle will cause the effect to appear as a circular wipe over the dissolve.
Line will cause the transition to appear as a letterbox wipe over the dissolve.
Direction: Sets the angle of the transition. Only available when the Region Type is set to Line.
Softness: sets the edge feathering of the transition region. Lower values will produce a sharper edge.
Center Point: Sets the XY position of the transition’s animation.
Color settings allow you to set the brightness and contrast values of the transition at it’s peak point. Values will increase as the effect transitions in and then decrease as the new layer is revealed.
Brightness Peak: Sets the maximum brightness value for the transition.
Contrast Peak: Sets the maximum contrast value for the transition.
Animation Tuning Group
These parameters control the overall timing of the transition. On hosts which permit on-screen heads up display widgets (such as AE, Premiere, and Avid), you should never need to modify these sliders directly since they can be configured in a more convenient and intuitive manner by manipulating the widgets directly in your comp/preview pane. On hosts without heads up display widgets you can use these sliders directly to fine tune your animation timing, taking advantage of the View Ease Curve option to help visualize the animation rates.
**Ease In:**Controls how quickly or slowly the glitch intensity increases at the beginning of the transition.
**Ease Mid:**Controls the rate of change of the glitch intensity (how quickly it reaches its peak amount and how long it holds there) during the middle of the transition.
Ease Out: Controls how quickly or slowly the glitch intensity decreases at the end of the transition.
Dissolve Duration: Controls the timing of the underlying dissolve relative to the timing of the rest of the transition.