Today, almost any photo editing app comes with a blur filter. As basic as the editor might be, the blur effect can help you reduce noise, retouch photos, soften skin texture, or cover the background. Whether you need to blur something for a personal photo or a professional photo session, software like Photoshop offers an arsenal of blur filters to adjust to each need.

Blur filters are so popular because using them as an artistic tool goes beyond fixing images, hiding areas or imperfections, and blending a composition to make the color transitions smoother. Blur can also help you add everything from a hazy effect to dreamy bokeh effects and beautiful looks for your images and videos.
The good thing about blur filters is that you can usually adjust the amount of blur you want to add, and some of them allow you to change other settings to focus on a specific need, such as reducing noise, softening the edges of a surface, blending colors, camouflage, adding movement, and more.
If you ever need to correct, smooth, or reduce noise from a picture or simply want to add a mystical look or simulate camera movement or speed, blur can help you achieve it. However, when opening your Photoshop session, you might encounter a little problem. There are too many blur options to pick from! Which is the right one?
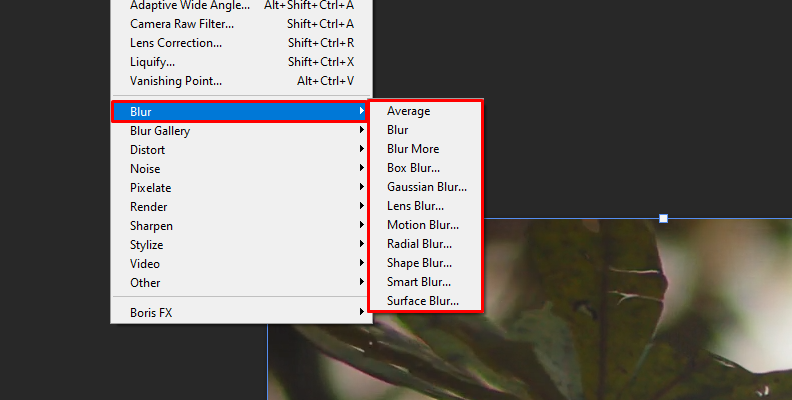
Several blur filters are common in photography, graphic software, and photo editing. Photoshop alone has more than ten blur effects, a Blur gallery, and a plethora of compatible blur plug-ins from third-party developers. Photoshop blur effects include Average blur, Gaussian blur, Lens blur, Motion blur, Radial blur, Shape blur, Smart blur, and Surface blur filter blurs. Additionally, the Blur Gallery features Field blur, Iris blur, Tilt-Shift, Path blur, and Spin blur.
Other applications may feature more or fewer options, but most professional tools will have the two most common blur filters: Gaussian and Lens blur.
In today’s article, I’ll explore these two blur effects individually and highlight their differences to help you understand Gaussian blur and Lens blur and why they are so popular.
Let’s dive in!
What is Gaussian Blur?
Gaussian Blur is probably one of the most popular blur effects in photography. It’s also known as Gaussian smoothing because it evenly reduces detail from the image by smoothing it using the Gaussian function. The Gaussian blur effect and the Gaussian function are named after mathematician Carl Friedrich Gauss.
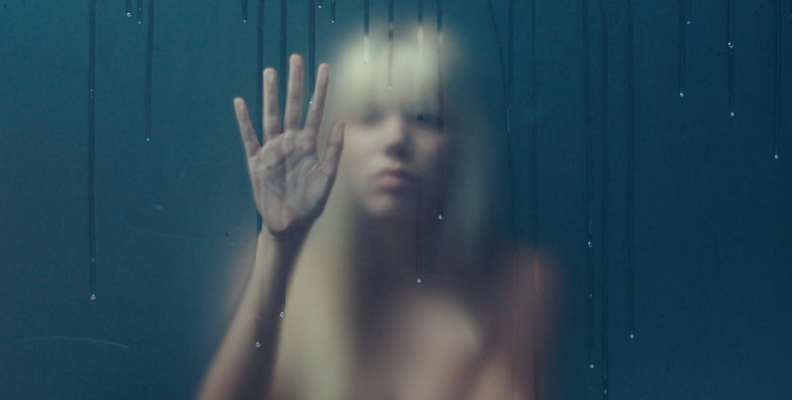
Gaussian blur is an image-processing effect used in photography to make the image smoother and minimize the details, which can be imperfections, artifacts, or objects and faces you don’t want visible. It can bring the beauty of a photo to light.
Gaussian blur works by using the Gaussian function to calculate how the pixels of the image are modified. It reduces the highest frequencies in the image like a low-pass filter to remove sharpness and smooth it.
In a photo editor, you won’t manually do these calculations. The filter is already programmed to do what it has to do, leaving it up to you to decide the amount of Gaussian blur to add and occasionally adjust the blur radius and threshold to adjust how many adjacent pixels the effect processes.
Gaussian Blur Uses
Here’s a list of popular uses for the Gaussian blur effect:
To reduce noise and improve the detail of the image.
Aesthetics effects.
Blur image backgrounds or the entire image.
Fake out-of-focus effect.
Hide sensitive information and witness protection.
Draw attention to an object, part of the image, or overlay text.
Blend a composition.
Blurry dissolve transitions.
Some results, such as out-of-focus, can be achieved with high-end camera lenses and photography techniques. But if you’re not at that level yet, the Gaussian blur effect is an easier and more affordable option to keep compositing outstanding photography.
What is Lens Blur?
Let's talk about Lens blur. You've probably heard of Lens blur, also called the Bokeh effect, because it replicates the effect created with the Bokeh technique used in photography. This technique consists of intentionally blurring parts of the image to highlight others by shooting with a wider aperture.
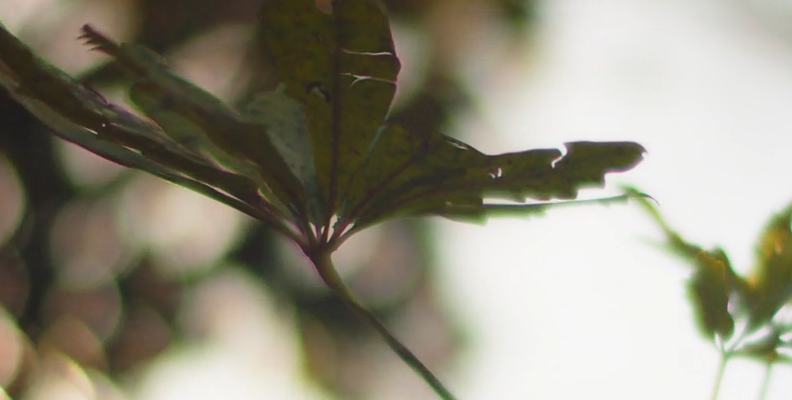
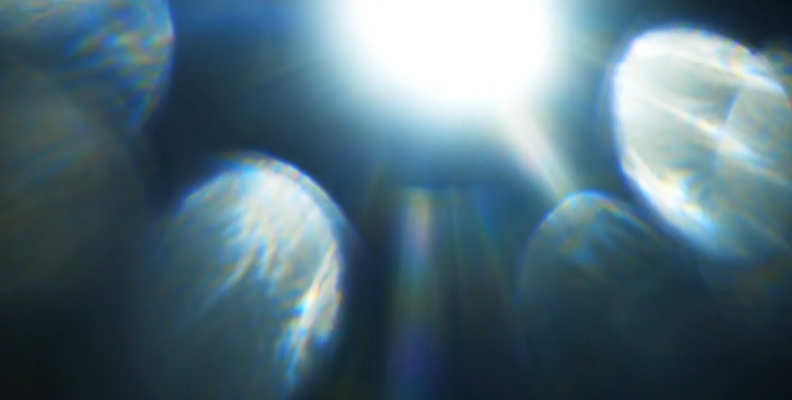
One characteristic of Lens blur is how it works with light. When Lens blur is used in an image, the subject or foreground stays sharp, and the background is blurred, emphasizing the points of light in the background. That’s why it is so common in cityscape images, especially at night.
The Lens blur effect applies a narrow depth field, blurring part of the image and drawing to focus the foreground. It is frequently used in portrait photos, landscapes, wildlife photography, and cityscapes when you don't have the right equipment to make the effect during the shooting.
Depending on the filter and software, the Lens blur effect may have more controls to create the out-of-focus effect. When you use a Lens blur, you can adjust parameters such as radius to control the neighboring pixels affected, the iris shape, curvature and rotation, and highlight.
Lens Blur Uses
Here’s a list of popular uses for the Lens blur effect:
Bokeh effect.
Add a shallow depth of field.
Draw attention to the foreground.
Subject isolation.
Aesthetic compositions.
Improve an image.
Portrait photos.
For a subtle creamy blur effect.
Lens blur is used for more specific aesthetic effects and replicates the real technique many professional photographers use.
What is the Difference Between Gaussian Blur vs Lens Blur?
Now that we’ve covered each blur effect individually, you might notice some similarities and wonder what makes each effect unique.
Realistic Bokeh Effect
If you want to create a soft, out-of-focus effect like the Bokeh technique, Lens blur is more efficient because you can achieve it during the shooting with your camera. When referring specifically to a Lens blur filter, it offers you more control over the effect settings than Gaussian blur. Lens blur makes the image more realistic since it’s trying to replicate the lens technique and can achieve a more subtle blur than Gaussian blur.
Ease of Use
Gaussian Blur is a more straightforward filter. Add it to the image, adjust the amount, and you’re done! Yes, you can make it more complex using a layer mask, but the effect is simple to use and configure out of the box. You can get creative with Gaussian to add blur when you’re not trying to replicate the Lens blur technique or Bokeh.


Image Processing
Gaussian blur smooths evenly where it’s applied, reducing noise but leaving the unblurred parts with noise and blurred edges. Lens blur allows you to configure the aperture and favors light areas over dark ones, resulting in the classic out-of-focus look with more defined edges. However, Lens blur tends to be heavier on your computer than Gaussian blur.
Final Words
To conclude, you could say that Lens blur is more of an out-of-focus or Bokeh filter, while Gaussian blur is intended to reduce noise and detail to fix images. You can use Gaussian to fake lens blur and make a more aggressive look for artistic purposes, use Lens blur creatively to achieve different looks, or why not combine them?
The blur tool overall is a great technique and effect to use in post. Even if you don't have a high-end camera and lenses, you can use the filter in your software of choice to improve the quality of your image compositions.
Lens and Gaussian blur can be found in many software applications, such as Photoshop, After Effects, and Lightroom, as well as third-party plug-ins, such as Boris FX Continuum, Sapphire, and Optics.

FAQ
How do you undo Gaussian blur on a picture?
If you added Gaussian blur to the original file and now you cannot undo it or want to fix a blurry image, you can use photo editors to try to bring up the sharpness of the photo to undo or reduce the blur. The result will depend greatly on the amount of the Gaussian blur filter applied originally and your available tools. Plug-ins like Continuum offer tools to fix blurry shots like BCC+ DeNoise ML.
To make it easy to undo Gaussian blur in a picture, always make duplicates of your photo, work with the copies, and add the blur effects in a different layer to make it easy to undo things without affecting the original image. In Photoshop, you can convert the original layer to a smart object, which allows you to make changes after applying effects.


