


Taking a photo or video and sharing it with others immediately can often be a missed opportunity. Rarely is the case that you cannot improve it in at least a few ways by using filters and effects to enhance its message or just overall aesthetics.
Luckily, modern versions of social media apps, such as Instagram, for example, allow us to do this on the fly, offering several customization and editing options available immediately after taking the photo or just before posting it online.
One of the most popular edits you can make is adding blur, specifically Gaussian blur.
In this guide, we'll talk about Gaussian blur and everything you need to know about it, including what it is, when you should use it, how it works, when to avoid it, and more. So, without further ado, let's dive straight into it.
What is Gaussian Blurring?
Like other popular photo and video effects, such as Chromatic Aberration or Lens Flare, Gaussian blurring has its time and purpose, both for functional and aesthetic goals.
To begin, let's first define Gaussian blur.
Gaussian blur is a popular, widely used technique in the image editing field used to reduce image detail. By reducing image detail, we mean averaging the color values of pixels with their adjacent pixels in a specific area of an image or the overall image.
Usually, the amount of averaging is decided by the one simple parameter/slider for the Gaussian function offered in the app that you're working with. (We won't go into the explanation of a Gaussian Kernel or Gaussian Distribution, as that doesn't interest the average user who just wants to learn how to use the effect instead of learning how Gaussian blur works at its mathematical functions core.)
This effect provides a smooth blur that can help you do various things, such as softening edges, reducing noise, anonymizing a part of an image when used with extreme values, and more.
When to Use Gaussian Blur in Images
Gaussian blur, or in some apps found under the name "Gaussian Filter", can be used in various situations both for functional or aesthetic purposes, like the ones listed below:
- Aesthetics: For example, when it comes to aesthetics, you can use the Gaussian blur to blur out the background of an image and make the main subject "pop" more, directing all viewer attention to the right place. By blurring the background you also make the image look better and as if it was taken in "portrait" mode with added depth of field.
- Noise Reduction: You can use Gaussian blur to reduce the noise in images that were taken using the wrong ISO settings or in low lighting conditions. In this case, Gaussian blur is a noise-reduction image processing/image filtering technique that will "smooth out" the noise pixels (by smoothing uneven pixel values) and make it less obvious that the original image was taken in not-so-ideal circumstances.
- Creating Textures: You can apply Gaussian blur to only some areas of the images, essentially giving them a different texture or look, which can be beneficial in the process of creating digital art, for example.
- Anonymizing and Protecting Privacy: One of the most common uses for Gaussian blur is a functional one, and that's protecting the privacy of both people and objects that shouldn't be exposed to the public, such as sensitive information like license plates or credit card numbers. You can use Gaussian blur along with a masking technique to protect these things with ease.
When Not to Use Gaussian Blur in Images
Simply adding one or more Gaussian blurs to various parts of your image without a clear goal is not recommended. You should avoid adding Gaussian blur in images when it affects important information, such as text, logos, or signage.
Remember, blur means loss of detail, and you don't want to affect any important detail within your photos or videos.
Also, if you're trying to preserve photorealism, you should avoid applying Gaussian blur. This is because unless you're simulating a depth of field effect, which does exist in real life (in some cases), other applications may simply look unreal to the human eye and can reduce the immersion.
How To Use Gaussian Blur With BCC Gaussian Blur
Now that you know more about Gaussian blur, what it is, and when are some of the best times to use it, let's take a look at how you can apply it to your images using BCC Gaussian Blur, a tool featured in the Continuum creator pack by Boris FX.
Before we get into it, here's a quick introduction to Continuum.

Although most photo and video editing programs have methods that allow users to create free transitions, filters, and effects, it's undeniable that doing it with renowned plug-ins is much quicker, and easier, and almost always results in cleaner and more professional-looking content.
The same applies when you want to add Gaussian blur in your photos or videos. Here's how easy it is to do so using Continuum's Gaussian Blur Effect.
Step 1: Load Premiere Pro and Import Your Image or Video
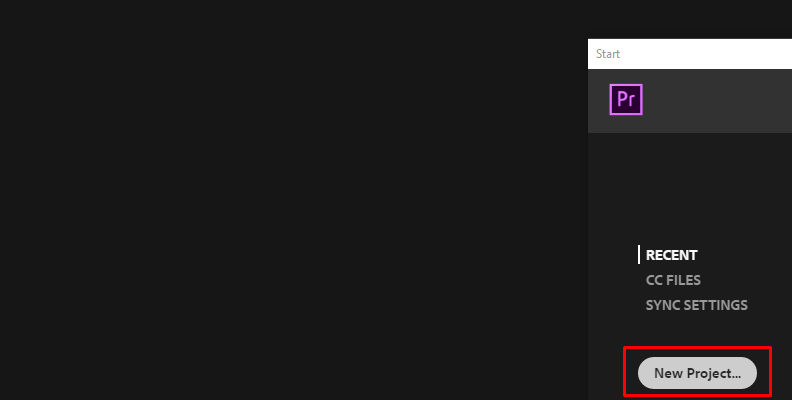
The first step is to launch Premiere Pro on your PC and wait for it to fully load. Then, create a new project using the options on the home screen.
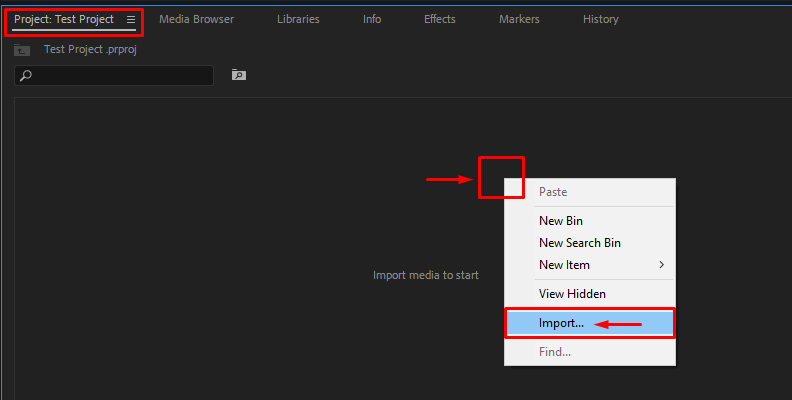
Next, it's time to import the media you wish to edit, in this case, the photo you want to add the Gaussian blur to.
Head over to the "Project" tab and right-click anywhere on an empty area. Then, choose "Import" as shown in the image below.
Step 2: Create a Sequence
Once your media is imported, you need to create a sequence. To do this, simply drag the image you imported from the "Project" tab onto the timeline area.
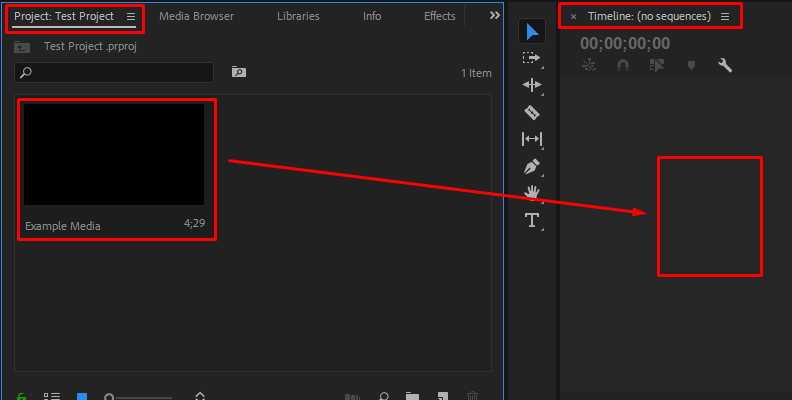
Once the image is applied to the timeline, move on to the next step.
Step 3: Find the Effect in the "Effects" Tab
Now, it's time to find the effect you want to add to your image, which in this case is the Gaussian blur, and drag it over the image on your timeline.

You will immediately see a difference in your output image, as the blur is now applied to the entire photo.
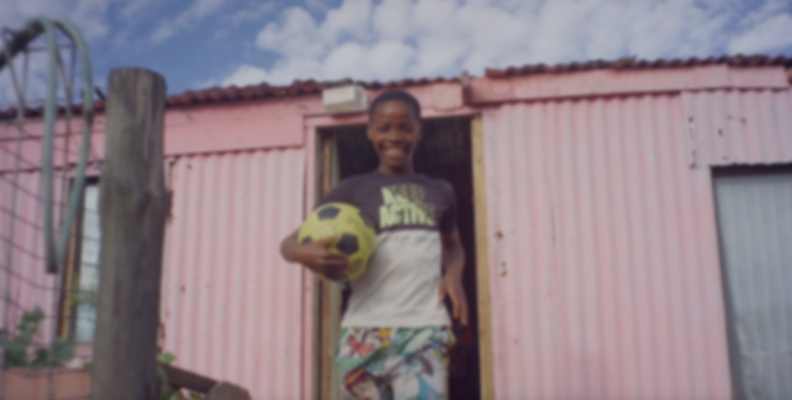
This is the original image/input image.

And this is the blurred image/filtered image.
Step 4: Apply the Effect and Modify Settings/Parameters
Now, open the "Effect Controls" panel located in the top-left corner of your screen.
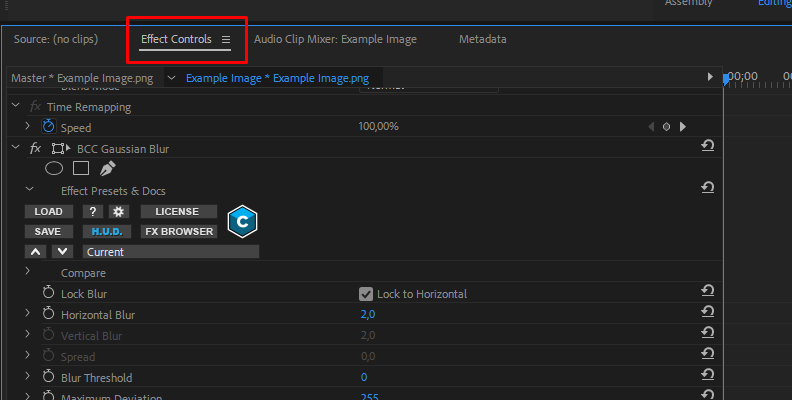
Here, you can modify the parameters, various Gaussian functions, and presets that control how the effect looks and impacts the image.
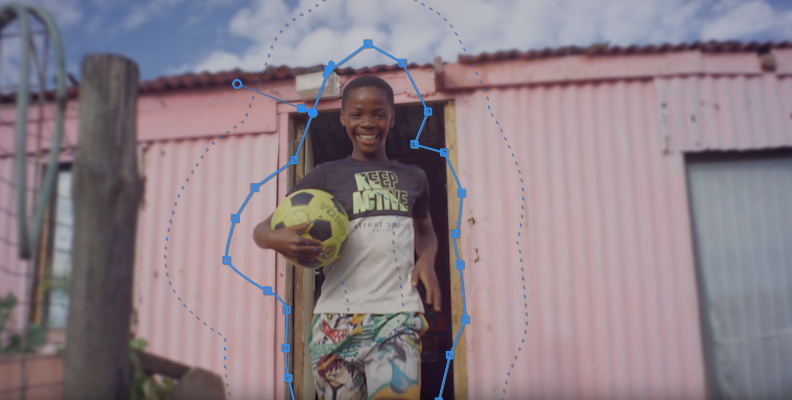
If you want only one part of the image to be blurred, which is most often the case, you'll need to create a mask and isolate only that part you wish to have blurred.
In this case, only the background is blurred, and our main subject is sharp, enhancing the overall aesthetics of the photo and making it look as if it was taken with a proper depth of field setting in mind.
Final Words
That's all there's to it!
You now know what Gaussian blur is, what it does, what use cases you can find for it when working on your images or videos, as well as when to avoid it.
Hopefully, this knowledge was helpful enough to allow you to take your future work to a different level. If so, we wish you the best of luck with your projects, and thank you for reading!


