


Both in photography and videography, we use visual effects to enhance the viewer's experience and make our content more pleasant to the eye. In our modern age, we use sophisticated photo-editing programs like Adobe Photoshop (or After Effects for videos) to add these enhancements easily.
However, some effects, like motion blur, depth of field, lens flare, lens distortion, and chromatic aberration, can occur "naturally" while capturing a real-life moment.
In the sections below, we'll talk about chromatic aberration, what it is, how and when it occurs naturally, the different types, as well as how to add it to your images and videos digitally using software tools.
We've got a lot to cover, so let's cut this introduction short and jump straight into it.
What Is Chromatic Aberration?
Before getting into the details, it's important to explain the chromatic aberration effect phenomenon and the nature of its occurrence.
Chromatic aberration occurs due to the different wavelengths that light is made of. When those wavelengths "hit" the lens, they start to refract or bend.
Since, as mentioned, the wavelengths are different, not all of them bend by the same amount. Consequently, when the lens tries to focus all of the colors into the same point (same focal plane), they do not connect perfectly, so we get the separation of colors, and therefore, the chromatic aberration effect occurs.
For example, blue has a shorter wavelength compared to red, so when they both pass together through the lens or the optical system, the blue light bends more, and we end up seeing them separated from each other.
Usually, modern and expensive lenses will have some solutions applied by the designers meant to reduce chromatic aberration, such as coatings and other special elements, but this may still not be enough to completely remove it.
In a cheaper and older camera lens or optical systems, chromatic aberration occurs quite regularly.
Types of Chromatic Aberration
Now that you know more about chromatic aberration and what it is, it's time to talk a bit about the different types and their characteristics.
The chromatic aberration effect can be divided into two main types.
- Longitudinal Chromatic Aberration
- Also known as axial chromatic aberration, this type occurs when different wavelengths of light come into focus at different distances from the lens.
- In other words, each color of light forms its own focal plane along the optical axis of the lens.
- This can result in color fringing in front of or behind the focal point, especially noticeable in out-of-focus areas.
- Lateral Chromatic Aberration
- Also known as transverse chromatic aberration or transverse aberration, this type occurs when different wavelengths of light are focused at different positions in the image plane perpendicular to the optical axis.
- In simpler terms, each color of light forms its own slightly shifted image, causing color fringes at the edges of objects in the image.
- Lateral chromatic aberration is often more noticeable towards the edges of the frame, particularly in wide-angle lenses. Additionally, a longer focal length usually means more chromatic aberration, and the refractive index of the lens elements also plays a role.
With that said, it's important to know that some creators want to avoid chromatic aberration in their work at any cost, while others use it to enhance their work's aesthetics.
If you want to create the chromatic aberration effect and use it in an artistic way in your work, below you can find two ways to do it.
How to Create Chromatic Aberration in Photoshop
Adobe Photoshop can be used for many image-editing tasks, including the creation of an artificial chromatic aberration look for your photo that you didn't manage to achieve during the shoot.
If you've taken a photo and want it to have the chromatic aberration look, below you can find a method of adding it additionally, or what some would call adding it in post-production.
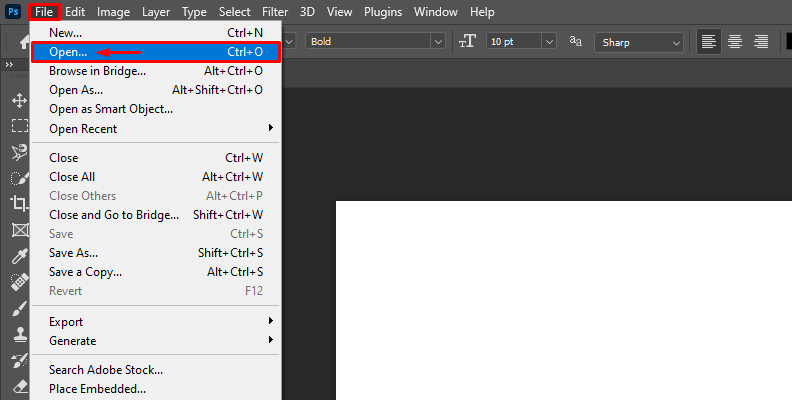
Step 1: Load Photoshop and Open the Image
The first step is to launch the software you'll edit in, in this case, Photoshop, and open the image you want to add the aberration effect to.
You can do this by going to "File" -> "Open" as shown in the image below.
Once the image is open within Photoshop, move on to the next step below.
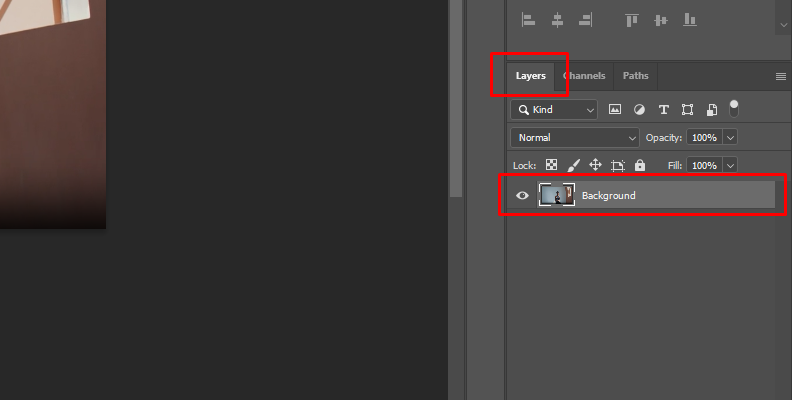
Step 2: Duplicate The Original (Background) Layer
It's good practice to always duplicate the background layer so that you don't make any unwanted changes to the original image when working in Photoshop.
You can do this by right-clicking the background layer and then selecting Duplicate Layer, or simply selecting the layer in the "Layers" panel and using the CTRL+J shortcut on your keyboard.

You can rename the duplicated layer for better project organization, and when done, move on to the next step.
Step 3: Separate the Color Channels and Duplicate Them
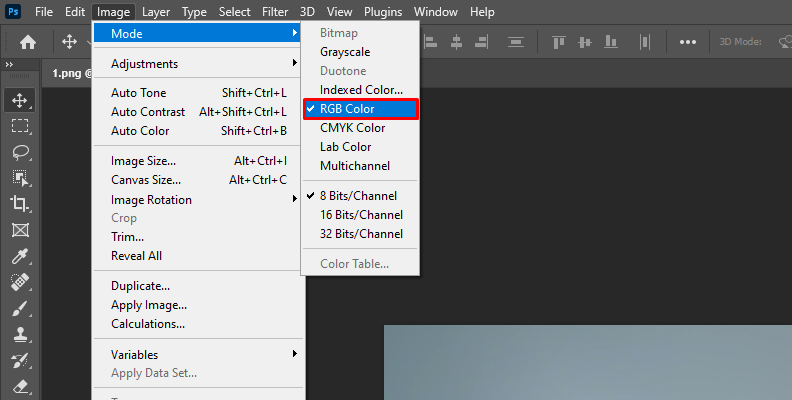
Now, it's time to separate the color channels, but before we do that, let's ensure that our image is in "RGB" mode.
Go to "Image" -> "Mode" -> "RGB Color" as shown in the image below, and make sure it's selected.
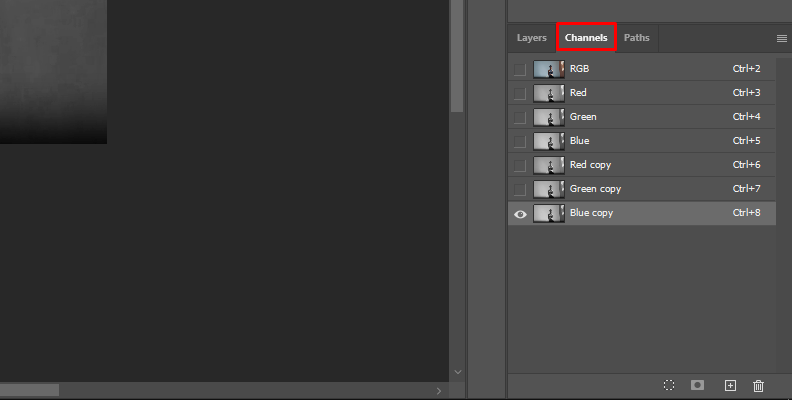
When done, you can begin duplicating the color channels by heading over to the "Channels" panel. Here, you'll see all three channels listed. Click on each one separately and drag it to the "Create new channel" icon at the bottom.
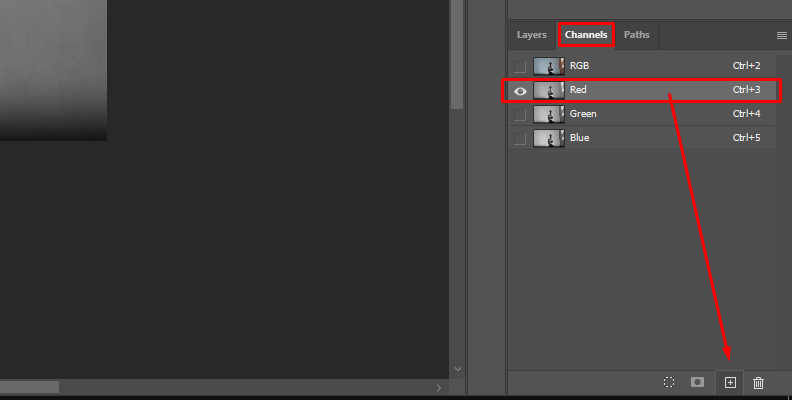
When done, you should have a copy of each of the three channels, as shown in the image below.
Step 4: Move Each Channel In The Desired Direction
Now, with your channels duplicated, it's time to simulate the chromatic aberration by moving each channel a few pixels and displacing them. You can do this using the Move Tool (V) or by using the Canvas controls and inputting a value manually.

The goal here is to slightly displace each channel in terms of positioning, there are no rules on what direction or by how much you need to move the channels.
Step 5: Merge The Channels
When done, simply merge the channels by selecting all of them and choosing "Merge Channels". Now, you have the aberration effect on your duplicated layer, and you can choose to increase or reduce its opacity based on how you think it looks best.

That's all there's to it!
Chromatic Aberration Effect with BCC Chromatic Aberration
Continuum by Boris FX is a creator's pack with a myriad of available effects and presets that make your work much easier in every imaginable scenario.

One of the effects available in the Continuum pack is the "BCC+ Chromatic Aberration", which we'll use to add chromatic aberration to our image in this section.
Continuum is available for all popular video editing programs, such as Adobe Premiere Pro, After Effects, Avid, DaVinci Resolve, Final Cut, VEGAS Pro, and more.
Despite these being video editing programs, we can also use them in combination with Continuum's creator tools to apply cool edits and effects to images as well.
In this case, we'll be using Premiere Pro.
Here's what you need to do to add chromatic aberration to your image with BCC+ Chromatic Aberration.
Step 1: Open Premiere Pro and Import Your Image or Video
Your first step is to load Premiere Pro and import the image or video you wish to add chromatic aberration to.
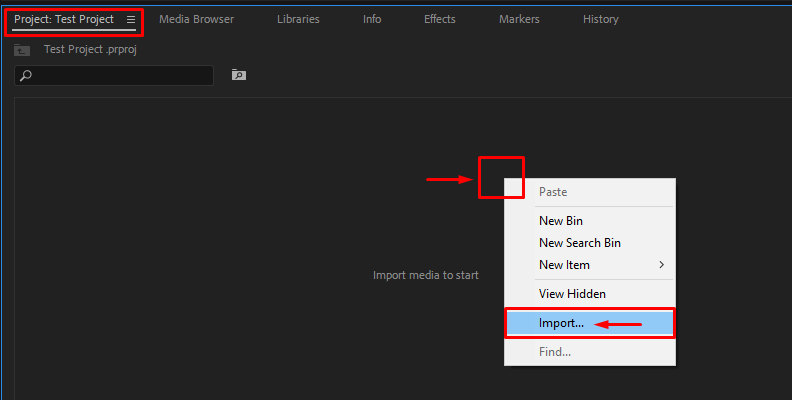
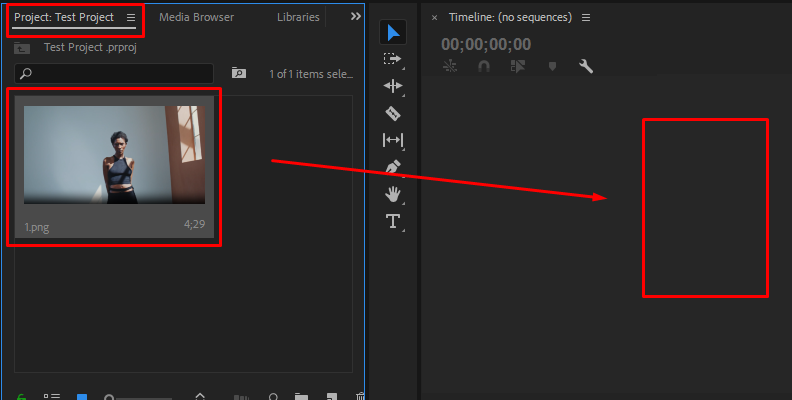
Next, upon importing your image, you need to create a sequence. To do this, simply drag and drop the image or video onto the timeline area.
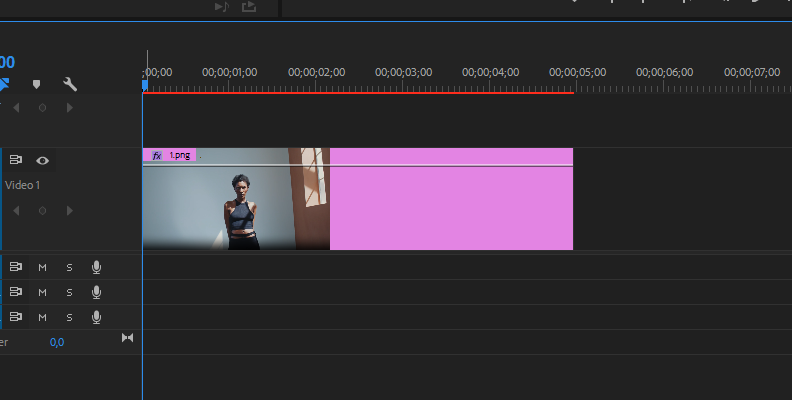
Step 2: Find And Apply The Effect To Your Image
Once the image is on the timeline and you've created a sequence, the next step is to search for the aberration effect in the "Effects" panel.
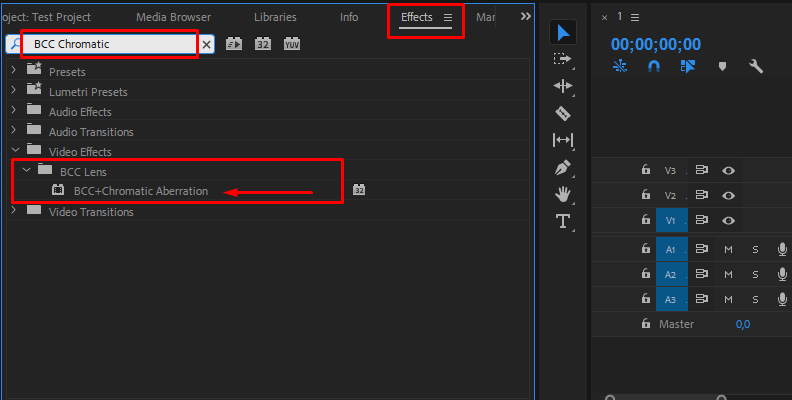
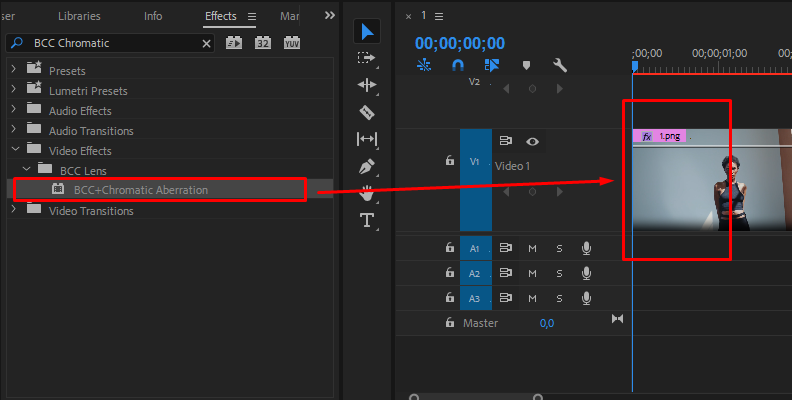
Once you find "BCC+ Chromatic Aberration" which should be located under the "BCC Lens" folder within the main "Video Effects" folder, click on it and then drag it over the image on your timeline.
Step 3: Adjust Settings And Fine Tune If Needed
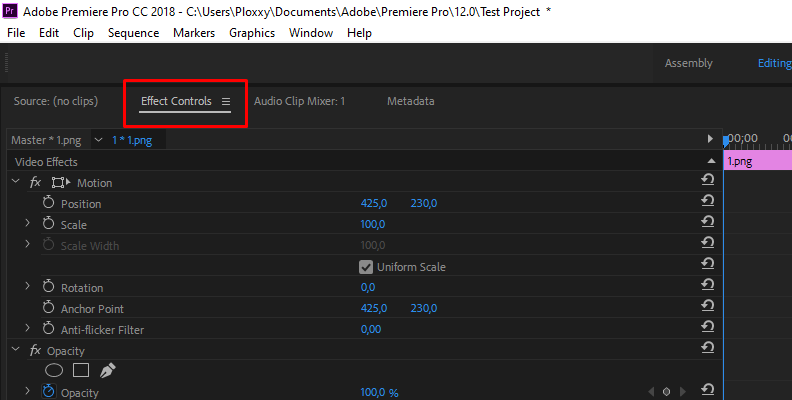
Now, the effect is applied to your image.
To access its settings and features, head over to the "Effect Controls" panel located in the top-left corner of the screen.
Don't forget to visit the official BCC+ Chromatic Aberration page where all controls and features are explained thoroughly and in detail.
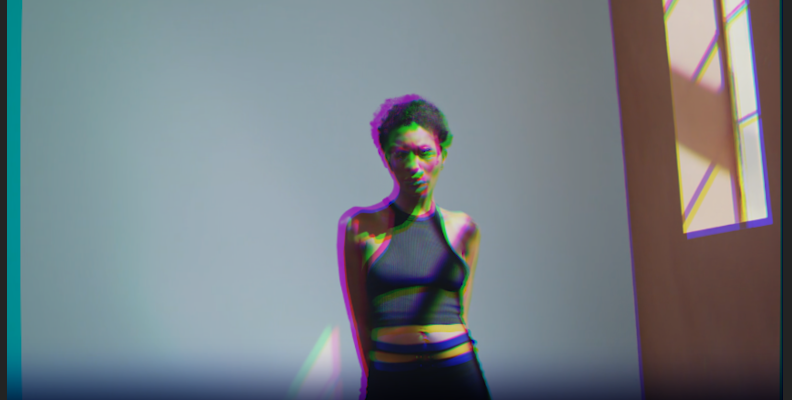
With just a few changes to the parameters, we added chromatic aberration to our image, going from this:
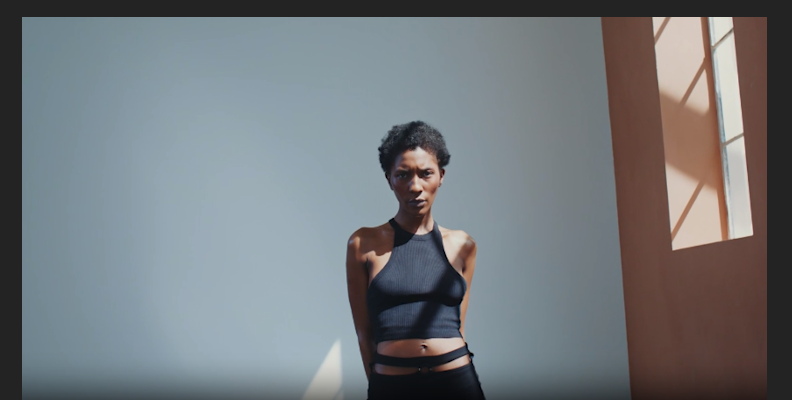
To this:
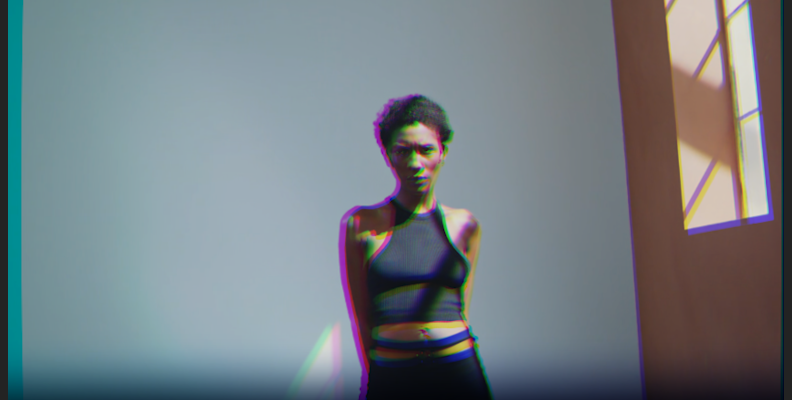
Or even this, if you're going for the more "extreme" or "glitchy" look:
It's that easy when using Continuum's tools!
Now, depending on your project, taste, and goals, you may increase or decrease some values differently from what we did, and get results that are also different. That's perfectly fine as long as it works for your goals. Feel free to get as creative as you can!
Final Words
That's everything you need to know about chromatic aberration, what it is, why it occurs, and how you can add it to an image within Photoshop and using Continuum's BCC+ Chromatic Aberration filter/effect.
Hopefully, you will be able to create a cool-looking image for your future project with these new tips.
Good luck!


