


Adobe Premiere Pro is one of the world's most popular video editing programs, if not the most widely used one amongst both amateurs and professional filmmakers and content creators.
As a creative tool, Premiere Pro offers editors a variety of options, such as different workspace layouts, transition choices, and, last but not least, video effects.
One of those video effects is the Gaussian Blur Effect, known as one of the most popular choices in photography and videography in the "blurs" category across various editing software, and this guide's main topic.
Below, we'll talk about Gaussian blur, what it is, how to use it in Premiere Pro, and more, so if you're eager to learn more on this subject, you've come to the right place.
Without further ado, let's get straight into it!
What Is Gaussian Blur
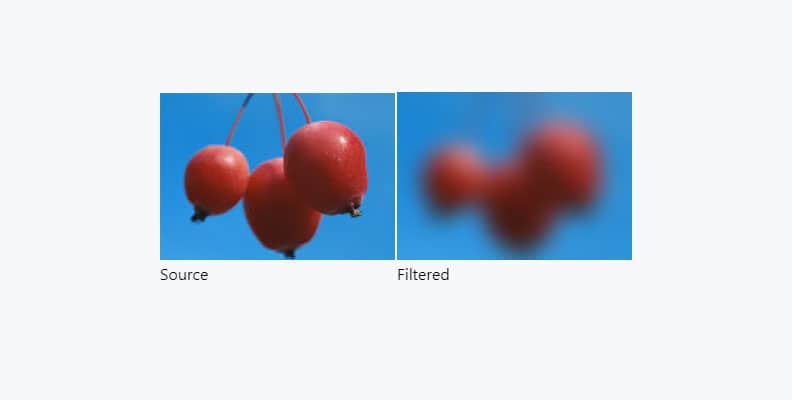
Gaussian blur is an image filter that relies on a mathematical function to create an evenly distributed, smooth blur effect that can have multiple purposes in both video and image editing. The effect is named after the famous mathematician Carl Friedrich Gauss and his Gaussian function.
Main Gaussian blur characteristics:
- Smooth Transition: The blur effect is smooth and natural, avoiding harsh edges.
- Even Distribution: The blurring is evenly distributed across the image.
- Adjustable Intensity: The level of blur can be adjusted to achieve the desired effect.
The various use cases of the Gaussian blur range between functional and aesthetic, which is what makes this particular image filter so popular amongst editors.
For example, the Gaussian blur effect can be used to create an "out of focus" look for your image or video clip (if you use masking to apply it only to specific areas), which is an aesthetic use, and you can also rely on the same effect to anonymize faces or other sensitive information, which is a functional use.
Another example is using Gaussian blur to create a smooth transition effect when cutting from one shot to another, enhancing the aesthetics and overall flow of your video. Still, it can also be used to blur specific areas during key moments to direct the viewer's focus in the right direction, another functional use often seen in documentaries or news reports.
Most popular uses for the Gaussian blur:
- Reduce image noise and detail
- Create a soft, out-of-focus look
- Direct the viewer's attention to a specific part of the frame
- Hide unwanted elements or sensitive information
Overall, the Gaussian blur filter is very versatile and sees a lot of use, probably the most out of the other blur effects (like motion blur, fast blur, or directional blur, for example) available in both image and video editing software.
In the sections below, you'll learn how to add Gaussian blur to your images and videos in Premiere Pro.
How to Add Gaussian Blur in Premiere Pro
Premiere Pro is one of the most user-friendly editing programs out there, so adding effects to your media is relatively straightforward.
To begin, we first need to launch the software and import media from our PC's local storage.
Step 1: Launch Premiere Pro and Import Media
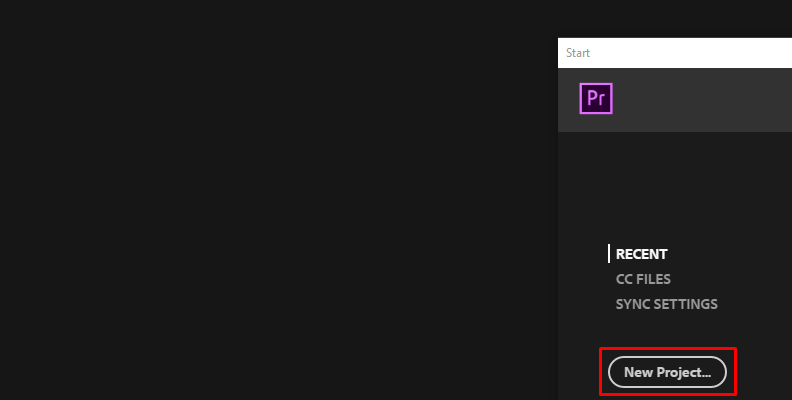
Once you load the software, create a new project by using the "New Project" button on the home screen.
Next, choose your preferred settings, name the project, and create it in your desired location.
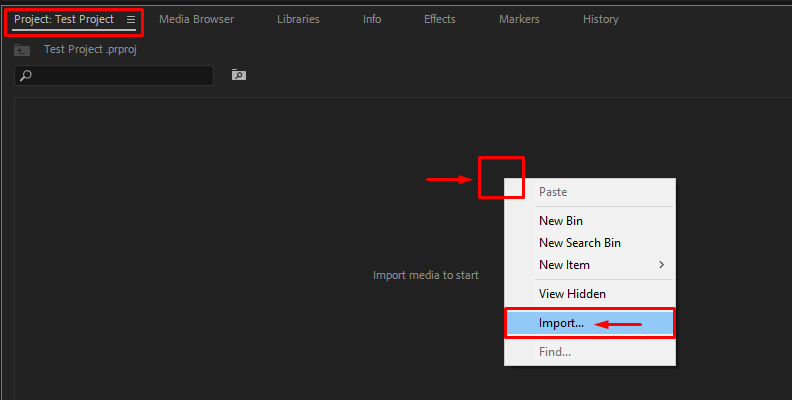
Once you're in the software, navigate to the "Project" tab and right-click anywhere on an empty area where it says "Import media to start" and choose the "Import" option as shown in the image below.
Find the image or video file on your computer from the file browser and complete the import.
Step 2: Create a Sequence
Before you can start working on your image/video, you need to create a timeline/sequence. To do this, simply drag the media you just imported from the Project tab onto the empty timeline area. This will create a sequence out of it.

Step 3: Add the Gaussian Blur Effect
Now that you have a sequence and your timeline area is not empty, you can begin working on your media. This means trimming, editing, masking, or doing anything you need to the footage on your timeline.
When ready to apply the blur effect, you need to open the "Effects" tab and use the search bar to locate the effect.
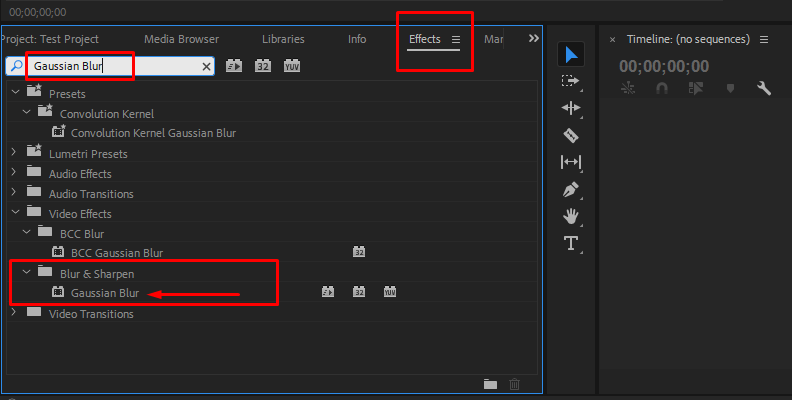
Once you do, drag and drop it over the images or video clips on your timeline. You can also use an adjustment layer and position it one video track above your media and add the effect to it instead. This will make enabling/disabling much easier later on.
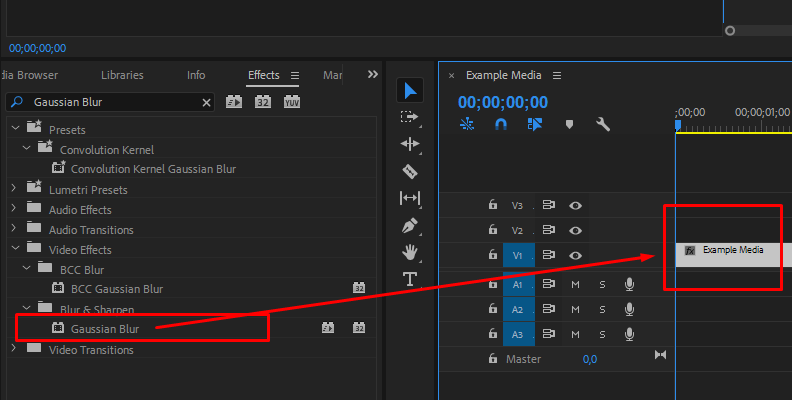
The difference in how your image or video clip looks will be noticeable immediately.
Step 4: Adjust Blur Settings and Parameters
Since you probably won't like for your whole image or video to be blurred in all areas equally, or with the default intensity, your next step would be to access the Effect Controls panel in the top-left corner so you can modify how the effect impacts your media.
Make sure to first select the media on your timeline and then open the effect controls panel.
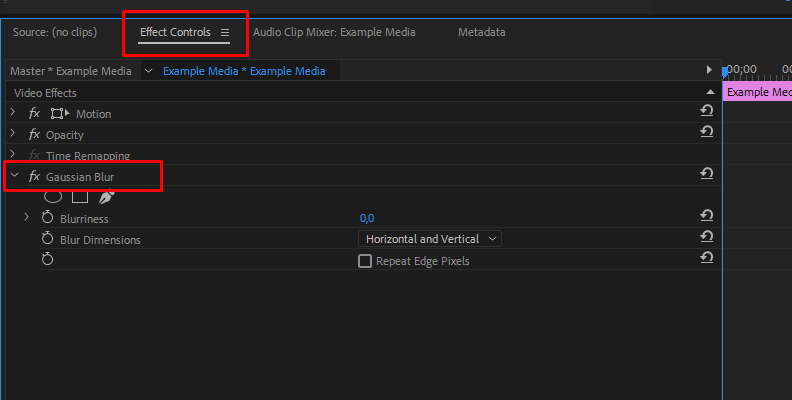
Once you're there, you can expand the "Gaussian Blur" effect and modify the intensity of the blurriness as well as change the direction/dimensions.
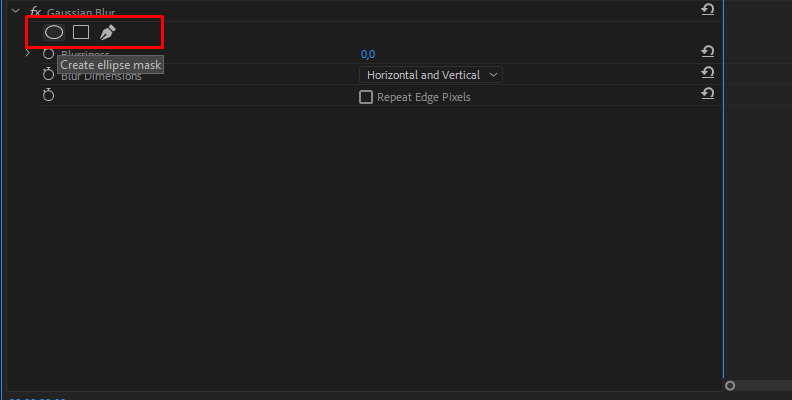
If you only want the blur to impact a specific area and not the whole image/video, you can use the masking options to draw a mask in the program monitor window and apply the effect only in that specific zone.
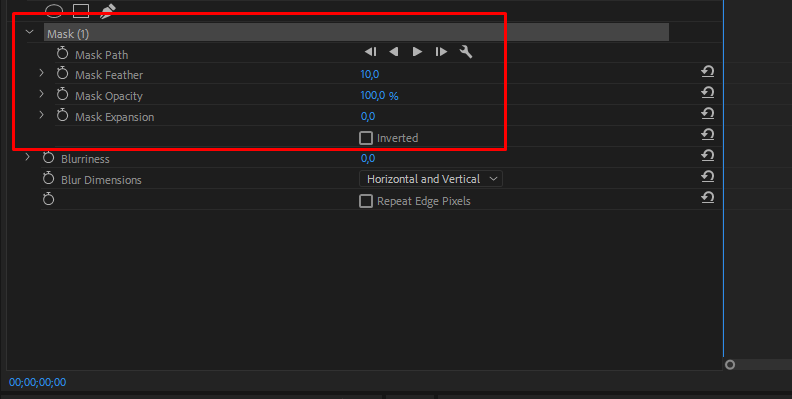
Use tools such as feathering and mask expansion to improve the smoothness of your mask and, therefore, the blur application.
When satisfied with the results, save and export your video/image.
That's all there's to it!
How to Create Gaussian Blur Effect in Premiere With Continuum's BCC Gaussian Blur
As you already saw, adding blur effects in Adobe Premiere Pro is relatively easy, but the built-in effects are not very customizable.
If you're looking for more in-depth edits and customization, we recommend checking out Continuum by Boris FX, a creator pack with hundreds of filters and presets that you can use in all popular video editing programs to add blur or any other effects to a particular part of an image or video in just a few clicks, all while having the option to extensively customize how they look in a user-friendly way.

You can download a free trial of Continuum on the official Boris FX website.
If you already have Continuum installed, here's how to use it to add Gaussian blur to your media in Premiere Pro using the BCC Gaussian Blur effect.
Step 1: Launch Adobe Premiere Pro and Import Media
You can use the same steps as in the section above to launch Adobe Premiere Pro and import media into it.
Once you do, move on to the next step below.
Step 2: Apply the Effect to the Media on Your Timeline
This step is also the same as the one shown in the above section, except this time, the name of the effect will be different.
Instead of using the regular Gaussian blur effect that's built-in into Adobe Premiere Pro, we'll be using the BCC Gaussian Blur effect that should show up in your effects panel once you install the Continuum pack on your computer.

Step 3: Modify Settings And Parameters
Move the play head on your timeline to make sure it's over the video clip/image you applied the blur to is selected, and then open the Effects Control panel.
You'll immediately notice that this effect has a lot more customization options compared to the built-in Adobe Premiere Pro blur.
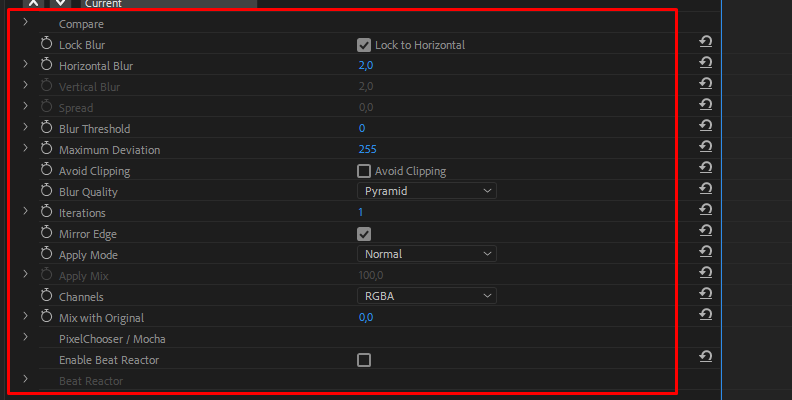
From here, it's all about customizing and using the settings that match your project's needs the most.
Apply blur to license plates or a moving subject, soften hard edges, or just do anything post-production related you need with the BCC Gaussian Blur.
Do not forget to take a look at the official BCC Gaussian Blur page for an extensive explanation of all settings separately.
When satisfied with the results, simply save and export your project.
That's all there's to it!
Final Words
Now you know more about the Gaussian Blur effect, what it is, how and when to use it, and most importantly, how to add it to your media using Adobe Premiere Pro.
Hopefully, this will help you improve all your future work, and if so, we wish you the best of luck with all coming projects.
Thank you for reading!


