Chroma key is everywhere. You can find chroma key compositing in the simplest video homemade production to the most complex and involving Hollywood blockbuster. And while it’s a simple technique to think of, the difference it has made to the video production industry has been absolutely seismic.
If you are serious about producing great-quality video, chroma keying is an excellent skill to get to grips with.
What is Chroma Key and Green Screen?

Chroma key is the process of shooting something or someone in front of a screen and then digitally replacing it with green screen backgrounds. This process – sometimes also known as Color Separation Overlay – has become a standard video production technique.
The most common color of screen to shoot in front of is green, hence the term green screen which is often used interchangeably with chroma key. It doesn’t have to be a green screen, but using a chroma key green screen is most common.

Blue and green are ideal for chroma keying because they aren’t present in skin tones, so they don’t affect actors, and actors are the most common subjects to appear on green screen.
Whatever color is selected, it allows the computer to isolate the objects in the foreground and apply a background without affecting them.
There are three separate parts to the process.
Chroma Key
This is the actual process of compositing or layering two images based on the foreground and the background you want to insert instead of the solid color. Every color has its unique chroma, which is where the name chroma key comes from. However, for the sake of simplicity, let’s stick to referring to green for now as it’s the most common.
Keying
This is the term for removing the green screen background during the post-production of your video. When the green screen backdrops have been completely keyed they will become transparent.
A bright green color will improve the keying process and help to ensure that there are no digital artifacts left behind and that there's no “fringing” – a hazy area that can sometimes be seen around the edge of a person that’s been chroma keyed if the technique hasn’t been well used.
This is different from fringing or digital artifacts and refers to light that is reflected off your subjects from the green screen. When a screen is brightly lit, the light and color of the screen can reflect back on the subject, which can cause unwanted green light to be visible on your subjects.
How to Pick The Next Chroma Key for Your Project
There are several things to bear in mind when you are selecting the next chroma key for your project video.
Chroma Key Green Screen
The first thing to get right is ensuring that you have the correct chroma key green screens. It's important to consider the type of project you are undertaking when determining what kind of green screen to get.
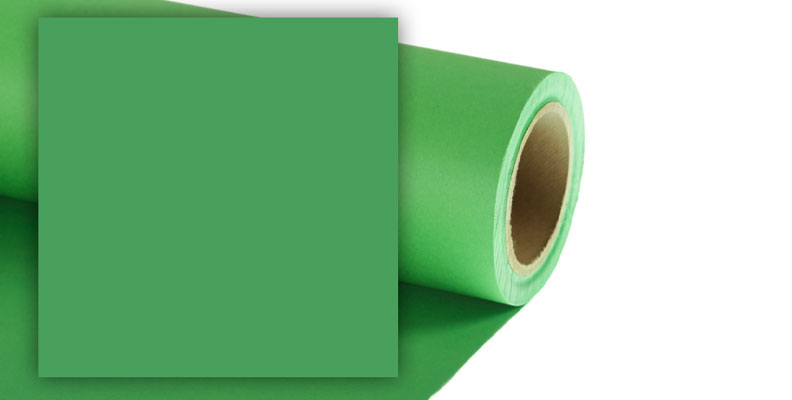
Seamless Paper Green Background
![]()
Paper backdrops are ideal if you need a quick, simple, and affordable green screen without too much hassle or only occasionally need to do a bit of green screen work.
Because of the very low cost, they are ideal for video and content creators and photographers working in non-studio environments.
Because they are also small in size, paper green screen solutions are ideal if you are shooting in a small environment or only have a single subject that needs to be placed in front of the green screen.
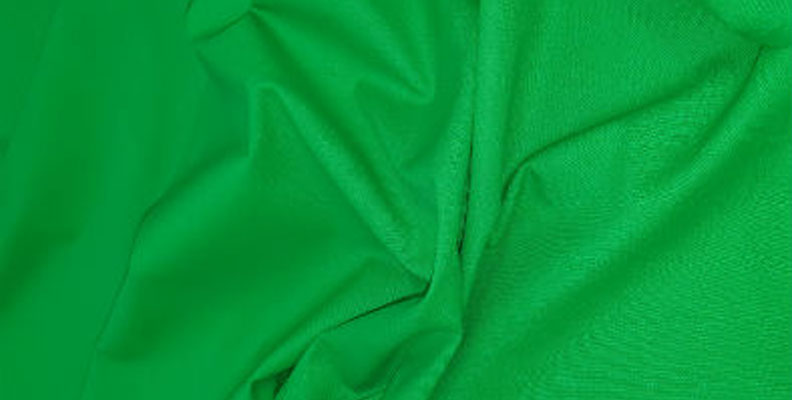
Cotton Green Screens
![]()
Cotton green screens are a good choice for anyone who needs to do regular amounts of green screen work. They’re a little bit more time-consuming to set up than paper ones so would suit anyone who either has a dedicated room or environment that the green screen can be set up in.
They are also usually larger than paper green screens, so if you have a few subjects you need to get in front of the green screen or simply a larger area that needs to be blocked out then they are a good choice.
However, creases in fabric or any marks and stains can cause visible disruption to the green screen process. This means cotton screens need to be carefully stored and maintained to ensure their continued usability.
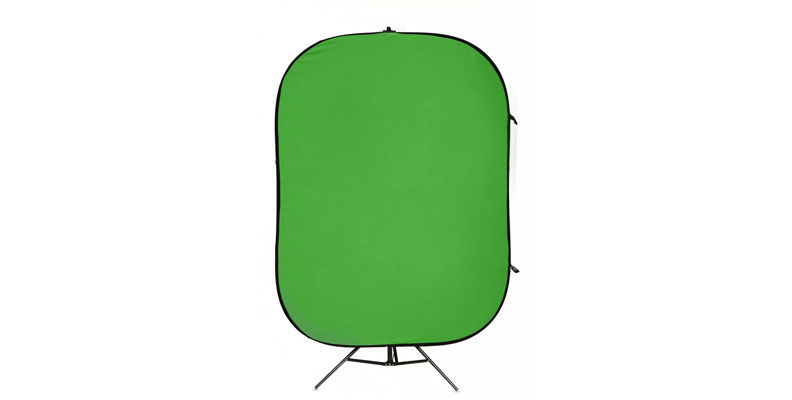
Collapsible Backdrops
![]()
These are an ideal solution if you need a quick setup and simple storage for your chroma key solution. They are also portable, so if you need to travel or do different setups in different physical locations then they can be a great choice.
They often also come as reversible, so on one side you have green and on the other you have chroma key blue screens.It is, however, worth noting that blue screens require more lighting than green screen backgrounds.
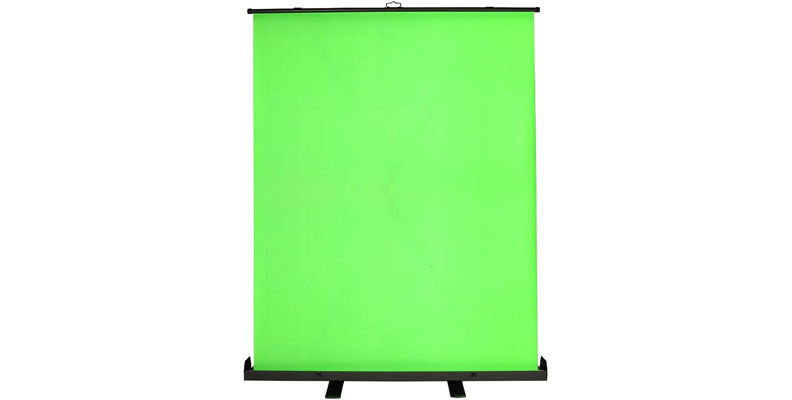
Pull Up Backdrop
![]()
A pull-up backdrop functions similarly to a projector screen, with the screen kept in a case that has a frame attached to it so the green screen can simply be pulled up and put into place whenever it’s required. A retractable screen makes the setup super quick and the hard case means that it is kept safe and free from damage even if it’s being transported.
RAW File Format
If at all possible, it’s best to shoot your footage in the RAW file format. This is because the RAW file format is uncompressed, which means that you will have better quality. And the higher the quality of the image, the better the results of your chroma key will be.
Using RAW will result in larger file sizes when compared to more compressed file formats. However, the trade-off is more than worth it, and, if you can, always shoot RAW.
Software
![]()
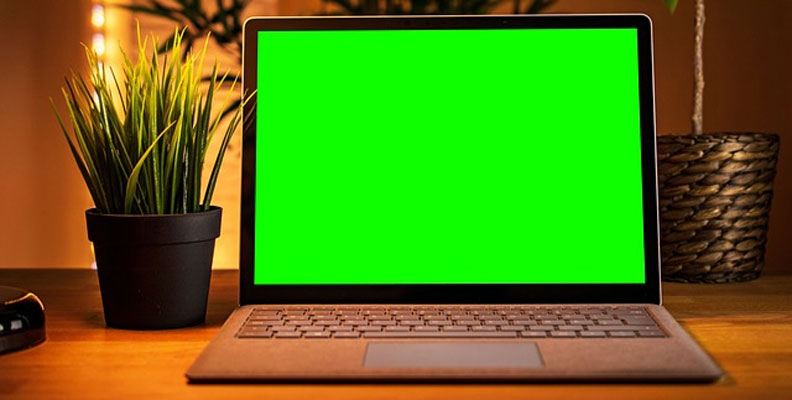
Ensuring that you have the correct chroma key software, of course, is a vital element in getting the results you want.
Video editing software is widely available and accessible to almost everyone. DaVinci Resolve is an excellent video editor that has a fully featured free version that will allow you to learn the tools of the video editing trade, including chroma key, without having to lay out a fortune for the privilege.
And if you are a Mac user, iMovie also supports green screen so you can start chroma keying immediately.
If you are looking for the best chroma key third-party software, then Boris FX has the answer with Primatte. As part of the Silhouette package of effects, Primatte makes short work of any green and blue screen work you might have. It's never been easier to composite footage together with the Academy Award nominated tools and there's no better chroma key software on the market.
Whatever software you choose, ensure that it has the right features for you and that it can deliver everything you need – and not just with chroma key!
Lighting
Getting lighting right can make a big difference to the quality of your chroma key work. The better your lighting, the stronger the contrast will be between your subject and the green screen so the better your video editor will be able to make the distinction and separate the two.
And good lighting will help reduce spill as well. Lighting the green screen separately will help cut down on unwanted shadows.
It’s also important to ensure that the lighting for your foreground subject and the background that you are going to chroma key in are the same. If your background is moody and dark but your subject is brightly lit then it looks “wrong” and even if the chroma key is done well it still registers as looking fake because the lighting conditions don’t match.
Ring Lights
![]()
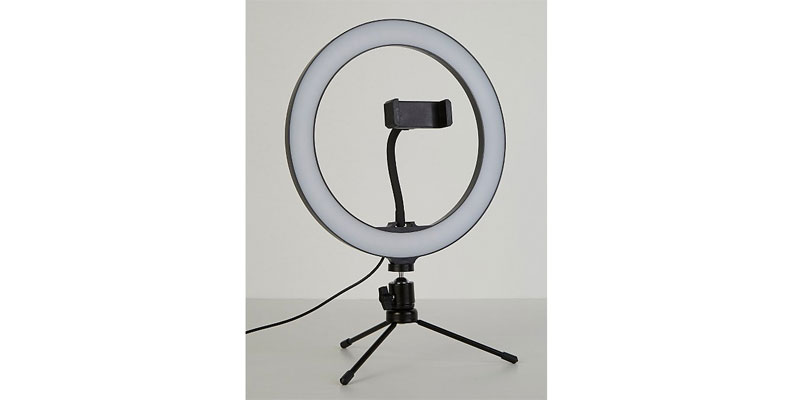
These are popular and well-known lighting solutions, especially among online content creators and social media posters. Because the light is ring-shaped, it gives a soft, steady light across your subject and helps to keep lighting levels even.
They are also very affordable, so even amateurs can get great-looking lighting for a minimum financial outlay.
Soft Boxes
![]()
Soft boxes are common with both photographers and video creators alike. They make placement easy and, as with ring light, create a soft, even light on your foreground subjects.
The light from a soft box is also often very flattering and reduces high-contrast shadows as well. They also afford more control over lighting levels than ring lights do so you can create moody and mysterious lighting just as easily as you can bright and sharp.
However, the consequence of these extra benefits is the cost – soft boxes are more expensive.
You may also like: Complete Tutorial for Green Screens, Background Replacement and KeyingHow to Shoot a Scene with Green Screen
These are the steps you need to take to ensure you get the very best from your chroma key shoot.
Plan Your Shoot
![]()
Just as you would with any kind of video shoot, plan out how your shoot is going to go. This is where you can ensure that your shots match, so if your background is a wide shot, ensure when you use a green screen you can match the angles.
Shots for the foreground and background should also be made with the same focal length. This will help them look "correct" and make the blending of shots look more realistic and convincing.
Consider the objects and clothing that will be in the shot too. If you are using green for your chroma key you don't want any green objects or clothing in shot or they will also become transparent. If you need to have green in shot, consider using a blue screen rather than green.
Lighting
Ensure you have the correct lighting for both the foreground and background, and ensure that you keep shadows to a minimum. Lighting should be even, consistent, and diffuse. The better your lighting, the better the green screen background will integrate with the foreground shot.
Spill
Hopefully, with your shoot planning and good lighting, your spill should be kept to a minimum. However, even with the best-planned shoots, spill can still be an issue. This is something you can fix in post-production in your video editing software but with spill, prevention is better than cure. Try to avoid having any reflective objects in shot to keep color spill to a minimum.
Subject Position
![]()
It’s a common enough mistake, but one of the best ways you can help to improve your chroma key work is to ensure that you position your subject correctly.
Ideally, you want to keep your subject around six feet from the green screen. This will help to reduce spill – the further away from the green screen your subject is the less likely it is that they will pick up reflections. Secondly, it will also help to keep shadows off the screen screen, which you want to avoid if at all possible.
Low ISO
![camera, video, cinema]()
When shooting footage for chroma key green screens, use the lowest ISO setting your camera will allow. Higher ISO settings introduce artifacts and digital noise into the footage so when you go to chroma key what you've shot it can create spots on the background. This, in turn, makes the chroma key green screen process more difficult and can result in needing more fixes during post-production.
Motion Blur
![]()
Green screen footage produces sharp edges that allow the clean separation of the foreground and the back image. Motion blur, by its very nature, undoes those sharp edges because of the blur, so you want to eliminate motion blur from chroma key work.
If your shots require motion blur, it’s best to add it in post-production, rather than trying to capture the blur live.
Conclusion
While chroma key and green screen video might seem like a complex process, it only takes a little knowledge to drastically improve the results from an amateurish haze of spill and fringing to a professional-looking, sharp production.
Good planning, a solid knowledge of what’s involved, and plenty of practice will mean you can use a green screen and be composting new shots in no time. So get to it!


