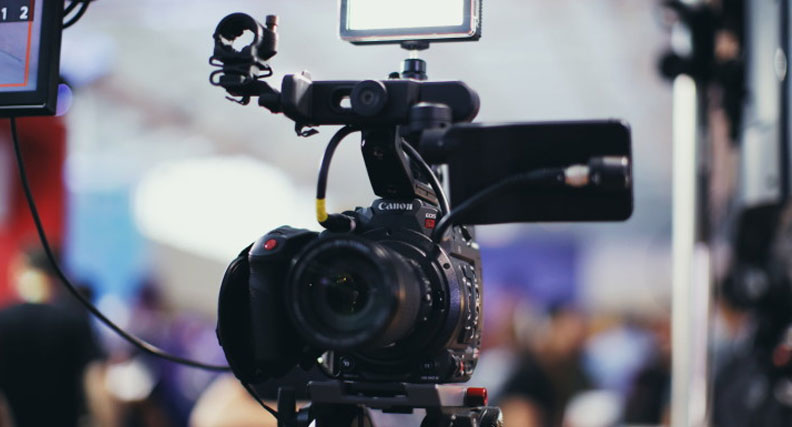
Moving between scenes can be a lot more meaningful than a simple cut. Understanding how to move between scenes while video editing can add drama, power, and emotion to your final cut.
Two of the most common transitions into and out of a scene are the dissolve and the fade.
What is a Dissolve Transition?
In video editing, a Dissolve Transitions, sometimes known as a cross dissolve, is a smooth transition between two video clips.
The first video clip will fade down until one scene becomes completely transparent — that is, it can’t be seen anymore — while another clip is faded up from complete transparency to complete opacity, meaning that it is fully visible.
The important thing about a dissolve transition is that both clips will be visible for a short period of time as they overlap. There’s no pause between them and one will run directly into the other.
The overlap can be short or long depending on the effect you want to achieve but with a dissolve the overlap is always there.
How to Create a Dissolve Transition
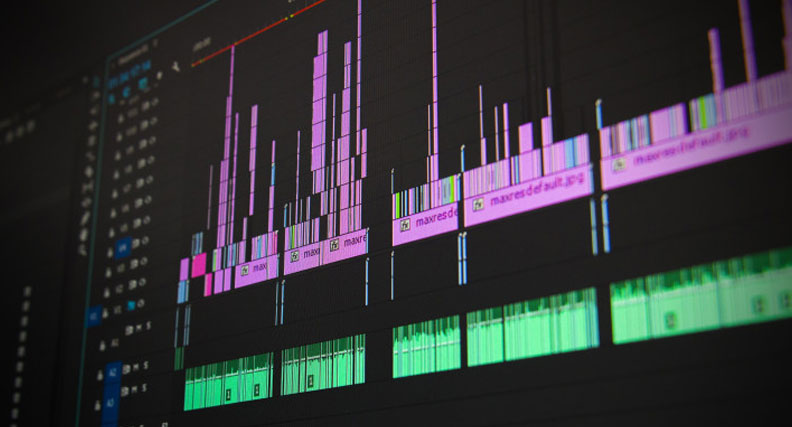
Whether you are editing using Adobe Premiere Pro, adding transitions in Final Cut Pro, creating transitions in DaVinci Resolve, or any other NLE (non-linear editor), dissolves are created in the same way.
To begin, line up the first shot in your timeline. Once you have done this, add the second clip to your timeline, ensuring that the video tracks overlap by the amount of time you want your dissolve to last.
If you want a quick dissolve, a second or two is sufficient, and if you want a longer dissolve then go for any higher value of time.
Apply a fade out to the first clip where the overlap with the next video clip begins. Then apply a fade into the second clip for the same length of time. This will produce a smooth, even dissolve where the first clip fades down in tandem with the second clip fading up.
And that’s it!
What is a Fade Transition?
A fade transition is a little different from a dissolve. With a fade, your video will gradually move from the video to black (for a fade out) or from black to having the full video (a fade in).
Fades can also be applied to other on-screen elements, such as text. You might want to fade in or fade out of a piece of text that describes a location or period in time, for example.
How Does a Dissolve Differ From a Fade?
Fades and dissolves differ in one crucial way.
Fades will always go to black before the next scene starts. This provides a visual break — a clean slate — between two scenes so there is a narrative pause. Distance is intentionally placed between the two scenes.
A dissolve directly blends from one clip into another, which implies continuity rather than the break a fade achieves. The emphasis is different with a dissolve. The two scenes are linked rather than separated.
Why and When to Use One or Another

Fades
Fade-ins and fade-outs are often used at the beginning and end of films to ease the audience into and out of what they are watching. This is the simple use of a fade, which is almost as old as cinema itself.
The fade at the start or end of a sequence is like the curtain coming up or going down on a stage performance — it indicates to the audience in a direct way when the action is going to start and stop.
Act Transitions
Using a fade during a movie can signal the transition between acts. Just as a stage play will have acts denoted by actors leaving the stage, the same effect can be achieved by using fades. You know when one act is over when it fades out and another begins when it fades in.
Timeline
Fades can also be used to suggest the passage of time. If you focus on a character doing one thing, fade out, and then fade in on the same character doing something else, it implies there has been an amount of time between the two scenes.
This is a useful narrative technique that allows the filmmaker to indicate that time has passed without the need for dialog or explanatory on-screen text. By removing the need for these, you simplify the storytelling process.
Associating Scenes
A fade can also connect and associate two otherwise disparate scenes more directly than straight cuts or a jump cut would. Imagine you have footage of a boat at sea.

The scene fades out then the next scene fades in, focusing on a flower in a field.

The implication is that something bad happened, possibly something fatal. A simple cut between the two scenes wouldn’t achieve the same effect nor would it carry the same power.
The use of fades comes down to doing something that will be noticed by the audience. All the above examples are about emphasizing something or pointing it out to the audience using the visual cue of fading.
Dissolves
Inside a Character's Mind

Dissolves also draw attention to themselves, but can be used for different narrative techniques. They are, for example, a great way to get inside a character’s thoughts or feelings.
Long, languid dissolves suggest a dreamlike state, where overlapping images can be seen as whatever it is the character is dreaming about. The scenes are all connected by a dissolve, blurring into one another the same way a dream does.
Compressing Time
Dissolves are often used to express the passage of time as well as especially to accelerate time. This is also true of fades, of course, but with a dissolve, the passage of time is often less.
The dissolves allow actions to be compressed and a few overlapping images can be a useful shorthand to express a quick passage of time.
For example, you might have a car on screen, then dissolve to a mechanic working on it, then dissolve again to the car sitting in a parking lot. The time to fix the car has been compressed and the overlapping dissolves link the three different stages of what’s happened.
As with fades, dissolves are drawing attention to themselves and ensuring that the audience is clued in on what the director wants to achieve.
Conclusion

Dissolves and fades are incredibly useful video transitions to learn and develop when video editing. Both have similar narrative potential and can be used in a wide variety of ways that allow writers, producers, and directors to express something visually.
They are a core part of the visual grammar of cinema. So think carefully about the best way to use them and choose the fade transition between your next shot carefully!


