


Animation has a universal appeal: most people have watched Disney animation films, cartoons, or anime and have fallen in love with them at some point in their lives. Animation captivates audiences by showcasing imaginative worlds and fantastical creatures that are not commonly seen in reality.
This article will introduce the concept of frame-by-frame animation for those interested in delving into the world of animation. It will cover the definition, delve into its historical background, and explore the different types of frame-by-frame animation.
Let’s dive in!
What is Frame by Frame Animation?
In frame-by-frame animation, the stage's subject and landscape are altered in each frame, which makes it ideal for intricate animations where an image changes in every frame rather than just moving across the stage. However, frame-by-frame animation has a huge impact on file size compared to tweened animation.
Many of the animation techniques used in the past are still used today. Nowadays, we have many tools that make the animation process faster. Still, some traditional methods are used today, like frame-by-frame animation, which was the most common approach in the 20th century.
In frame-by-frame animation, the artists hand-draw every character, item, and background in the scene on paper and photograph it. If a character or item moves minimally, the entire scene must be redrawn with the changes per frame.
When the animation sequence was complete, animators would have drawn hundreds of drawings showing movement from the characters and objects when played one after the other.
Frame-by-frame animation was, and still is, a time-consuming technique. It could take the artists months to animate a few seconds and years to make a longer and more complex animation sequence, not to mention the large budgets that films using frame-by-frame animation require.
Types Of Frame-By-Frame Animation
Since the inception of frame-by-frame animation, artists have found different ways of improving their animations, and thus, various new techniques have become popular. These are the four types of frame-by-frame animation.
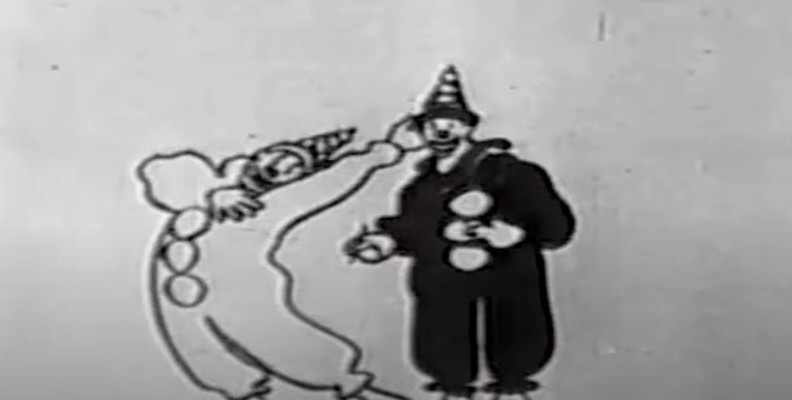
Hand Drawn Animation
This is the traditional animation style. It's done by hand drawing each frame on paper and then transferring the drawings to transparent celluloid. The artist draws using multiple cells for each character and object. Then, the cells that form the scene are placed together over a background and photographed. The scanning or photographing must be done with each cell for every frame.
The hand-drawn animation process takes a great deal of time and requires artistic talent. Besides the time-consuming drawing process, there’s also compositing the animated sequence. Any mistake or error costs time and money because the drawing must be done again from scratch on new cells.
In this video, you can look at the process of hand-drawn animation.
Flipbook Animation
It’s the most basic and original form of hand-drawn frame-by-frame animation. Maybe you or someone you knew as a kid used to doodle on the corner of schoolbooks and flip it quickly to see a stickman walking, jumping, or a happy face starting to cry.
With flipbook animation, you draw each sketch on a separate page in a notebook, drawing book, or a single page that will later be put together as a book and flipped through. Although it is considered a classic technique, animators still use it creatively.
Here are a few examples of flipbooks by experienced animators compiled by the YouTube channel Andymation.
Rotoscope Animation
Max Fleischer created the rotoscope animation, which involves shooting live-action footage with real actors. Traditionally, the sequence was projected on a glass panel, and the animators traced it frame by frame.
Today, the filmed sequence can be played on a computer and traced using digital software and tablets. In recent years, motion capture has been used to capture real-life sequences directly into computer software and then draw them digitally.
The quality of the animated sequence made rotoscoping a preferred type of animation. The movements of the characters were smoother and more human-like.
Here's an example of how the rotoscope animation can achieve realistic motion.
To learn more about modern rotoscoping technology, take a look at Boris FX's Silhouette. This software has been used in Academy Award-winning movies like Top Gun: Maverick, Black Panther: Wakanda Forever and Dune.
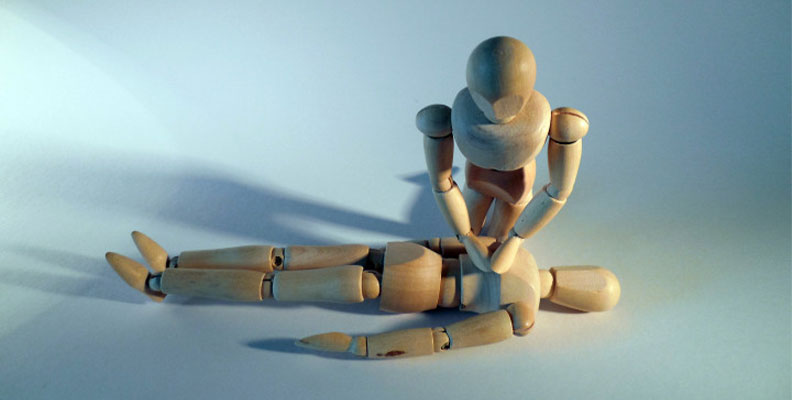
Stop Motion Animation
Stop-motion animation, also called stop-frame animation, is a type of frame-by-frame animation in which you take photos of objects and move them slightly between shots instead of drawing frame by frame. Each image is one frame, and you'll achieve the illusion of movement when playing the sequence of photos from beginning to end.
The more frames or photos you take of the scene, the smoother the movement of the objects will be. Often, stop-motion projects have hundreds or thousands of still images where the objects are gradually moved.
This type of animation is used to animate different objects, which developed into other stop-motion animation styles. A few of the most popular are:
Object animation: is an animation style in which only objects are used for the animation, like the Oscar-nominated short Fresh Guacamole by PES.
Lego/action figures: This is a stop-motion style using Legos or action figures. It has become popular on YouTube and other social media platforms.
Claymation: A popular style of stop-motion that uses figures made of clay. Some examples are Pingu, Coraline, and The Nightmare Before Christmas.
Puppet: Like clay, puppets are used with regular puppets with interchangeable faces for expressions. In the film Corpse Bride, the characters were puppets.
Cutouts: This animation style uses cardboard or paper characters, and each piece is moved to create the scenes while shots of each frame are taken to simulate the characters' movement. The popular cartoon South Park's first animation was made using stop-motion cutout animation. Here is a short cutout animation example.
Silhouette: It’s like cutout animation, but only the silhouettes of the characters are visible.
Pixilation: is stop-motion animation in which real actors change their poses and expressions in small movements frame by frame. It has been used in many music videos and commercials, such as this commercial for Amazon Kindle.
Although it does not look as natural as rotoscope animation, many animation projects, commercials, and films still use stop-motion animation.
Modern Animation techniques
Thanks to recent technological advancements, new techniques have emerged to complement earlier animation styles. These innovative methods, such as tweening, rigging, and onion skinning, can greatly help streamline the animation process and speed up the creative process.
Tweening is a technique where the main artist draws the keyframes, and an assistant or themselves draws the frames between them to complete the animated sequence. Today, most animation software features a tweening option where the computer completes the in-between frames. Later, the artist can edit the tweened frames if needed.
Rigging is used to create a character structure to craft a character movement. The digital character is laid over the structure. It helps the animator to have more control over the movements of the 3D character.
Finally, the onion skinning technique allows the animator to select a frame and see the previous and the next frame simultaneously. It helps maintain consistency with the animated movements.
Pros and Cons of Frame-by-Frame Animation
There are some advantages and disadvantages to frame-by-frame animation. Let’s start with the good things.
Pros:
The Visuals
You can tell it is frame-by-frame animation when you see it: it has that analog feel and smooth movement that make animated movies and shows appealing.
Artistic Freedom
You have the freedom to create the characters as you envision them. Try combining different animation styles and drawing techniques to create something unique. You can experiment and create detailed expressions, movements, and scenarios on each frame.

Cons:
Time-Consuming Process
The main disadvantage of frame-by-frame animation is that it’s an arduous process. The artist must draw thousands of frames, which can be draining both psychologically and physically, especially if you have a tight deadline. The process is long, and there is little room for mistakes.
The Production Costs
Not only is this a time-consuming process, but the costs are also higher. You require equipment like cameras to shoot, material to create puppets, paper, acetates, a computer, animation software, etc.
How to Create Frame-By-Frame Animation
Here, I’ll show you how to start and create your first frame-by-frame animation project.
The Initial Preparations
Set Goals
Defining your target audience is one of the first things you must do.
Consider whether you plan to share the animations on YouTube, create a short animation movie, or produce animations for clients. Clearly define the target audience or clients you aim to reach with your frame-by-frame animations.
Choose a Frame by Frame Animation Type
Now is the time to choose how you will create your animation project. Will you use rotoscoping, stop motion, a flipbook, or hand-drawn animation?
Choosing the specific type of frame-by-frame animation you intend to create should be a priority in the initial stages of the project.
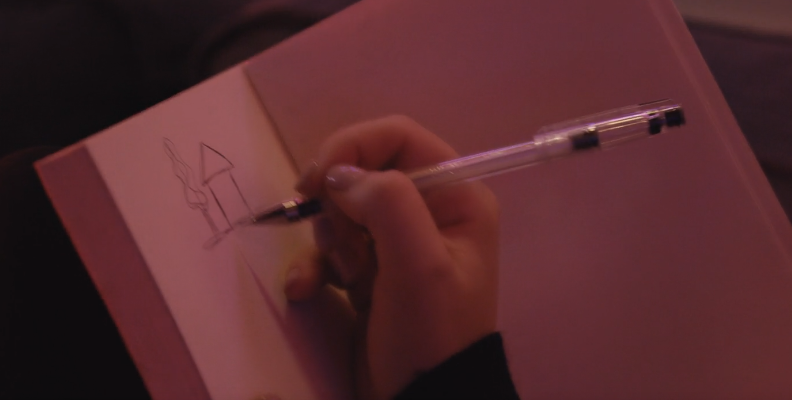
Script and Concept Storyboard
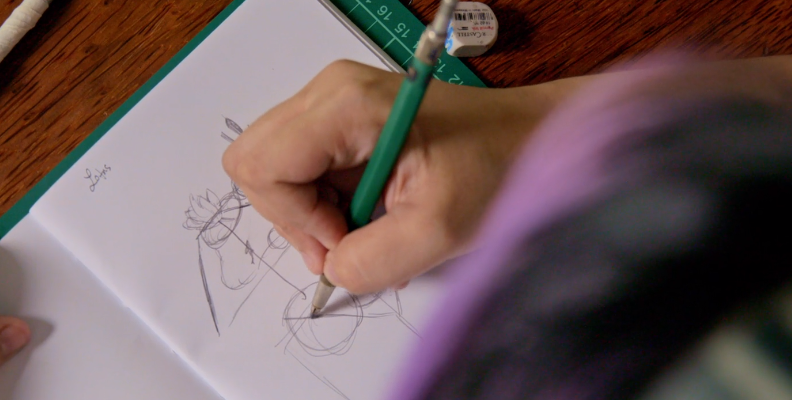
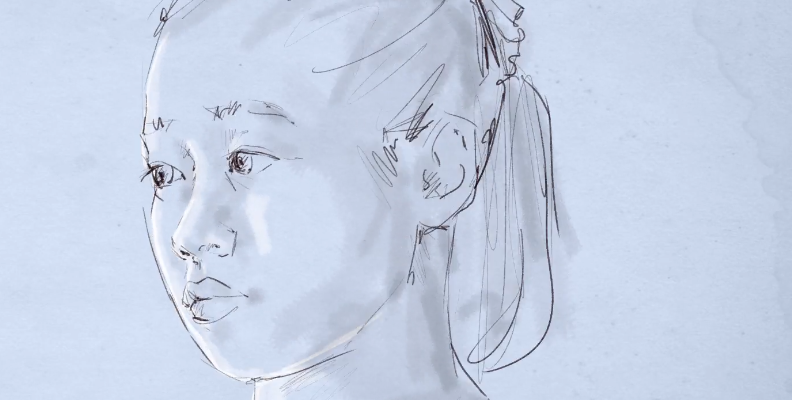
Create a script and draw your first sketches to create the storyboard. It's essential to define the sequence and outline any indications you need to remember when drawing and animating.
You can research the type of animation you want to create. If you're going to animate something complex, like a guitarist playing a guitar solo or a baseball player swinging the bat, look for video references to see the exact moves.
Animation Begins
Now, the main process begins.
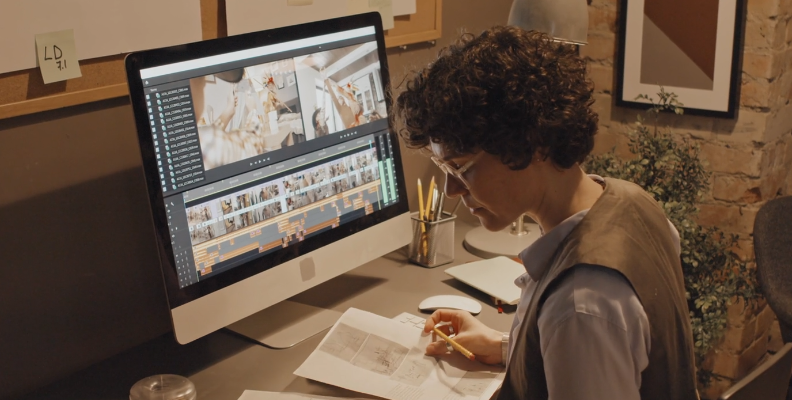
Get your sketches and complete the drawings. Even though hand drawing is the most traditional animation type, you can still digitally draw with a tablet and digital software.
Working with animation software to speed up the animation process is most common and useful today. Among the most popular animation software are Blender, Maya, Photoshop, Adobe Animate, and After Effects to add the final touches. These animation programs offer easy drawing tools for novices and experienced animators.
If this is your first time animating, start with basic movement to learn the tools you’re using. I'll provide a step-by-step guide to creating a basic animation on Animate.
Step 1: Create A New Document
After setting up the new document, you’ll be ready to start. The timeline panel is under the blank stage, and you layers on the left side of the timeline. By default, you begin with one layer and an empty keyframe.
Step 2: Layers
Stay organized by using different layers and renaming them to identify them. You can add layers by clicking the plus button above the layer panel. Click on the layer you want to draw, select a brush tool, and start drawing.
Step 3: Start Drawing
You can draw using the brush tools or import a file or graphics. You will see that once you have something on the black stage, a keyframe will appear on the timeline. Move to the next keyframe and continue hand drawing, making the changes on the frames where there's motion to create movement.
Step 4: Play the Sequence
If you play the sequence, you should see the animation. There are so many more advanced tools in Animate that you should explore once you learn the basics.
Final Words
You now know what frame-by-frame animation is and the different types of this traditional technique. If you're interested in creating animations, you have the basics for starting a project from scratch. The most difficult part is the animation process, but with the many animation software options available today, you have more flexibility.
You can start with a simple drawing program and draw each frame, then quickly go through the frames to see the animation. If you're certain that animation is what you want to do, think about getting the right tools and equipment.
Good luck!
FAQ
Is frame-by-frame animation expensive?
Yes. Frame-by-frame animation can be expensive due to the required materials, software, and subscriptions and the time needed to complete a few seconds of a sequence.


