


In films and photography, color can affect an image's look, emotion, and storytelling. Although filmmakers can use specific cameras and control the lighting during the shooting, thanks to the power of color grading, it's also possible to correct color and apply effects to get the right colors and mood in post-production!
In this tutorial, you'll learn how to color grade in Final Cut Pro with its color grading tools and a second method using the Continuum plug-ins to achieve a particular color range.
Let’s dive in!
What is Color Grading
Color Grading is a post-production technique used in the final steps of a video production. It alters the image's general color, shadows, and highlights to deliver a visual tone that reflects the mood and emotion you want to present in the video.
For instance, warm colors can evoke feelings of happiness, whereas blue and darker tones may inspire feelings of sadness or enhance a scene's suspenseful atmosphere.
How to Color Grade in Final Cut Pro
Follow these steps to learn and improve your color grading workflow in Final Cut Pro.
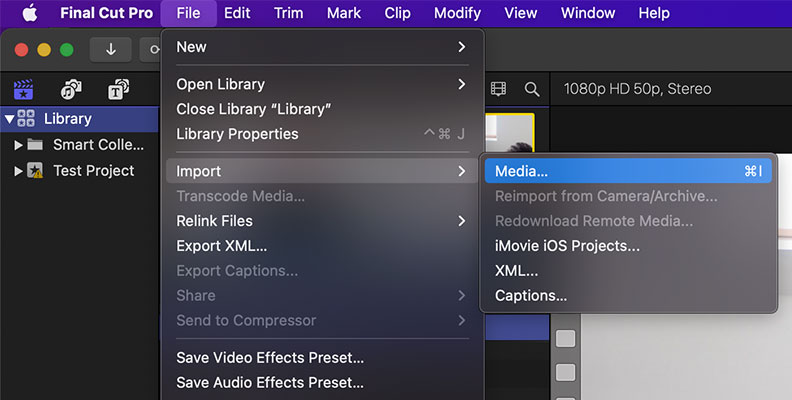
Step 1: Import Video
Import your video clips and edit them before color correction and color grading.
Step 2: Color Grading Tools
The color correction and color grading tools in Final Cut Pro are in the Color Inspector. Select the clip you want for color grading and in the Inspector window in the top right click on the Color Inspector icon or go to Window > Go To > Color Inspector to enable the Color Inspector or press Command + 6.

On the top of the Color Inspector, click the dropdown menu to display the available color grading options. There are four color tools for color grading and color correction in Final Cut Pro:
Color Board
Color Wheels
Color Curves
Hue/Saturation Curves
Color Adjustments
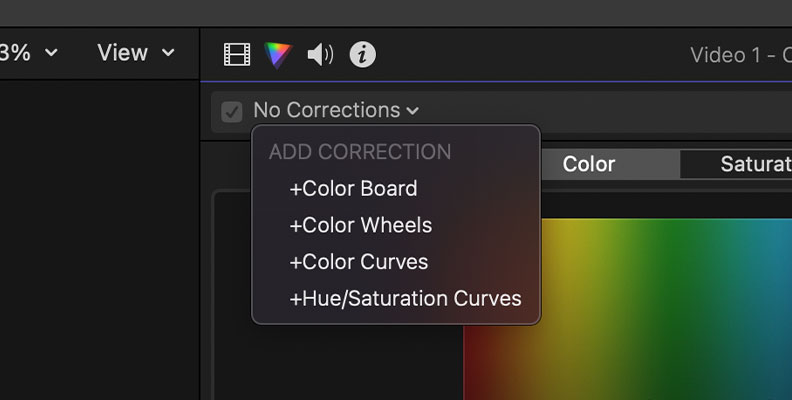
You can add one or more of these tools to create unique looks. In the Color Inspection, choose the color correction tool and apply it to the clip. Its settings will be in the Color Inspector.
Step 3: The Color Board
In the Color Board in Final Cut Pro, you can adjust the video's color (tint), saturation (chroma), and exposure (luma) by dragging the circles that appear on the board.

Use the global circle to apply changes to the entire image or adjust each circle for shadows, highlights, and midtone areas of the image. You can also fine-tune the settings using the value slider on the bottom.
The Color Board helps you when you need basic and quick color grading in the video.
Step 4: The Color Wheels
The color wheels are the most common color correction tool that you can find in other video editing software. You can start with the color wheels to make major adjustments before fine-tuning with the different tools.
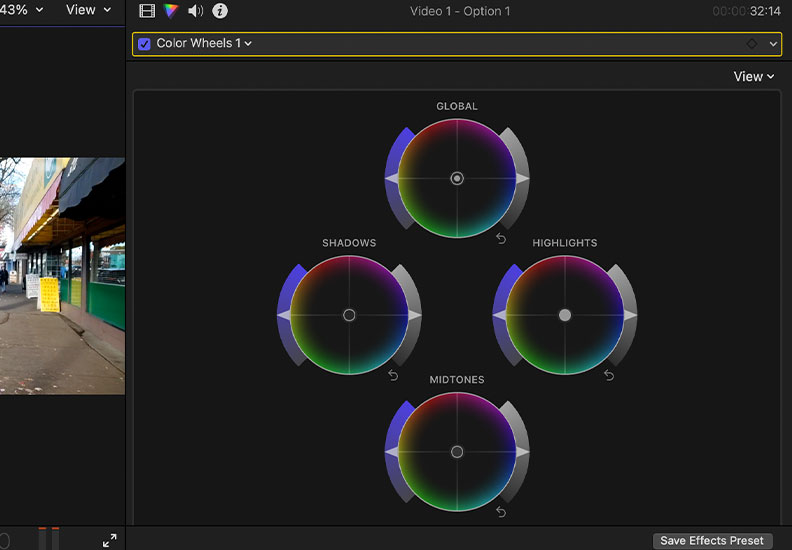
In the Color Wheels panel, you can use four color wheels to adjust the color of your video clips: global, shadows, midtones, and highlights. Each wheel has a slider on the side to adjust the saturation and brightness of the image.
To use the color wheel, drag the circle in the middle to select the color value. Then, drag the handles on the sides to adjust the saturation and brightness. Below the wheels, you have other parameters to set the temperature, tint, and hue.
If you want more control over the color, saturation, and brightness settings, you can display the tabs at the bottom and use numeric controls to change the values of each wheel.
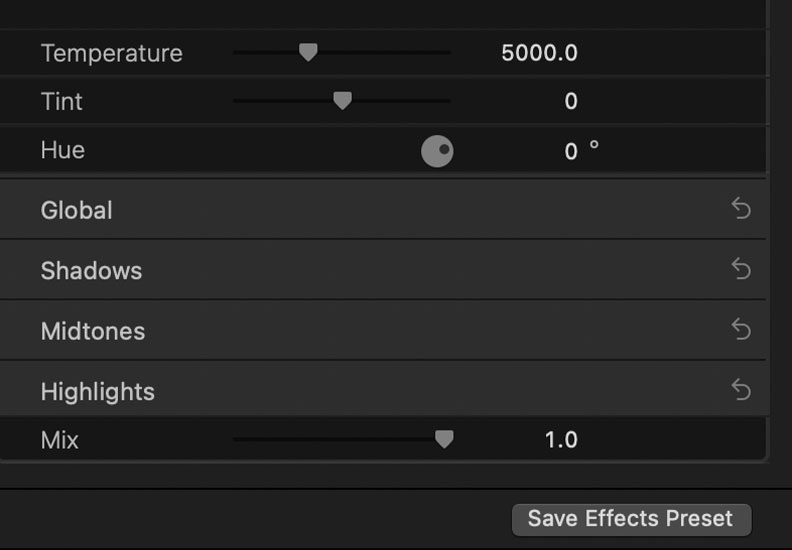
You can save the settings as a color grading preset by clicking Save Effects Preset at the bottom to use the same settings on other video clips.
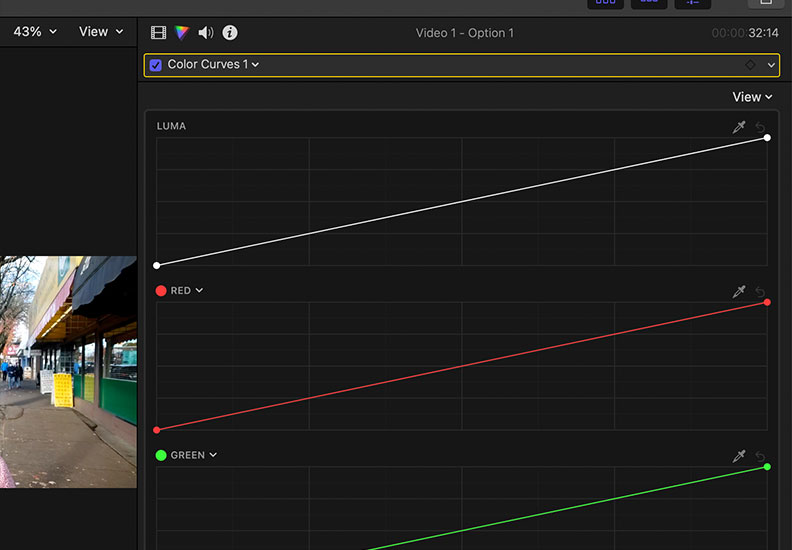
Step 5: Color Curves
The Color Curves can help you add more detail to the video's color-grading effect. With them, you control the parameters of the image's luma, red, green, and blue channels. Adjust the shadows, midtones, and highlights curves by clicking them to create a point and dragging it to change the color's intensity within a specific tonal range.
Step 6: Hue/Saturation Curves
The Hue/Saturation Curves present six curves for more precise controls. In them, you can set a color's hue, saturation, and brightness (Hue vs Hue, Hue vs Sat, and Hue vs Luma curves), the saturation of a brightness (Luma vs Sat curve), and saturation (Sat vs Sat curve) range, and the saturation of specific colors (Orange vs Sat curve).
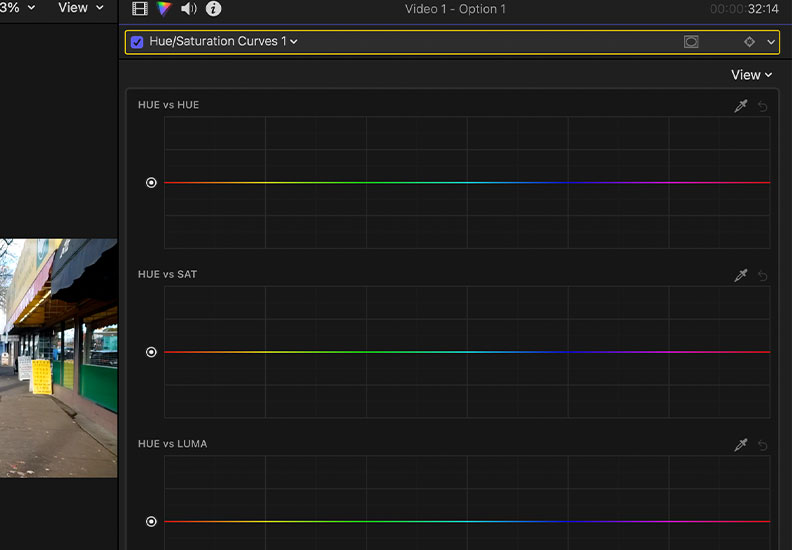
For each curve, select the eyedropper to pick a color from the image, click the curve to create a dragging point, and adjust the parameters for that color.
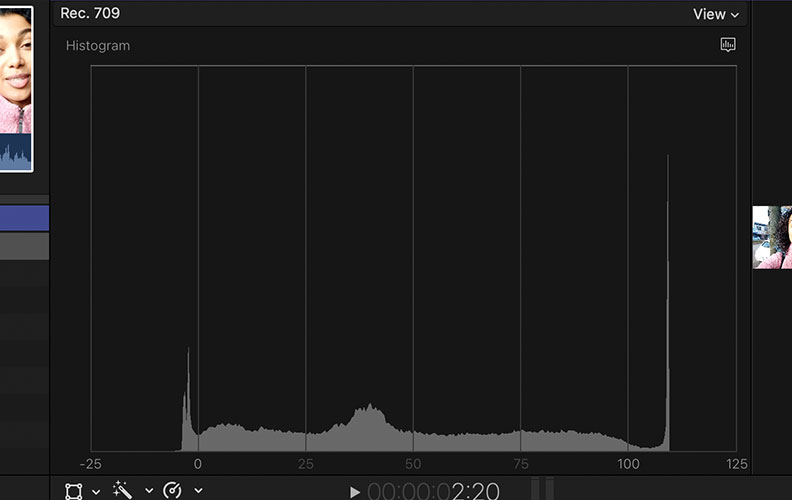
Step 7: Use Scopes for Reliable Color Grading
Using the scopes in Final Cut Pro can help you get more accurate color grading and ensure that the color is not overexposed. Enable the scopes in the View dropdown menu on the viewer and select Video Scopes or press Command + 7. Then, choose a scope to display by clicking the Scope button (on the top right corner of the Scope menu).
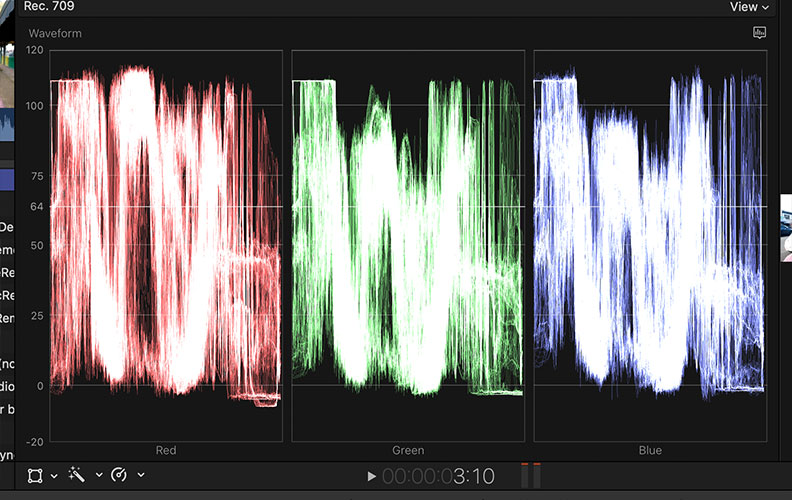
The Waveform displays the luma, chroma, RGB, and luminance levels.
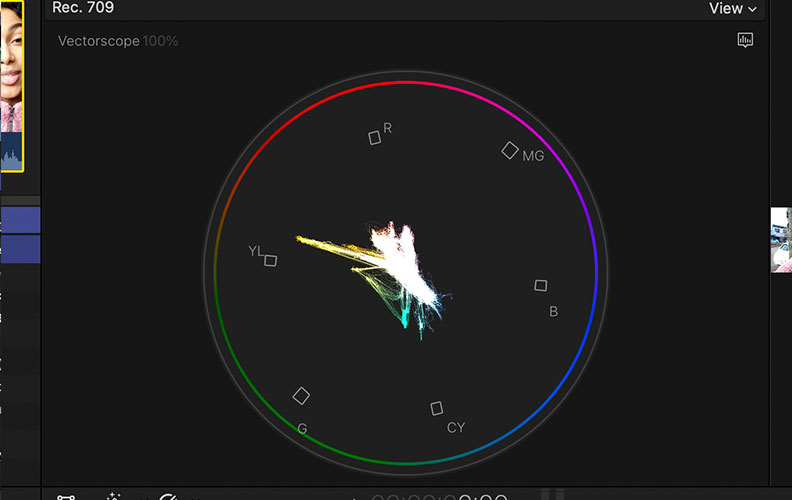
The Vectorscope displays the hue (circle) and its saturation (distance from center to outer of the circle). It features an indicator to ensure skin tones remain accurate.
The Histogram shows a graph displaying the number of pixels at each percentage of luma or color.
Color Grading Using Boris FX Continuum Plug-in
Continuum is a plug-in by Boris FX that offers breathtaking visual effects with an efficient workflow. It features over 300 effects, transitions, and color-grading presets ready to drag and drop to add a cinematic look to your videos.
Step 1: Import the Video to Color Grade
Import the video clip and do all the editing necessary to create your sequence.
Step 2: Apply Continuum Effects
Continuum features various color grading effects in the BCC Color & Tone category. To apply Continuum effects, go to the effects library in Final Cut Pro and search for the BCC Color & Tone folder to display all the color grading effects. Select one and drag and drop it into a video clip in the timeline.
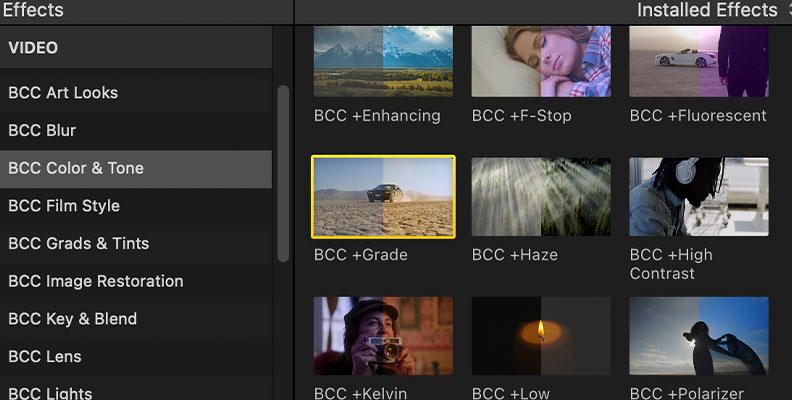
You have several effects like BCC+ Grade, BCC+ Shadow/Highlights, BCC Hue-Sat-Lightness, and more. An easy way to color grade in Final Cut Pro with Continuum is with the effect BCC+ Grade.
Step 3: BCC+ Grade
Click and drag BCC+ Grade in the video and open the effects settings. At the top, you can see the FX Editor, where you will find color-grading presets to apply to the video. Select one and click Apply at the bottom right to return to Final Cut Pro.
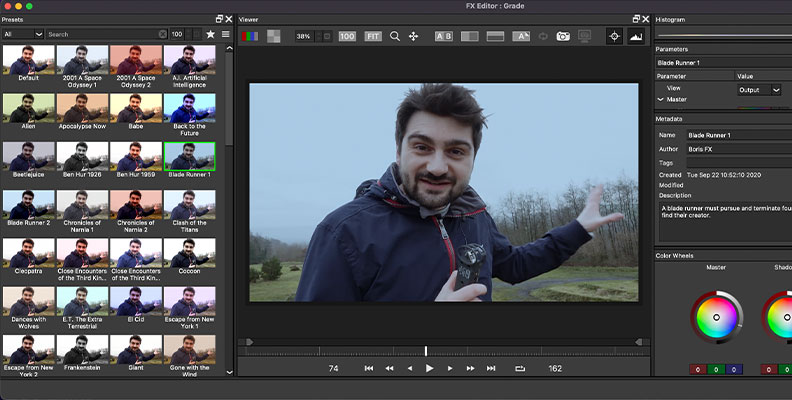
You can edit the preset in the effects settings using the Master, Shadows, Midtones, and Highlights parameters.
Final Words
With Final Cut Pro, you have the power to produce compelling videos for your YouTube channel, short films, and movies! Color grading can enhance the beauty of your videos, captivating your audience with high-quality visuals that convey messages through color.
Continuum is available as a monthly, annual, or perpetual license. Download a free trial to experiment with its professional color-grading presets and effects.
Good luck!


