


Unless you are a professional cameraman, recording something with perfect steadiness is a daunting challenge. Even so, professionals often rely on equipment such as a gimbal or Steadicam to stabilize motion and produce footage that isn't shaky.
However, such equipment costs a lot, and not every amateur videographer has it available.
Luckily, amongst the many other wonders that modern video editing programs make possible for us, fixing shaky footage is also on the list. This means that with the necessary know-how, you can turn an amateur recording into something that looks professionally made.
That's exactly what we'll talk about in the following guide, so without further ado, let's get into it.
Why Do We Need Stabilization?
Sometimes, even in top-production films, we see deliberate camera shaking and handheld movements, so if they're not bothering with stabilization, why should an amateur creator pay so much attention to it?
Well, the answer is not as black and white.
When it comes to making the decision to stabilize motion, it's important to analyze the context, as stability doesn't always equal good.
Based on what you're trying to achieve with the shot, you will decide whether it needs to be stable or not.
For example, if you're recording a group of soldiers running through the heat of the battle, and you're following them with your camera, the whole scene would look a lot more immersive if there were natural hand movements or even deliberate shakes added. Stable, drone-like footage is simply not the best choice for such a scene.
In this example, an unstable and "shaky" recording would further contribute to the portrayal of how chaotic and tense war is. Camera shakes caused by running or explosions and gunfire create a natural "effect" here.
However, if you're recording something for a real estate agency, such as a tour of a house, for example, and even better, adding a segment that showcases the neighborhood where the house is located, using a camera stabilizer (or a stabilization effect in post if it was recorded handheld) is certainly a much better decision.
In this example, the viewer will be able to focus on important details, such as viewing the condition of specific elements within the house. Here, we wouldn't benefit from shakiness. Instead, smooth and controlled camera movement would symbolize harmony and professionalism.
So, whether you need to use a warp stabilizer effect for your footage is a question of context and whether it will make a positive or a negative difference in the viewer's experience.
With that said, sometimes you need stabilized footage that was supposed to be recorded that way, but it wasn't due to unavailable equipment, for example. In such cases, resorting to motion-stabilizing effects is what you need to do.
In the following section, we'll show you how to stabilize your recorded video material in Adobe's After Effects.
How to Stabilize Footage in After Effects
After Effects is one of the world's most popular video production programs, alongside Adobe's other popular editor, Premiere Pro.
In this section, we'll show you how to use AE's features to make your recorded footage look more professional by stabilizing the motion, making it look as if it was recorded professionally or with the help of a Steadicam or gimble.
Here's what you need to do:
Step 1: Import Your Recorded Video Material
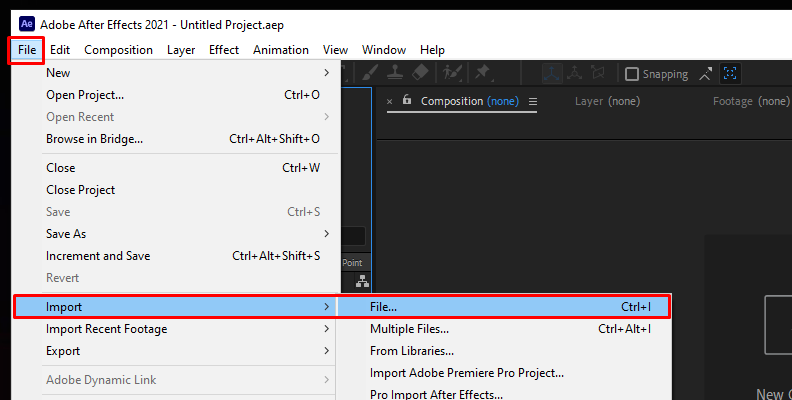
Open After Effects and import the footage you want to stabilize by going to File > Import > File.
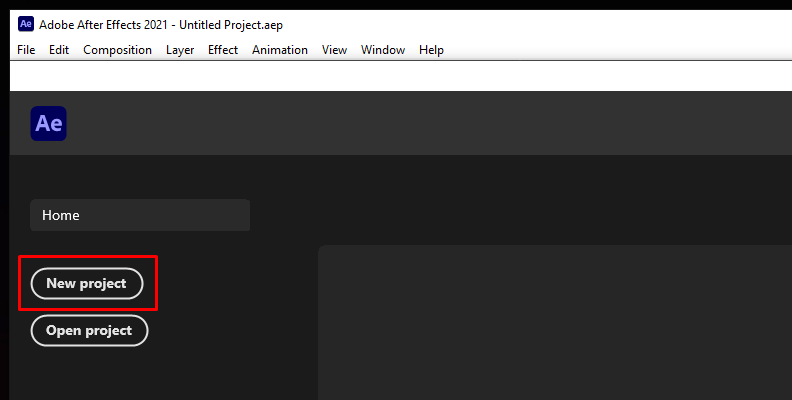
We suggest creating a new project file so that you can test things out and really get it into practice before applying this knowledge to an already-existing project.
Step 2: Create a New Composition
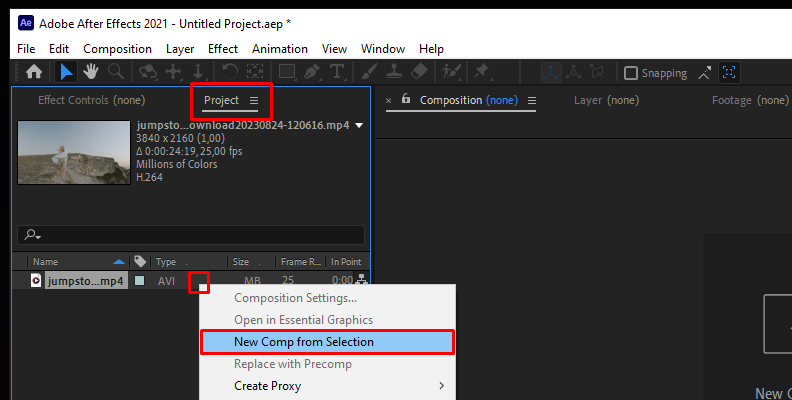
Right-click on the imported video material in the Project panel and select New Composition From Selection. This will create a new composition with the same settings as your footage.
Step 3: Select Footage
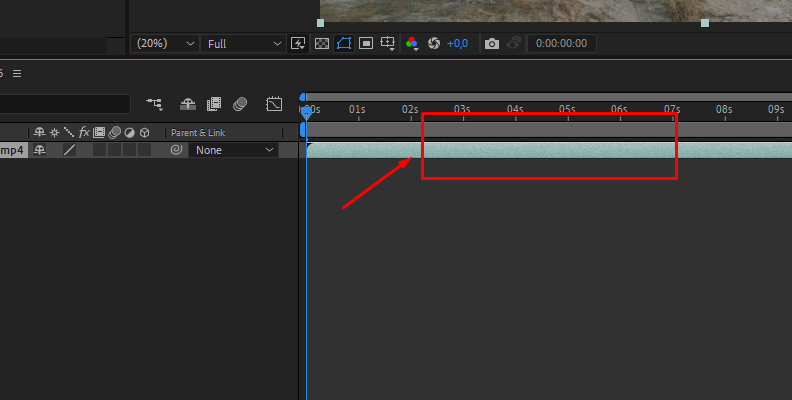
Click on your footage layer in the Timeline panel to select it.
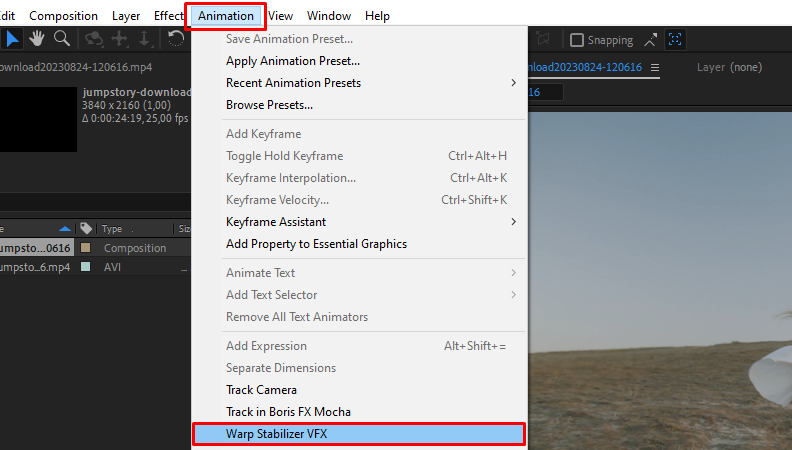
Step 4: Apply The Warp Stabilizer
Go to the top menu and select Animation > Warp Stabilizer VFX. This will apply the Warp Stabilizer effect to your footage layer.
Step 5: Adjust/Modify The Settings
After applying the effect, you'll see it appear in the Effects Control panel.
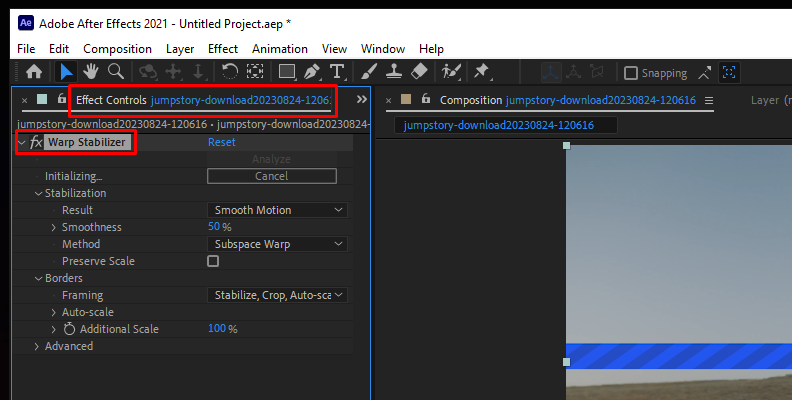
The default settings usually work fine, but you can adjust them if needed. You can change the Smoothness parameter to control how much stabilization is applied.
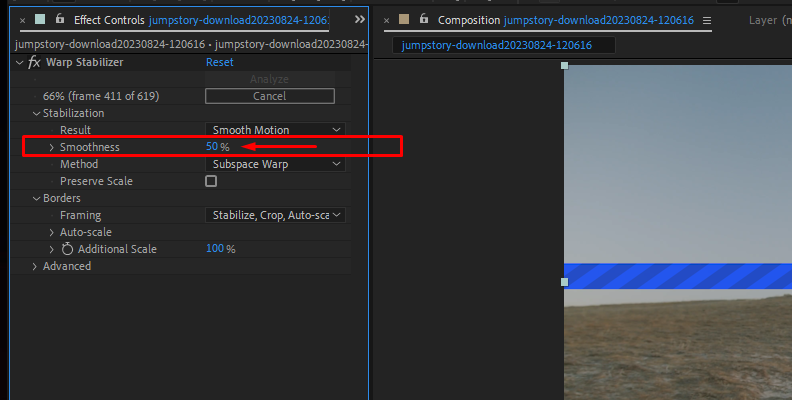
Higher values will result in smoother footage but may introduce more warping or artifacts.
Step 6: Analyze Footage
After adjusting settings, After Effects will start analyzing the footage to stabilize it. This process may take some time, depending on the length and complexity of your footage.

Step 7: Review
Once the analysis is complete, you can preview the stabilized footage by playing it back in the Composition panel. You can also use the RAM Preview feature. Make sure to check for any unwanted artifacts or warping.
Step 8: Render
After you're satisfied with the stabilization, you can render the composition by going to Composition > Add to Render Queue.
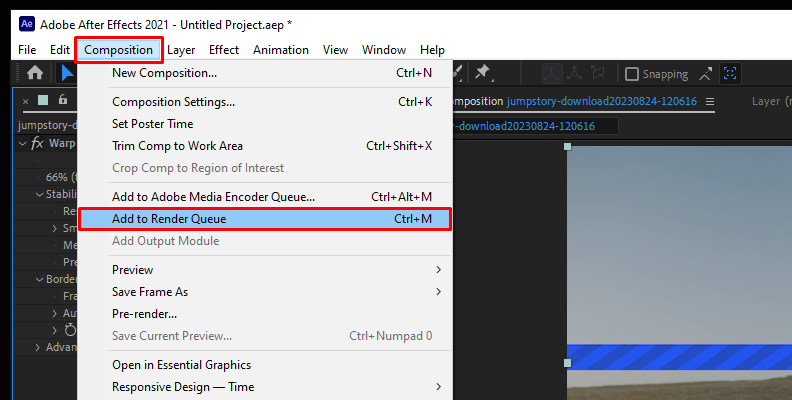
Adjust the render settings as needed, and then click on the Render button to export the stabilized footage.
Alternative Method (Stabilizaiton Without Using Warp Stabilizer)
There's another method for motion tracking in AE, and that's using the tracker panel. This involves setting tracking points using the tracking box.
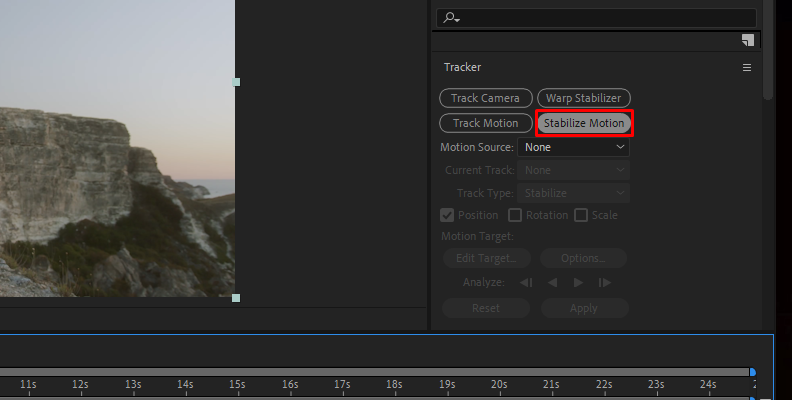
For this type of motion tracking, you need to open the Tracker Panel by going to Window -> Tracker Panel.

Then, you need to click "Stabilize Motion" as shown in the image below.
You'll notice the tracking box appearing on your screen.
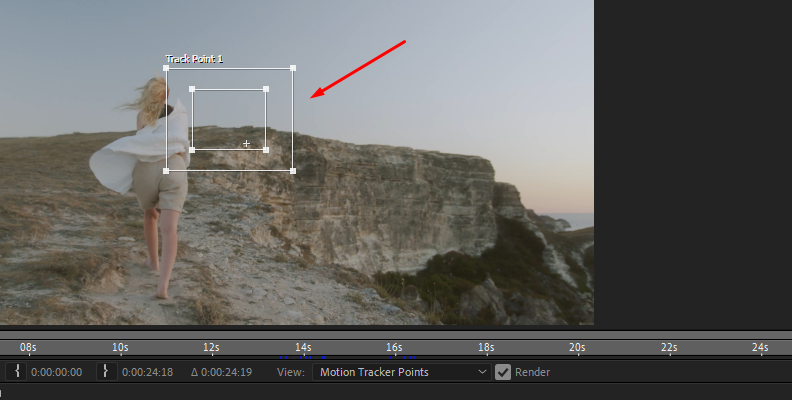
Position and adjust it somewhere on your screen where the object or person you're trying to track is well-lit and visible.
Then, playback and see the result. If the tracking starts becoming a bit "off" throughout the video, hit the stop button and readjust the box. When satisfied with the results, click the "Apply" button and save the changes. Then, export your composition.
Stabilize Footage in After Effects With Boris FX Continuum
Plug-ins make everything much easier, and that's the case when it comes to quality motion and object tracking.
In this section, we'll show you how to use one of Continuum's tools of the "Image Restoration" category, the "BCC Optical Stabilizer".
You can download a free trial of the Continuum pack at Boris FX's website.

Once you download and install Continuum for your software of choice, here's what you need to do to properly stabilize your recorded video material with it.
Step 1: Import Media into After Effects and Create a Composition
Just as shown in the previous section, import your media within After Effects and right-click it in the "Project" panel, then choose "New Composition From Selection".
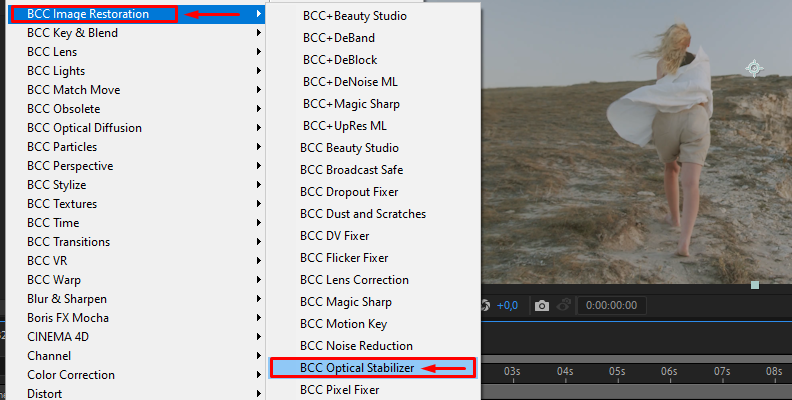
Step 2: Apply the BCC Optical Stabilizer
Apply the effect by going to "Effect" -> "BCC Image Restoration" -> "BCC Optical Stabilizer", as shown in the image below.
Step 3: Open the Effect Controls Panel
Once you apply the effect, open the Effect Controls panel.
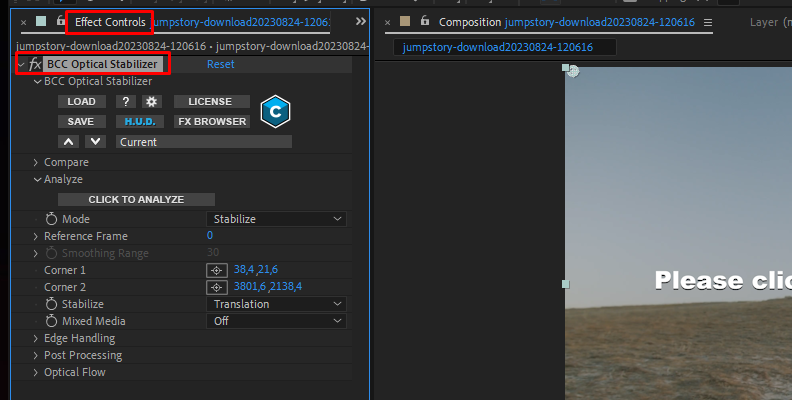
You will see various settings and parameters available for the effect. Use the "Click to Analyze" command to start the process.
For detailed information on each setting and its function, take a look at this official page dedicated to BCC Optical Stabilizer.
Step 4: Modify and Adjust
Once you analyze the footage, you can use various different settings that work best for your type of shot.
Continuum's effects offer a wide variety of options that allow you to customize until you achieve a perfect result, and it's all very simple to do.
That's all there's to it!
Final Words
Now you know more about video footage stabilization, why and when it's important, and mainly, how to use modern editing software such as After Effects to stabilize your own recordings.
Hopefully, this will help you achieve a lot more with your work in the future.
Good luck!


