


Have you ever wanted to add a flickering, distorted glitch to your videos? While you can create a glitch by combining multiple effects and layers together, there are other alternatives that make the process a lot easier.
In this tutorial, you'll learn to create glitch effects in After Effects using Continuum by Boris FX.
Let's dive in!
What Are Glitch Effects?
Glitch Effects are visual effects that simulate a distortion in the image, like a glitch, digital error, bad signal, or when you play an old VCR. Usually, glitch effects are used to create hacking and digital effects on scenes, screen inserts, and creatively for music videos, tiles, and graphics.
Glitch effects combine multiple filters, including noise effects, chromatic aberration, blur, blending textures, and manual keyframing parameters to achieve that unique look. Many video editing software features this effect to create glitches or include a built-in glitch effect.
How to Make a Glitch Effect in After Effects with BCC Video Glitch
For this tutorial, I'll show you how to create a glitch effect using BCC+ Video Glitch. This effect, included in Boris FX Continuum, allows you to create glitch effects super quickly, customize them, and fully control how the effect appears and fades.
BCC+ Video Glitch uses auto-animation, meaning you don’t have to keyframe it manually. However, it still gives you the freedom to animate the settings manually. BCC+ Video Glitch also features Mocha and Beat Reactor integration. With Mocha, you can track and mask parts of the scenes where you want the glitch to appear, such as a screen insert.
With Beat Reactor, you can drive the glitch animation from an audio source without manually keyframing it, for example, for a music video or audio visualizer.
Now, let's create a glitch effect in After Effects.
Step 1: Open Your Project
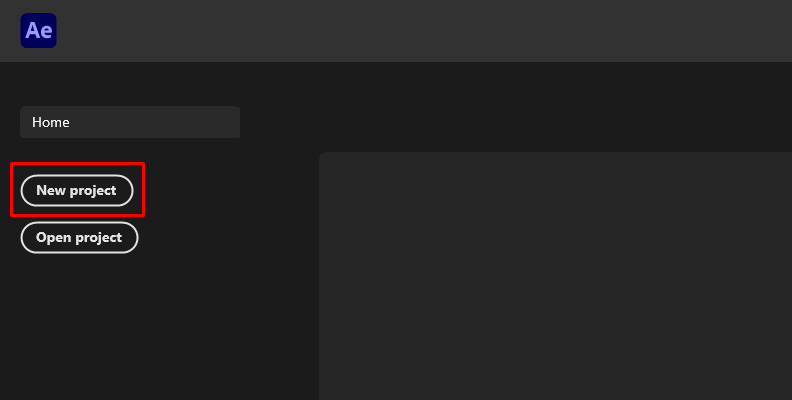
Create a new project file to add a glitch effect in After Effects.
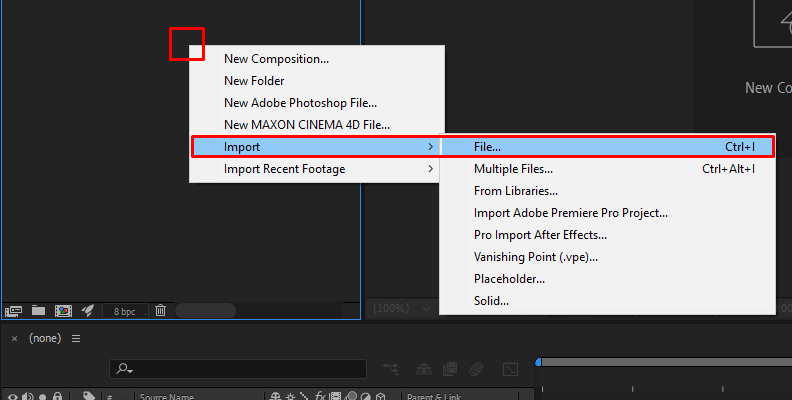
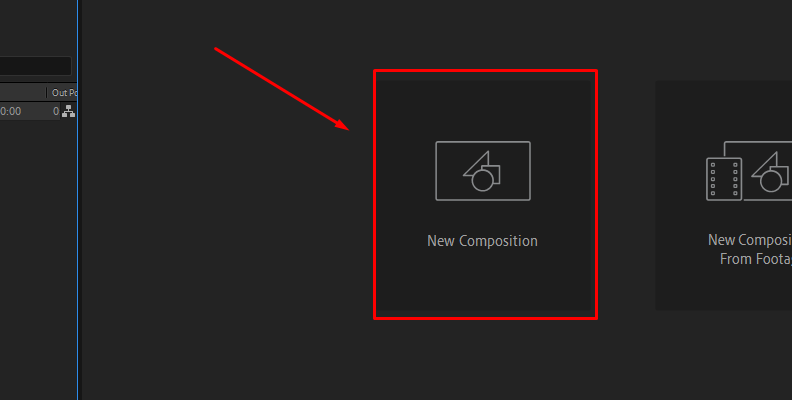
Import a video and drag it to the new composition icon to create a new layer.
Pre-compose the source video to change the composition source, adjust transform properties, etc., to the source image if you need to without affecting the glitch effect.
Step 2: Add the BCC+ Video Glitch Effect

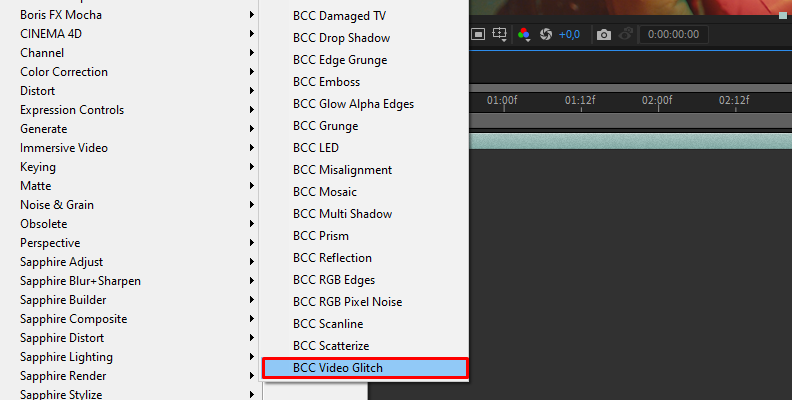
First, create a new adjustment layer in the menu Layer > New > Adjustment Layer. Next, go to the Effects & Presets panel. Use the search box to type "BCC+Video Glitch" or locate it under the BCC Stylize category in the effects library.
There are a lot of settings you can tweak in BCC+ Video Glitch to create glitches. They may seem complicated, but after playing with the settings for a while, you can create unique glitch effects by easily building them with BCC+ Video Glitch.
Step 3: BCC+ Video Glitch FX Editor
The FX Editor includes factory presets and can store all the user's custom presets. It provides a simple way to start by choosing a glitch effect template. Select a preset on the FX Editor button, choose one, press play to preview it, and click Apply to return to After Effects.
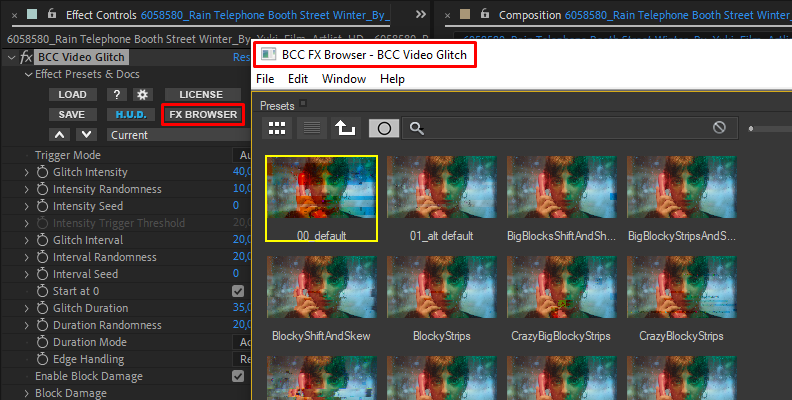
Presets cover most of the things you need to create a cool glitch effect, but you can customize it if you want.
Step 4: Crafting Glitch Effects
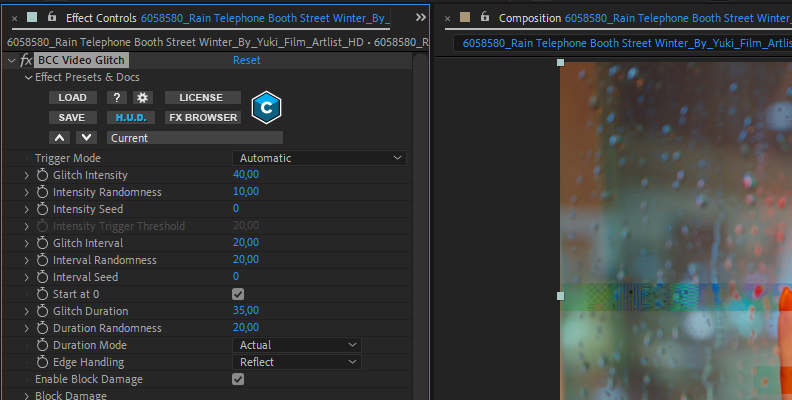
The controls for the glitch are organized in groups. The first settings control the glitch's global behavior. To quickly change a glitch preset, you can adjust the seed, intensity, duration, interval, etc.
Use the seed settings in the effect controls to randomize the glitch from a preset. Each group has its own seed parameter that you can adjust individually for more control over the effect, or you can use the Global Seed setting to change the random seed for all subgroups.
Step 5: Adding Distortion
One characteristic of glitch effects is that they are erratic and jittery. You have many options to add distortion to the glitch. Instead of adding a separate noise layer stacking fractal noise and textures, with BCC+ Video Glitch, you can do it all within the same effect.
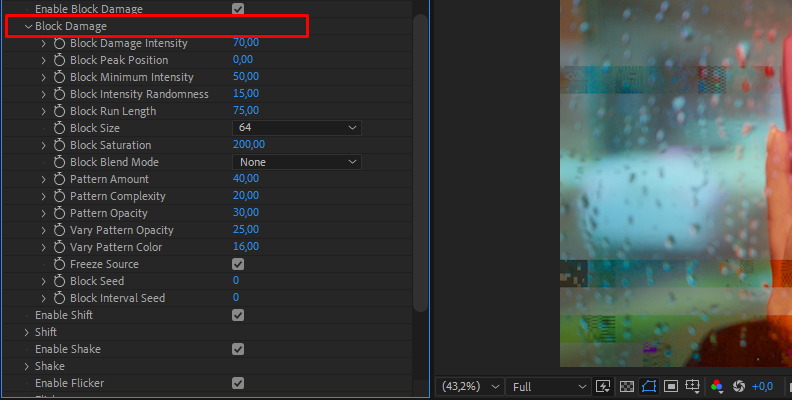
To add the blocky damaged look, display the Block Damage group. When enabled during the glitch, Block Damage will add an overlay of blocks. You can set the number and size, choose between independent blocks or lines of blocks, randomize them, define the pattern and color pattern, set a blending mode, and more.
Use the Shift, Shake, and Flicker groups to make the glitch more erratic. The Shift will add horizontal bands to the glitch. You can adjust the number of bars, size, dispersion, skew, and jitter of the bands.
Shake offset, skew, or rotate the images during the glitch. You can customize the Shake on an X and Y axis, skew, rotation, seed, and the RGB offset.
To add a flickering distortion, display the Flicker group. Here, you can adjust the brightness and saturation to flicker during the glitch effects.
Something to consider is that when you enable these groups, the lower group will affect the upper setting. For example, if you turn on Block Damage, Shift, and Shake. Shift will affect Block Damage, and Shake will affect Shift and Block Damage. If you enable all the groups, they will be applied from top to bottom.
Step 6: Color Channels
You would usually shift color channels to add chromatic aberration and achieve the color effect where you see the red, green, and blue separate from each other. With BCC+ Video Glitch, you can easily create the effect within the Shake group.
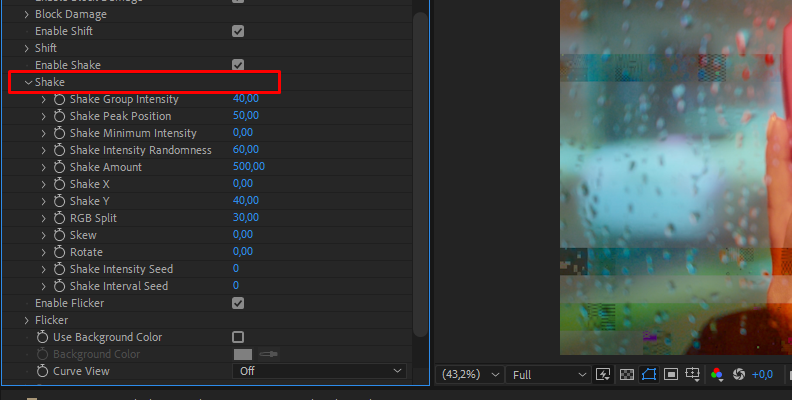
Adjust the RGB Split effect to control the offset of the color channels. The direction is determined by the Shake X, Shake Y, Skew, and Rotate settings. Then, you can adjust the Shake Amount to control the position.
You can enable the Blackground Color setting to fill the damaged areas you create with Shift, Shake, and Line Drop.
Step 7: Curve View
With the curve view enabled, you can adjust each parameter. It allows you to understand how the effect works and how the parameters affect each other. To enable it, scroll down on the effect controls, display Curves, and select Render Over Effect to see the graph over the source video.
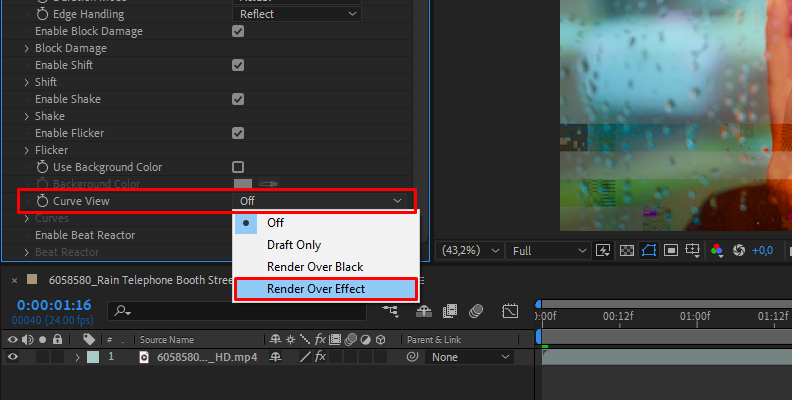
The different groups are represented in colors over the graph in the same order as the effect controls. Red is Block Damage, the green line belongs to Shift, blue is Shake, and the white line is Flicker. Turn off the curve view when you finish to avoid rendering it in the video.
Step 8: Saving a Custom Preset
After spending hours tweaking the glitch effect to achieve your desired look, you might want to save it as a preset to use as a reusable glitch template for future projects. Click on the FX Editor and press the "Create Custom Preset" icon under Parameters on the right panel. Name your preset and click OK.
Your glitch effect is now selectable from the preset list on the left panel, regardless of what you do with project files.
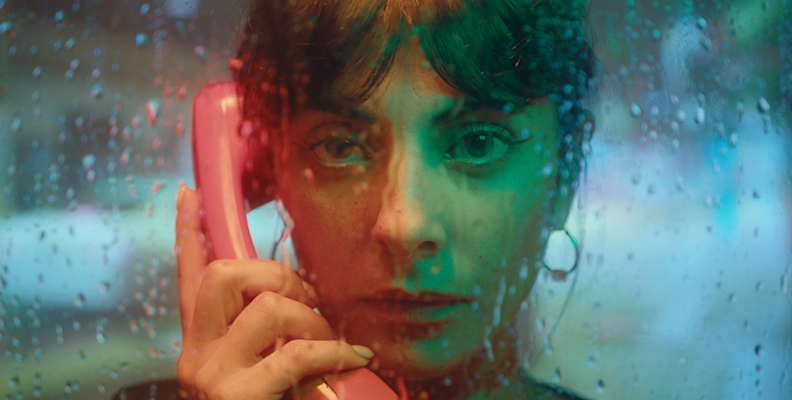
Here's how our video looked BEFORE.
Here's how our video looks AFTER.
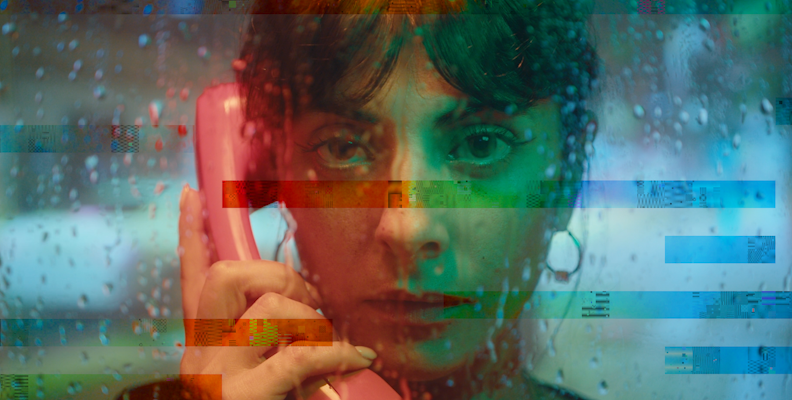
Keep in mind this is just one frame of the glitch effect. It continues for a couple of frames and it changes in looks.
Final Words
There you go! Creating glitch effects with BCC+ Video Glitch is simple and endlessly customizable. You can also make transitions and title glitches to add unique looks to your video.
Get creative and combine other Continuum effects like a displacement map, a noise layer, blur, and glow to achieve different types of looks with glitches. Import audio or music and create a stunning audio visualizer with glitches that dance to the music or use glitch transitions to fade between clips.
Download a free trial of Continuum today and follow this tutorial to create glitch effects.
Good luck!


