


In the photography world, there are countless tricks you can learn to make your art stand out in the sea of ordinary content.
With modern technology, you can make significant changes to digital images without having to go through time-consuming processes. In fact, most changes, like color inversion, can be done in a couple of clicks.
If you've ever wondered what color inversion is, how it's done, and how you can apply it to your work, you've come to the right place.
Whether you're working with color or black and white images, the following guide contains everything you need to know when it comes to learning how to invert images, work with inverted colors, and much more. Without further ado, let's get straight into it.
What is Color Inversion?
Before learning what the invert photos process is and how it's done, it's important first fully to understand the concept of color inversion.
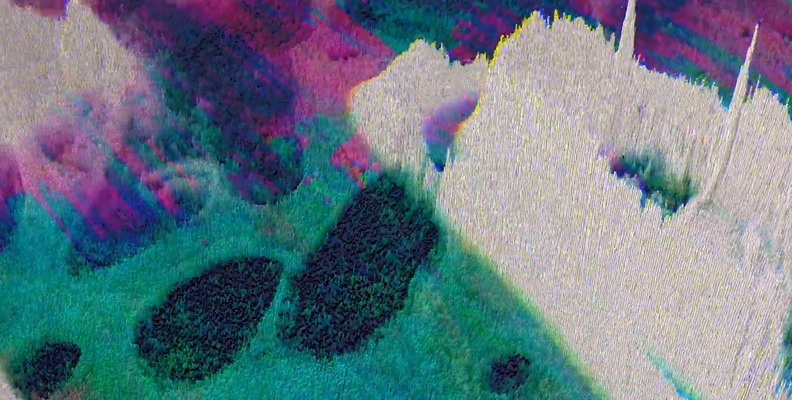
To invert photos, whether using a photos app on your phone or software on your computer, refers to the image processing technique that transforms the colors within the image(s). The process is also often referred to as "negative color" or "inverse color," and it includes swapping the values of each of the pixels' color channels, which results in the "inversion," or simply put, the effect we get at the end, which is light tones rendering as dark, and dark tones rendering as light. If you think of film negatives, it gives you some idea of what color inversion can look like.
If the image uses the RGB (red, green, blue) color model, which is the standard for digital images, the inversion procedure happens by subtracting each color component from the maximum possible value.
For example, if the values are (100, 150, 200), the inverted counterpart would be calculated by subtracting these values from the maximum value, 255, and we would get (155, 105, 55) as a result.
Luckily, you don't need to do any of the math or thinking when planning to invert colors on a digital photo, as almost every photo app nowadays has this option and does the conversion automatically for you. Both black and white and color images can be easily inverted with no effort.
Whether you use Adobe Photoshop on your PC, Photoshop Express, or Lightroom on your iPhone, or the built-in photo editing apps on Android, the invert color option is widely available and easy to use.
What is Color Inversion Used For?
Now that you know more about color inversion and what it means to have an inverted image, it's time to take a look at how this skill applies as an artistic tool in modern photography.
First, inverting colors on an image could be for aesthetic or creative reasons. To create an inverted image means giving it a whole new look, which can be unique and visually striking. An inverted image can add a sense of surrealism or an abstract feel to it, which is the quickest way to turn an ordinary image into something that quickly grabs attention. The largest effect would be felt using a black and white photo due to the strong color contrasts. The image would still be black and white, but the inversion would be stark.
The invert colors option can add a dramatic look and feel to an image or make it suitable for a collection or grid of other photos with inverted colors.
Next, you can use the invert colors option to make images more accessible for people with disabilities or color sensitivities. It's also a great way to reduce eye strain when working with editing tools for hours in low-light conditions.
If your photo editing work doesn't need you to look at the accurate colors, you can use this method to ease stress off your eyes, as inverted photos are easier to look at for longer in some specific situations.
Finally, the invert colors technique can be useful for highlighting specific features or patterns in the photo that couldn't otherwise be noticed due to the dark areas. Luckily, the invert filter makes the dark areas light in the final inverted image, and you can always revert these dark areas back if needed.
It's not rare to see artists use the invert photo tools to turn film negatives into real, recognizable photographs.
How to Invert Colors On A Picture With Boris FX Sapphire
Boris FX has numerous plug-ins and programs that offer various filters and tools for both photo and video editing. In this specific case, if you want to use a tool to create an inverted image, we recommend taking a look at Sapphire.
Sapphire is a visual effects plug-in by Boris FX that offers numerous ways for you to take your visuals to a whole new level. From cool transitions and filters all the way to custom effect building panels and endless customization options, Sapphire has it all.
One of Sapphire's tools is the S_Invert effect, which we'll be using in this guide to help you learn a smart invert colors process.
For this guide, we'll use Adobe Premiere Pro as our host software for the S_Invert effect, but note that Sapphire, along with other Boris FX tools and plug-ins, is available for all popular editing programs.
For example, here's a helpful video showing the Invert and Monochrome effects of the Sapphire pack in action within Avid.
Let's get into the process of making an inverted image in Adobe Premiere Pro.
You may wonder why use video editing software and not a photo app like Adobe Photoshop, but the great thing about the S_Invert tool from Sapphire is that you can use it both on videos and photos.
Launch Adobe Premiere and Import Media
Firstly, to create an inverted image, launch Adobe Premiere and import the image you wish to invert the colors of by using the "S_Invert" effect from Sapphire. If you have Sapphire properly installed (there's a free trial version available), all the effects will already be implemented in Premiere.
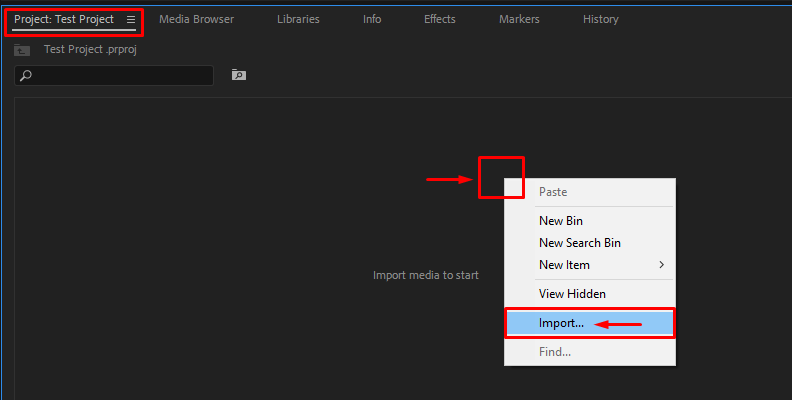
So, once Premiere Pro loads on your PC, navigate to the "Project" tab and right-click an empty area where it says "Import media to start" as shown in the image below. Then, click Import, and choose the photos you wish to add.
After importing one or multiple photos, you'll see them listed under the same Project tab you're currently navigated to. The next step is to create a sequence. Take a look at the next section.
Create a Sequence and Add the "S_Invert" Effect
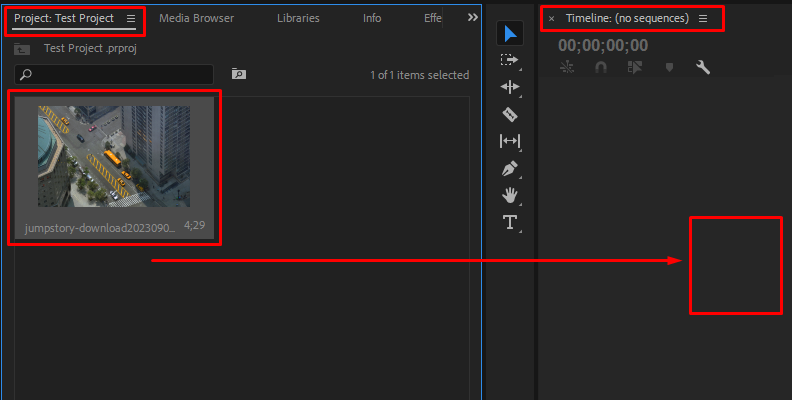
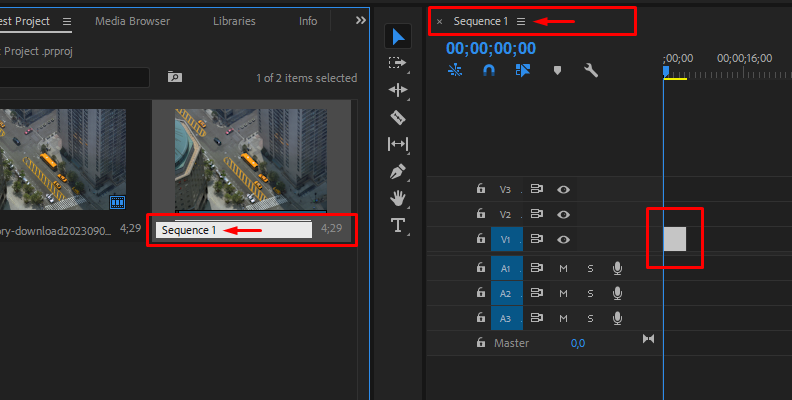
Before you can create an inverted image on the photos you imported, you must create a sequence. To do this in Premiere Pro, simply drag and drop the media over the timeline area.
You can also rename the sequence, which is a good practice that will help you with better project organization for all your future work.
Now that everything is laid out on the timeline, you can search for the effect and apply it. To do this, navigate to the "Effects" tab and use the search bar to type in "S_Invert" as shown in the image below. The effect will be listed under the "Sapphire Adjust" folder. To apply it, drag and drop the effect over the video on your timeline.
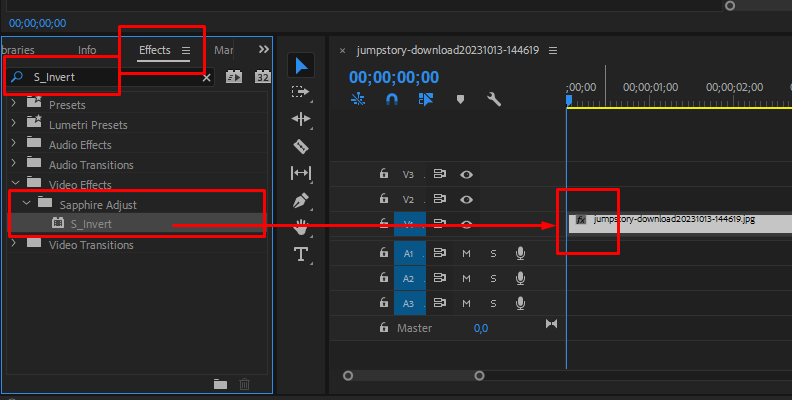
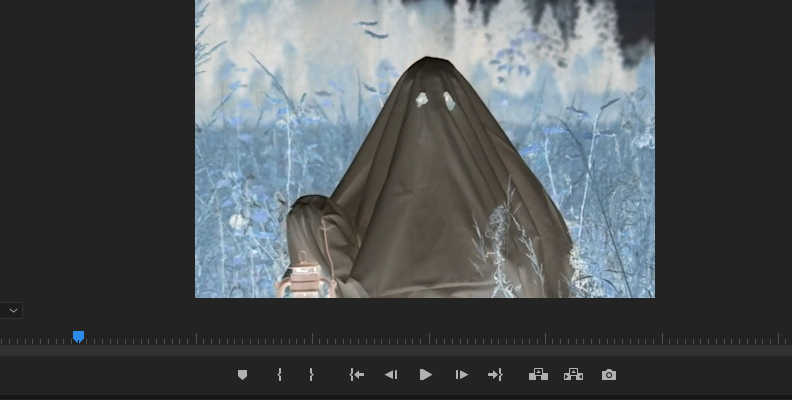
You will immediately notice a difference in how the image looks, as the effect will invert the colors. However, there's still a lot you can do if you are not satisfied with the result.
Modify the Parameters, Preview, Save Changes, and Export
As with all other Boris FX products, the S_Invert effect offers more control compared to the built-in effects that come for free with the software you're using. If you access the Effect Controls panel, you'll notice a lot of parameters you can change to adjust how the inverted pictures look.

From here, you can experiment and preview the results, and when you're finally happy with how the final changes look, save the project and export the image. That's all there's to it!
How to Invert Colors on a Picture on iPhone
To create an inverted image on an iPhone, you can use a third-party photo editing app from the App Store. Here's a general guide using the "Darkroom" app, but other similar apps can be used.
Download a Photo Editing App
Go to the App Store and download a photo editing app that supports color inversion. In this example, we'll use "Darkroom," but there are other apps available, such as Snapseed or Adobe Lightroom.
Open the Photo Editing App and Import Your Photo
Launch the editing app you've downloaded. Look for an option to import or open a photo. This is usually represented by a "+" sign icon or an "Import" button. You can select local images stored on your iPhone or upload images from cloud storage or other sources.
Access Editing Tools
Once you have opened or uploaded images, go to the editing tools or options. In Darkroom, you can access these by tapping on the slider icon at the bottom.
Apply Color Inversion
Look for an option related to color adjustments or filters. In Darkroom, this can be found in the "Tools" section under "Curves." Look for an "Invert" or "Negative" option.
Adjust Settings (If Available)
Some apps might allow you to adjust the intensity or settings of the color inversion. Explore these options based on your preferences.
Save Your Edited Photo
Once you're satisfied with the color inversion, save the edited photo. Look for a "Save" or "Export" option to either save locally on your phone or upload images to the cloud.
How to Invert Colors on a Picture on Android
On an Android phone, the process color inversion is almost the same as it is on an iPhone. The first step would be to find your app of choice and then install it.
For this example, we'll use "Snapseed" which is well-known, but you can use others, such as Pixlr or Adobe Lightroom.
Download and Install Snapseed on Your Android Device
Go to the Google Play Store and download Snapseed. Open the photo editing app after it finishes installing.
Import Your Photo
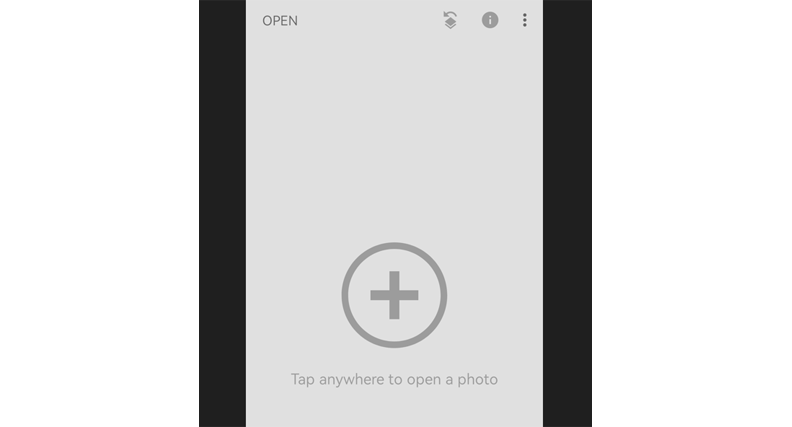
Once you open the app, you'll see a "+" icon and the "Tap anywhere to open a photo" message under it. Tap it and allow access to your phone's storage. Select a photo and import it.
Apply The Color Inversion Effect
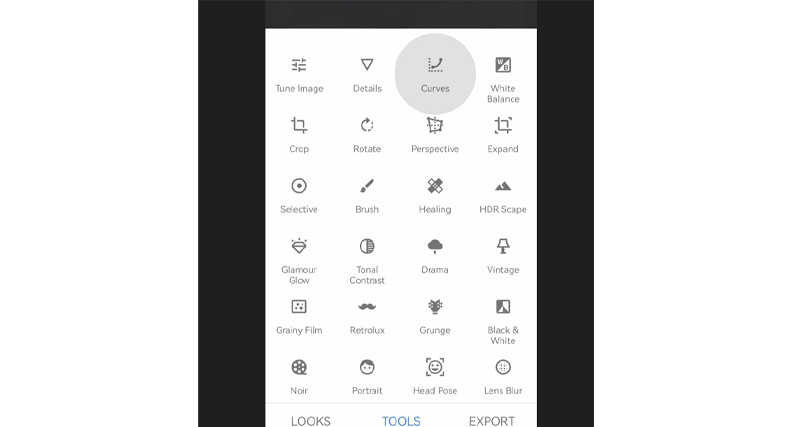
Click on "Tools", then select the "Curves", as shown below.
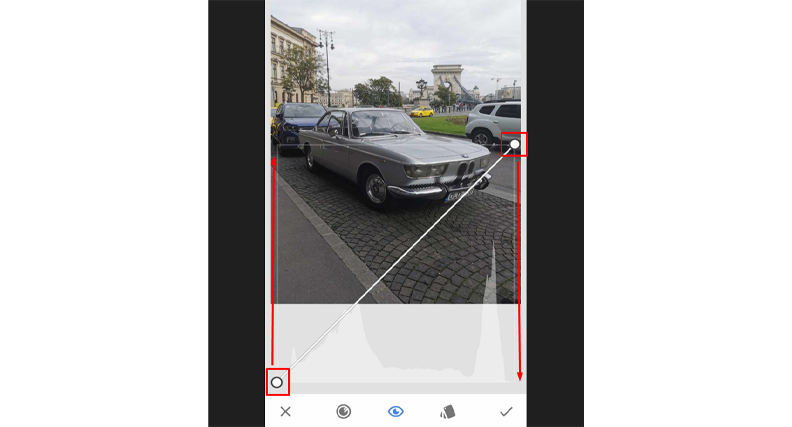
Now, all you have to do is move the two points in the opposite direction, meaning inverting the colors manually.
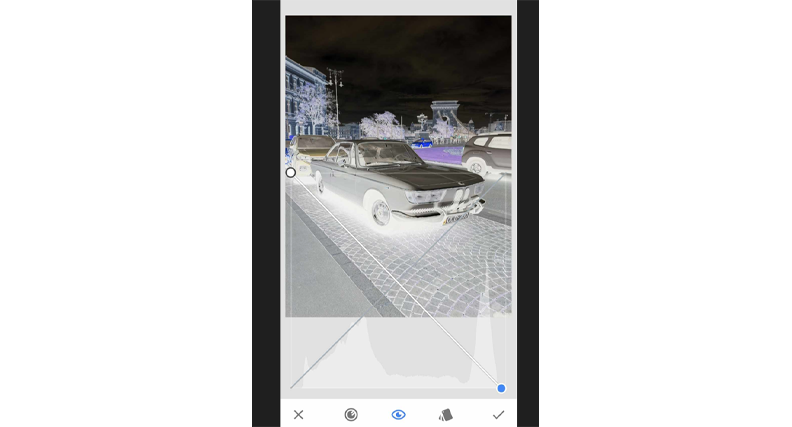
Tap the checkmark, save the changes, and then save the image to your phone's storage. That's all there is to it!
Final Words
Now you know more about color inversion, what the process consists of, its applications in art, and most importantly, how to do it yourself. Whether working with color or black and white images or video, you will know what a difference color inversion makes.
Hopefully, this will help you modify your work and achieve the desired results in the future. Good luck!


