


Slow motion effects have become an essential part of modern filmmaking, used to add suspense and creative touches to action sequences, dreamy scenes, character introductions, music videos, and commercials. One of the most iconic examples is the Spartan VS Persian battle in Zack Snyder's 300, which was made even more epic with slow-motion effects that highlighted its main characters.
Typically, the process of creating slow motion involves lowering the frame rate of a video clip below its original rate, causing it to play back at a slower speed. However, with modern cameras and mobile phones capable of shooting at high frame rates of 60, 100, 120, or even 240 FPS, filmmakers have more flexibility to experiment with slow-motion effects. But what if you've shot something at a lower frame rate? Can you still create a slow-motion video with it?
In today's article, you'll learn how to apply slow motion in DaVinci Resolve 18 to video clips shot at lower frame rates using optical flow to achieve smooth and realistic slow-motion sequences.
Let’s dive in!
What is Optical Flow in DaVinci Resolve?
The reason why it's recommended to shoot at a high frame rate is because it's easier to create a slow-motion effect this way. You just need to set the clip's playback rate lower. But if you slow down a video with a lower frame rate, it won't have enough frames to create that smooth slow-motion effect, and instead, DaVinci Resolve will hold and repeat the frames. The result will look weird and choppy. Here's where something called frame interpolation comes into play.
DaVinci Resolve's optical flow uses frame interpolation to fill in the missing frames by creating new ones in between. It analyzes all pixels in the video clip and estimates how they move from frame to frame. Then, it generates new frames using that information and calculations.
With optical flow, you can achieve a fantastic and smooth slow-motion effect without sacrificing quality. However, you won't need to use optical flow when you shoot with a higher frame rate than the playback frame rate unless it adds artifacts, ghosting, and other issues. But with high frame rate footage, you will usually avoid these problems.
How to Do Slow Motion in DaVinci Resolve with Optical Flow
A few methods exist to add slow motion in DaVinci Resolve 18 with the frame interpolation method. For this tutorial, you'll learn how to add slow motion with DaVinci Resolve's Optic Flow for video clips that need to add missing frames.
A second method will be using third-party plug-ins from Boris FX, specifically Continuum's BCC Optical Flow, to see how to add a slow-motion effect and retain more quality for your videos.
Method 1: Slow Motion with DaVinci Resolve Optical Flow
You will need DaVinci Resolve Studio to use this method, but you can still practice with the standard version.
Step 1: Import Your Video Clip
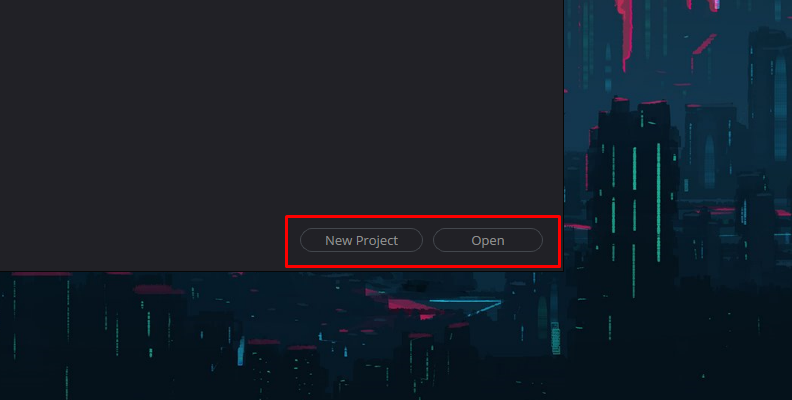
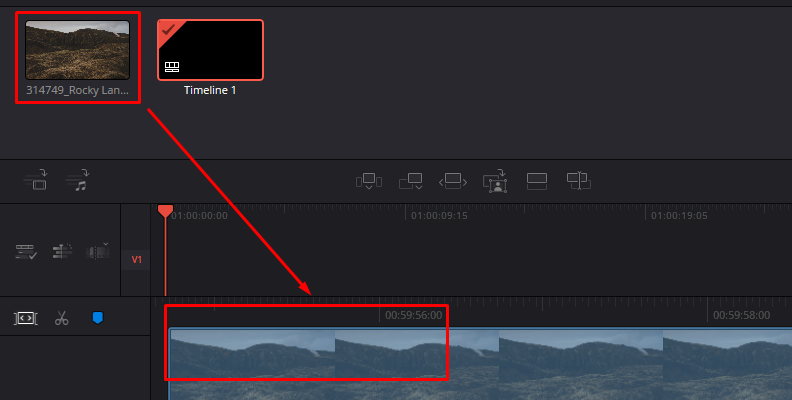
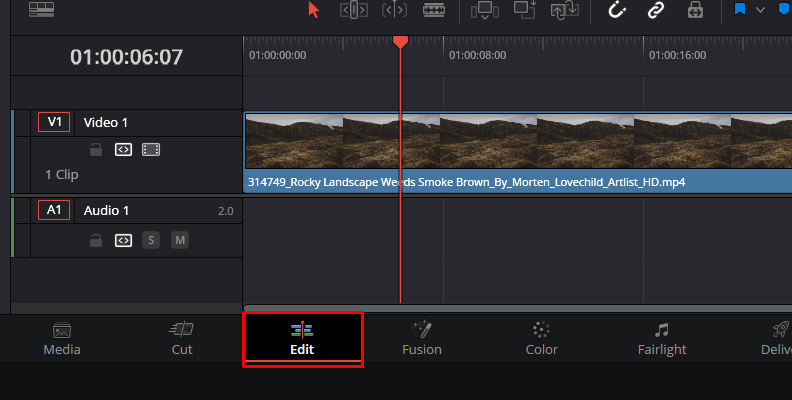
Start a new DaVinci Resolve project and import your video footage from File > Import > Media. Drag the video footage to create a new timeline and switch to the Edit page.

Step 2: Retime Controls
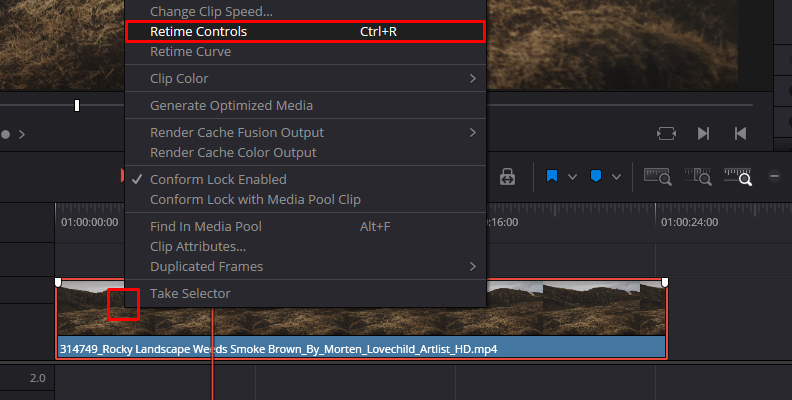
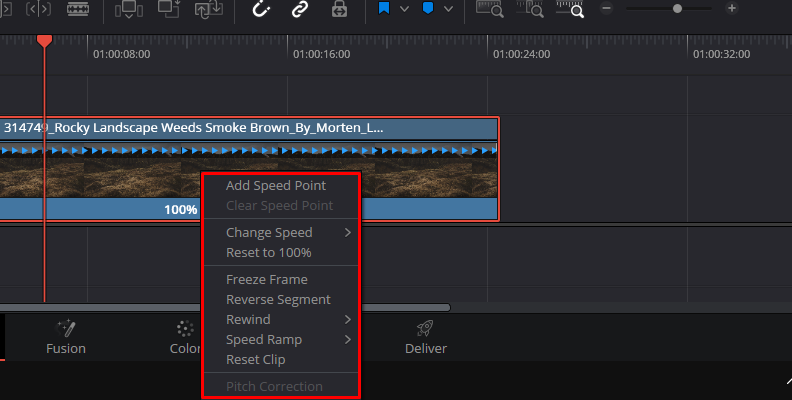
To slow down the video, you need to display the Retime controls. Right-click the clip and select 'Retime Controls' from the dropdown menu. Pressing CTRL+R (Windows) or Command+R (Mac) will also enable the Retime controls.
Access Change Clip Speed and you'll instantly see the Speed Change bar on top of the clip and a percentage number under it. This number represents the current speed of the video clip. You can change the clip speed by dragging the end and making it shorter or longer. You will see how the percentage changes to display the new speed.
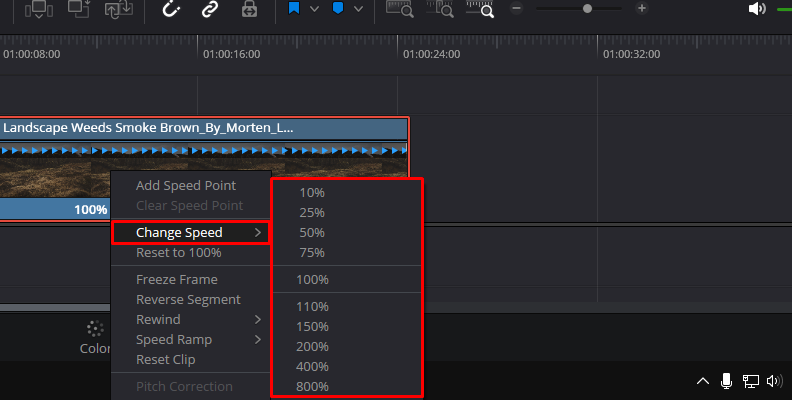
You can display more speed settings if you click the little arrow next to the 100%. You can specify a speed in 'Change Speed' and the percentage you want to increase or decrease. Add and remove speed points in the clip, freeze frames, reverse speed, reset to 100% speed, and more.
Step 3: Adding Speed Points
If you want the clip to start at the original speed and change at a later point, you can add speed points. Move the playhead to a point where you want to start the slow motion, and click the arrow next to the 100% to display the clip menu. Select 'Add Speed Point' and repeat the process where you want the slow motion to end.
You'll notice how the clip is now divided by each speed point you created, and each section has its own retime controls to change the speed independently to start the video at full speed and change to half speed in the middle.
Step 4: Optical Flow
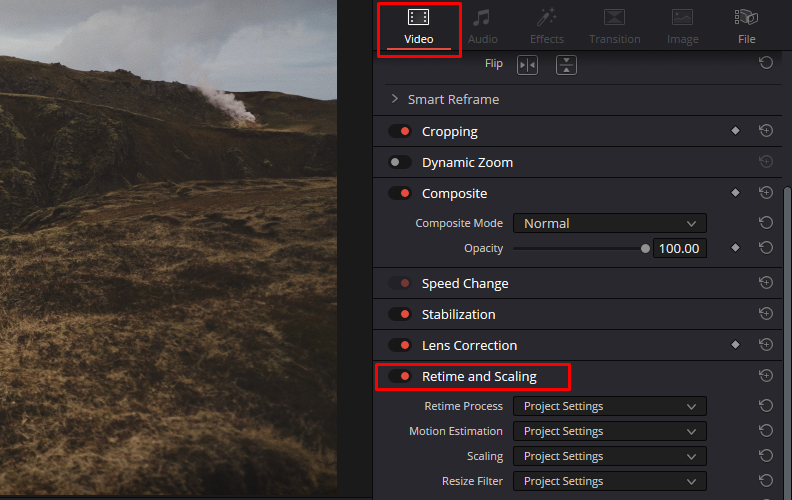
The video can look jittery because DaVinci Resolve is not using optical flow yet. To enable it, open the Inspector and click the Video tab. Scroll down to find 'Retime and Scaling' and click it to display the frame interpolation settings.
Select Optical Flow as the Retime Process and Speed Warp for Motion Estimation. You won't be able to see the new playback speed in real time once you select Speed Warp. However, you can render it to see the result.
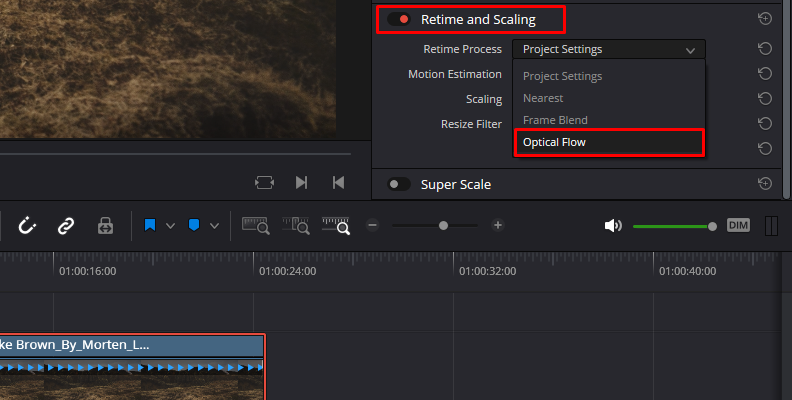
The results with Optical Flow will depend on the footage. It may add artifacts and warps when there is too much motion and objects obstruct the scene.
Method 2: Slow Motion with BCC Optical Flow
Our second method is using Boris FX Continuum plug-ins. BCC Optical Flow is part of the Continuum suite but is also available as a Continuum Unit. It works seamlessly on DaVinci Resolve Studio and the Standard version.
Step 1: Set Up Your Project
Import your video footage and draft the video clip to the timeline. I suggest working from the Edit page for more options.
Step 2: Add BCC Optical Flow
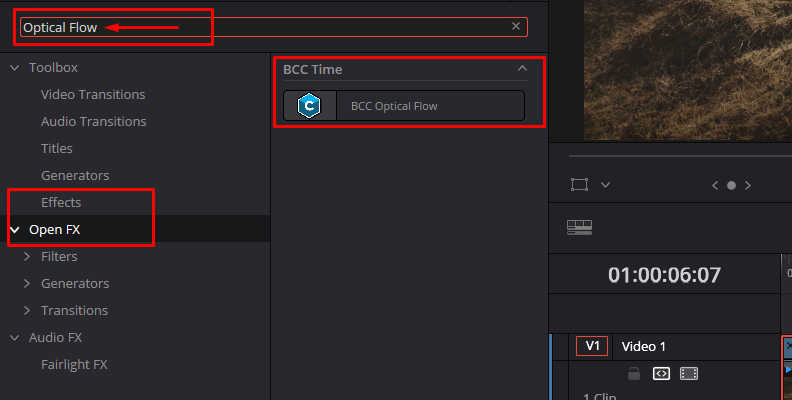
Open the effects library and search for Optical Flow. You’ll find it under Open FX > Filters > BCC_OFX > BCC Time.
Step 3: BCC Optical Flow Settings
Your main control for speed is Velocity. Decreasing the slider will slow down the video, and increasing it above 100 will speed it up. You can keyframe the velocity to add speed variation to the effect.
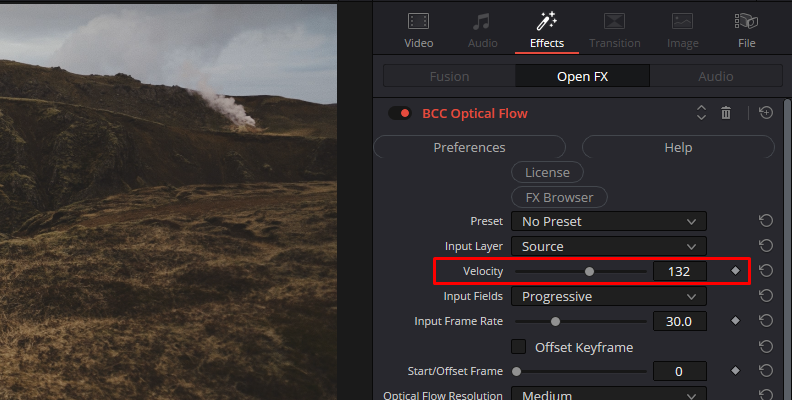
The second important setting is the Input Frame Rate. You must set it at the same frame rate as the source clip for better results and to avoid jitters. You can see this information in the clip attributes from the media pool. The input frame rate differs from the timeline frame rate in the project settings.
Adjust the Optical Flow Resolution if you notice artifacts in the footage. Play with the Optical Flow Resolution, Blending modes, Optical Flow Mix, and Motion Estimation parameters until your footage looks smooth. The settings may vary depending on the content of the video.
Step 4: Render and Export
Working with Optical Flow will make your computer work at a peak point, even for high-end computers. Sometimes, you won't be able to preview Optical Flow in real time. Render the video to see if the slow-motion effect is going how you want it.
Adjust Audio and Slow Motion
You can add slow motion to a video and the audio, but sometimes it will get distorted. Unlink the clips before applying Optical Flow to work with the audio independently. You can change the clip speed, edit, or replace it with another audio clip.
If the clips show a chain icon, it means they're linked. To unlink, right-click the clip and click 'Link Clips' to uncheck the option.
In DaVinci Resolve, you can work with audio clips on the Fairlight page (the icon with the musical note). Here, you can add effects, including VST plug-ins. Ensure the audio is high quality, or use third-party plug-ins like CrumplePop to clean and enhance your audio quality, removing unwanted background noises.
Final Words
Achieving great results with Optical Flow in DaVinci Resolve depends mostly on the video footage you use. Generally, video clips with less motion recorded with a steady camera will yield better results than complex shots with excessive motion, light changes, and a lot of camera movement.
To get the best results, it's important to experiment with the parameters and find the optimal settings for each video footage. BCC Optical Flow allows you to save your settings as presets, which can be reused for future projects. The more you work with different sequences, the more skillful you'll become at creating slow-motion effects and finding the best settings for each shot.
Good luck!


