


Glowing things are appealing to the human eye, both when viewing them in person or a photograph.
One of the best things about modern photo and video editing software is that we can use them to create artificial effects, such as an unnatural glow, and end up with a look that simply wasn't possible to create in reality.
In this guide, we'll be talking about the "Glow Effect", what it is, and how you can use popular editing software such as Adobe Photoshop to add it to your image(s).
There's quite a bit to cover, so without further ado, here's what you need to know.
What is a "Glow Effect"?
A "Glow Effect" in Photoshop can be defined as a visual enhancement that makes a specific object within the photo look like it's emitting light. This can be shown in the form of a soft, radiant aura that spreads an outer glow, or a "hard" light coming out of it.
The glow effect in Photoshop can be used for many different purposes. For example, you can use it to create a "mystic" or magical atmosphere by adding glow effects to one or multiple objects or people within the photo.
Something as simple as a glow can change both the meaning and the feeling of the photo, which is one of the reasons why it's so often used in digital art projects and video games, for example.
A simple silhouette can have a much different meaning when it's glowing versus when it's not. A photo of a ring dropped in the sand may not look like much at first, but add in a glow effect and there's immediately a magical and mystical feeling induced within the viewer.
You can use the glow effect to turn a simple, blank circle into something looking like the sun, and in the section below, we'll show you how to do it.
How to Create a Glow Effect in Photoshop
Make an object glow in Photoshop by duplicating multiple layers with Gaussian Blur over it and modifying the levels and intensities of each one. Finalize by adjusting blending modes to get the soft glowing look based on your needs.
Photoshop allows us to do incredible things by using features like layer masks and blend mode. It may sound a tad complicated at first, but after you go through the process once, you'll know how to create a glow effect for all your future projects without referring to this guide.
It's quite simple, so here's how to do it.
Step 1: Load Up Photoshop and Create a Project
If you already have a photo and wish to make an object or a person within it glow, your first step would be to load up Photoshop and import that image into the software.
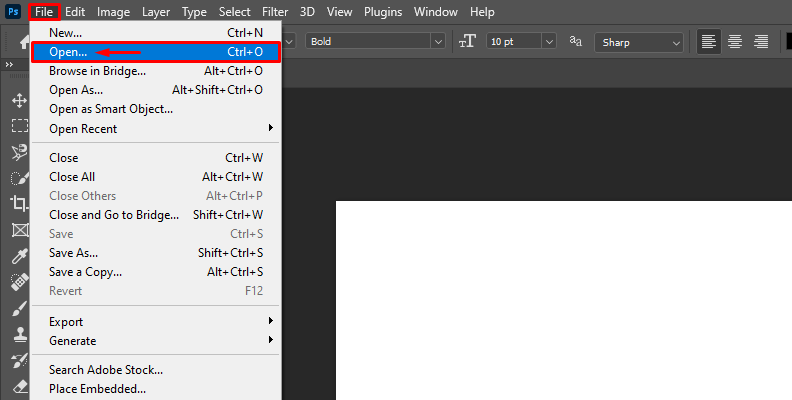
You can use the "Open" method, as shown in the image below.

For this tutorial, we'll keep things very simple and show you how to make the glow effect on a simple ellipse that we'll create on a black background, so we won't be importing any images.
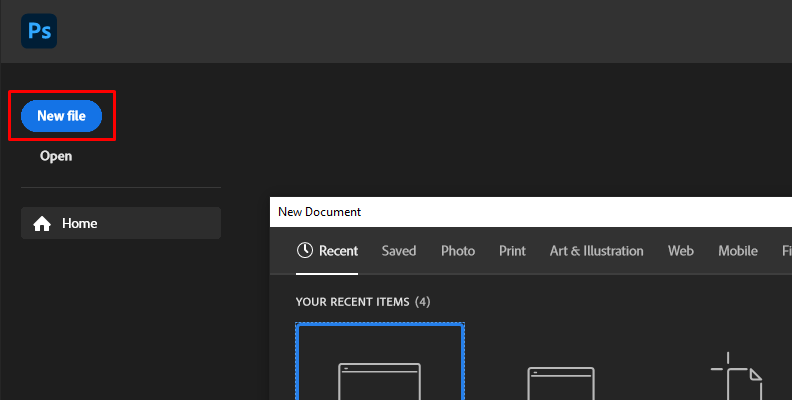
To begin, open Photoshop and create a new file. Choose your format of choice based on your needs, or choose whatever since this is just a learning project.
Step 2: Create Your Background and Add a Shape
Now that you have successfully created a project, it's time to create a background.
Since we're trying to put as much emphasis on the glow as possible, we'll go with a dark background, as glow is much more noticeable in a low-light setting.
If you were to work on a real image, we suggest making your first step reducing its brightness.
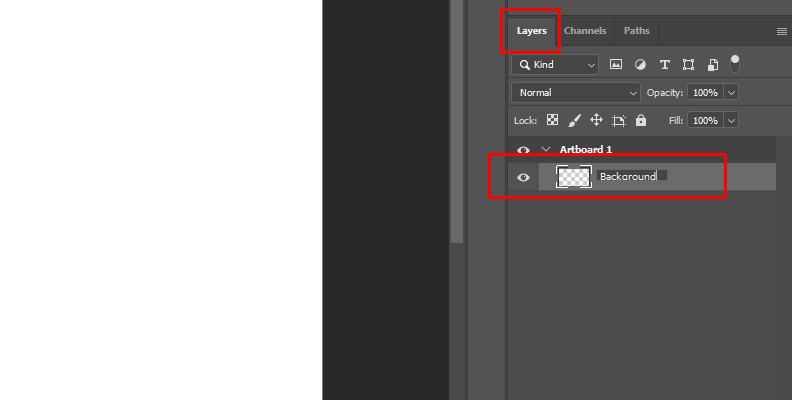
Name your first layer "Background" as shown in the image below.
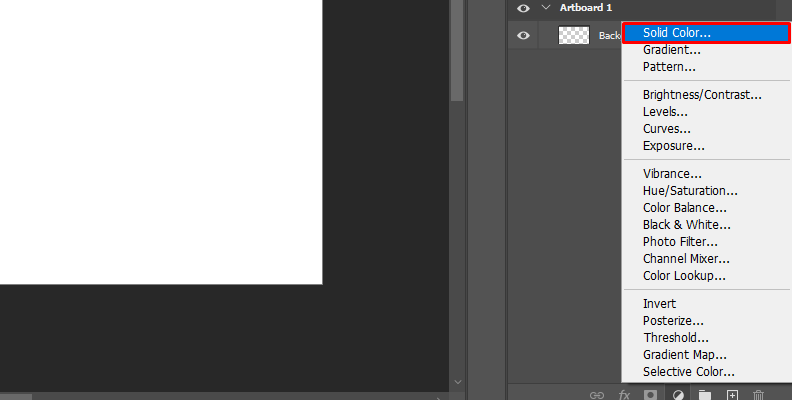
Then, click on the "circle split in two" icon, as shown in the image below, and choose the "Solid Color" option from the menu.
A color panel will open. Pick a darker color, then click the "OK" button.
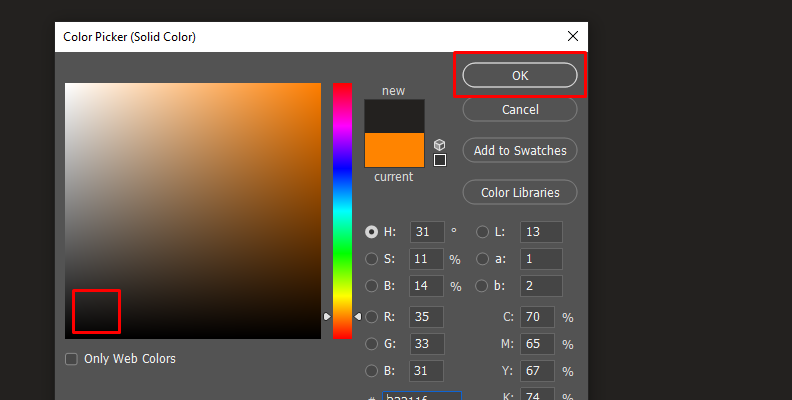
Now your background layer is dark, and we're ready to place a cool-looking glow on it.
Step 3: Create a Shape Using Photoshop's Shape Tools
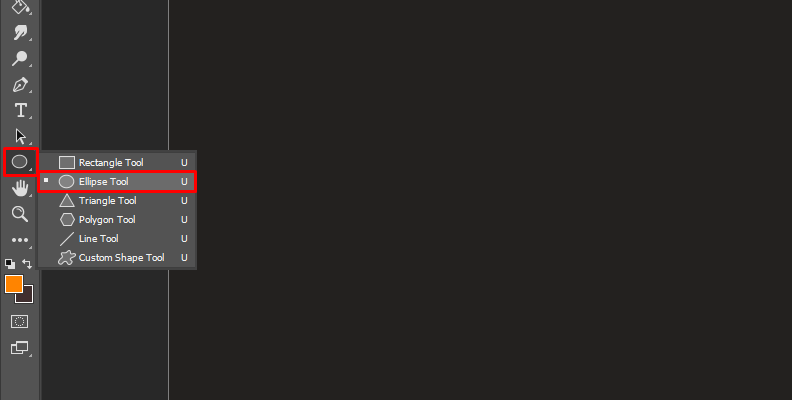
Click on the shape tool icon and select your shape of choice.
We'll go with the Ellipse Tool in this case.
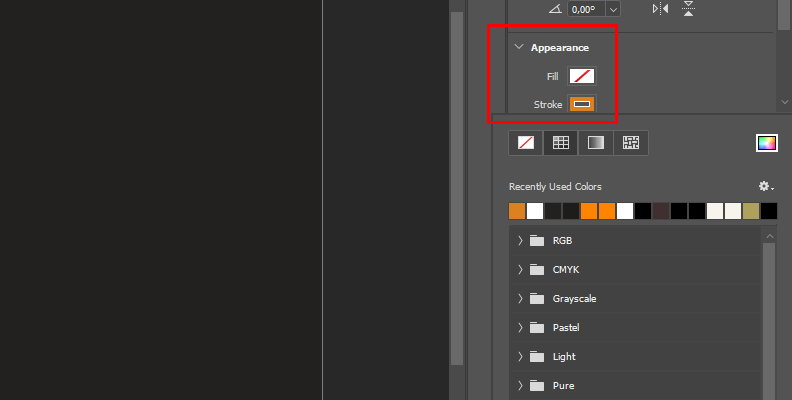
Draw an ellipse anywhere on your background, then set its "Fill" color to "None" and its "Stroke" to the color you want your glow to look like.
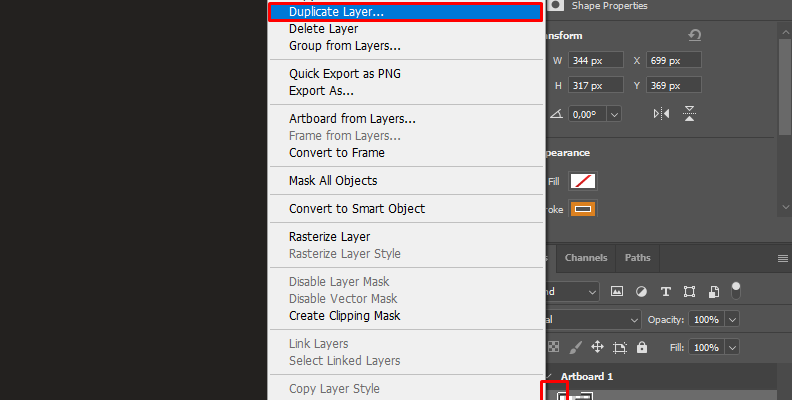
Now, duplicate the layer.
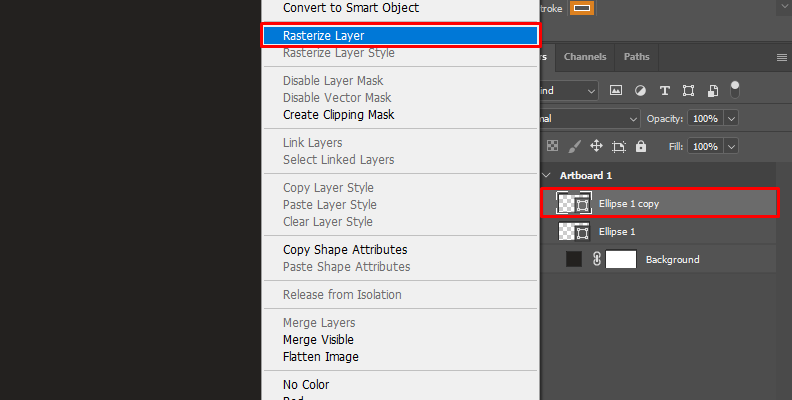
Select the duplicated layer, right-click it, and choose "Rasterize Layer" as shown in the image below.
Step 4: Add Gaussian Blur and Duplicate the Layer Multiple Times
Now, with your shape created and layer rasterized, you have your main "Effect Layer" which you'll be manipulating to build your effect.
You can even name it "Effect Layer".
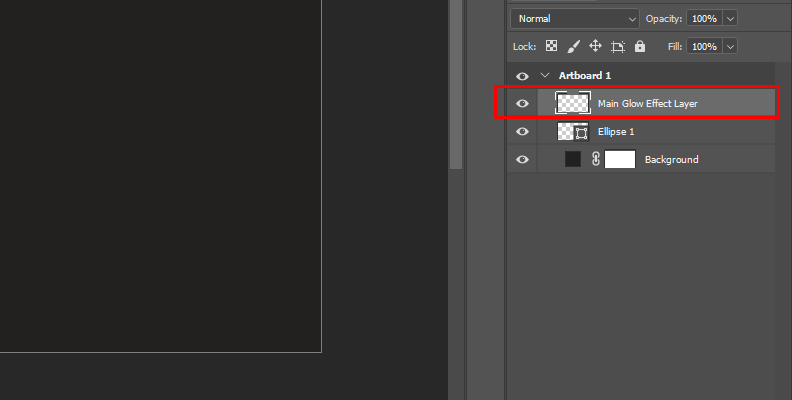
Remember, this is the duplicate layer of the layer where you used the shape tool to add an ellipse.
Now, add Gaussian Blur to this layer.
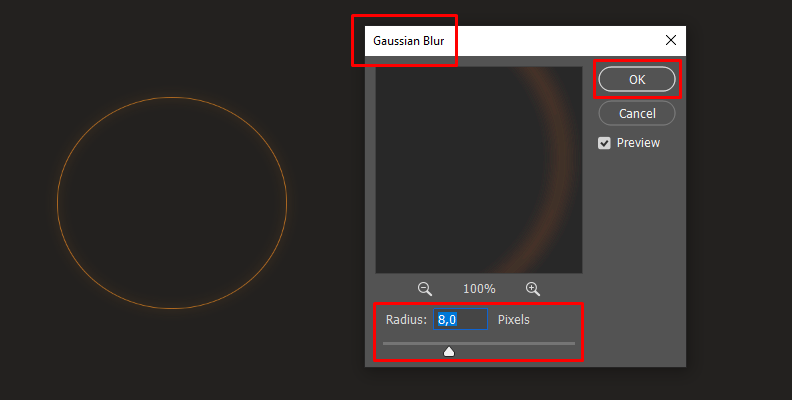
As you can see, we immediately get a slight glowing effect.
If you duplicate the layer, the glow effect will become stronger. On each duplicated layer, change the value of the Gaussian Blur effect.
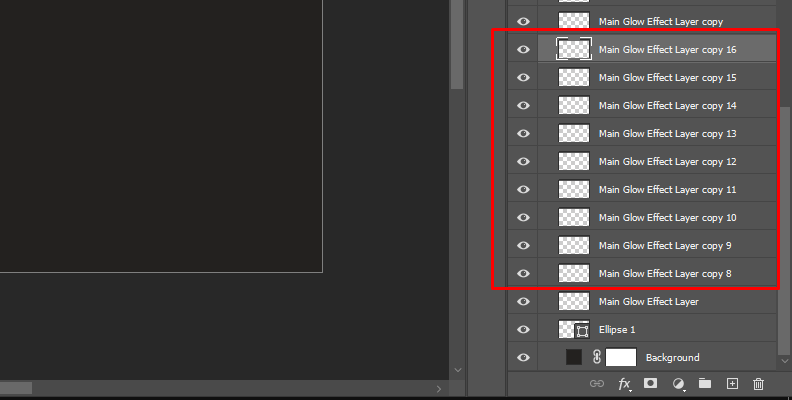
Repeat this process as many times as you want/need.
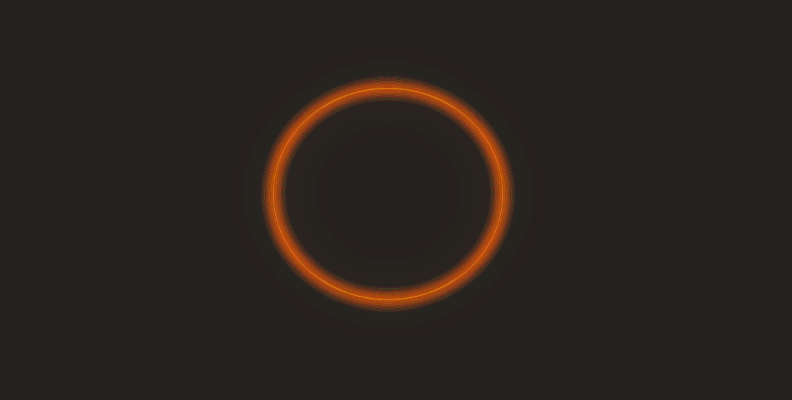
After a few duplicates and modifying values of the Gaussian Blur effect, our "basic" ellipse looks like it's glowing in the dark.

If you keep experimenting with blending options, you can modify the look of the glow.
One of the most common choices regarding blend modes is the "Linear Dodge (add)" for this type of effect. Feel free to change this for each new layer, and add any final touches required, including different values for the blur effect, which is the core of this process.

That's pretty much all there's to it!
If you were to do this on a real image, you would need to first use a selection tool and mask out the parts of the image that you want to make glowy, like an antler's horns, for example.
There are multiple methods and approaches to creating a glow in Photoshop. This happens to be just one of many.
Other methods involve using layer styles, the drop shadow option, a brush tool to add glow by painting it with low flow, and more.
How to Create a Glow Effect with Optics
Plug-ins are not always required, but they make things a lot easier, especially when you don't have the expertise needed to create anything you think of using the software you work with.
For this specific task, which is adding an outer glow or any type of glow effects to your images, we'll show you how much simpler the whole process can be when using one of Boris FX's most well-known tools, Optics.
Here's what you need to do:
Step 1: Download and Install Optics
Like many Boris FX products, Optics has a free trial version available on the official website.
You can download and install the free version, choosing your host software of choice. When done, you will be able to access all effects available in the pack.
Step 2: Launch Your Host Software of Choice
Optics is available for PhotoShop and Lightroom as a plugin, and as a standalone software that can function on its own without a host program.
Once you install it, go ahead and launch it on your computer.
For this specific example, we'll be using Adobe Photoshop, but feel free to use it with Lightroom or launch it separately as a standalone app.
Step 3: Import Media within Your Software of Choice
Once you launch the software you'll be working with, it's time to import media. In our case, that's Adobe Photoshop, so we'll be importing media as shown in the image below.
Step 4: Load Up Optics (as a Plugin or as Standalone Software)
To add the glow effect(s) to your image, you first must open it with Optics.
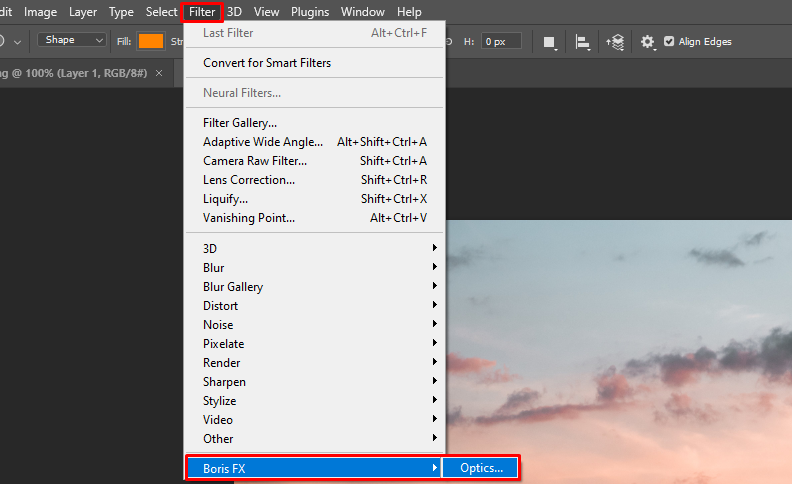
The method of doing this can vary based on the software you choose to use. In Adobe Photoshop, all you need to do is go to "Filter" -> "Boris FX" -> "Optics" as shown in the image below.
Then, once the image is within Optics, you can start adding effects to it.
For this, head over to the Search panel and use the search button to type in "Glow".
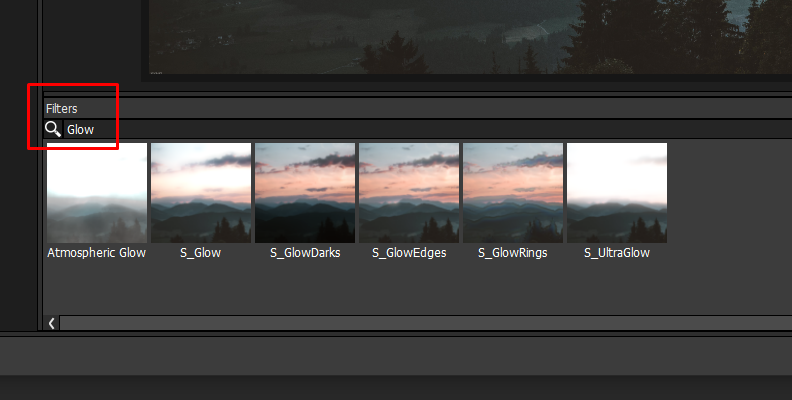
From here, simply click on each one of the effects that come up in the search results and see which one is most suitable for your image. You can preview the changes in real time.
Step 5: Adjust the Parameters
Once you apply the effect to your image/video, you can move over to the "Parameters" panel on the right where you can modify various settings for the chosen Glow effect.
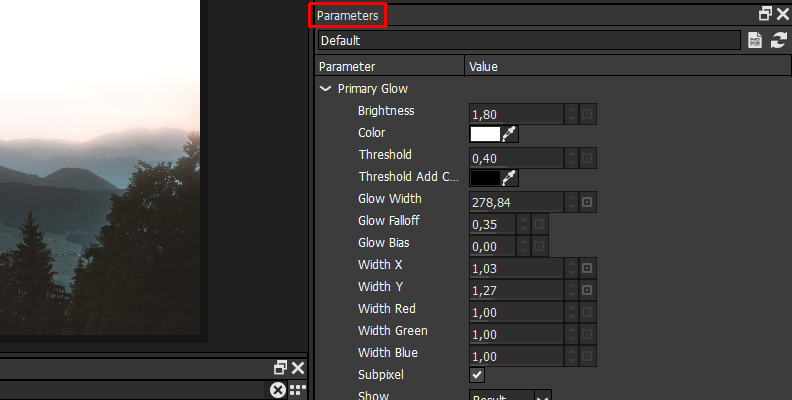
Make a few changes then preview the final looks of your image.
That's all there's to it!
Feel free to experiment and modify the settings until you achieve the best results for your image. When done, click the "Apply" button in the bottom-right corner, then save and export your image.
Final Words
Now you know more about creating a glow effect in Photoshop both manually and by using a renowned plug-in.
Hopefully, this will help you with your future work, whether that be digital art or just retouching some realistic photos for better results.
Good luck!


