


When putting together any kind of video content, it’s always important to remember the role that sound plays. The visuals are crucial, of course, but sound plays an incredibly important part as well.
Voiceovers are one of the techniques that may seem simple but actually require a lot of attention to get correct. Fortunately, our guide to doing voiceovers is here to steer you in the right direction!
What is the Voice Over Process?

At its simplest, a voice over process is when someone is on film talking but unseen. This normally involves explaining something that is happening at the time. It can be providing context to the visuals you are watching, explaining something, helping the viewers connect or resonate with the on-screen images, drawing the viewers’ attention to something, and many more reasons.
However, it is also worth noting that a voice over is not the same as narration, though the two are obviously closely related. Narration is, in fact, a very specific type of voice over, one which tells the story of what is happening on screen - it literally narrates the images you are seeing.
To put it another way, all narration is a voice over, but not all voice overs are narration.
How to Do a Voice Over
Whether you are a professional actor who has done many voice overs or just starting on your voice over journey, there are always good practices when it comes to delivering a convincing voice over.
1: Write It!
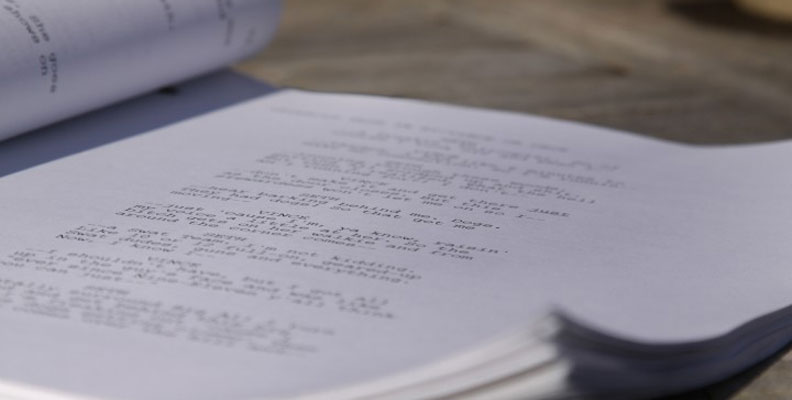
Even before you step in front of the microphone, there are plenty of preparations you can make to ensure you deliver the best voice over possible. The first of these steps is both simple and complicated — write down what you’re going to say.
This might sound obvious, but it’s still a very important point. Too many people will try to “wing it” and come up with something on the spur of the moment, hoping to capture a degree of spontaneity or some other indefinable quality. This almost never works.
The reason is that doing a voice over isn’t the same as holding a conversation. In conversation, there’s an ebb and flow to what is being said and you react (or not!) to the other people in the conversation.
Conversations also tend to speed up and slow down, which is exactly what you want to avoid in a good voice over. A good voice over should be measured, well-paced, and easy to follow. You want to sound natural, but not like you’re just making stuff up — in other words, you need a degree of authority to what you are saying.
Having a script and practicing what you are going to say allows you to have authority. Being prepared means you can concentrate more on your delivery rather than being distracted by worrying about what you’re going to say next.
When you are writing your script, it’s important to consider your audience. If you are doing a voice over for something formal, such as a presentation in the office, you are likely to use very different language than if you are doing a voice over for a documentary.
Tailor not just the way that you speak, but the language that you use to the people who will be listening to what you are talking about. The more naturally you write, the more natural you will sound when delivering your voice over. People are more likely to listen and absorb information when you speak in a way that relates to them, and using language in this way is a powerful weapon in the arsenal of any budding voice over artist.
2: Choose Your Recording Location Carefully
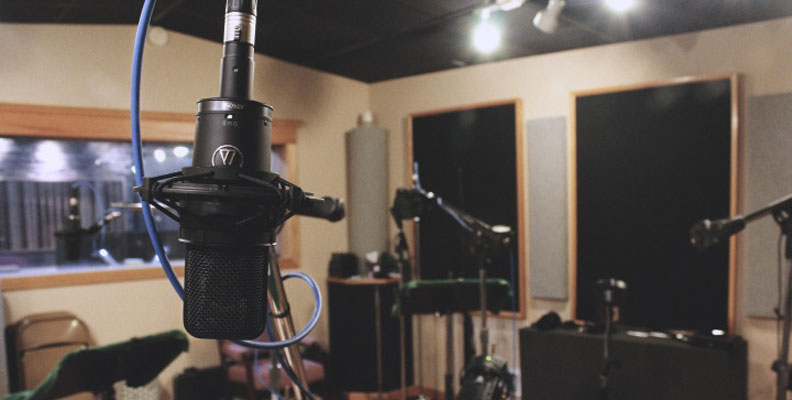
Where you record a voice over is important. You want your sound quality to be as good as possible, with minimal or no background noise, interruptions, equipment noise, or anything else that will get in the way of what you are trying to communicate. The recording space really matters.
When you are preparing your room for recording all of these issues need to be addressed. If you are recording in a professional recording studio, they should already be taken care of, but if you are recording at home or in some other environment then you need to take these things into consideration.
Good practice is to record in as small a room as possible. The bigger the room, the bigger the echo so to keep this at a minimum a small room is advantageous. If you don’t have access to a small room, you can use CrumplePop’s EchoRemover to produce great results but as with all audio recording, prevention is better than cure.
It’s also good practice to avoid any rooms with large amounts of glass or other reflective surfaces. These too will lead to unwanted echo which will leave your voice sound distant and your voice over amateurish.
Similarly, avoid recording in a room where extraneous noise might be present. You might not notice the low hum of an air conditioning unit or fridge in day-to-day life but if it’s present in your voice over recording, you can be sure that your audience will!
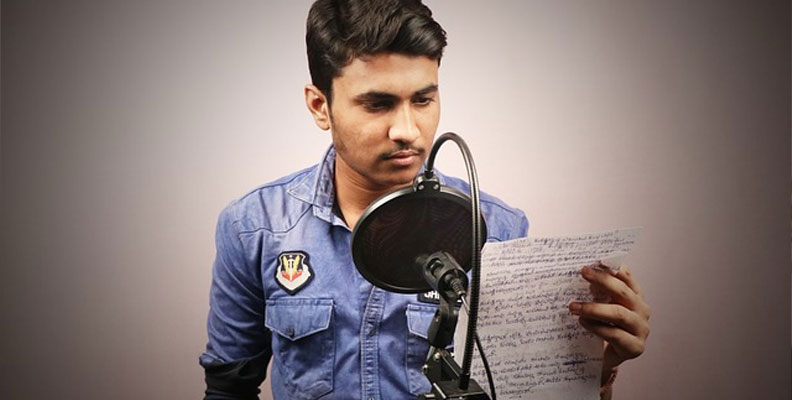
3: Use the Right Equipment
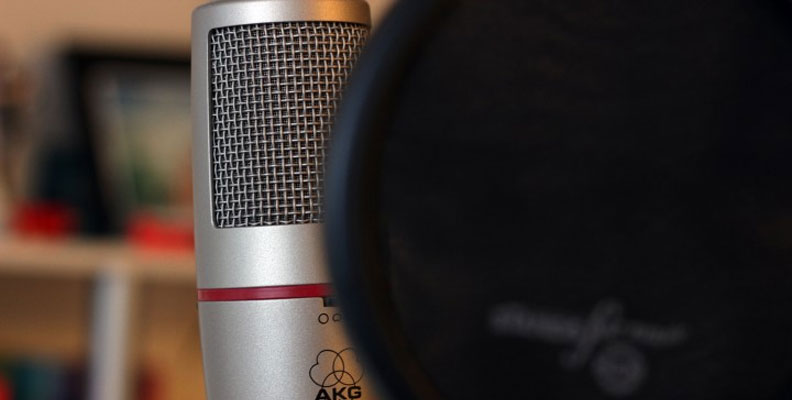
A common mistake people make when doing a voice over is to assume that the equipment they already have is going to be adequate for their needs. It’s worth considering whether this is true.
For example, you can use your phone to record sound — almost every mobile phone will have some kind of recording app to capture your voice. However, the quality of microphones on mobile devices, even the best ones, simply can’t compare to a dedicated microphone. So if you want to sound as good as possible, investing in the correct equipment is an absolute must. When it comes to a USB mic vs XLR which one you go for will depend on your requirements.
USB microphones are generally very affordable and have come on in leaps and bounds in terms of sound quality. They are cheap, simple to install, and allow you to produce great-quality recordings straight out of the box.
Dedicated XLR microphones will be more expensive and you will probably also have to invest in an interface as well but the results will be unsurpassed — there’s a reason XLR microphones are standard in the recording industry.
Whichever type you choose, the end result will be well worth the time and money.
4: Pay Attention to How You Speak

Doing a voice over isn’t the same as talking naturally. You want your vocal tone to be level and measured to ensure that you get your information across in a way that will be easy and pleasant to listen to. There’s nothing worse than listening to a voice over delivered by someone who is rushing or stumbling over what they’re saying.
That’s the other advantage of having a script ready — it means you can keep your delivery going at a steady speed. If you read the script out loud a few times before recording it will allow you to concentrate on your delivery and ensure that you are giving your best performance. That way you will sound like you have a professional quality voice.
Relatedly, pronunciation and clarity are very important in voice overs. You want to be able to speak in a clear voice that anyone listening to will be able to easily follow. Tone and inflection are important as well, so keep these in mind while you are recording.
If you find you stumble over a line or that you can’t deliver it in a way that makes it sound clear you might need to go back and rewrite the line.
There’s nothing wrong with that — in fact, it’s a great thing! The more often you rewrite, the better your script is likely to be and therefore the better your delivery of it is likely to be. Additionally, the more you practice, the better you will be as well.
5: Do a Test Recording
Most people don’t like to hear their own voice being played back once they have been recorded. That’s only natural — it can be a cringe-inducing moment for some! However, hearing your own speaking voice, whether you are recording voice overs, voice acting, or simply recording a podcast, can make a big difference.
Doing a test recording and listening back to it allows you to hear how you sound and the information you are conveying. You’ll be able to judge the pacing of your voice over and whether it’s really delivering the information you want it to. Any audience can tell the difference between a good voice over and a bad one and this is where you can really make that difference.
It also gives you a chance to check your equipment and ensure that there aren’t any issues with the recording itself. It’s immensely frustrating to record something, think you have delivered the perfect voice over, then listen back to it and realize there’s some stray hum or background noise that’s ruined the take. Doing a test recording lets you address these issues before they become a serious issue.
You don’t need to record your whole script for a test recording. Just do a couple of paragraphs, enough that you will be able to check and address any issues that might arise.
Listening back to a test recording is always best done on a pair of headphones rather than speakers. This allows you to focus on what you are listening to and will make it easier to detect any sounds you don’t want to be picked up.
6: Record It!
Once you have addressed all of these points, it’s time to do the actual recording.
One thing that will always help is to watch your video while you make your voice over. This might sound self-evident, but recording a voice over without watching the footage it will go over is another common mistake.
Watching the footage while you make your voice over will ensure that what you’re saying lines up with what you’re seeing. There’s no point in writing a great one-minute voice over if the footage you have only lasts forty-five seconds.
Watching as you record will also help you ensure that what you’re saying is relevant to what is happening on screen. You don’t want to be talking about something that has already happened or that has passed the viewer by.
Timing your voice over correctly is absolutely fundamental and if adjusting the timing means going back and tweaking the script again and again then do it. It will be time well invested.
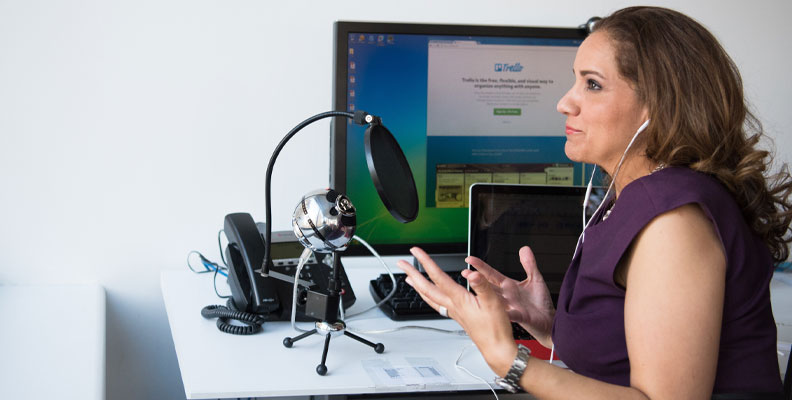
How to Add Voice Over to Your Video
When it comes to recording your voice over, you need to decide what audio recording software, or DAW (digital audio workstation), you are going to use. This is the software that you have on your computer that will actually record the voice over.
Digital Audio Workstation

There are many different DAWs on the market, from free software such as Audacity to expensive, professional packages such as Adobe Audition. Choose the one that best suits your budget and the project you are working on.
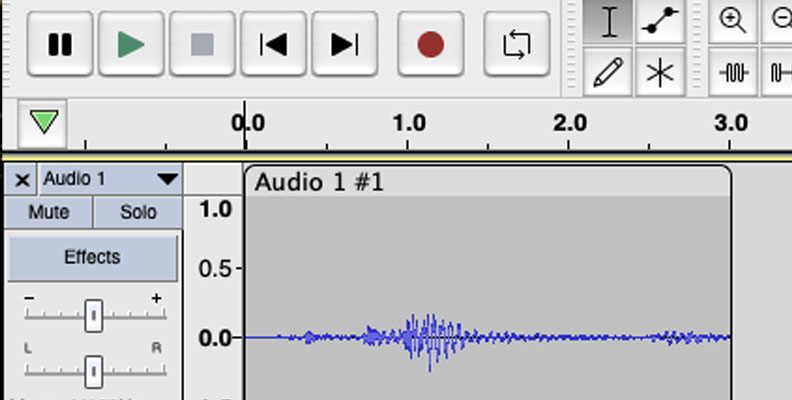
When you are recording your voice over, ensure that you have an easy way to monitor your audio levels. Most DAWs will have a visual indicator of your recording levels.
These will be meters that allow you to see how loud the sound you are recording is. Keep an eye on this to ensure that you aren’t too quiet or too loud.
Remember: audio editing is your friend and should be used when you need it. Few people get voice overs right in one take so don't feel pressured to start recording, get it all done in one, and move on. Audio editing is there for a reason.
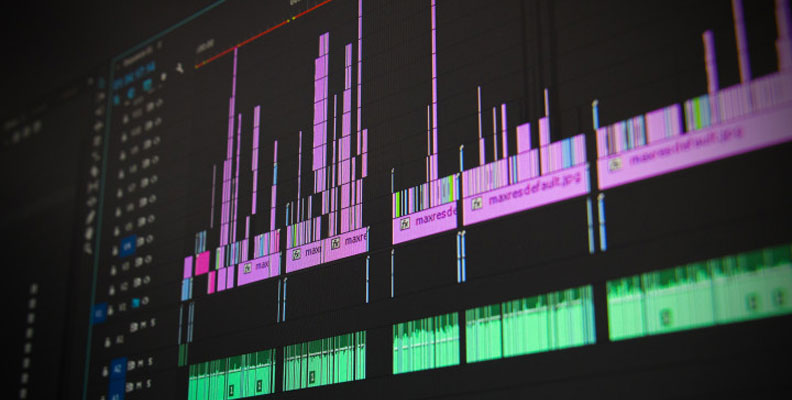
Editing Process
Once you have finished recording, it’s time to edit. Hopefully, if you have written a script and timed everything correctly, your voice over should be the perfect length.
However, if you have stumbled over a word, not quite delivered something in a way that you are happy with, or simply think there’s a better way to arrange the material, this is the time to do it.
There is no simple, one way to edit a voice over. Each one will be different depending on the subject matter, the speaker, the visuals, and a host of other considerations.
Try to keep all of these in mind while you are editing so that you can present your material in the best way possible.
Export Audio
When this has been done, you need to export your audio. You want to export it in high enough sound quality that everything sounds great, but not so high that file sizes become unwieldy. MP3 at 220-260 kbps is a good compromise but it can depend on your needs and requirements as to exactly what will fit your project.
Add to Video
Once editing is completed, it’s time to add it to the video footage. Open your video in your NLE (non-linear editor) video editor and go to the timeline.
Once there, drag and drop the audio you exported from your DAW into the timeline. You can then position it exactly so that it starts and stops precisely where you need it to.
Remember that if you also have background music, ambient audio, or any other sound on your video recording you will balance the sounds against each other. You want the voice over to be the dominant audio that people hear but you also don’t want it to completely drown out anything else that you want to be heard.
Once you have finished positioning and balancing the audio, export your video file. That's your voice over recording done!
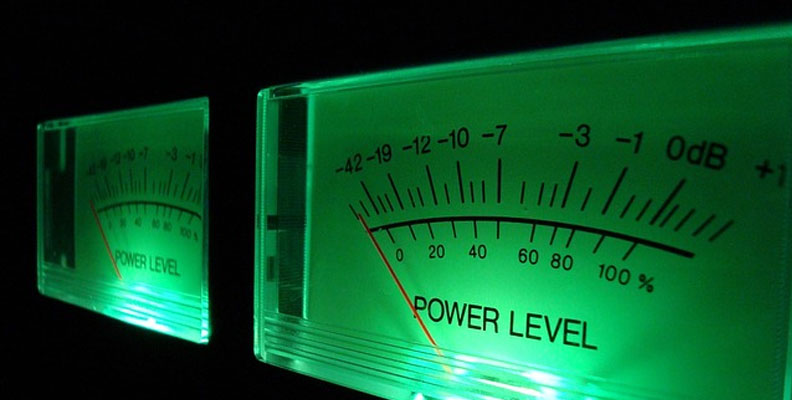
Tips and Tricks on How to Keep Your Audio Level Up
One of the most important things in doing a voice over is ensuring that you keep your audio levels up and keep them consistent. If you want people to pay attention to what you’re saying, getting this right is crucial.
Audio Levels
One of the simplest yet most effective techniques for keeping your audio levels up and consistent is to ensure that you are always exactly the same distance away from the microphone when you are recording.
It’s human nature for us to move about, but when you are recording if you lean away from the microphone your voice will get quieter and if you lean towards it your voice will get louder. Choose a distance from the microphone that ensures you have a loud, clear signal being recorded. When you are recording, concentrate on maintaining the distance between the microphone and your mouth.
Pop Filter
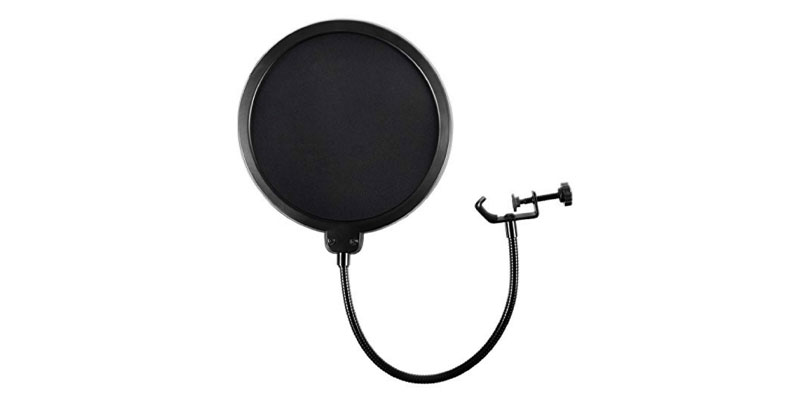
Using a pop filter can help with this too. As well as helping to cut down on breath noise and plosives during recording, the pop filter gives you a visual reference point as to how close to the microphone you are. You can use that to ensure you keep a constant distance.
Speaking Voice
Pay attention to the way that you speak as well. Most people will alter the tone and volume of their voice when speaking but in a voice over you want to keep the volume as consistent as possible. As you speak, consider the volume you speak at to ensure that you are delivering your dialog as consistently as possible.
Audio Volume Level
When recording, you want to ensure that your audio is around -10dB or so. This will give a clear, consistent signal for you to work with but also leaves a little room at the top end so if you need to do any further editing or adjusting you won't run out of space at the top of your signal.
Microphone Placement

The placement of the microphone is important as well. Some microphones will come with desk stands which is convenient but can sometimes cause issues. If the stand is sitting on a desk, it’s easy for it to transmit rumbles, movement, and unwanted sound through the stand itself. All this can affect the audio levels.
Adjustable Arm
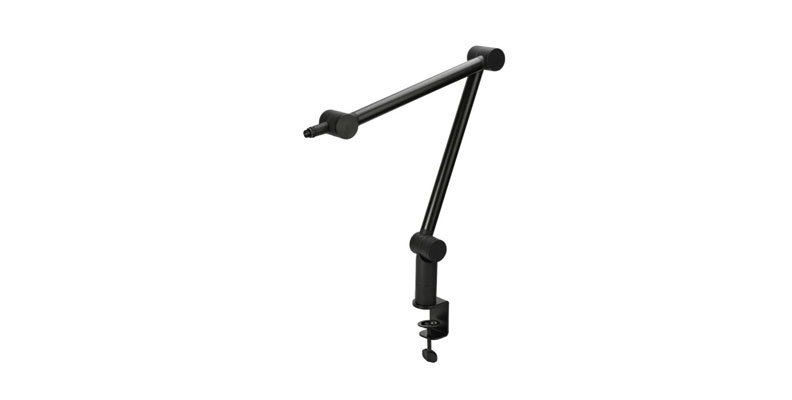
If possible, a microphone on an adjustable arm is the best solution. It will transmit much less unwanted sound through the frame of the stand and it will make it easier for you to position the microphone in a way that allows you to sit more naturally rather than hunching over a desk stand microphone. The more natural you sit, the better you will sound, and the easier it will be to keep your audio levels up and consistent.
CrumplePop
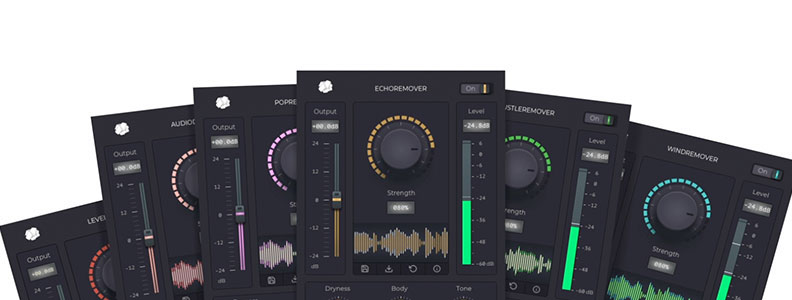
However, should all of this fail you then CrumplePop has a range of audio restoration plug-ins to help with even the most troublesome of recordings. The LevelMatic plug-in will help you keep your audio levels consistent and at the right level, ensuring that any quiet or loud moments are leveled out to ensure the best listening experience for your viewers. Right now, you can trial CrumplePop absolutely free!
Hear It For Yourself
Advanced audio AI removes noise and boosts your vocal quality.
Toggle it on/off to hear the difference.
Remove Wind
Remove Noise
Remove Pops & Plosives
Level Audio
Remove Rustle
Remove Echo
Remove Wind
Final Words
Putting a voice over together might seem like a simple thing but there are many different parts to doing it successfully.
While there are many pitfalls, a good plan, a great script, and an understanding of what makes a voice over successful means that you will be turning out top-quality voice overs in no time at all. Whether you're a professional voice actor or doing something for the office, a good voice over will always improve your visuals!
FAQ
How Do You Do a Voice Over on Google Slides?

Google Slides makes putting a voice over together very straightforward.
Firstly, open Google Slides and navigate to the slide you want to add your voice over to.
Go to the Insert Menu, then Audio.
Choose the audio file you want from your computer.
You can preview the audio by clicking on the Speaker icon that appears on the slide to confirm that everything sounds the way you want it to. If you need to go back and make any edits in your DAW, this is the moment to do it.
With the Format Options on the right-hand side, you can select options to decide when your audio should start playing, whether you want it to loop, the volume it should play back at, and whether it should stop when the slide is changed.
And that’s it! Google Slides makes it easy to add a voice over to your presentation.
How Do You Do a Voice Over in PowerPoint?
PowerPoint is such a standard piece of office software it can be easy to forget its capabilities sometimes but it, too, allows you to add a voice over.
Launch PowerPoint, browse to your presentation, and open it.
Choose Insert from the toolbar on the top, then select Audio on the right-hand side.
Click the “Audio On My PC” option to upload a pre-prepared voice over.
Unlike Google Slides, PowerPoint will also let you record a voice over directly onto your slide. To do this, click the Record Audio option to record a new voice over.
However, as a rule, it is better to have your audio pre-recorded, edited, and checked rather than trying to add it directly. But if you are short of time or are confident in your ability then PowerPoint gives you that option.
And that’s also it! PowerPoint has slightly more flexibility than Google Sheets when it comes to adding a voice over, but both pieces of software make it really straightforward.


