


Photographers should constantly try to create outstanding and captivating images, and even when the shot is not perfect, they can still accomplish great results in post-production. One of the most common techniques to improve photos is color grading to enrich your composition's vibe, evoke new feelings, or enhance the mood of the original picture.
Color Grading has become so popular that every photo editor and even social media apps have filters that use color grading. Is there an Instagram filter you love? You can replicate or improve it with color grading in Photoshop or Lightroom.
In this article, you will learn to color grade in Lightroom and Photoshop using its built-in color grading tools and Optics, a Boris FX plug-in to enhance your photography composition skills.
Let’s dive in!
What is Color Grading in Photography?
Color grading is a post-production process to manipulate the color of an image to enhance the look and change the scene's mood. With photo editing software, you can control the color hue, saturation, and luminance of different elements in the photo, like shadows, highlights, and mid tones.
Color grading is used in photography and film to create awesome colors. Movies like Blade Runner have a unique color grading that gives the feeling of being in a cyberpunk city, and The Twilight Saga uses cold colors to bring a dark and mysterious atmosphere to the town. Looking at stills from these and other movies, you will notice that color grading is essential in how you perceive the composition.
How to Color Grade in Lightroom
This first step-by-step guide is for color grading in Lightroom. You will only need Lightroom and your photos.
Step 1: Import Photo
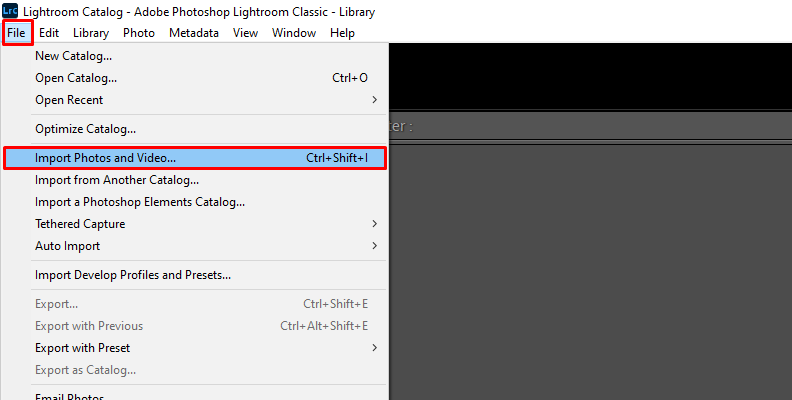
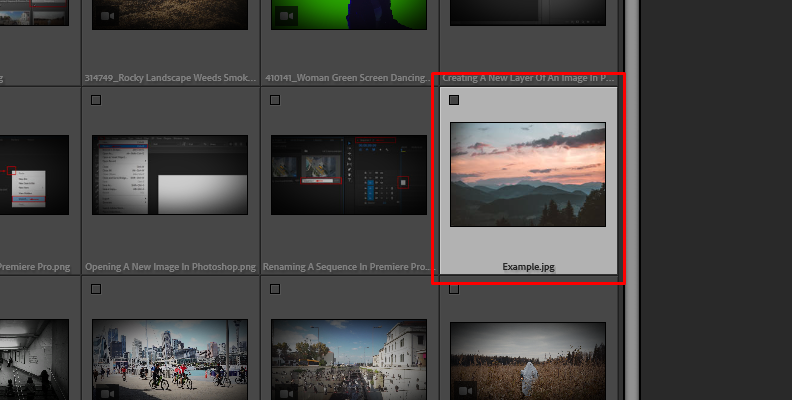
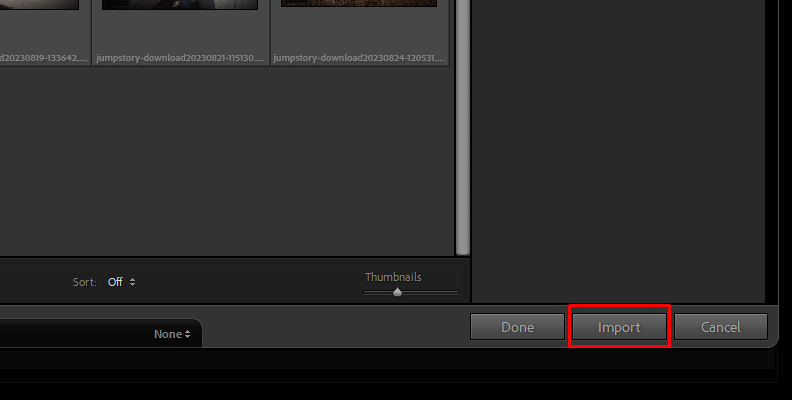
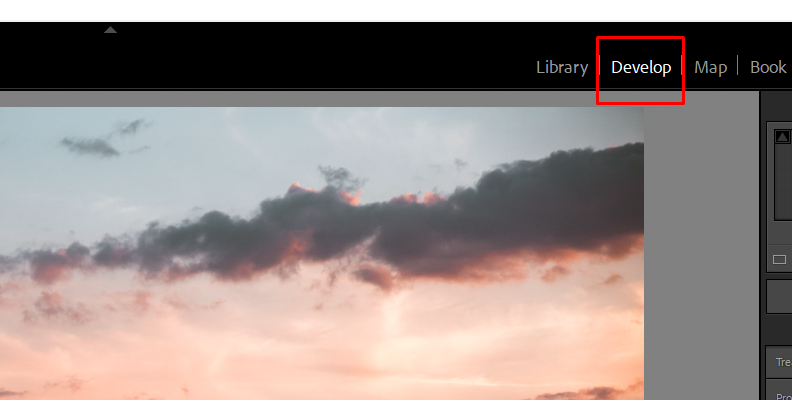
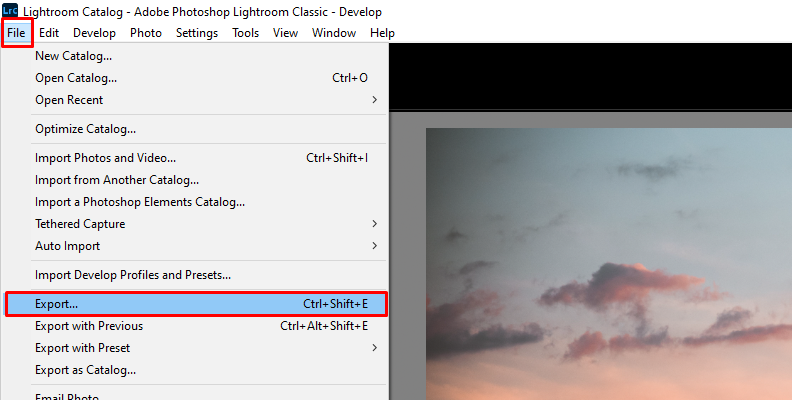
Import your images into Adobe Lightroom from File > Import Photos and Video. Select the photo from the Library panel and go to the Develop panel in the top right corner of Lightroom.
Working with RAW format files is more suitable when you edit pictures in Lightroom.
Step 2: Prepare Photo for Color Grading
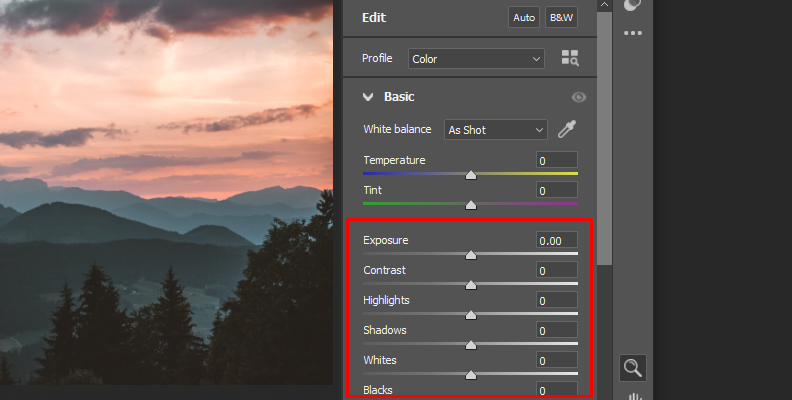
When you switch to the Develop panel, you’ll have a few tabs with color tools. Adjust color using contrast, exposure, white balance, tint sliders, and the tone curve, among other settings.
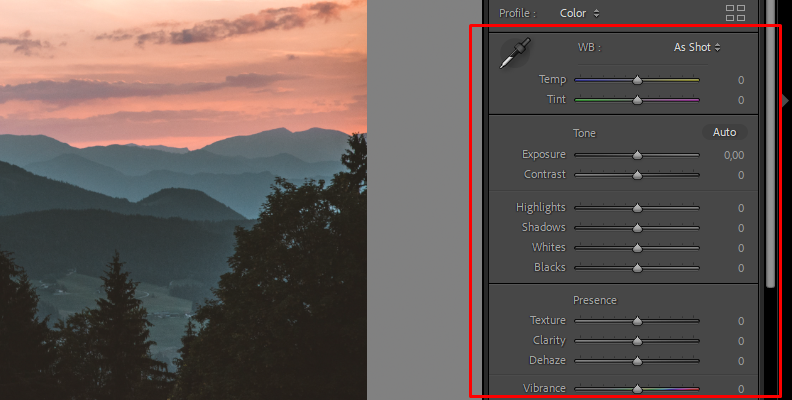
Editing your photo before the color grading process will allow you to have your images ready with balanced colors and good exposure to add a more dramatic and cinematic look to your photo.
Is this step necessary? That will depend on whether the photo needs color correction or is already perfect for color grading.
Step 3: The Color Grading Tool
Access the color grading tool from the Develop panel. Scroll down until you find the color grading tab, and click on it to display its settings.
You will not have this tool if you use an older version of Lightroom Classic (2020 or older). However, you will see the Split Toning tool, which works similarly but has limited tools compared to the new color grading panel.
The color grading tool offers you different workflows: the three-way wheel, the one you see by default, and the most common in many other photo editing software.
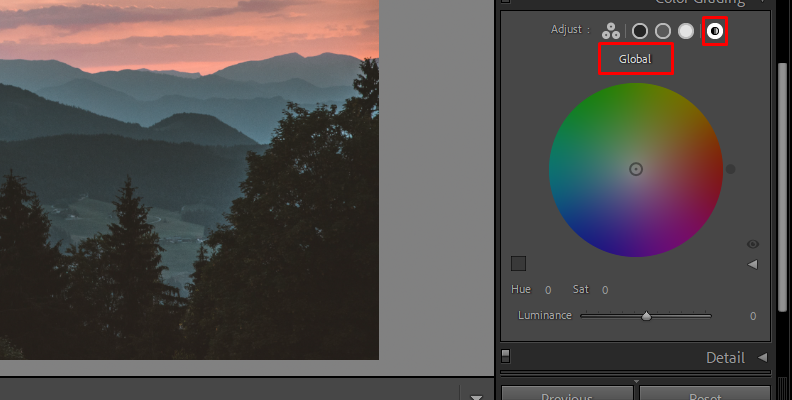
The mid tones, shadows, and highlights wheels independently for a more detailed color grading process of each one, and a global wheel that applies color grading to the entire image.
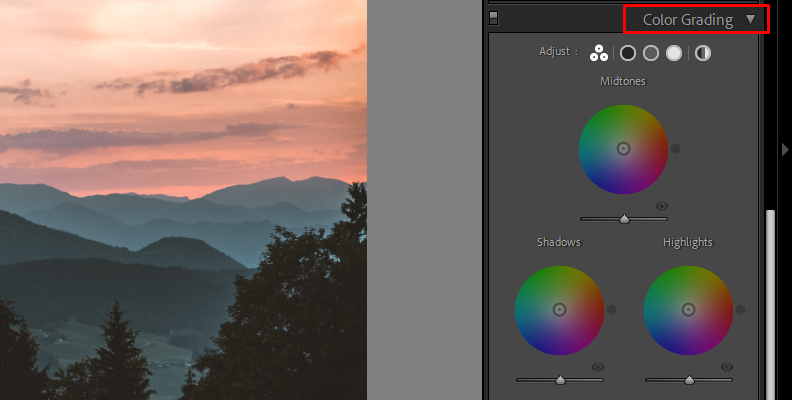
Step 4: Color Wheels
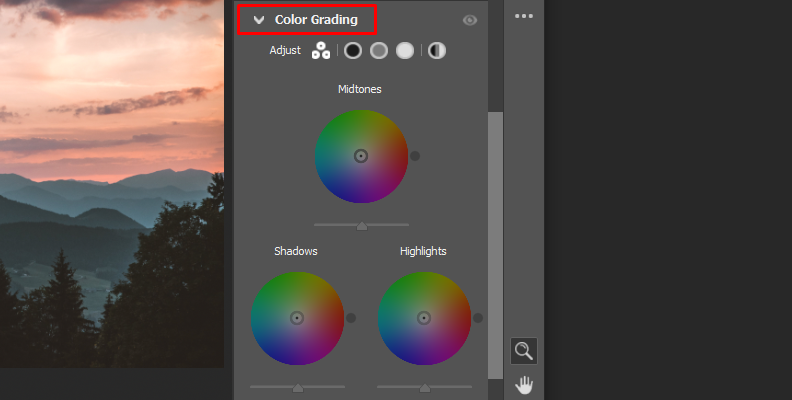
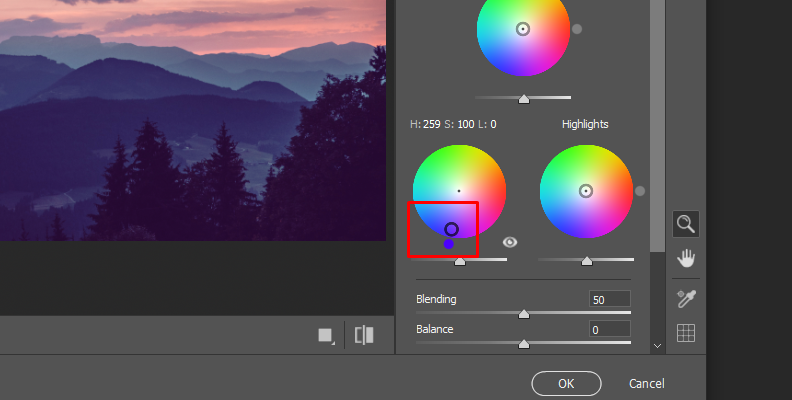
Let’s use the default view: the three-way color wheels. This view allows you to work with mid tones (top wheel), shadows (left wheel), and highlights (right wheel).
Each wheel has a little circle in the middle as a handle, which you can drag with your mouse. The hue (color shade) will change as you move the handle in circles. Moving the handle from the center to the edge will change the saturation, and the slider on the bottom of each color wheel controls the luminance. These controls apply to all color wheels.
In landscape photography, it's common to add orange or yellow colors in the highlights wheel for a sense of warmth in a sunset image while using a blue tone in the shadows to make the night sky darker.

Step 5: Blending and Balance Sliders
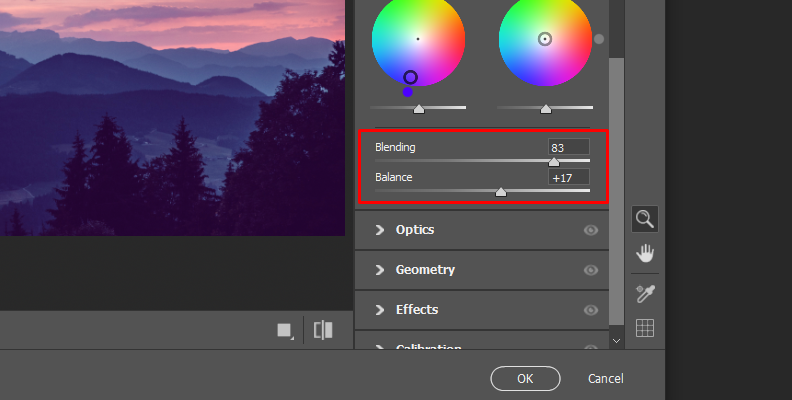
You'll notice Blending and Balance sliders at the bottom of each color wheel. These two sliders are quite self-explanatory.
The Blending slider controls how much the three-color wheels overlap. For example, increasing the blending will make a smoother blend but mix the color tones. It is set in the middle by default, so you can adjust it as you see fit.
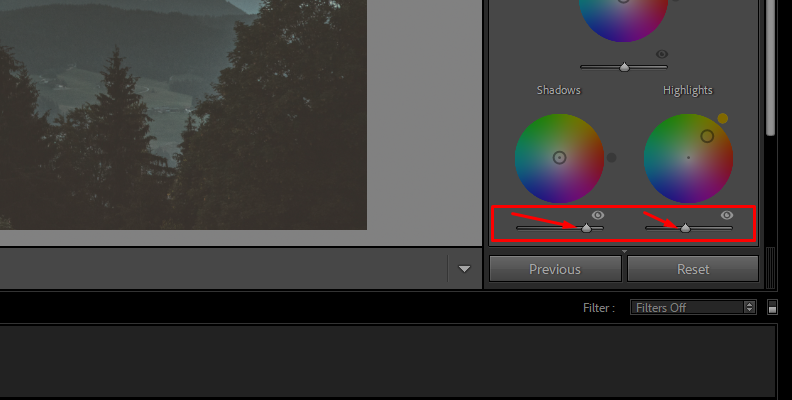
The Balance slider controls the relation between the highlights and shadows. Adjust it to the left for more shadows and to the right for highlights.
Step 6: Export
Once you finish color grading your photo, export the new image in your desired format.
How to Color Grade in Photoshop Using the Camera Raw Filter
Photoshop also has a color grading tool that’s accessible to all users. I recommend working with RAW format for better results. You can use JPEG files, but it’s best to work with a RAW format image to appreciate the color grading.
Step 1: Import Your Media for Color Grading
In Photoshop, open your image files from File > Open. Browse the photo that you want to color grade and click Open. Do the editing you need before color grading.
Step 2: Camera Raw Filter
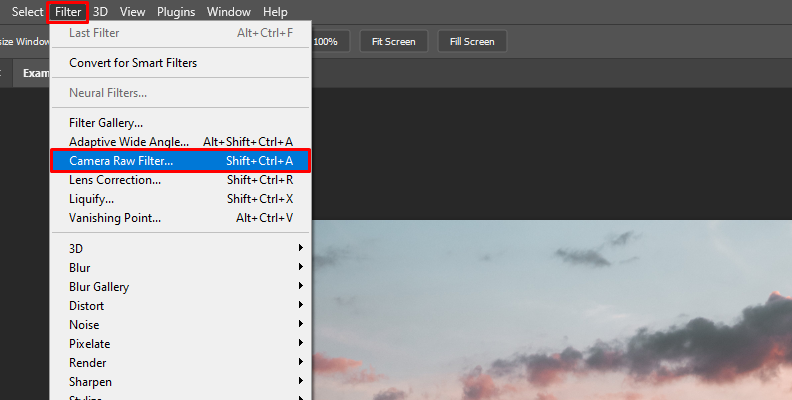
The color grading tool in Photoshop is located under Filter > Camera Raw Filter. In the camera raw filter window, you have all the color-related tools. You have the basics for white balance adjustments, temperature, tint, the tone curve, a color mixer, color grading, and effects, among other valuable tools.
Step 3: Color Grading Tool
Click on Color Grading to display its settings. If you have used Lightroom or other photo editing software, it would look familiar. The steps for color grading in Photoshop and Lightroom are the same, but if you jump straight to this section, here’s what you need to know.
Color grading is done using three-color wheels. One controls the shadows, another the mid-tones, and the third the highlights. If you’re color grading a night shot and want to add a blue tone to enhance the shadows, go to the shadows color wheel and move the handle in the middle of the wheel (the small circle).
You adjust the color tone (hue) by dragging the circle around. Moving the handle closer to the edge will alter the saturation to change its intensity. The slider below each color wheel adjusts the luminance.
At the bottom of the color wheels, you have blending and balance settings to adjust how the color wheels overlap in your photo and balance the mid-tones, shadows, and highlights.
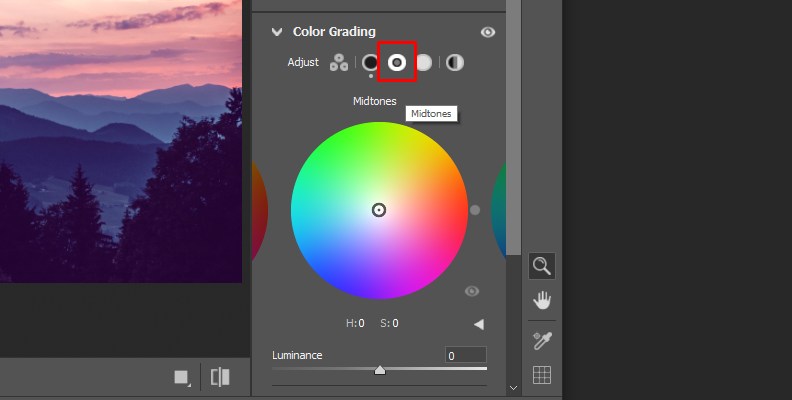
Step 4: Alternative Color Wheels Views
Besides the default 3-way color wheel view, you can have more control and a detailed view of each color wheel. You select it by changing the icon above the mid tones wheel next to Adjust.
The last view mode is the global wheel. It allows you to color grade more quickly using a pre-established balance between the mid tones, shadows, and highlights. The global wheel is perfect when you have a color in mind for your scenes but don’t need to adjust any parameter to achieve it.
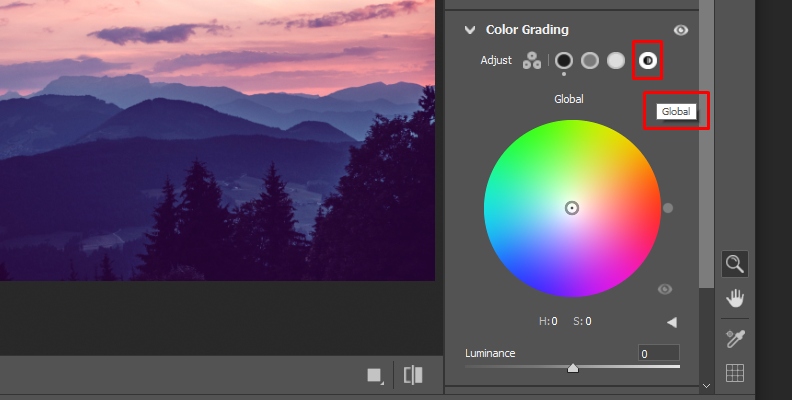
You don’t need to use every view and every wheel for color grading. You can get away with only adjusting the shadows and highlights to add warm and cold colors. Experiment with the color grading tool to find exciting effects that you can apply.
Step 5: Export
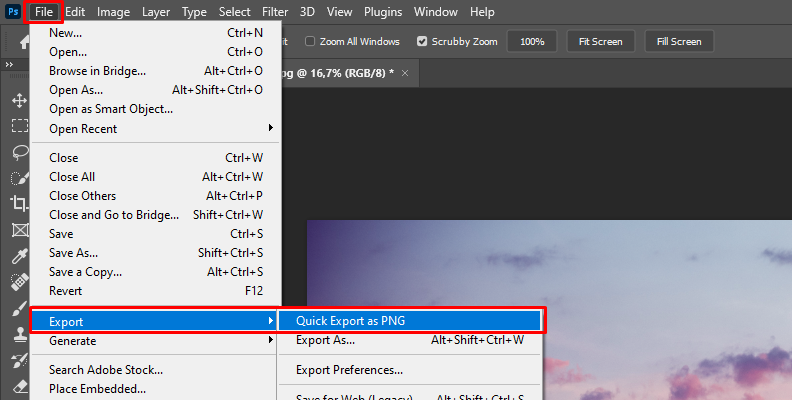
Save or export your photo in PNG or the format you need.
How to Color Grade in Photoshop with Optics
Optics by Boris FX is a great tool for Lightroom and Photoshop (also available as a standalone app) to create captivating cinematic effects for your photos and help you improve your photo composition skills.
Working with Optics is super simple and fun. It takes time to get used to the tools, explore each, and experiment with tweaking their parameters to create unique looks for your photos.
The following step-by-step guide will provide the basics for color grading in Lightroom or Photoshop with Optics.
Step 1: Add Optics in Lightroom and Photoshop
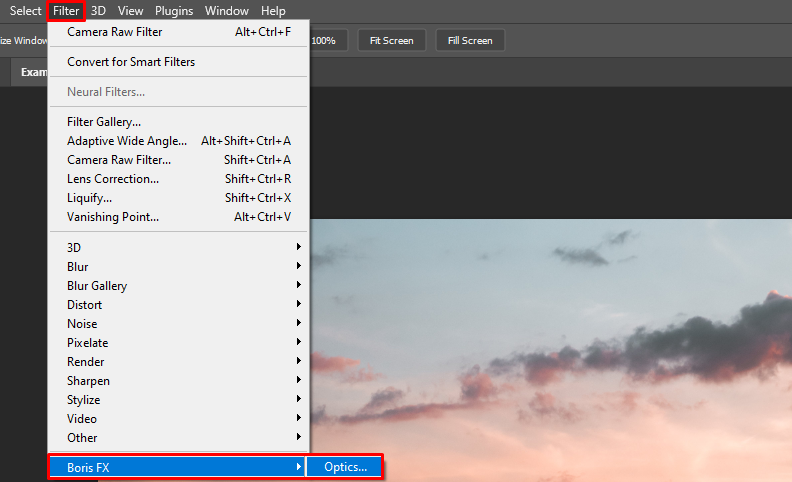
Import your photos to Photoshop or Lightroom. Right-click your image to use Optics in Lightroom and select Edit In > Boris FX Optics. In Photoshop, go to Filter > Boris FX > Optics.
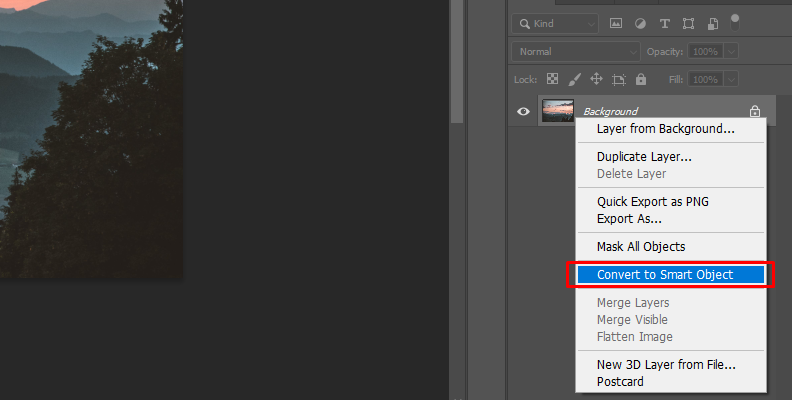
I recommend converting your photo to a smart object in Photoshop before applying Optics to be able to make changes later. Do it by right-clicking the layer and selecting Convert to Smart Object.
If you use the standalone application, just run Optics and click File > Open to import your photos.
Step 2: Optics Filters and Presets
Optics offers a plethora of filters for natural, bold, and eccentric looks organized in ten different categories. For each category, you can find thousands of customizable presets. Something I like about Optics is that it's very visual: you can quickly apply filters in real time without waiting for them to render.
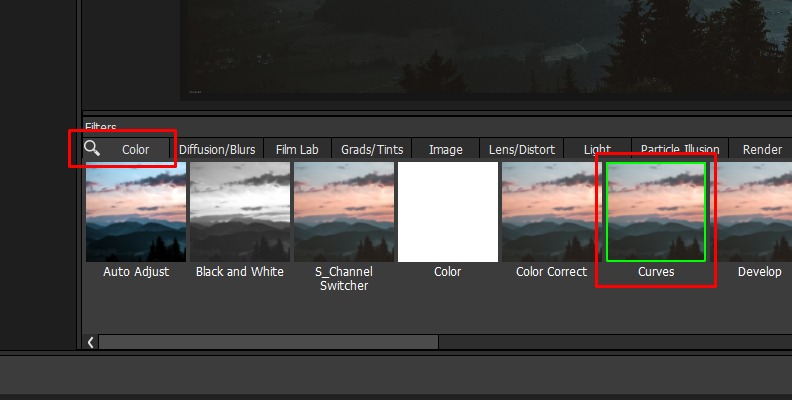
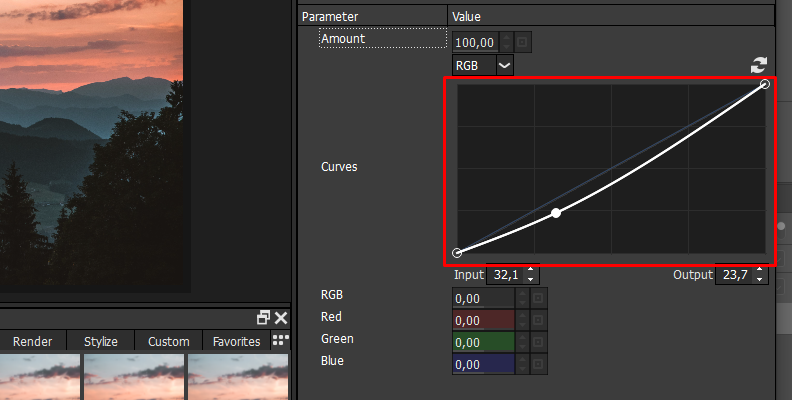
In the categories Color, you can find the tone curve and color wheels, among other color tools, and in Grads/Tints, you will find the color grading filters that you can apply and tweak.
Step 3: Color Grading in Optics
The main difference between working with Optics rather than using Lightroom and Photoshop's built-in color grading tools is that you can have a big jump start. Instead of manually choosing the color and trying to find and match what you have in mind, you can select a preset and save a lot of time.
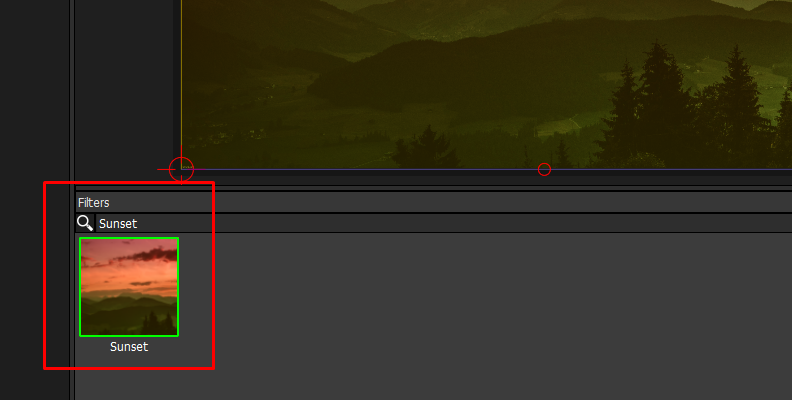
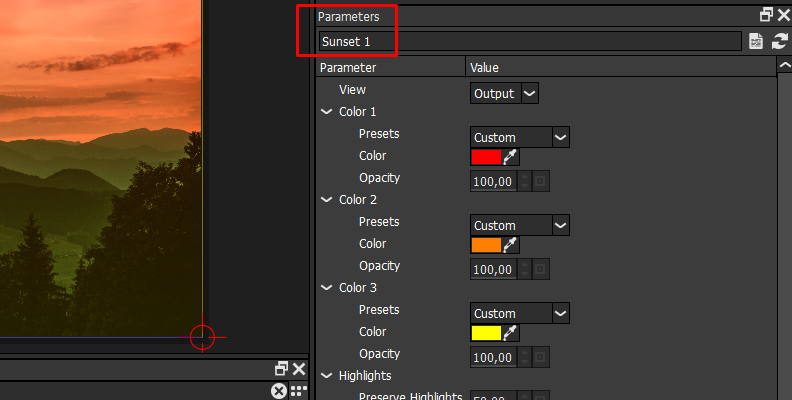
Optics has the Sunset filter for sunset shots with presets for images with grass and sky or sunsets over the water. If you’re unhappy with the look, you can fine-tune the preset parameters on the right panel. You can change the color, opacity, highlights, and more to create customized presets.
Before a big project, take your time to see all the tools and presets Optics offers. There is so much to discover that you will never stop finding creative color-grading filters.
Step 4: Export to your Host
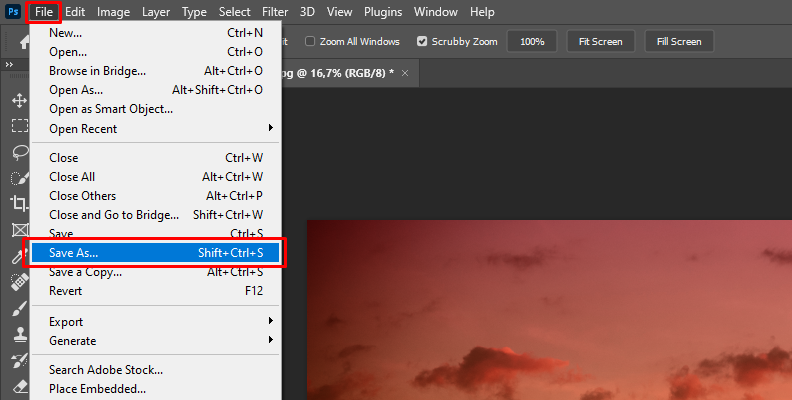
To export your work in Optics back to Lightroom and Photoshop, click Apply on the bottom right corner of the screen, and you will instantly return to your host with all the color grading done to continue editing or apply other Photoshop or Lightroom effects. To export from the standalone application, go to File > Save As.
Final Words
Learning color grading can feel a bit overwhelming at first, but trust me, it will make a huge difference in the long run! The steps to adjust colors are simple, but knowing how to get the color tones you want is what makes the best of color grading, and that comes with practice.
A few things you should consider for better results in color grading are color theory, learning about complementary colors, and using masks to isolate color grading to specific sections of the image.
Try Optics now for free and get a fast-processing color grading tool and thousands of presets to mesmerize your audience with your photos.
Good luck!
FAQ
What is the Difference Between Color Correction and Grading?
The difference is that color correction fixes and balances the color in your photo with the goal of achieving a natural-looking photo. Color grading improves the color of your image to create a new atmosphere for aesthetic and creative reasons.


