


There are many different ways to adjust the footage you have shot and make it communicate with your audience. Different tools allow video editors to do just about anything with their footage to achieve a particular look or style.
Color grading makes a big difference in the way an audience interprets what is being watched. And with software such as DaVinci Resolve, color grading has become a powerful, effective tool that can be used by anyone.
What is Color Grading in DaVinci Resolve?
Color grading is a method whereby you adjust the color of your footage to try and convey a particular mood, tone, or feeling. It stylizes the footage and allows editors to emphasize certain elements or tones within the footage to help clue the audience in what to feel depending on the scene.
Color grading will emphasize or adjust the color palette of footage that has already been shot. In scenes that are passionate or angry, you might want to increase reds or contrast to give a visual emphasis to the emotion of the characters. Or if it’s a gentle scene you might want to emphasize grays or pastels to give a softer edge to the footage.
Color grading can make a big difference in the way an audience interprets a scene. However, color grading is separate from color correction. This is an important difference to understand. Normally, you would color correct your footage before you undertake color grading. That’s because color correction is more about fixing or resolving any potential issues with your footage whereas color grading is more about artistic expression and interpretation.
Color correction might fix the lighting in a scene if something doesn’t look quite right. Or it could correct the exposure if something hasn’t quite been shot in the way it was intended. Color correcting will help you optimize your footage so it looks as natural and technically composed as possible.
Once the footage is in this “ideal” state, you can then begin the process of color grading to give it the emphasis you want. So we can see that while the two processes are related to each other, they are not the same thing.
Color Grading Workflow in DaVinci Resolve
Color grading in Resolve is a process that might seem complex at first, but with a good guide and some knowledge, is something that can be tamed.
The first thing to do is import your footage into DaVinci Resolve. It is at this stage you want to undertake any color correction work to ensure your footage looks as uniform as possible.
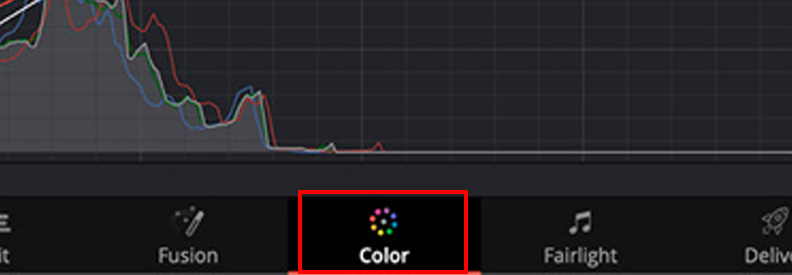
Once you have completed this, you can move on to color grading. DaVinci Resolve has a color page that gives you access to everything you need to grade your footage. These are in different sections — Edit, Cut, Media, Fusion, Fairlight, Color, and Deliver. Each of these is its own workspace but we will be concentrating on Color. Click on the Color option for color grading work.
Before you begin, open the Project Settings by clicking on the gear icon on the bottom right-hand side.
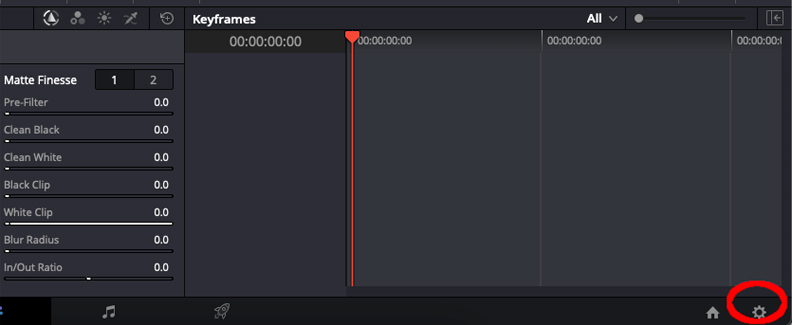
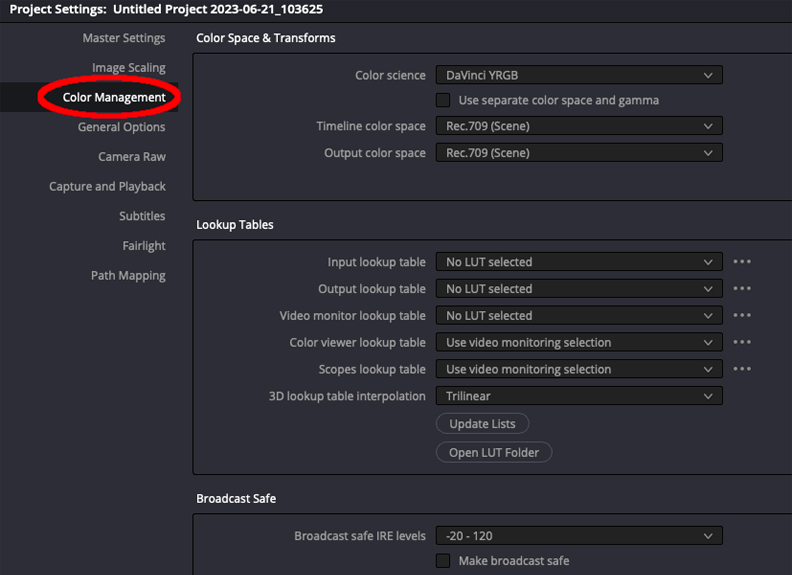
You can then go to Color Management so you can adjust the Color Space of your footage.
Color Spaces
Color spaces are important to understand because this is how DaVinci Resolve processes and works with the color in your footage.
![]()
There are three elements to focus on initially. These are:
- Color Science
- Color Processing Mode
- Output Color Space
These are a good starting point for anyone just beginning to learn the process of color grading. First, you may want to check what color space your imported footage is in or that you plan to export to. You can adjust them as required, but leaving them at the default settings will work as well.
You will be able to see your footage in the viewer and if you have taken any screenshots to keep track of your changes, you will be able to access them through the gallery.
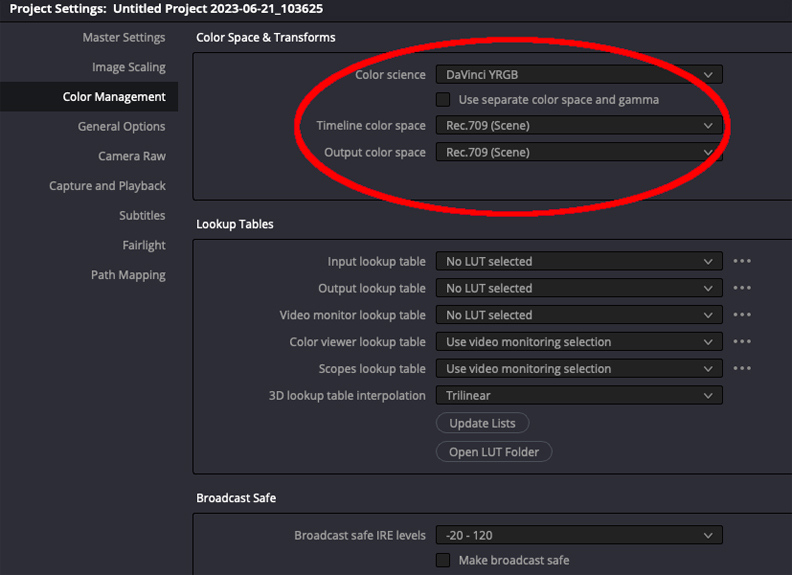
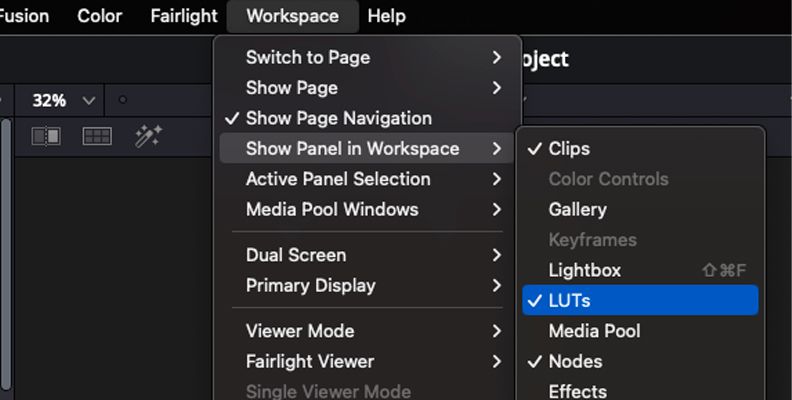
LUTs
The next thing to do is go to the LUTs section of the color page. This is on the left-hand side of the workspace.
![]()
If it is not visible, go to the Workspace menu, then Show Panel In Workspace and choose LUTs. The panel will then appear.
![]()
LUT is short for Look-Up Table. These are the options you will choose to color grade your footage. Each has its own particular characteristic. Sometimes these can be creative ways to adjust your footage, for example cinematic color grading might be achieved by adjusting a LUT to capture a specific look.
Sometimes these can be applied to mimic a particular kind of hardware, so you can make your footage look like it was shot on a specific film stock. The changes you make with the LUT will contribute to the effect you want to create with your footage. You can also create favorites here so you always have access to the LUTs you use most frequently.
Media Pool
Next to the LUTs is the Media Pool.
![]()
This allows you to access your footage and media. Here that you can change between applying color grading to different scenes if that’s the approach you want to take to your footage.
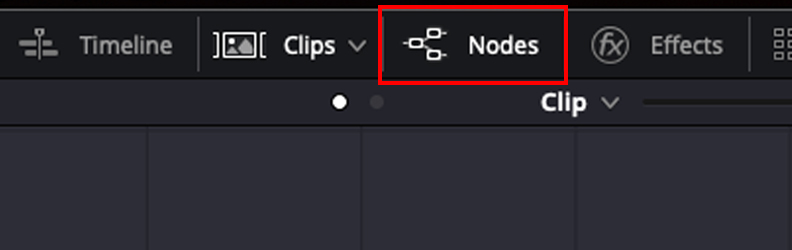
Node Editor
The next element that needs to be mastered is the Node Editor. This is one of the features that makes DaVinci Resolve unique when compared with other non-linear editors (NLEs). Effects and color changes can be applied using nodes. These can be hard to master for a newcomer but they add a huge amount of control. They allow different effects in color grading to be connected to each other.
You can access nodes by clicking on the Nodes option in the top right-hand corner of DaVinci Resolve.
![]()
You can create a new node by right-clicking inside the node editor and going to the Add Node option. DaVinci Resolve will then create a node for you. Once this has been done, you can assign different effects and different colors to each node that has been created.
![]()


Color Grading Tools
There is a wide range of tools available in DaVinci Resolve for all your color grading needs. The sheer number of these can be quite intimidating for a newcomer. It’s good to start by working with just a few of them so as not to get overwhelmed while you gradually increase your knowledge and skill.
Curves
![]()
Curves are a way for you to have control over a lot of the basic simple parts of color grading. Adjusting the way the curve looks in the box will adjust the colors of your footage. There are individual channels for red, green, and blue, as well as Y, which adjusts the luminance of your footage. If you click the line you will create a dot that can be moved around as you make your changes. This makes it a simple, easy way to begin the process of color grading.
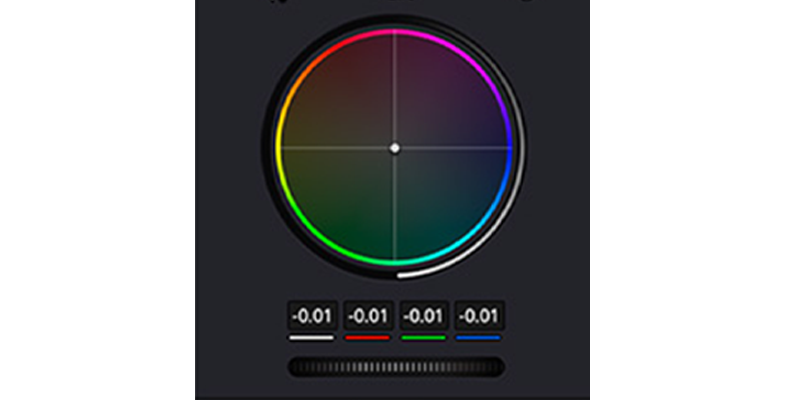
Color Correction Using Color Wheels
![]()
Color wheels are easy-to-understand ways of changing and altering the color in your footage and one of the primary tools in color grading. Curves and wheels are similar in terms of what they achieve and some users will prefer one way of working to another but the end results are the same and wheels are more commonly used.
There are different aspects to the color options that you can adjust with primary wheels. And remember, as well as applying color changes to entirety of the frame you can also use power windows to apply changes to smaller parts or specific areas within your footage as well.
White Balance
This adjusts the color casting as it decides how white is defined in your footage.
Contrast
This adjusts the difference between the lighter and darker parts of your footage.
Pivot
Pivot will change the center point of the contrast changes you want to make. This is useful for fine control and detailed work.
Highlights
This will adjust the brightness and contrast of the lighter parts of your footage.
Shadows
This will adjust the brightness and contrast of the darker parts of your footage.
MD Mid/Detail
This will adjust the amount of detail in the mid-tones of your footage.
Saturation
Image Saturation refers to how bright and vivid your colors are. No saturation at all would make your footage black and white (handy for certain styles!) and high saturation will have extremely intense colors. Saturation should be used with a light touch as it is easy to get carried away and make colors too vivid which can drain the realism from them and make the color look false and artificial. You want to be able to achieve a color boost while retaining a natural look to the scene.
Hue
This will adjust the way your colors are perceived. You can use it to adjust what kind of color there is in your footage, for example, changing blues to reds or greens to blues.
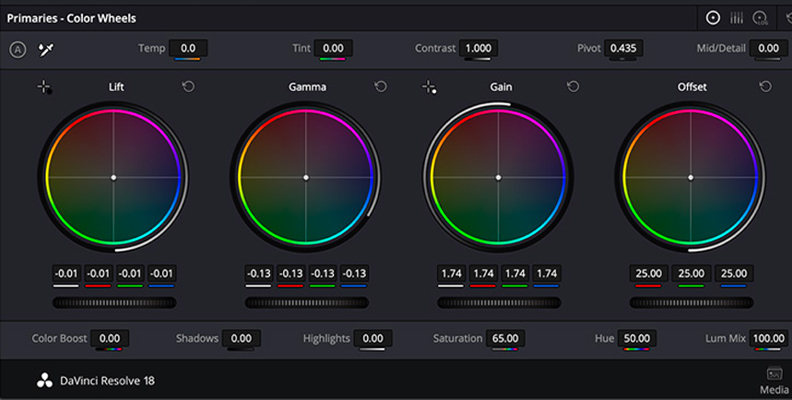
![]()
There are four different color wheels, known as the primaries color wheels, that can be used in conjunction with the tonal range settings:
- Lift
- Gamma
- Gain
- Offset
Lift will adjust the intensity of the shadows in your footage, making them darker or lighter deepening on what you want to reveal.
Gamma will adjust the mid-tones. This is the range of colors between shadows and highlights so can have a dramatic effect on your footage.
Gain will adjust the intensity of your highlights.
Finally, there is the Offset wheel. This will adjust the overall color values of the entire image.
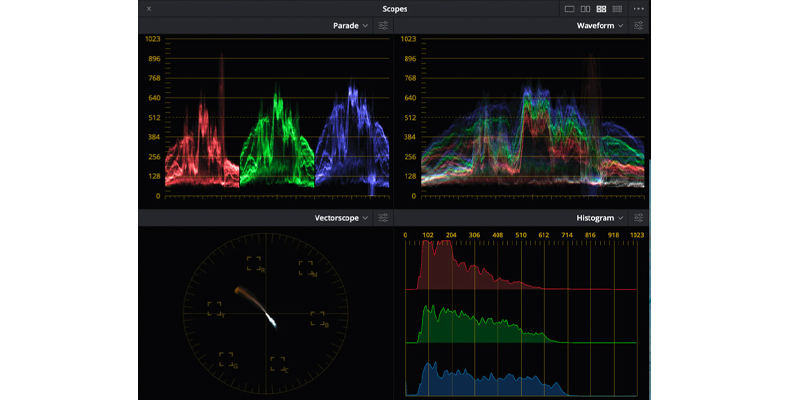
Scopes
The scopes panel is a really useful tool when it comes to getting the color correct on your footage. Sometimes the human eye isn’t quite as detailed or accurate as we think it is. You can find these at the bottom right-hand side of your window.
![]()
And sometimes computer monitors aren't calibrated correctly so the colors you see on screen are not quite as accurate a representation of the colors in your footage as you hope.
Scopes can help you deal with these issues and provide an accurate way to understand your colors and have complete accuracy with them. DaVinci Resolve contains a few scopes to help you with this.
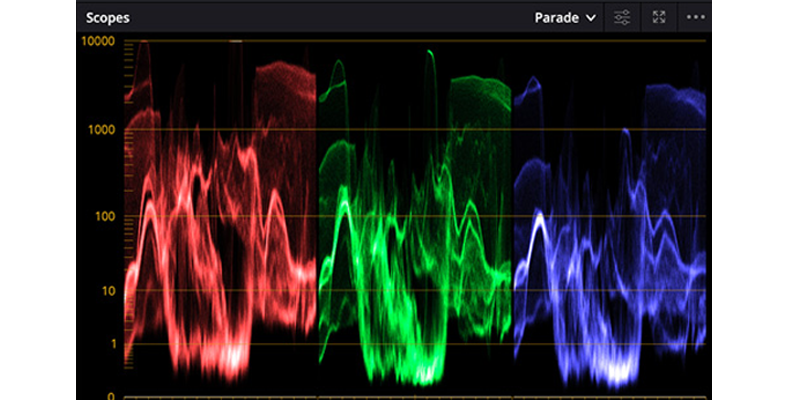
Parade
![]()
This is the default scope when you first go to the Scopes selection. It divides up your image into RGB (red, green, and blue) values. It then measures the saturation of each of the colors.
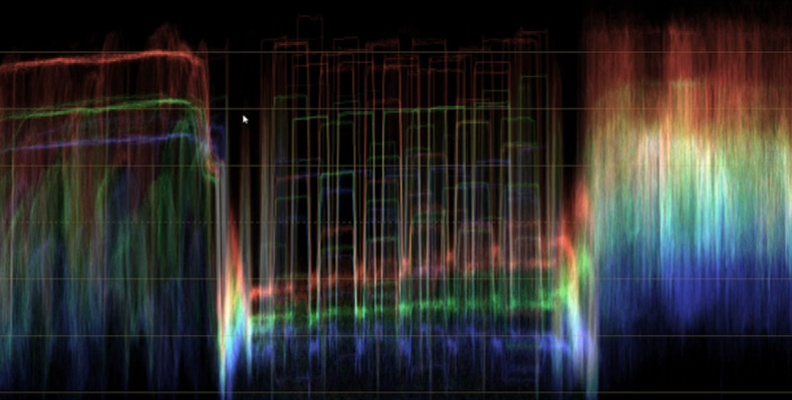
Waveform
![]()
This assesses the brightness of your footage both overall and in terms of the colors and assigns a value to them. This is 0-100 on the IRE scale. IRE stands for Institute of Radio Engineers. Providing a specific number makes it easy to control your brightness and ensures you have consistency and can shot match across different clips.
Vectorscope
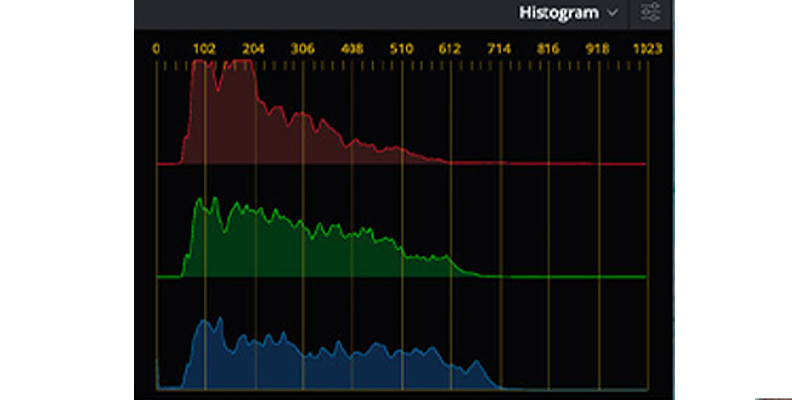
Histogram
![]()
This is used to measure brightness in your footage. Each RGB frequency is represented on the graph. The left-hand side of the graph is complete black and the right-hand side is complete white. Everything else falls in between.
All of these different tools and approaches will let you color grade your footage so you can get it exactly the way you want it to look. Some of them, such as Curves, are relatively easy to understand, while others, like nodes, take more time to learn and perfect.
However, with a little patience and practice, color grading will not only become easier but an essential way to treat your footage so you can always get it looking it's absolute best.

Color Grading Using Boris FX Sapphire
Boris FX’s range of tools are always at the forefront of excellent visual effect design and color grading is no exception. With a range of camera and film stock presets available in the Sapphire range of effects plug-ins, you will always be able to color grade any footage so that it can be produced exactly as you want it to look. There are over 80 pre-designed film stocks and digital camera types available.
And with Boris FX Sapphire’s ColorFuse plug-in, you have the option to combine up to three different LUTs. That means you can create truly unique color grading, combining the best of your own creativity with the power of Sapphire's tools.
And with Boris FX’s support and tutorials, you will never be far from completing the perfect project.
Conclusion
Color grading is an important post-production aspect that can really help bring your footage to life. Whether you need a small adjustment or more radical changes to what you’ve shot, color grading will help you achieve the look you want and engage your audience like never before. All you need to do is work with your footage and the sky’s the limit!


