


There are many video effects you can use to make any content look more interesting and dynamic. Using such artistic effects helps to keep your viewers engaged and keep them watching your content. One such effect is the bulge effect.
What is The Bulge Effect?
The bulge effect is one of those artistic effects used for distorting images. In its simplest form, you take an image and distort it by the use of an artificially created wide-angle lens.
Mimicking the characteristics of a fish-eye lens, this distortion creates a bulging effect. This involves the bulge effect algorithm distorting an image by pushing or pulling pixels away from or towards a central point.
This can be used in a number of different ways. For example, distorting part of the image might be used to draw attention to a specific part of it, such as an object or location. You can also use it to create a sense of depth in images that otherwise might look a little flat.
Or you can simply do it for fun — the choice is yours!
Step by Step: How to Apply Bulge Effect with Boris FX Continuum BCC Bulge
While many graphics packages will have their own tools to achieve the bulge effect, the BCC Bulge Effect found in Continuum is the ideal tool for creating perfect results for this kind of special effect.
As you would expect from Continuum, there are plenty of presets available so you can get started straight away, and the option to create your own custom presets as well. These can be previewed in the BCC FX Browser. As always, using Continuum means you are getting the best software the industry can provide, so you can always be confident that the end results will meet your expectations.
However, this walkthrough will take you through the parameters you need to be aware of to use the bulge effect.
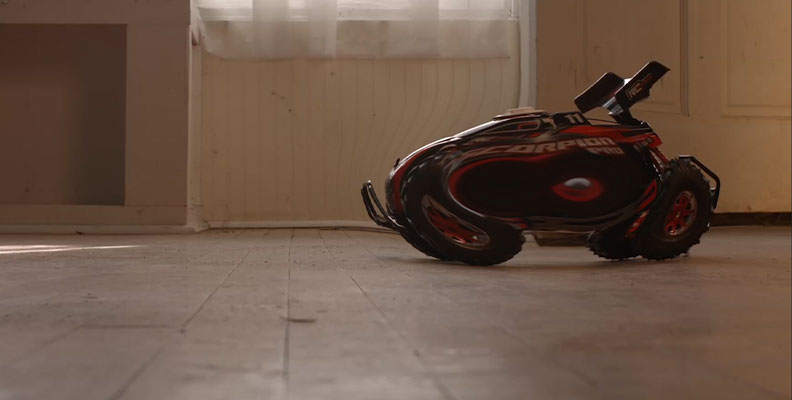
First, load the source image you want to work on into your software.
Once you have done so, launch the Continuum Bulge Effect tool.
There are several parameters you will need to set to control the level of the bulge that is applied to your photo or video.
Center Point

The first thing you need to do is set the center point. This sets the X and Y coordinates and allows you to define the center of the bulge or depression you want to create.
Height
This setting controls the height of the bulge above the “surface” of the video or image you are applying the bulge to.
If you choose a positive value, it will create an outward bulge. Conversely, if you choose a negative number, it will create a depression, squeezing the selected area inwards rather than outwards.
Perspective
The perspective adjusts the distance to the top of the bulge. If you choose a positive value for the perspective, this will move the viewer further away from the “surface” of the image. This has the effect of making the bulge seem less pronounced.
If you choose a negative value, it will actually place the viewer “beneath” the surface of the image. That can result in some strange effects, but it’s a lot of fun to play around with!
Radius
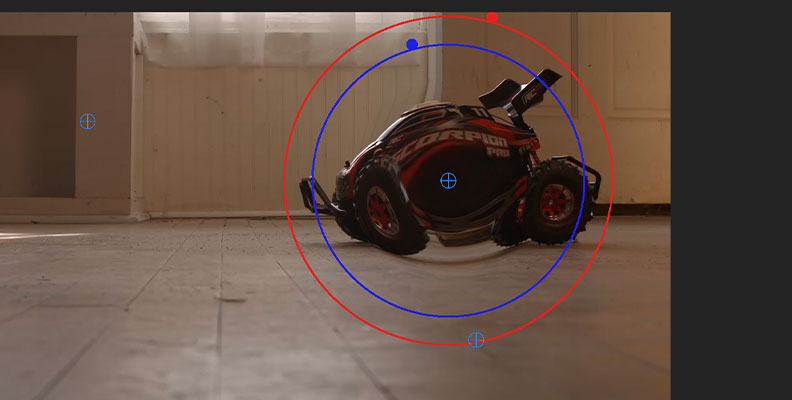
This controls the radius of the bulge, or how far out it goes from the center point that you defined at the start. The value is set in pixels and allows for extremely precise control of the radius.
Taper

Taper defines and controls the actual shape of the bulge. A value of zero (or an untapered bulge) will produce a bulge that is approximately spherical. Increasing the taper will adjust the edges of the bulge so that it is much higher in the middle than it is at the edges of the effect.
Stretch
As you might expect from the name, the stretch setting stretches the bulge in the direction of the angle you choose. Select the angle that will achieve the effect you most desire.
Note that if you give a negative stretch value, the bulge will actually be squeezed together, whereas a positive value will pull the bulge apart.
Once you have chosen these parameters, just click apply, and your bulge will be applied.
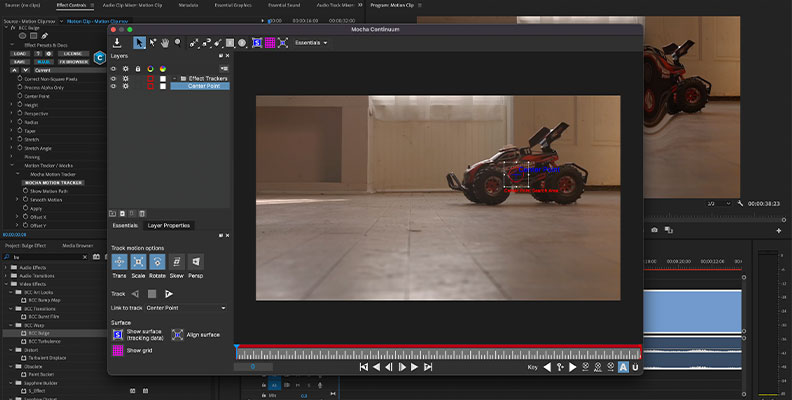
Note that you can use the Boris FX Mocha as a motion tracker if you are applying the bulge to video so that you can track the motion of whatever you want the bulge applied to without the need for keyframing.
There are also two other settings that can be selected:
- Correct Non-Square Pixels. If you apply this to any video or images that have non-square pixels, the bulge filter will convert them into square pixels while maintaining the height of the original, then apply the bulge. Once the bulge effect has been applied, the pixels are then converted back into their original shape. This can be useful to cut down on the amount of distortion the bulge effect can create.
- Process Alpha Channels Only. This allows you to apply the effect to the alpha channel without having it change the underlying colors.
Once you have finished, the preview image lets you know your changes are exactly what you need and that you have achieved the desired effect.
Conclusion
The bulge effect is a simple but incredibly useful effect that can be put to a variety of uses in your projects. With Continuum's Bulge Tool, you can have a greater degree of control and quality to produce the best bulge effect possible. The only thing you need to do now is decide exactly where you want to use it!


