


If you've ever wanted to add 3D elements, text, or special effects to your films, landscape footage, or home videos, you must learn to use 3D camera tracker software. Luckily, many composition software includes tools to achieve this.
In this After Effects tutorial, you'll learn what is a 3D Camera Tracker and how to use it. Additionally, I'll show you how to use the Mocha Pro Camera Solve module to achieve better results.
What is the 3D Camera Tracker?
The 3D camera tracker is an effect and process that analyzes video footage and tries to replicate the camera motion used in the actual camera to generate a 3D camera with the exact motion from the real one.
Motion graphic designers and VFX artists mostly use 3D camera trackers to add 3D elements over 2D footage, text, and special effects.
3D Camera Tracker Effect in After Effects
Now, I'll explain how to use the 3D camera tracker effect to extract camera motion from video footage and add elements to the footage as if they were recorded with the original camera. The 3D Camera Tracker effect will work best with video footage with stationary objects that After Effects can track, such as buildings, parking cars, roads, furniture, etc.
Extract Camera Motion
After you import the video footage and edit it the way you need it, the next step is to track the camera motion of your footage.
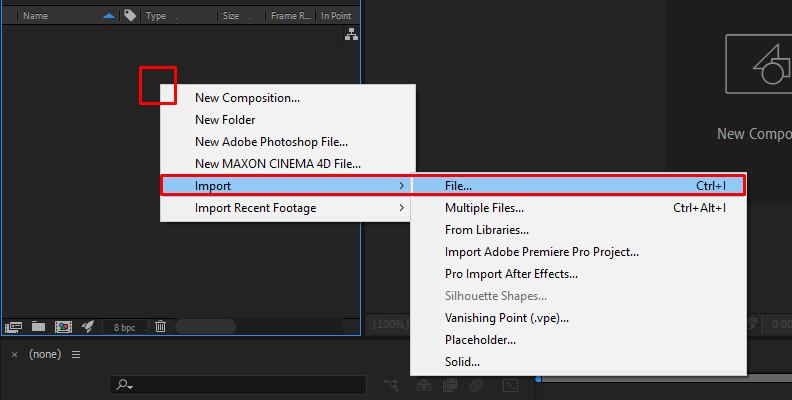
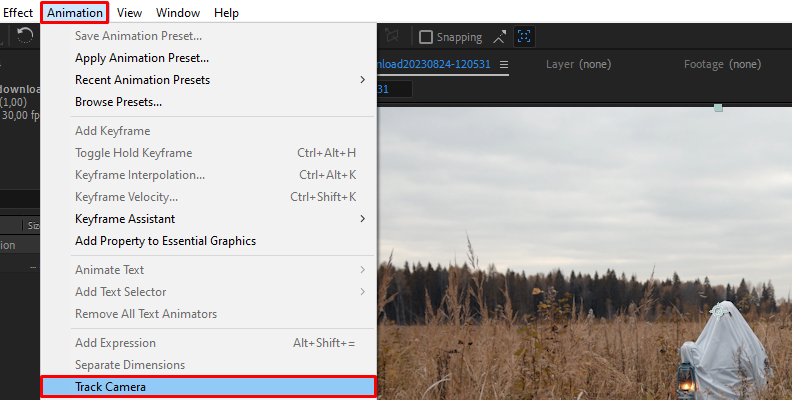
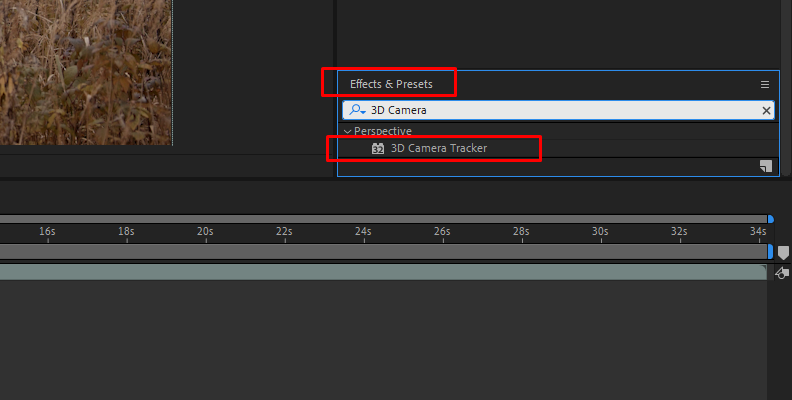
Select the layer with the original footage, go to the menu bar Animation, and click Track Camera. You can also add the effect from the Effects & Presets panel by searching 3D Camera Tracker and dragging it to your footage. It will start analyzing in the background as soon as you add it to your layer.
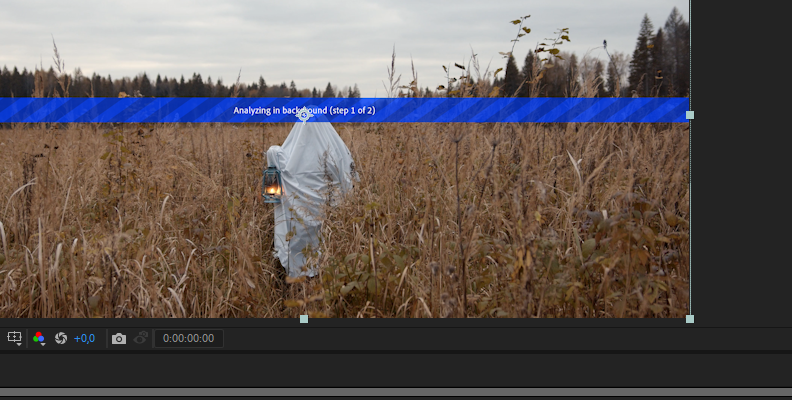
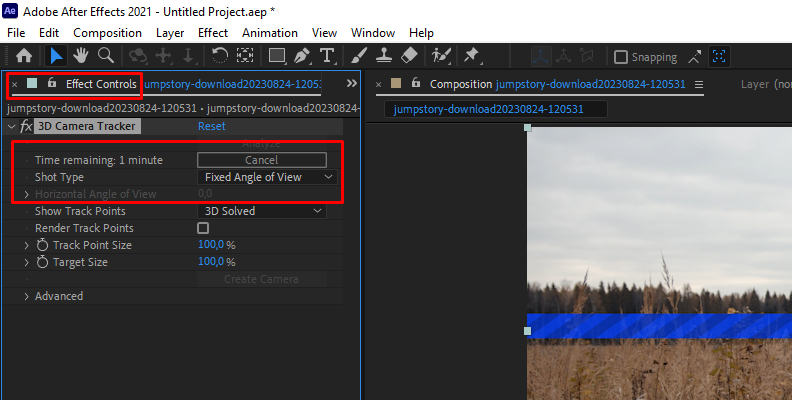
The process will involve two steps: analyzing the footage and solving the camera. Depending on your video footage, it may take some time (the longer the video, the longer it will take), so be patient.
When the analysis is complete, you'll notice your video footage has some colorful points all over your clip. These are called tracking points and will guide you on where to add graphic motion elements to your composition. You can check the Render Track Points box in the effects controls panel to render them with the effect.
You can specify the Shot Type to match your footage: fixed angle of view, variable zoom, or specified angle of view.

Analysis Solve Failed Error
It may give you an error if the video has many moving elements or the camera is unstable. If your video footage shows the Error warning, you can go to the Advanced submenu in the effects control panel and check Detailed Analysis.
This option analyzes your video again, but this time, it will pay more attention to the extra movement in the scene. The analysis will take longer than before, but the result will enhance the quality of your camera tracking.
Another solution if Detailed Analysis won't work is splitting your footage and working with a shorter clip.
Setting the Ground Plane
Once the camera is solved, you will see a red target display whenever you hover over the tracking points. This red target is your ground plane. You'll notice that the ground plane may shift its position when you hover over the tracking point. Ensure that it is flat to the surface where you're placing it.
If you have trouble finding a good spot, you can change the size of the tracking points and the target in the effects control panel. To place the ground plane, click and select a few tracking points, and the ground plane will stay in place. Right-click to open a menu to choose the element type to attach and create a 3D camera.
Attaching 3D Content to Your Video Footage
Now that you have your 3D camera solved, let's see how you can start adding elements to your composition using text, solid, and null layers.
Adding Text
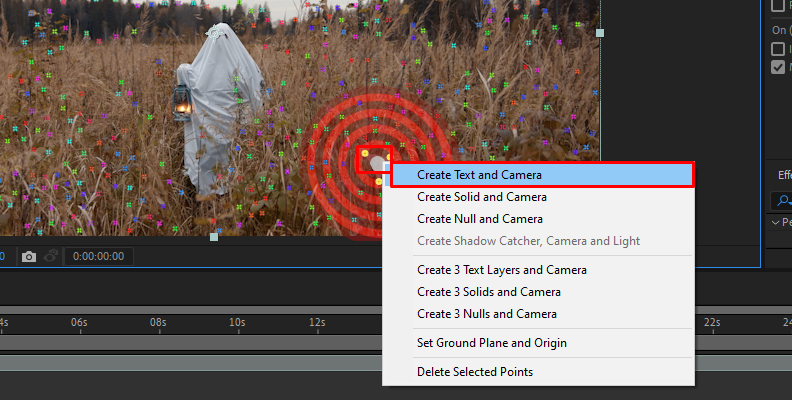
You can add text for a label, a location, names, and more. To create a new text layer, right-click the red target and select Create Text. You can change the text by double-clicking the text layer. Open the Transform options to adjust the size, positions, and rotation to fit your text into the scene.
Adding a Solid Layer
Right-click the ground plane and select Create Solid to add a new solid layer that you can use to replace it with a picture, a 3D object, and other graphics. Adjust its settings, and remember to pre-comp it if you're replacing it so you can make all the changes from the new composition.
Adding a Null Layer
Right-click the ground plane and select Create Null to create a null layer for the composition. Using the whip, you can use null layers as a parent layer to store properties and attach other elements to them so they share the properties and settings from the null layer.
Moving Target
If you need to move the red target to a different place in the scene after placing it, you can do it by moving the click to the center of the ground plane. You'll notice the cursor change to move mode (a black arrow with four arrows in a cross). When that cursor appears, click and drag the target and place it in the new location.
Unwanted Track Points
You can delete tracking points that you don't want. Select them by clicking and dragging the lasso around the unwanted tracking points. Then, right-click, select Delete Selected Points, or press Delete on the keyboard. The camera will resolve each time you delete tracking points.
During shooting, tracking markers are placed on the set to help 3D camera tracking in post-production. They serve as a guide for tracking cameras, but once you've set up tracking, those markers have no other use, and you need to remove tracking markers using different methods.
3D Camera Tracker Effect in After Effects Using Mocha from Boris FX
Mocha Pro from Boris FX is a planar tracker with a Camera Solve module to track and use the tracking data to create a 3D camera. Unlike the native 3D camera tracker from After Effects, Mocha Pro solves the 3D camera based on user-selected planes.
With Mocha Pro's Camera Solve module, you can create set extensions and add 3D text, 3D objects, particle effects, and more. You can easily track and solve the camera in Mocha Pro and export the data into After Effects to continue working on your composition.
To export the 3D camera solve data from Mocha Pro to After Effects, download the Mocha 3D Track Importer plug-in and put it in your After Effects Plug-ins folder.
Add Mocha Pro to your Footage Layer
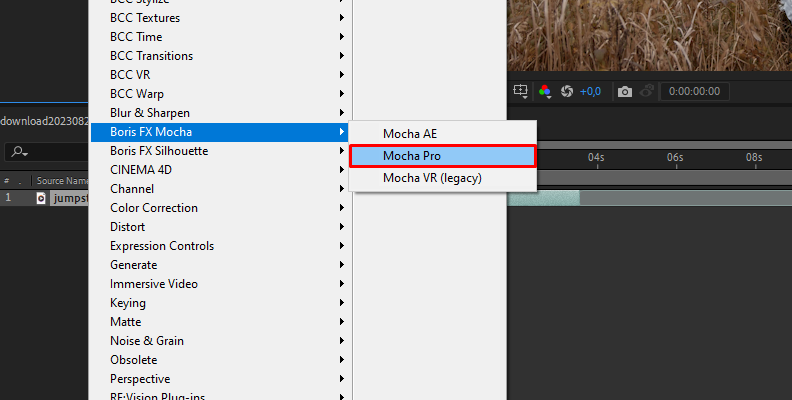
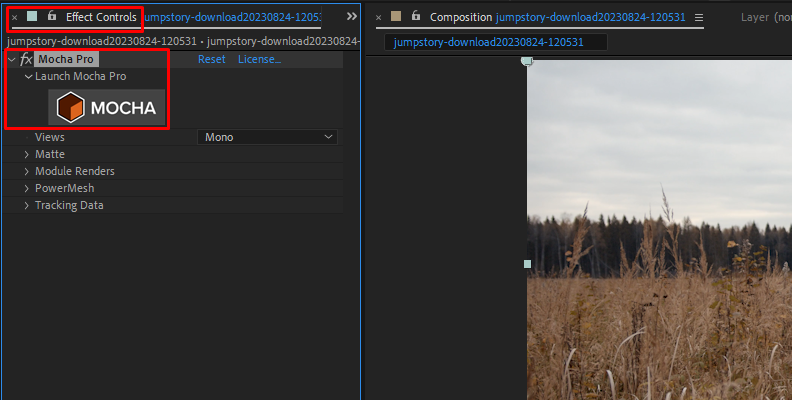
Create a new composition, select the layer with the video footage, and go to Effect > Boris FX Mocha > Mocha Pro. Mocha AE will allow you to track your footage, but advanced modules like Camera Solve are not included in the AE version. Click the Mocha button to launch Mocha Pro.
Track Planes
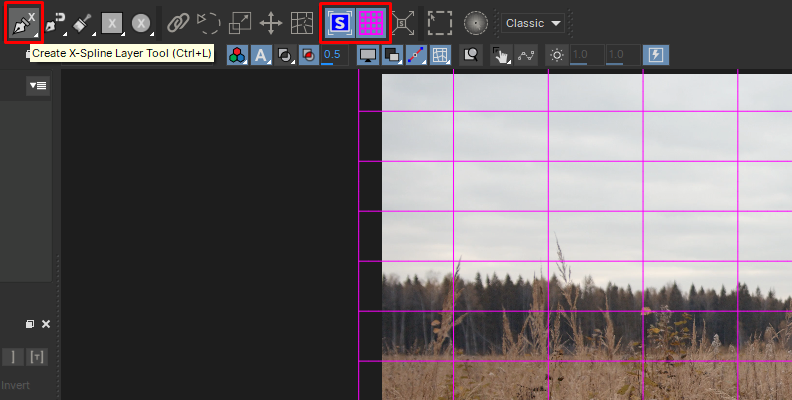
Select the planes that you want to track. Remember to track static objects for a better result. Draw the shape around the object and enable the planar surface and the grid to help you adjust the shape to match the ground perspective.
Choose your tracking modes: translation, rotation, perspective, etc. And click track forward. Preview the result and ensure everything is correct before proceeding.
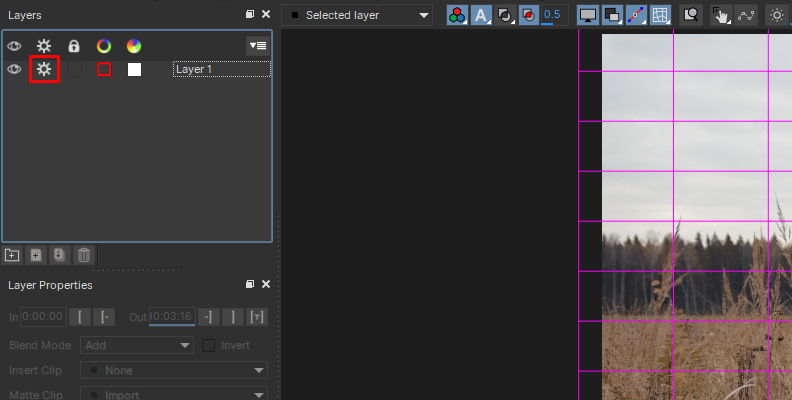
The more splines you create, the better the camera solution will work. Remember to click the cog for each tracked layer to turn off tracking and avoid tracking it again.
Solve Camera
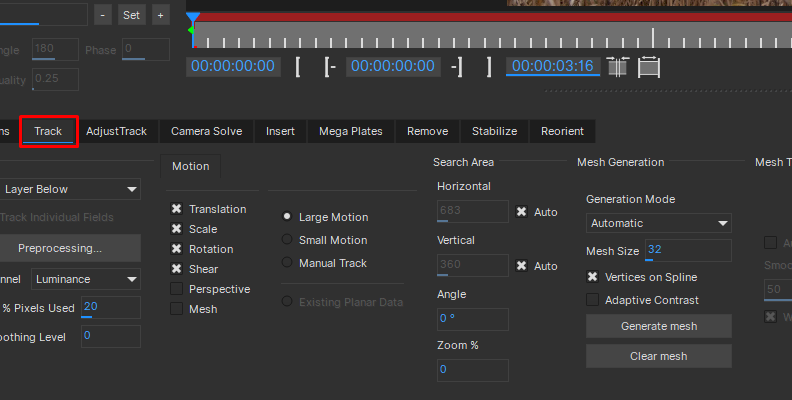
Enable the cog from all layers again, select the layer where you will place the element, and go to the Camera Solve module at the bottom of the screen. If you don't see the modules, go to the menu bar Workspace > Classic.
Mocha Pro offers three different types of Cameras:
- Pan Tilt Zoom is the equivalent of a camera on a tripod. Use it when the video has only pan, tilt, and zoom movements.
- Use Small Parallax when the camera is not fixed. It can move away from the subject with slight parallax in the scene and there are mid-ground planes that can be tracked.
- Use Large Parallax when the camera is not fixed and has trackable planes close to the camera.
Select one according to your type of shot, or use AUTO to let Mocha Pro analyze your footage and use the best option. You can also choose the focal length type and if there's a focal length variation in the scene. Click Solve and wait for Mocha Pro to solve the camera.
Export to After Effects
Select the layers used for tracking. If you made shapes for garbage matte or track moving objects, ensure they're not selected. Click Export Camera Data and choose Copy to Clipboard in the pop-up menu. Save the project and close Mocha Pro to return to After Effects.
Back in After Effects, go to Edit > Paste Mocha Camera. This option will only be enabled if you have the Mocha 3D Track Importer, so confirm it's in your plug-ins folder before doing the process. In After Effects, it will create a camera and null layers. Now, you can import your elements and add text and other graphics.
Final Words
Camera tracking is an essential technique for VFX artists. Combining After Effects and Mocha Pro Camera Solve module, you can track camera motion from your footage, even complex shots that the native 3D Camera Tracker effect from After Effects can't solve.
Download a Mocha Pro trial to try all the advanced features, including the Camera Solve module for your 3D camera tracker projects.
Good luck!


