Planar tracking is a motion-tracking method that follows a flat surface in your video footage. It allows you to corner-pin effects, stabilize footage, remove logos, and do screen replacements, and it can be way more accurate than using a point tracker.
In this article, you’ll learn how to use a planar tracker in DaVinci Resolve. I divided the tutorial into two main sections: using DaVinci Resolve’s built-in planar tracker and Boris FX's Mocha Pro.
Let’s dive in!
Planar Tracking in DaVinci Resolve
DaVinci Resolve features a built-in planar tracker that you can add from the Fusion tab. It also supports other third-party plug-ins, like Mocha Pro, a planar tracker used by professional visual effects artists around the world.
Planar tracking in DaVinci Resolve makes tracking footage with camera movement and perspective changes more manageable than keyframing or using a single point-tracking tool. You can later use the planar tracking data to remove objects, insert a different foreground image, add effects, and create other special effects for your videos.
How to Use Planar Tracker DaVinci Resolve
We’ll start with the first part of this tutorial with DaVinci Resolve’s built-in planar tracker.
Step 1: Import Video Footage
Create a new project or open an existing one. Add the video clip you want to track with the Fusion Planar Tracker into the timeline. Then, switch to the Fusion page, where you’ll work for the rest of the tracking process.
Step 2: Add the Planar Tracker Node
On the fusion page, click the Nodes button to see the node grid at the top of the screen. Then, right-click anywhere on the grid and click Add Tool. From the following menu, find Tracking and select Planar Tracker. Place the new planar tracker node between the other two nodes in the grid.
Use the shortcut Shift + Spacebar for quicker access and search “Planar Tracker.”
Step 3: Find a Reference Frame
When you apply the planar tracker node, you can begin to draw the shapes around the surface you want to track. Scrub the video clip to find a reference frame where the area you want to track is fully visible without obstacles. Now, draw a shape around the planar surface you’re tracking on the viewer.
Now, let's prepare everything for tracking.
Step 4: Setting Up Fusion Planar Tracker
Open the Inspector to start setting the planar tracker.
- First, select the Operation Mode to “Track” to track the movement of a flat surface.
- Next, you have the Reference Time. Here, you need to find the best frame and click “Set” to set the reference time positions with the current frame for the tracking. The frame number appears next to Reference Time, so you’ll know which frame you’re in.
- Next, you have to pick the Tracker. Choose between Point and Hybrid Point/Area. The best one to use will depend on your footage. Here are quick references on when to use them:
- Hybrid Point/Area is more accurate with high-contrast surfaces with minimal occlusions. If moving objects pass in front of the surface in the video, you'll need to create occlusion masks.
- The Point Tracker is faster and creates occlusion masks, but it may cause more jitter tracking data.
- Select the type of motion for tracking. You have different options and combinations such as Translation, Rotation, Scale, Shear, and Perspective.
- You can change the Track Channel to find if you have better contrast on a specific channel for more accurate tracking.
- The last step is tracking. Use the Track forward and backward buttons to track the footage.
Step 5: Review Tracking Data
Play the video to see if your tracking is correct. You may find a few issues, like a person or moving object obstructing the surface. If so, connect a mask node to the Occlusion Mask in the planar tracker node. I highly recommend creating occlusion masks when you track with Hybrid Point/Area.
Another thing to review at this stage is the quality of your tracking. You can use the other Operation Mode, such as Steady, to remove distortions and jitters from the flat surface. When everything is ready, you can proceed to click Create Planar Transform to add a new planar transform node into the flow with the tracking data.
If you’re tracking for a screen insert, change to the Corner Pin mode and adjust the four points to where the replacement will be. Then, import the new image and connect it to the CornerPin point (green arrow) in the Planar Tracker node.
How to Use Planar Tracker in DaVinci Resolve with Mocha Pro
Mocha Pro is an Academy Award-winning software for planar tracking, motion tracking, masking, object removal, stabilization, 3D camera solves, and rotoscoping. It's available as a standalone application or a plug-in for DaVinci Resolve and other compatible hosts.
I’ll show how to work with Mocha Pro in DaVinci Resolve for Planar tracking. I’ll provide the steps to use Mocha Pro as a plug-in, but once in the Mocha Pro user interface, the steps are the same for the standalone version.
Step 1: Set Up a DaVinci Resolve Project
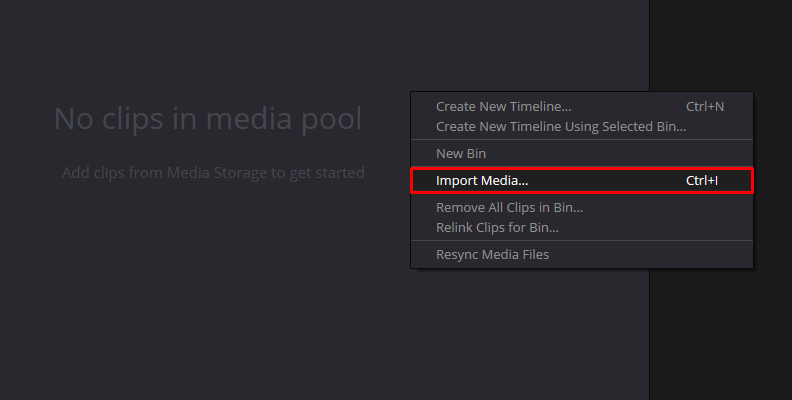
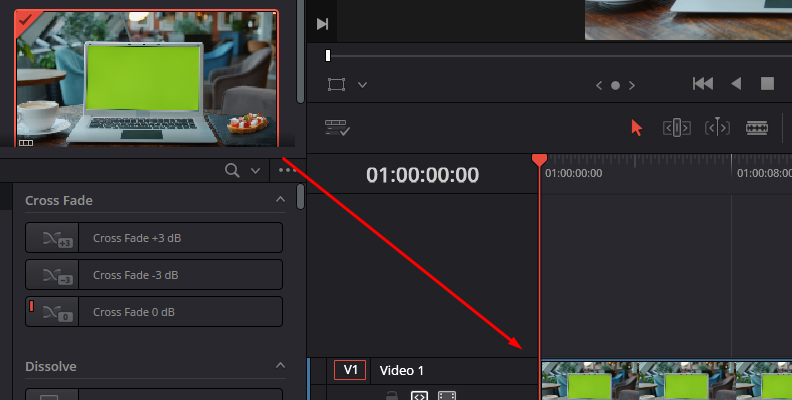
Start a project and import your video clips into DaVinci Resolve. Create a new timeline and switch to the Fusion page.
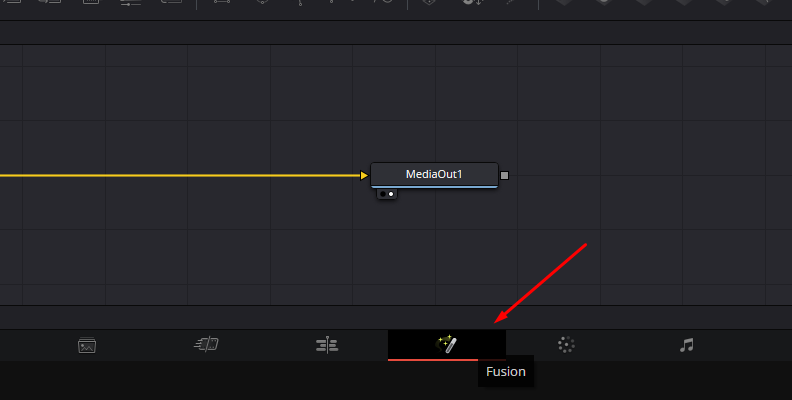
Step 2: Apply Mocha Pro as a Plug-in
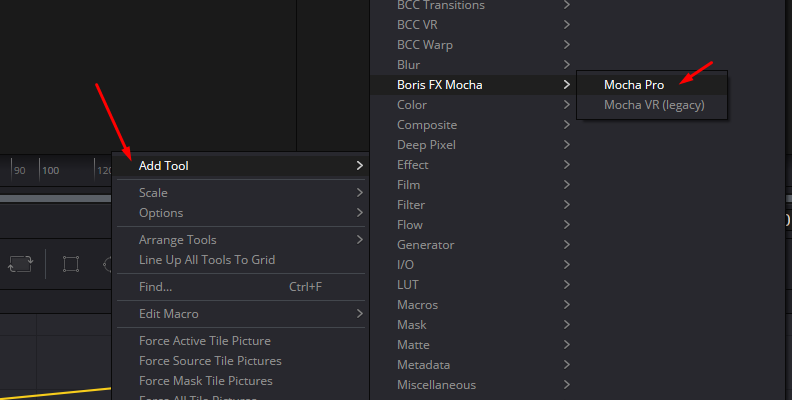
On the Fusion page, right-click the grid and select Add Tool > Boris FX Mocha > Mocha Pro. You can also use the Shift + Spacebar keyboard shortcut to search for Mocha Pro and add the node to the workflow.
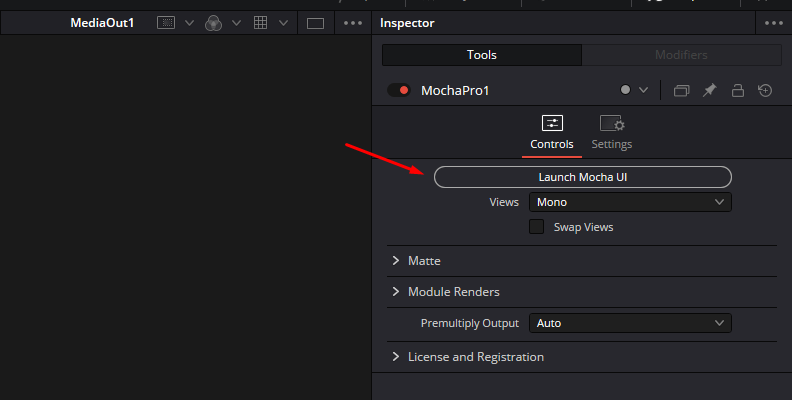
You won’t see many settings on the Inspector because everything will be done over the Mocha Pro UI. Click Launch Mocha UI to proceed to the following steps and actual tracking.
Step 3: Setting Up Mocha Pro for Tracking
When you enter Mocha Pro, your video footage will be imported into the viewer. Now, you're ready to start creating shapes for tracking. Mocha Pro offers multiple workspaces depending on the type of work you need; the Essentials workspace (which is the default) will be fine for planar tracking.
Your spline tools are in the toolbar below the upper menu. Pick a spline tool or shape to begin masking. Mocha Pro features x-splines, bezier, magnetic, free hand, brushes, and rectangle and ellipse shapes.
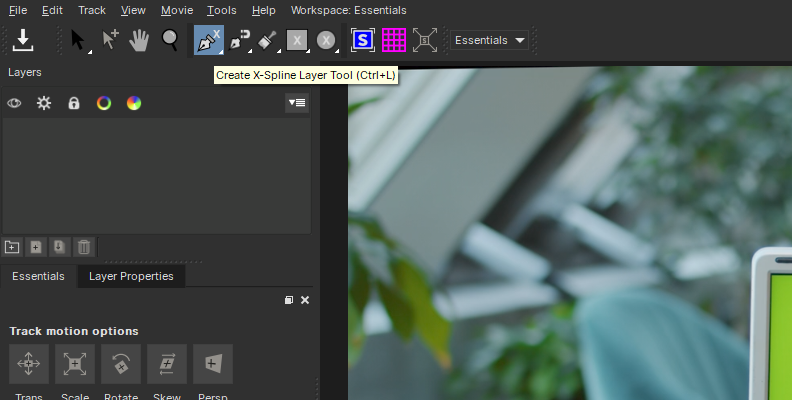
Using the player control on the bottom of the viewer, find a frame where the surface to track is visible and start drawing around it using the spline tool. A rectangle works better for planar tracking. After you draw the shape, you can move it, resize it, and move the corner to adjust it to the area you want Mocha to look at.
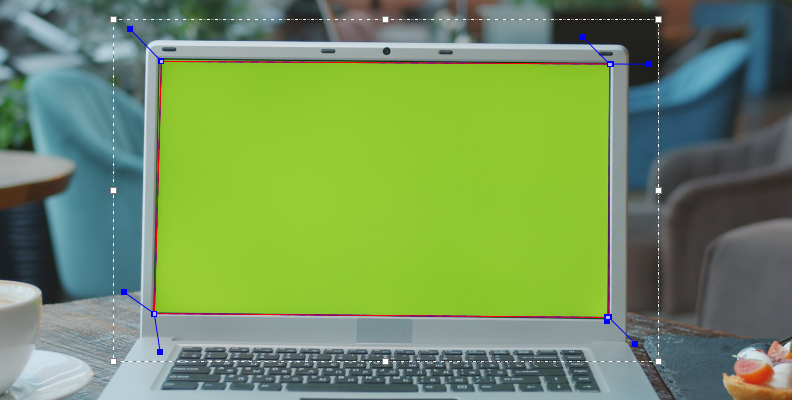
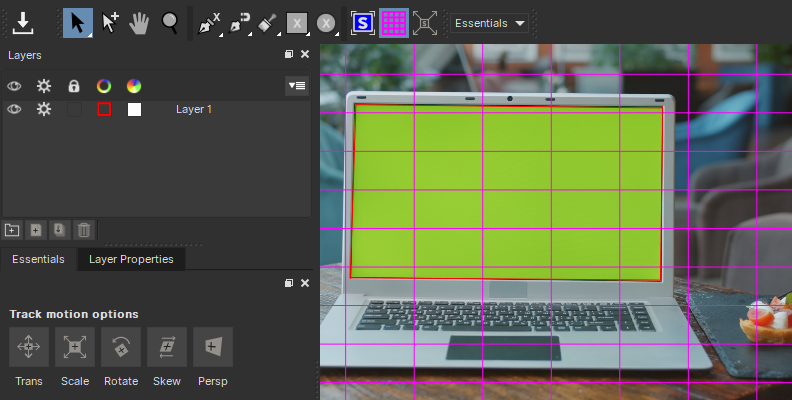
Remember to find a frame without blocking the surface and with good lighting and contrast. Don't worry if it's a frame in the middle, as you can track forward and backward. The shape will appear as a layer on the layer panel on the left, where you can rename it. If you need to create an occlusion mask, you can make more layers and label them.
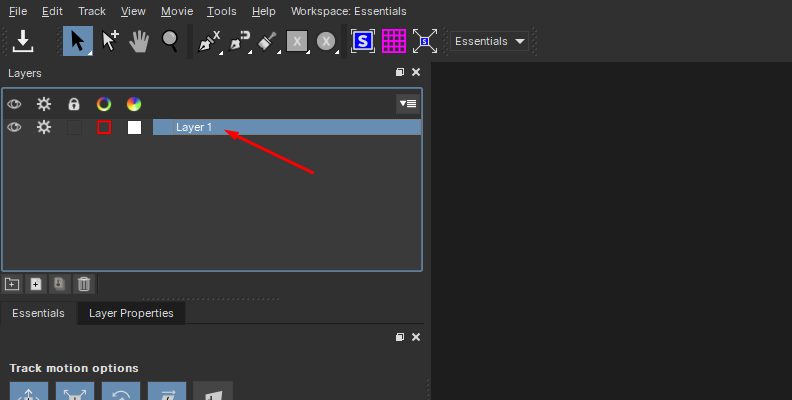 TIP: When tracking in Mocha Pro, always arrange the layer from the foreground to the background. If a person is walking over the surface of your tracking, draw a shape around the person and place it at the top of the layer panel.
Turn on the planar surface tool and adjust it to the flat surface you are tracking. It will show you what the tracking is doing. Activate the grid to monitor the accuracy of the tracking data.
Step 4: Tracking With Mocha
After setting the shape layer, go to the Track Motion Options (below the layer panel if you are in the Essential workspace). Mocha Pro lets you track Translation, Scale, Rotation, Skew, and Perspective. Select from right to left. If you want to track everything, select Perspective, and it will choose everything in that order.
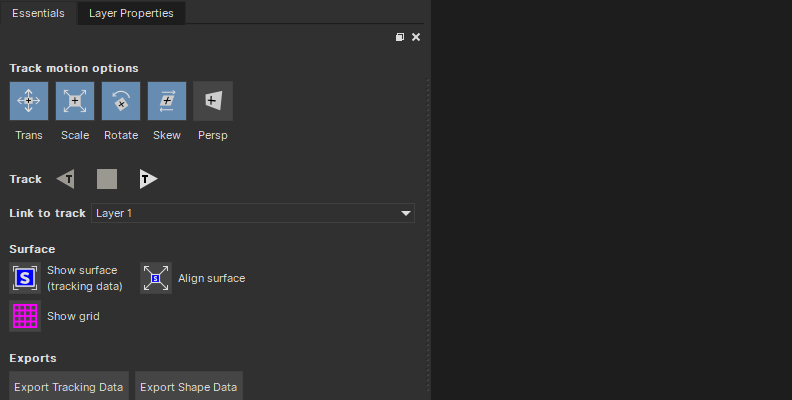
Now, hit the track forward or backward button to begin tracking.
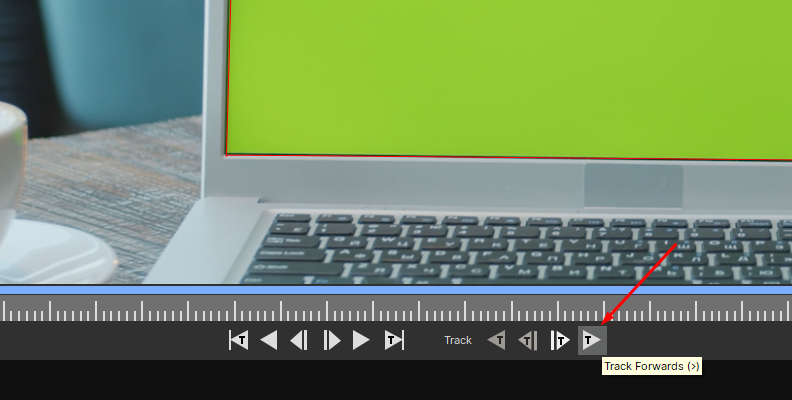
Depending on the video's length, it may take several minutes to complete. When it's done, playback the footage to see the tracking. You can manually adjust it if the shape moves too much from the target. If, during the tracking, you notice a lot of movement, stop the process and adjust the tracking path.
Now, you can use Mocha Pro modules to insert, remove, stabilize, or export the tracking data. To render in Mocha Pro, you must change to the Classic workspace to see these options.
Step 5: Export Tracking Data
To export the tracking data to DaVinci Resolve, click the File menu > Save, and close Mocha Pro. If you try to close the Mocha Pro window without saving first, it will ask you to save before closing it. You can also choose to export the tracking data from File > Export Tracking Data and select which software you want to export.
When you return to Fusion, the tracking data will be in the Inspector settings.
Final Words
The advantage of Mocha Pro is that you can export your tracking data to use in the standalone version or with different software that supports Mocha Pro as a plug-in. It's more accurate for tracking partially or fully blocked objects, and it can identify when small changes or occlusions occur and ignore them from the tracking.
Download a Mocha Pro free trial now and find out what else you can do with this powerful planar tracker.
Happy tracking!


