


Synchronizing audio and video is one of the most common tasks an editor will encounter regardless of skill level. Even when receiving material from a renowned production or a professional film-making studio, the inconvenience of a desynced audio and video is still quite common.
Luckily, this task isn't as complicated and time-consuming as it once was, as most modern editing programs offer ways to either fully or at least partly automate the process.
This guide will focus on syncing audio and video clips using Adobe Premiere Pro, one of the world's most popular editing programs. If you want to learn more, now's the chance to dive deep into this interesting topic.
Without further ado, let's get straight into it.
Reasons Why Video Can Be Out of Sync With Audio
Before getting into the methods and all the technicals of syncing an audio clip/audio track with a video clip, we first need to clarify why this is even a problem in modern times when we have expensive and advanced technology that should deal with such inconveniences for us.
First, if you're relatively new in the world of recording content, you're probably wondering why syncing is even a thing when you can just record with audio, import the clip already synced into the editing software, and just edit away.
Well, the reason is that usually, at least on professional levels, audio and video are recorded separately. Sure, the camera records audio, but usually there are multiple microphones for specific purposes and the audio recorded from them is what's used in the final product.
For example, if you're recording a person talking from a bit further away, chances are the environmental sounds, whether those are cars, birds, or just the wind, will turn out to be louder than the person itself. In such cases, the person talking will have a separate microphone on them solely for recording their speech. If there are multiple people in the scene, all of them might have a separate microphone.
Then, there's also the possibility for audio and video to be recorded at completely different locations. For example, the person in the scene might be talking and going through the script, but that's only so that the audio can be lip-synced and look real afterward. The audio that's used in the final product may, and often is, recorded in a studio.
Another example is music videos. The singer of a band may seem like they're singing the lyrics of the song at the scene, and they are, but that's not the audio you're listening to when watching the music video. The "real" audio is recorded in the studio and then synced with the video. This is to ensure much better quality and cleanness.
In some, though rarer cases, there can be recording issues related to different capture rates or latency issues that cause the audio to be desynced from the video. Even if such issues cause the desync to be only a few frames or seconds, if there are hundreds of clips, it's quite a bit of work to sync them all.
With that said, regardless of what the problem is, the section below will help you sync the video and audio with ease, so let's take a look at how you can do that.
How to Sync Audio and Video in Premiere Pro
Premiere Pro is one of the most popular video editing programs, used for both amateur and professional work. If you are an editor, chances are you've already had a chance to work with this software.

Even if this is your first task as you've just started editing, worry not, as both Premiere's friendly UI and our in-depth tips will help you sync video and audio in your clip with ease.
Here's what you need to do:
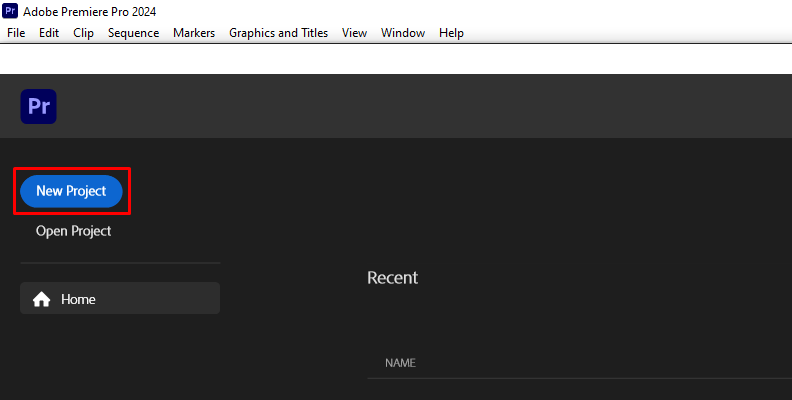
Step 1: Launch Premiere Pro and Create a New Project
The first step is to launch Premiere Pro on your PC and create a new project. Once the software loads, you can see the New Project button on the home screen. Use it to create a new project. Select your preferred settings, give it a name, and finalize the process.
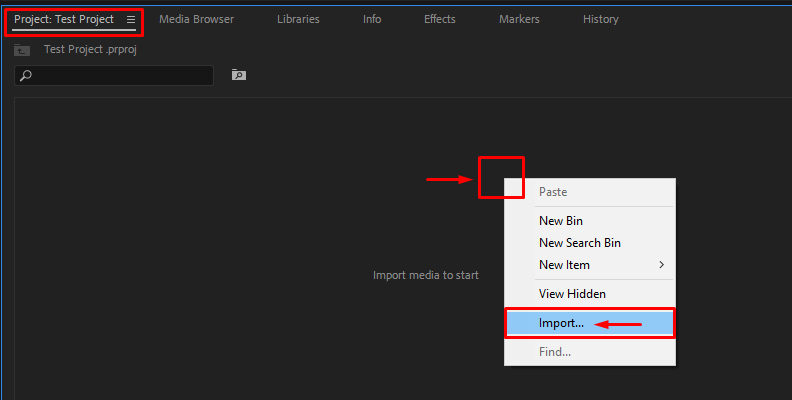
Step 2: Import the Media You Want to Sync
Once you finalize the creation of the new project, you'll see the software's interface, and this is when you need to import media.
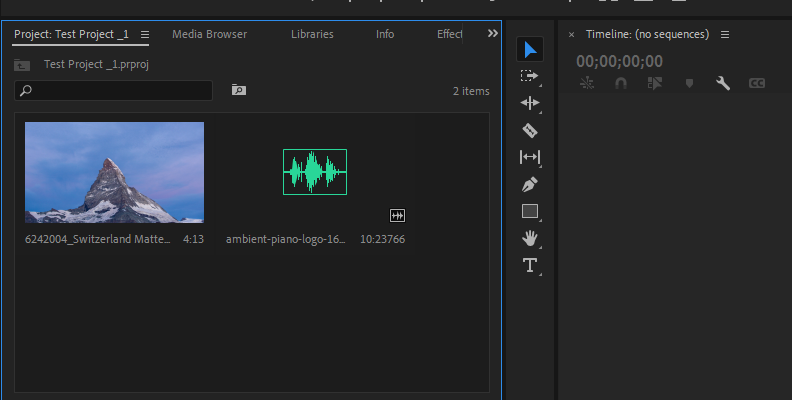
To import the clips you want to sync, navigate to the Project tab, then right-click the empty area where it says "Import media to start" and choose Import from the list of options.
Select the files on your computer and import them into the software.
Now, you should see the imported files within the Project panel, as shown in the image below.
Step 3: Merge the Clips Using the Merge Clips Function
One of the ways to sync video and audio clips together within Premiere Pro is by using the Merge function.
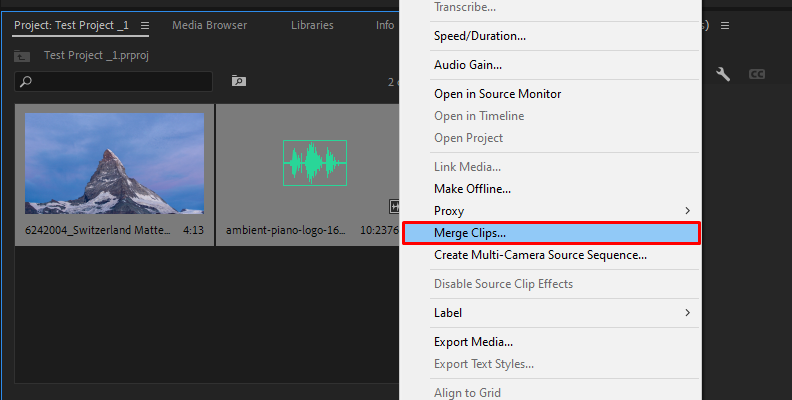
To use it, select a video clip and the audio clip matching it, then right-click one of the files and choose the Merge option.
Once you click merge, you'll see a panel that lets you choose the synchronization point.
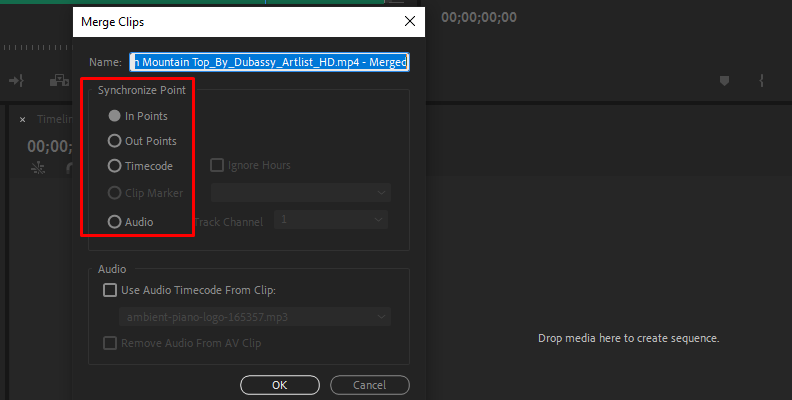
Select what works best for you, then select the "Use Audio Timecode From Clip" option below. Choose the original camera audio track from the clip as a reference track, then select the "Remove Audio From AV Clip" option below, which will remove the reference audio once the sync is complete, and click the OK button.
You can also change the name of the merged clip in this panel. This won't change the original file name.
Whatever name you add, you will see that name in the Project panel when browsing your files. If you leave the original, you will see the same but with the extension "merged" added at the end of the name making it easier to distinguish.
Optional: Sync Audio and Video Files Manually
You can also sync video and audio files manually. This is good practice to better understand how the process works, and also helpful when you're experiencing issues with the automatic features.
Let's say you recorded audio with your camera, but also had a dedicated microphone with better sound quality and are planning to use that audio with your video track in the final product.
What you need to do is import the video clip with its original audio, and then import the separate audio clip for that video that you recorded using a separate microphone.
Next, lay them out on your timeline by dragging and dropping them from the "Project" tab onto the timeline area.
Use the controls on the right to expand the view so you can easier spot the details and similarities in the soundwaves.
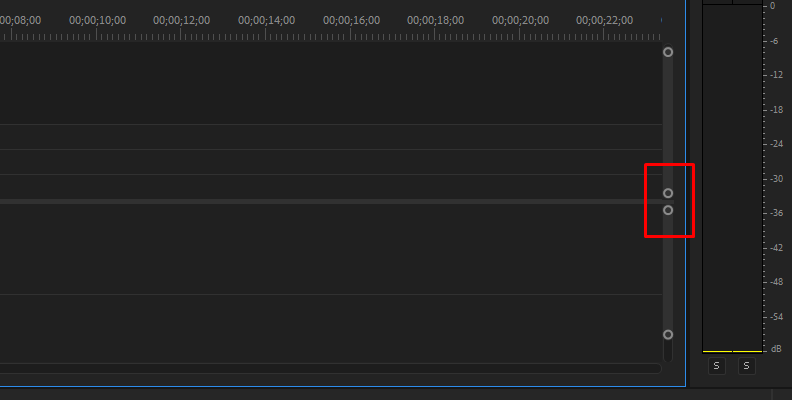
You can also zoom in on the timeline by clicking on it and then using the "+" and "-" buttons on your keyboard.
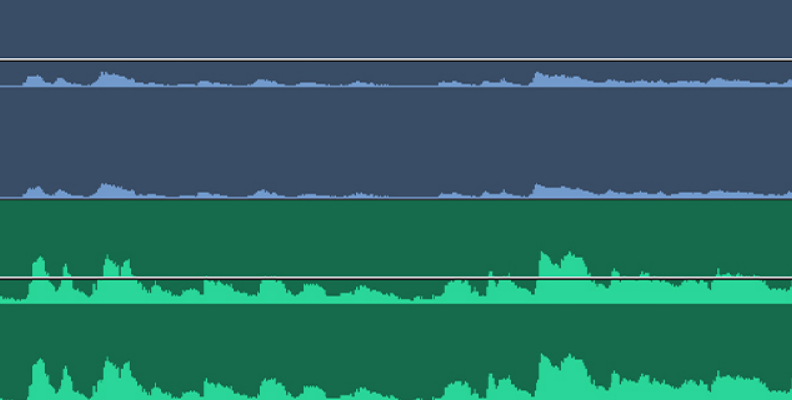
From here, all you need to do is move the audio recorded from your microphone left or right on the timeline to match the soundwave of the original audio recorded by the camera.
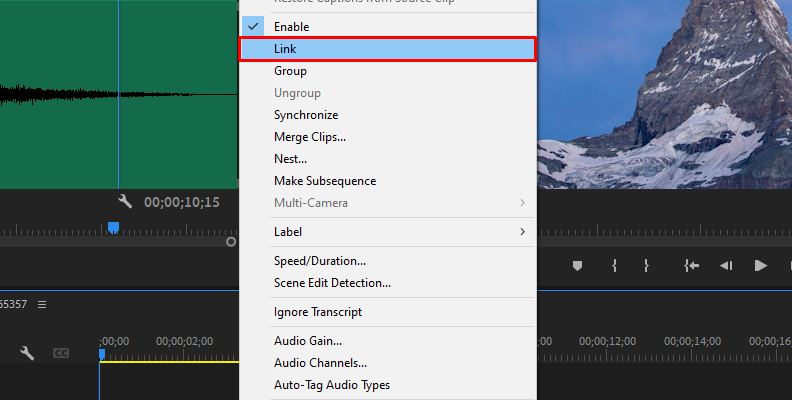
When done, click on your original clip and use the Unlink button to separate the video from the audio track. Then, select and delete the original audio from the camera, move the one from your microphone one video track above so that it's right under the video, and then select them both and link them using the Link option.
Now the video you recorded has the less-quality audio clip removed from it, and the much better microphone audio linked to it, fully synced, and ready to edit.
How to Sync Multiple Audio Tracks in Premiere Pro
Some video tracks can have multiple audio clips if, during the recording process, multiple microphones were used for the shot. Thankfully, Premiere Pro allows us to sync up to sixteen audio tracks with one video clip.
The process is essentially the same as shown in the previous section, where we merged clips using the Merge Clips function. You can also set the video clip with its on-camera audio on the timeline, and below it, on the audio tracks, add all audio clips manually, instead of doing it from the Project tab.
Then, when everything is laid out on the timeline, select the video clip and all audio clips, right-click them, select the Merge Clips option, and within the merge clips dialog box, choose the correct reference audio clip, which in most cases is the original on-camera audio.
Please keep in mind that the limit of sixteen audio tracks to one video track can be easily met since stereo audio is two audio tracks and 5.1 surround is six.
Final Words
That covers everything you need to know about synchronizing audio and video clips in Premiere Pro, both manually and using the Merge Clips function.
Keep in mind that it's always good practice to have some sort of visual cue, such as a clap with hands, and an audio peak point caused by it when recording so that you can have a much easier time syncing later on in post-production. It's much easier to find the differences in the soundwave when there's a large peak at the beginning that you can refer to.
FAQ
This section contains frequently asked questions and answers on this topic.
How do I keep audio and video connected in Premiere Pro?
Once you add a video clip with audio in Premiere Pro, you can drag it around the timeline along with its audio track, as they are automatically linked. However, if you add a separate video and audio clips, you can connect them by selecting both and right-clicking them, then choosing Link from the list of options. This way, you can use the file as if it was one. You can unlink them by doing the same just choosing Unlink from the list of options.


