


Animated backgrounds are more prone to attract and retain the viewers' attention and will make your content more entertaining and visually attractive, whether it’s YouTube videos, posts on social media, presentations, streams, lyric videos, desktop wallpaper, or your website.
In this article, I’ll show you how to make animated backgrounds, from the simplest methods to the more advanced and professional ones.
Let’s dive in!
How to Make Animated Backgrounds
Nowadays, you can find a plethora of tools to create animated backgrounds. Here, I'll summarize the ones I found more accessible for all skill levels.
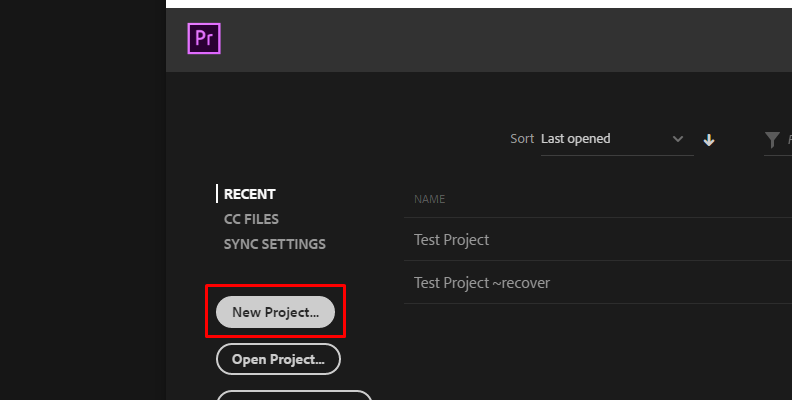
Method 1: Canva
Step 1: Create a new design with the size that you want.
Step 2: Choose your background color. You can pick a solid color, a gradient, or a custom image.
Step 3: Add shapes in different forms and sizes and animate each with a different animation. You can also add any other gif or custom image and animate it.
Step 4: Duplicate the layer and change the animation. Duplicate again and change the animation so it feels like the elements are moving. Play the video and keep adding or changing components and animation.
Step 5: Press Share and scroll down to Download to select the export file type. You can export your animated background as an MP4 video or GIF.
Step 6: Click Download and wait a few minutes. Depending on your settings and layer, the download time can vary.
Method 2: Animaker
Step 1: Create a new design. Start by changing the background color. Click the plus on the right to add a second color to create a gradient color.
Step 2: Add elements to the design from the properties section. You can add shapes or search for something specific, like animals, and add a few different ones. You can change the color and size to create some variety in the image.
Step 3: Animate the scene. Select an object and click on Smart Move. You can select a preset animation or add a custom animation to the object by moving the point to direct the animation.
Step 4: You will see two keyframes at the bottom of the timeline. The first represents the animation's start, and the last keyframe is the ending. Move the keyframe to set the duration of the animation.
Step 5: Preview the animation and click Publish to download your animated background as a video or GIF image.
Method 3: Stock Footage
This method feels a bit like cheating, but you can create a good, animated background from stock video footage too!
Step 1: Download stock video footage from libraries such as Adobe Stock, Envato Elements, or Pexels.
Step 2: Import the stock footage to your video editing software.
Step 3: Edit your video, adding text and graphics.
Step 4: Add effects, such as dissolves, zooms, color correction, lens flare, etc.
Step 5: Render and export your video.
How to Make Motion Backgrounds with Sapphire Plug-in
The fourth method is using the Sapphire Builder effect to create motion backgrounds. Use Sapphire with After Effects, Premiere Pro, DaVinci Resolve, Vegas Pro, and Avid Media Composer, among other hosts.
With Sapphire Builder, you have access to a tool that allows you to create custom effects, transitions, and animated backgrounds from scratch. It features over 300 customizable presets for motion backgrounds.
Method 4: Sapphire Builder Effect
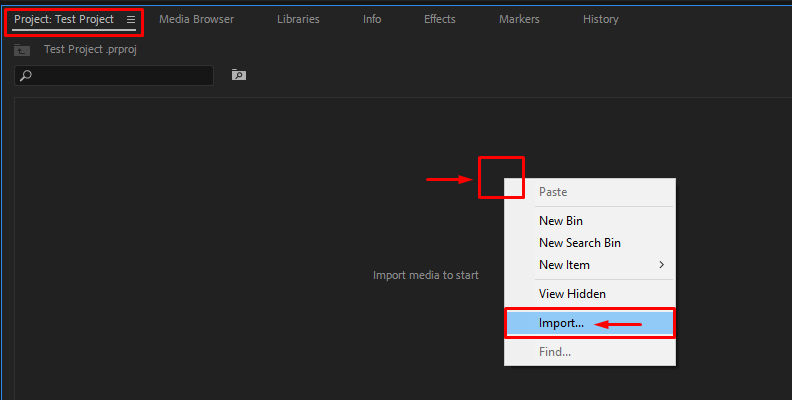
Step 1: Set Up Your Project
Create a new project in your composition software. To apply the Sapphire plug-in, create a solid layer, adjustment layer, or similar, depending on your video editing software.
For this specific example, we'll use Adobe Premiere Pro, so keep in mind that the steps may slightly vary based on which host software you choose, as they all have different user interfaces.
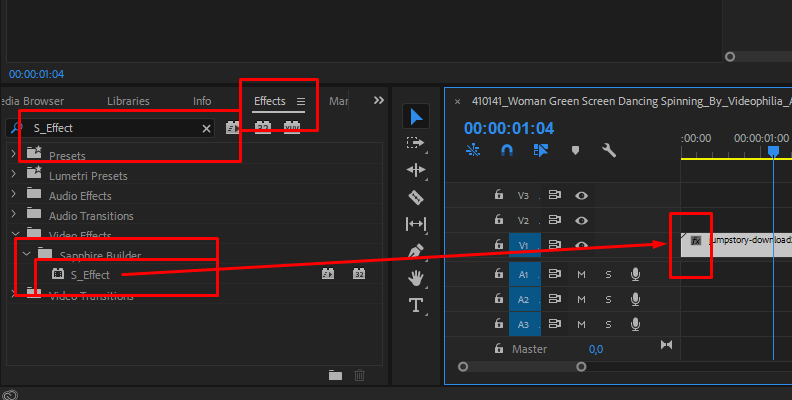
Step 2: Add the Sapphire Builder Effect
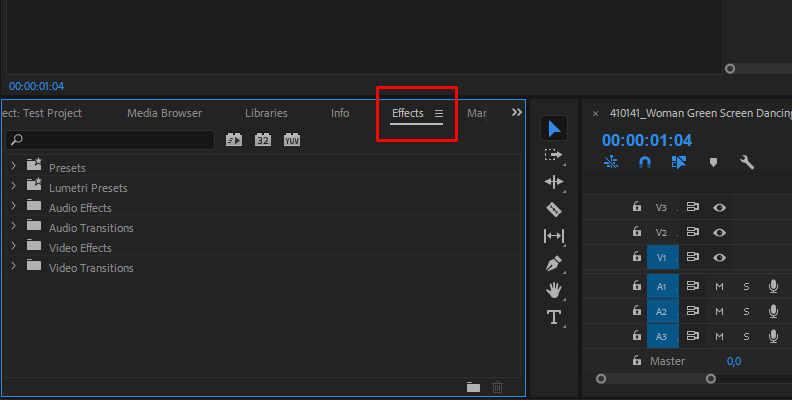
Open your effects library and search for the Sapphire Builder effect 'S_Effect.' Sapphire Builder will not do anything because it’s not a standalone effect, but it will allow you to open the Sapphire Builder to begin shaping your animated backgrounds.
Step 3: Starting with Presets
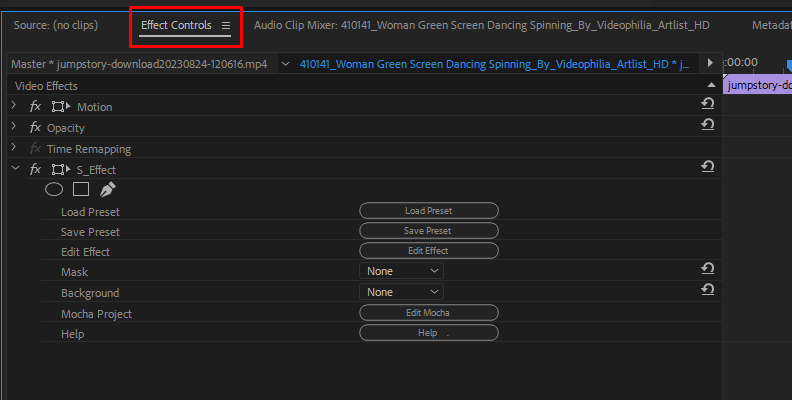
If you open your effects controls, you’ll notice there’s not much there. Everything’s easier if you start with something that’s already been built. Select Load Preset to launch the S_Effect Preset Browser.
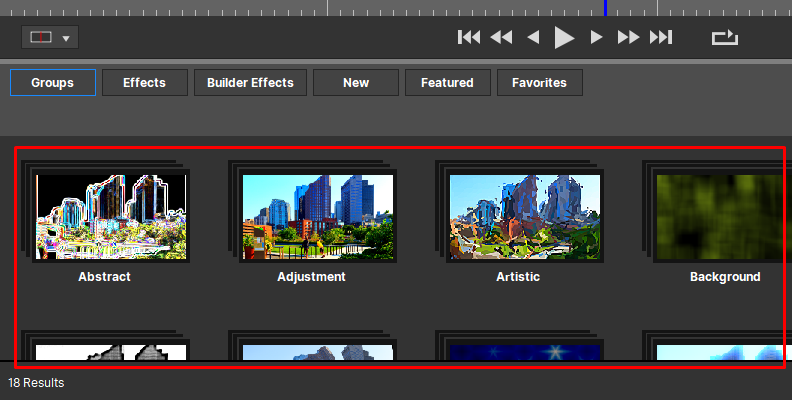
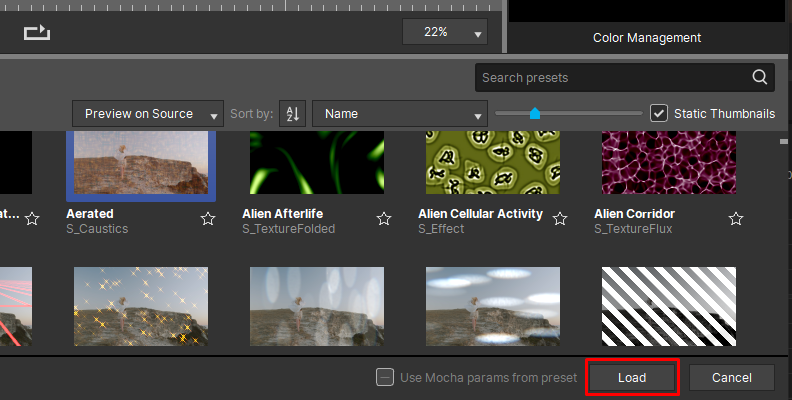
There are so many presets to experiment with, so a good option could be going into the Background category directly, where you will find more than 500 background presets, including static and animated backgrounds.
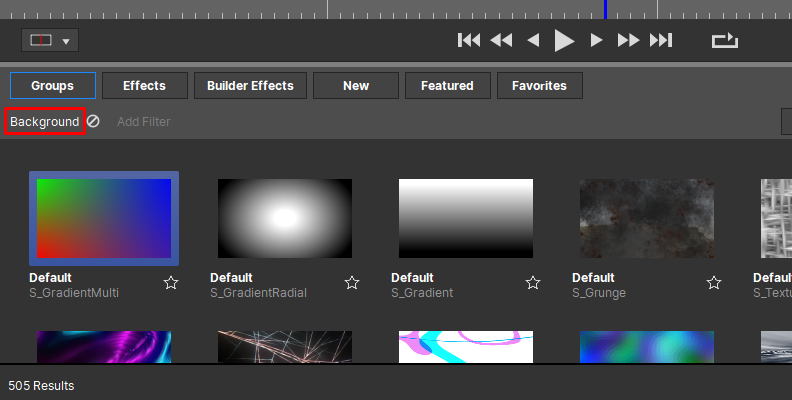
It could take hours to explain each preset, so I suggest you check them out yourself. The Instant Motion Background preset is a good start. It was built as a plug-and-play shortcut to create an animated background.
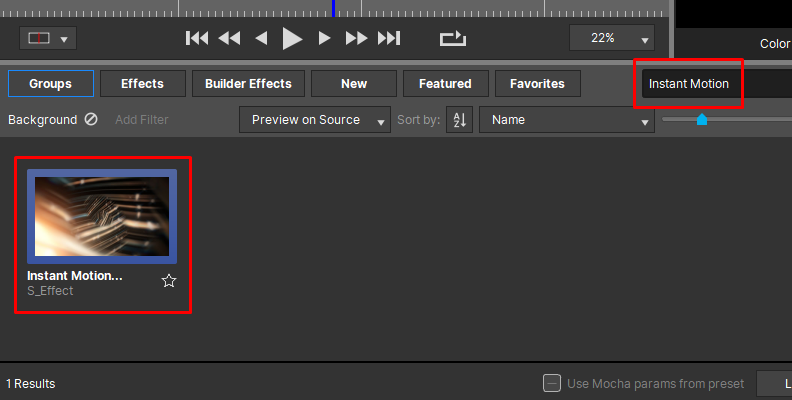
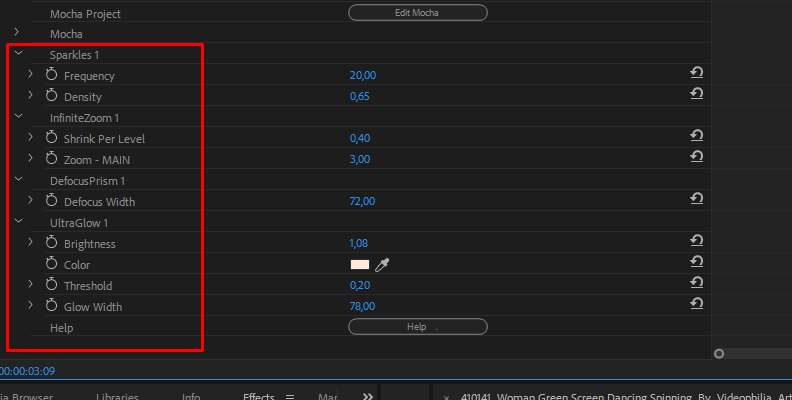
You can explore other effects in the Presets Browser: Aurora, Caustics, Clouds, and Sparkles can provide great results for your animated background. You can search for a specific preset, color, shape, author, etc. Preview the presets by selecting them and scrubbing the timeline. When you find the one you want, click Load to return to your host.
Step 4: Edit In Sapphire Builder
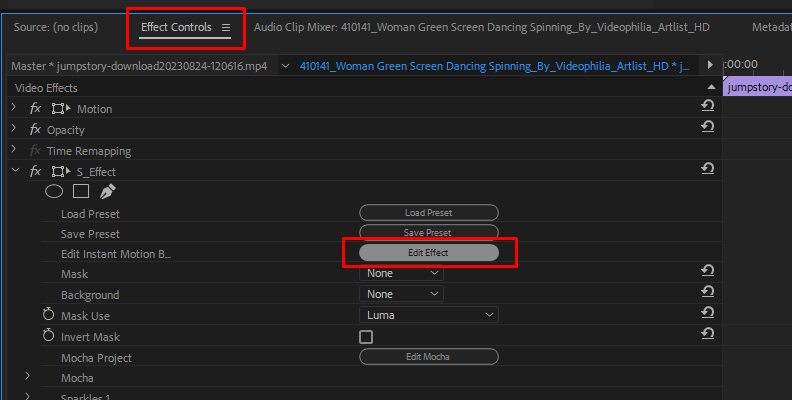
Back in your host, you will see the preset in the effects control with a few parameters. That’s just the foundation for your animated background, but it’s fully functional if you want to use it as it is and only adjust some parameters to call it a day. Still, if you like tweaking things and seeing more of the preset's parameters, go ahead and finetune the effect.
Click on Edit Effect to launch the Effect Builder. The Effect Builder has a node-based interface where you can see how the preset was built and what effects and generators are included. You can adjust their settings, make changes, or replace an effect for another.
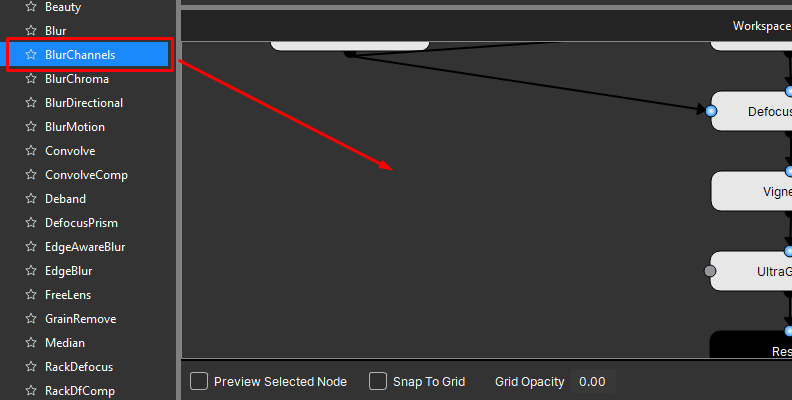
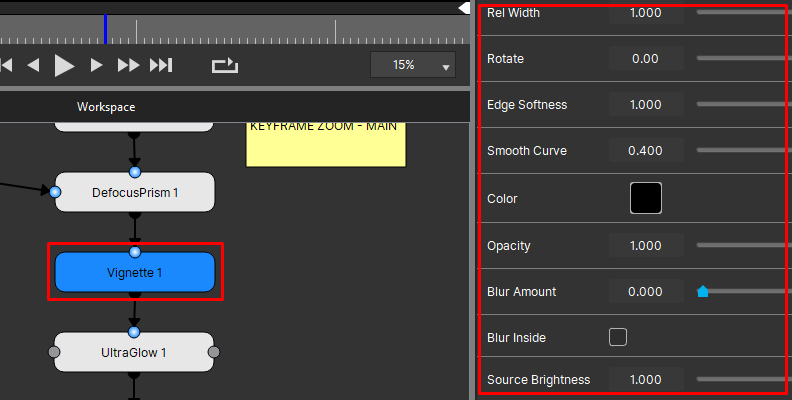
To change an element, browse from the list on the left side and drag it to the node interface. Select a node, adjust its parameters on the right, and preview your work. For each node, you can select which settings you want to export to adjust them directly in your host by checking the box next to each parameter.
Once you have the animation you want for your background, click OK to return to your host application.
Step 5: Edit in Your Host
Now, you can see the parameters you select on your effects panel. You can continue to edit your animated background in your host. Animate parameters, add text and other motion graphics if you want to, and add other effects and filters.
You can save the animated background as a preset for future projects, use it in another supported host, or share it with your team to keep a uniform look for your business. Click Save Preset in the effects controls and type your name, author, and description for your background. Click Export to save the file to share it, and click Save to keep the preset in Sapphire.
Step 6: Render and Share
Now, you should have an animated background ready and a preset to use and customize for the following projects.
PRO TIP: Make an Animated Background Using After Effects
Since After Effects is one of the composition software most used for graphic motion and animation, I’ll show you two other simple ways to create animated backgrounds using only After Effects tools.
Method 5: Pattern Animated Background
Step 1: Create a new composition. Go to Layer > New > Solid to open the solid settings dialog box. Name the solid layer, pick the background color of your choice, and click the Make Comp Size button to adjust the size to your main composition.
Step 2: Use the text tool to write any symbol, letter, or number that will be your pattern and center it. Choose your preferred font type, style, and size from the Character parameters. Align your pattern horizontally and vertically.
Step 3: Once you have your pattern, right-click the text layer and select pre-compose. You can name the new composition Pattern.
Step 4: Open the new pre-composition and go to Composition > Composition Settings. Set the width and height to 100 and click OK.
Step 5: Return to the main composition. Go to Effects & Presets to search for the Motion Tile effect and apply it to the pre-composition layer with the pattern. Increase the Output Height and Width slider to expand your symbol across the screen.
Step 6: Move the playhead to the start of the timeline and click on the stopwatch next to Key Center to keyframe it. Move the playhead a few seconds and change the center's value to move the pattern.
Step 7: You can change the pattern any time you need from inside the pre-composition and animate rotation for a more dynamic look.
Step 8: Render and export.
Method 6: Gradient Animated Background
Step 1: Create a new composition. Go to Layer > New > Solid to add a solid layer and adjust the settings in the solid settings dialog box. Color doesn’t matter this time, as you'll create a gradient.
Step 2: Go to Effects > Generate > 4-Color Gradient. You can select your four colors for the gradient in the Effect Controls panel.
Step 3: Create an adjustment layer in Layer > New > Adjustment Layer. Go to your Effects and Presets and apply the Motion Tile effect to the adjustment layer. Raise the Output Height and Width slider and turn the Mirror Edges On by checking the box. Output Width and Height may be adjusted later if you need to fill the screen after the other effects you’ll be applying.
Step 4: Go to your Effects & Preset and apply Turbulent Displace to the adjustment layer. Here, you can change the Displacement type from the dropdown menu. Vertical, Horizontal, and Cross gives good movement animation. Play with the amount, size, and complexity.
Step 5: Apply the CC Smear effect to the adjustment layer. Here, set the reach to where you want the effect to move and the radius to expand it and make it look wavy. Finally, keyframe the From and To settings to distort the background animation.
Step 6: Add the Twirl effect and adjust the twirl radius. Keyframe the Angle to add motion.
Step 7: If you want, you can go back and adjust settings to create another type of animation.
Step 8: Render and export.
You can apply the same principles to different effects to create other animated backgrounds in After Effects. Some other effects you can experiment with are the Cell Pattern and the Checkerboard effect.
Final Words
You can now create animated backgrounds, both basic and more complex ones! If you’re ready to take your artistry to the next level, start creating custom animations and designs with Sapphire and After Effects. If you are a content creator, work with motion graphics, or like experimenting with compositions, then you will definitely benefit from Sapphire and its extensive plug-ins.
Get the free trial and explore everything Sapphire offers beyond animated backgrounds for motion graphics, color correction, styling, and more.
Good luck!


