


If you want to improve the quality of your video content for your YouTube channel, music videos, reels, and podcasts so they look as good as the professional videos you watch online, you should learn how to make an audio visualizer that shows the sound waves of your audio clip.
Today, you'll learn how to make an audio visualizer using BBC+ Audio Visualizer and see how easy it is to create visuals from any audio source.
Let's dive in!
What is an Audio Visualizer?
Audio visualizer, or music visualizer, is an animated motion graphic effect based on an audio source. You can use it to add sound waves that react to the frequency and amplitude changes of the audio clip. Using audio visualizers for your clips can help you turn them into an animated and more engaging video.
How to Make an Audio Visualizer with BCC + Audio Visualizer
BCC+ Audio Visualizer is an easy way to add and create compelling visuals from your audio and music clips. You can work with BCC+ Audio Visualizer in any supported host, including After Effects, Premiere Pro, and DaVinci Resolve, to name a few.
Step 1: Add BCC+ Audio Visualizer
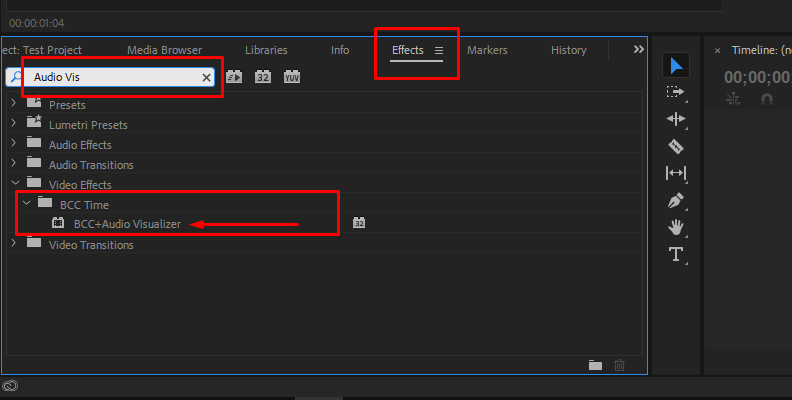
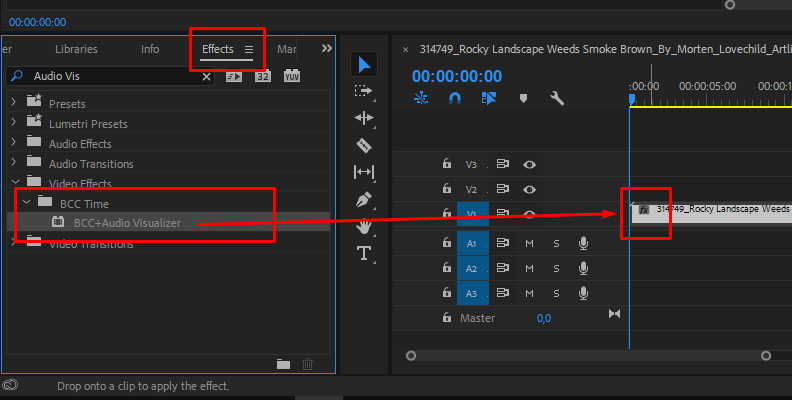
Open your project and go to the effects library. Under the BCC Time category, you will find BCC+ Audio Visualizer. Drag it to the clip or layer where you want to add the music visualizer.
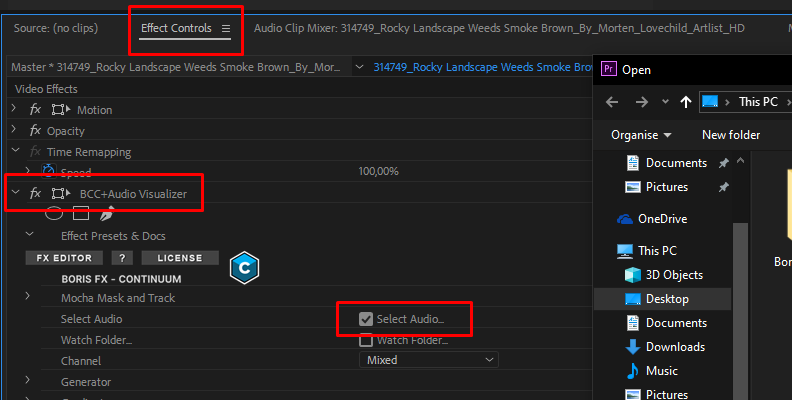
Step 2: Selecting the Audio Source
To select your audio source, open the effects controls. Click "Select Audio" and browse for the audio source you want. If you're using After Effects, add the audio clip as a layer and select it from the dropdown menu next to "Select Audio."
Step 3: Starting from Scratch vs. Using Presets
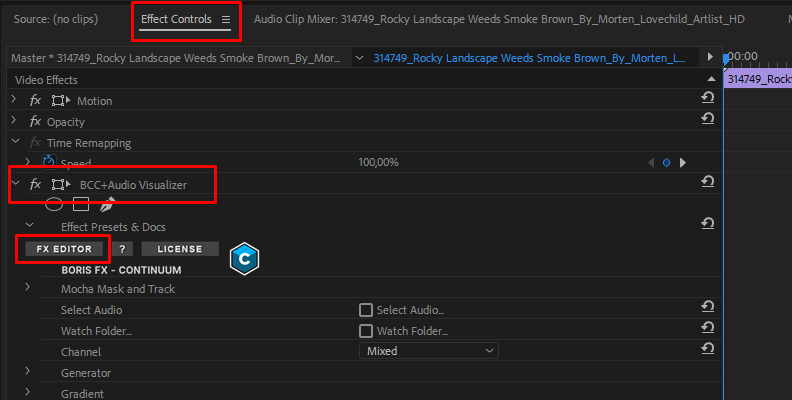
BCC+ Audio Visualizer allows you to build your audio visualizer from scratch or start with a preset. Click the FX Editor button to access the presets library. You can use a preset as it is when you need a quick audio visualizer effect for your videos or customize it to fit the look and mood of your video content.
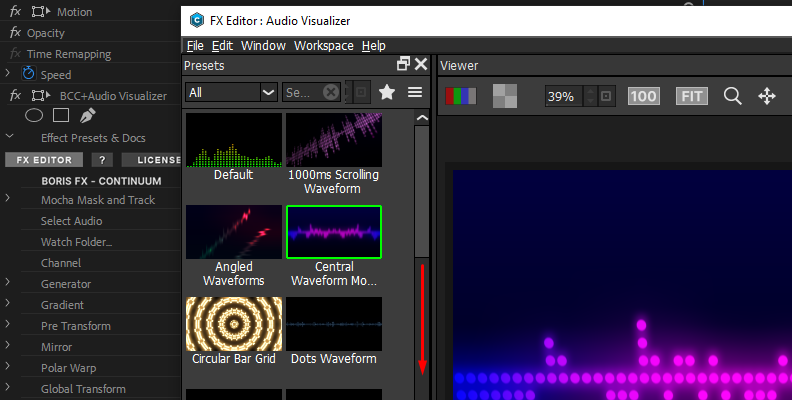
Step 4: Establishing the Basic Look
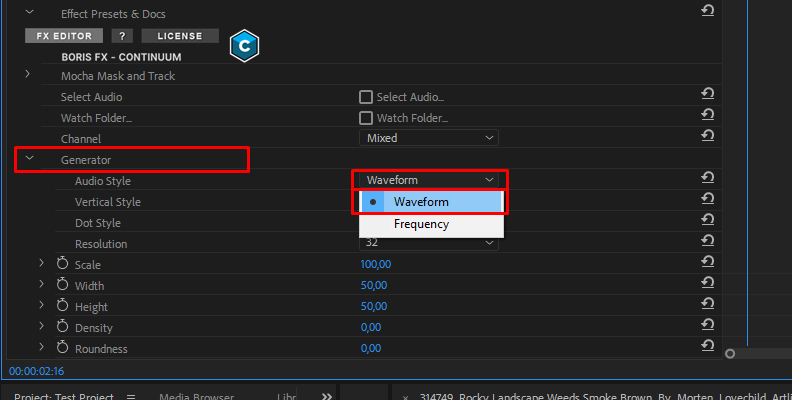
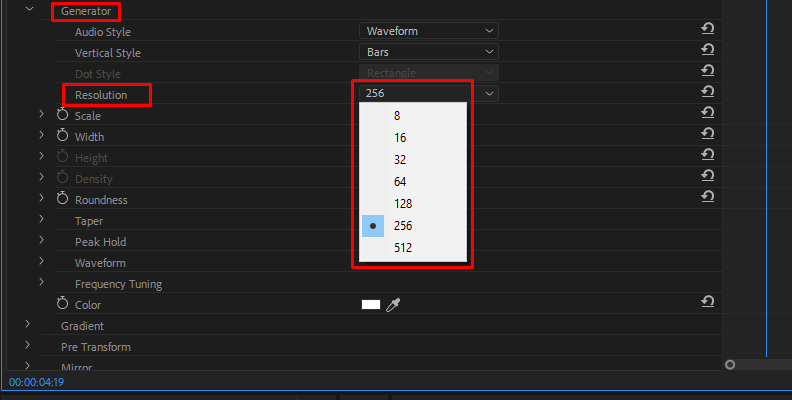
The first step is to create the basic look of your visualizer. Under the Generator settings, choose the Audio Style to select how to display the music visualizer. Each style enables different settings in the effect controls. When the waveform is selected, you can change its style, duration, and offset. For frequency, you can adjust the sensitivity of the bass, middle, and treble visualization.
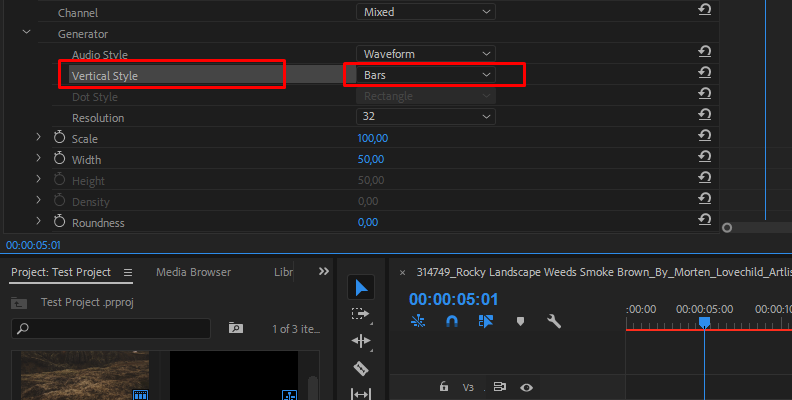
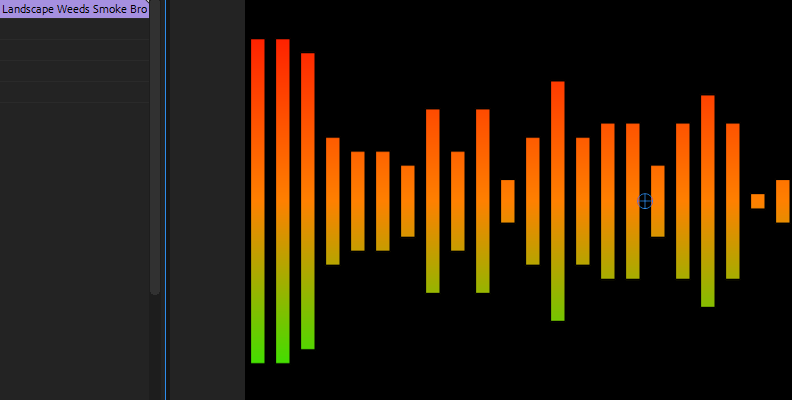
Other settings you can modify here are the vertical style to use bars, dots, or half dots, the style of the dots, resolution, tapering, peak hold, and the frequency color.
Step 5: Adding Distortion
With the basic look of your audio visualizer ready, you can now start playing with the transformation settings. You have pre-transform settings for the position, scale, rotation shear, etc. These settings won't be affected by the following transform effects.
Mirror: creates a reflection of the generator's horizontal axis.
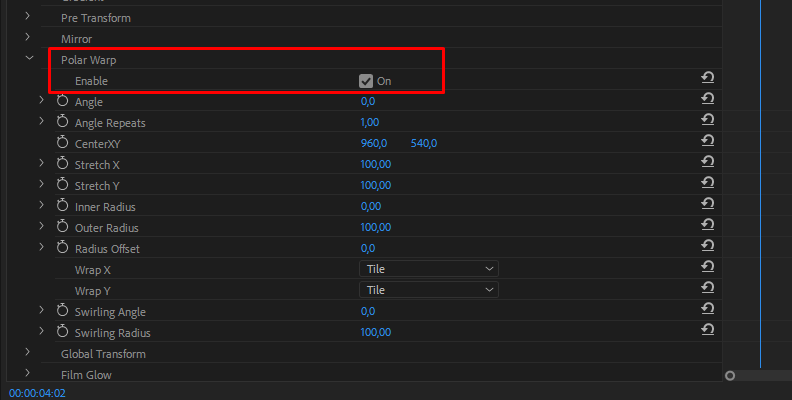
Polar Warp: encircles the graph and allows you to adjust the angle, center, outer and inner radius, stretch the circle, and create a swirling effect. Play with these settings to create a stunning audio visualizer.
Global Transform: offers basic transform settings plus 3D transform, position, crop, corner pin, and motion blur. These settings include all the previously applied transform effects.
Step 6: Color Gradients, Film Glow, and Color Correction
In the final stages of your audio visualizer, you can adjust the looks with color gradients, adding film glow and color correction.
Under the Gradient: menu, you can choose your three colors for the gradient and style and fine-tune their scale, angle, and position.
Film Glow: allows you to enable a primary and secondary film glow to the audio visualizer.
With Color Correct: adjust the hue, saturation, brightness, contrast, gamma, temperature, etc., to polish and set the mood of your audio visualizer.
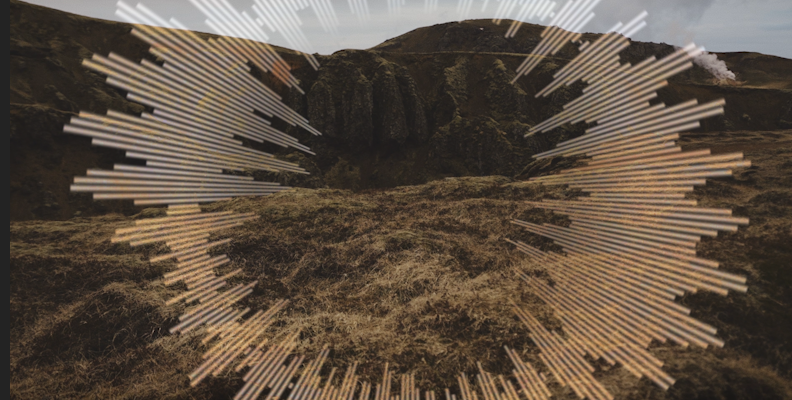
Step 7: Set a Background Video
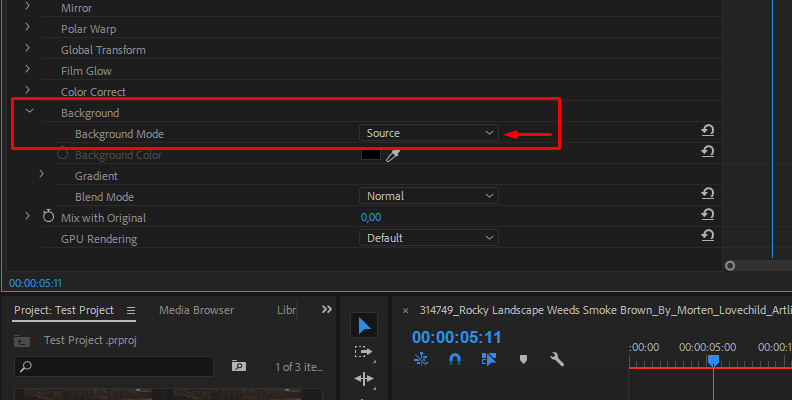
You can change the background view to preview the audio visualizer over your background video. Go to the Background submenu at the bottom of the settings, change the Background Mode to "Source," and adjust the Blend Mode.
Step 8: Using Mocha Planar Tracker
BCC+ Audio Visualizer features Mocha masking and tracking. You can use Mocha to make the audio visualizer follow a person or place it behind an object in the video footage.
Click Mocha Mask under the Mocha Mask and Track submenu to launch Mocha and draw your mask. You can track the mask's translation, scale, rotation, skew, and perspective. Select your desired options and click Track Forward. Save and close Mocha to return to your host.
Back to your video editor, adjust the mask settings to invert the mask, add feather, opacity, gradient, and more.
Step 9: Keep Experimenting
As you explore and create new audio visualizers, you'll probably tweak settings back and forth, which is absolutely fine! This experimentation is an excellent way to learn and refine your skills. When you're satisfied with your creation, you can add some finishing touches with Continuum's impressive array of effects to give your video that extra polish before rendering it.
Different Audio Content Where You Can Add Audio Visualizers
Audio visualizers have a wide range of uses. I created this list with different audio content, which you can add to a music visualizer, even if you only have an audio clip.
Music videos: The most common media where you will find music visualizers is music videos. Many artists, EDM producers, and DJs use music visualizers to engage their audience. They can include lyrics or videos from a stock library.
Music promotion: Artists and labels can create content by adding a music visualizer to a picture of a cover album or photoshoot to promote their latest releases.
Audio interviews: Add an audio visualizer to help the audience connect with the speaker when presenting an interview.
Podcasts: Audio podcasters can turn their audio content into video podcasts using pictures of the speakers and by adding audio visualizers to indicate who is speaking.
Photography and art: Who said art and photography should stay static? Add a music visualizer using stock audio to enhance the mood of your or your client's art.
Final Words
Experiment with Continuum to make jaw-dropping audio visualizers for your music videos and audio content. Download a free trial of Continuum today to try BCC+ Audio Visualizer and other Continuum effects.
Good luck!


