


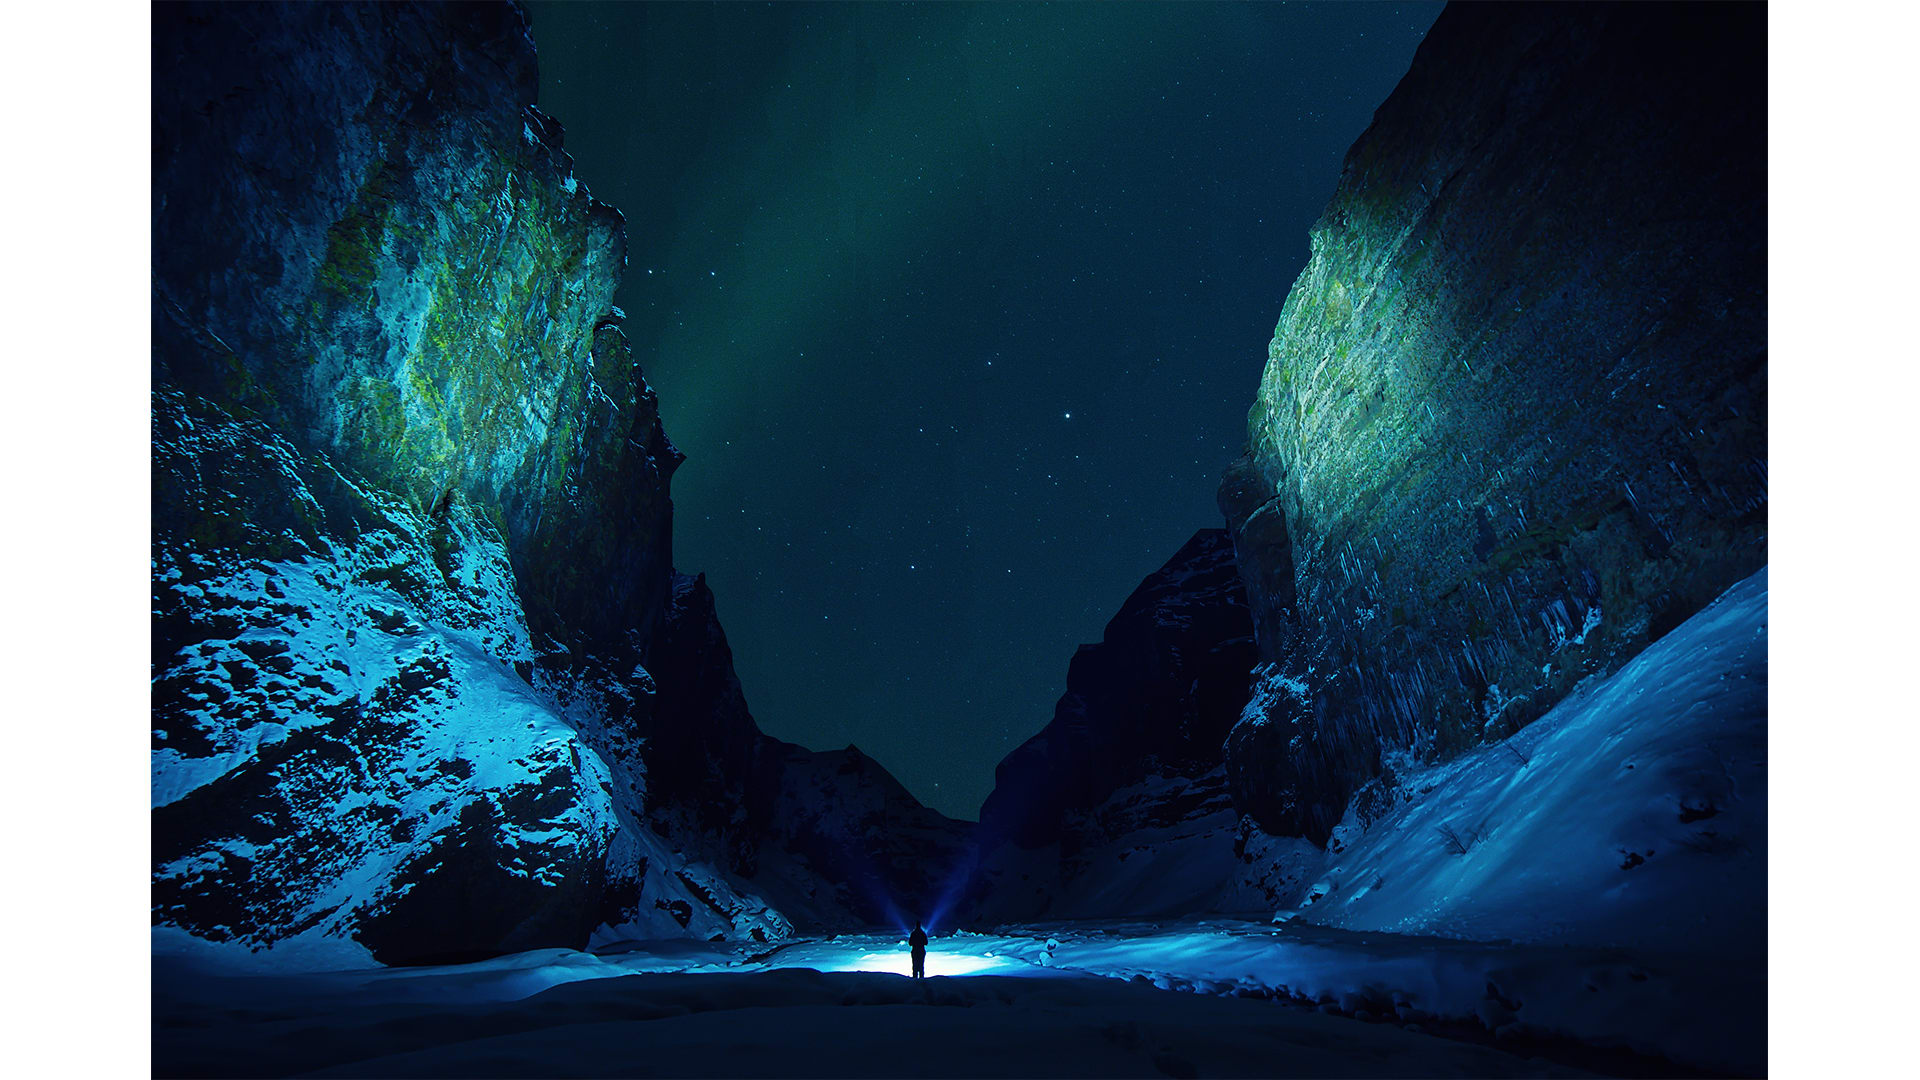
Dealing with dark photos is a common challenge in photography. Whether because of not optimal natural lighting or incorrect camera settings, the result is often images with prominent shadows. Fortunately, most major photo editing software offers tools to address this issue, and Adobe Photoshop is renowned for its capabilities in this regard.
In this article, I will walk you through various methods to brighten shadows in an image using Photoshop. Additionally, I will introduce an alternative approach using one of the Continuum plug-ins. This comprehensive guide will give you with the knowledge to effectively tackle shadow-related issues in your photography.
Let’s dive in!
How to Lighten Shadows in Photoshop Quickly
To lighten shadows in Photoshop, first select the parametric option under Curves, and then click the double S to the right of "Adjust." Next, move the two leftmost dots on the gray bar as far left as possible. Finally, adjust the Darks slider to the right and observe the shadows brightening precisely where intended.

Lightening shadows in Photoshop can be achieved in different ways. Below, you'll find three other methods to try and experiment with. Using various settings and playing with the options will provide different image results.
Method 1: Adjust the Image Shadows and Highlights
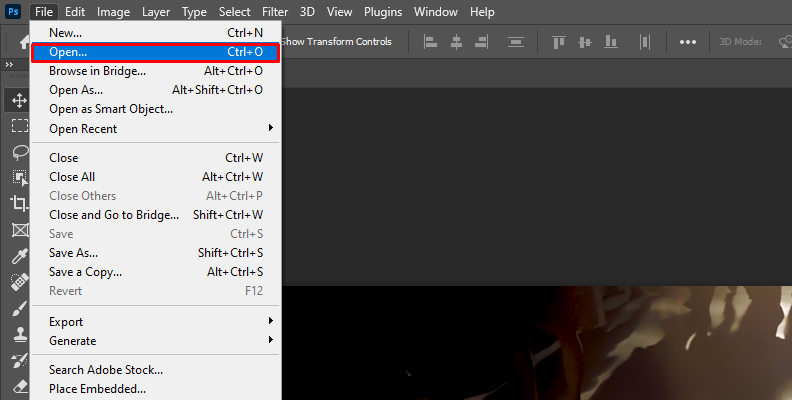
Start a new document and import the image with dark shadows.
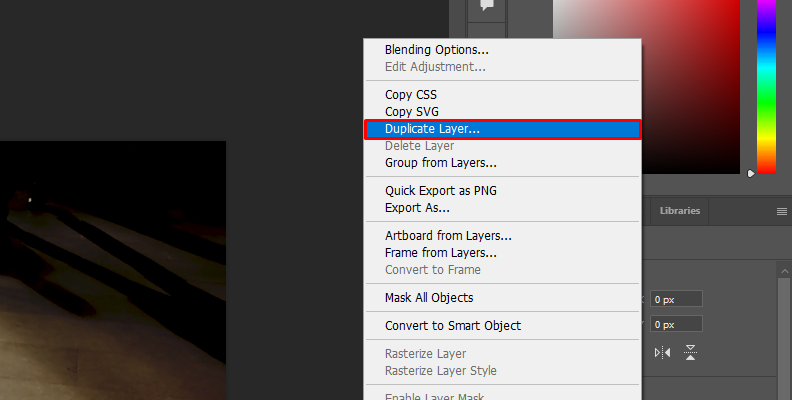
Duplicate the background layer.
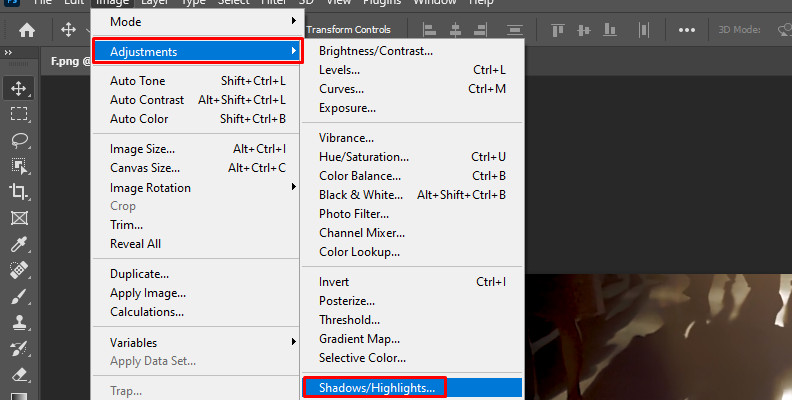
Go to Image > Adjustments > Shadows/Highlights and enable the preview option in the dialog box.
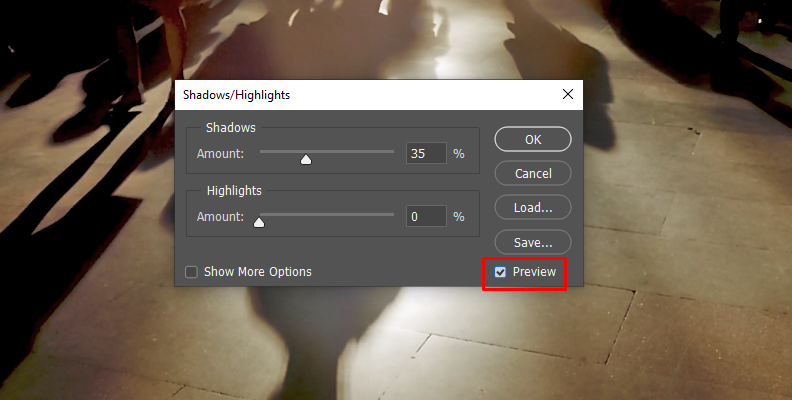
Use the slider in Shadow to set the amount of shadow lightning to the image.
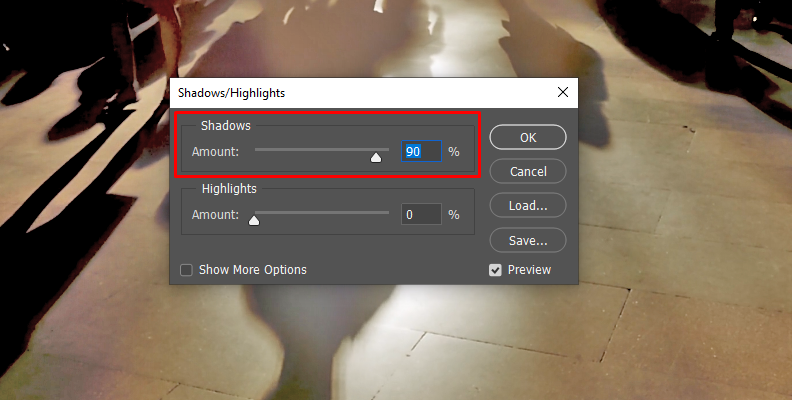
You can save presets by clicking the Save button or setting the current settings as the default for another image.
Click OK to exit.
Method 2: Camera Raw Filter
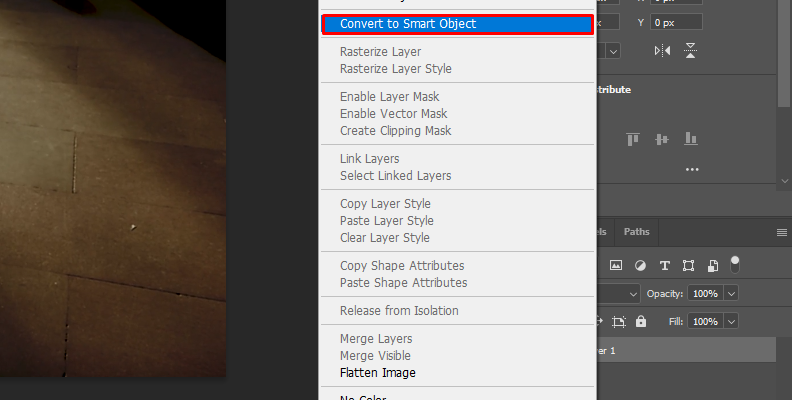
Import the image with dark shadows. Right-click the background layer to select Convert to Smart Object. This option allows you to apply filters and modify them later without affecting the original image.
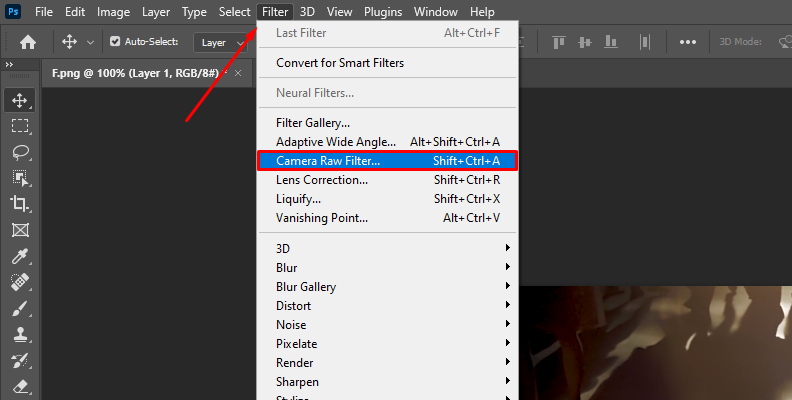
Go to Filter > Camera Raw Filter.
Display the Basic parameters and increase the Shadow slider to brighten the image.
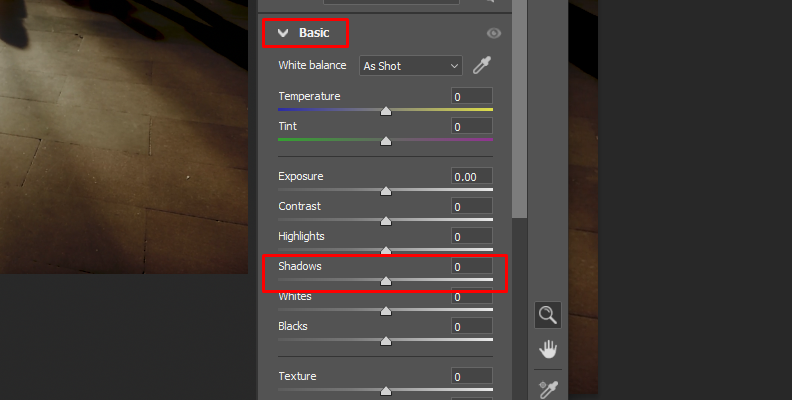
If increasing the Shadow slider washes the image too much, decrease the Blacks slider to compensate.
Click OK when you have the result you want.
Method 3: Curves
Similar to the previous method, Go to Filter > Camera Raw Filter.
This time, display the Curves parameter.

Select the first option next to Adjust (the icon with two curves).
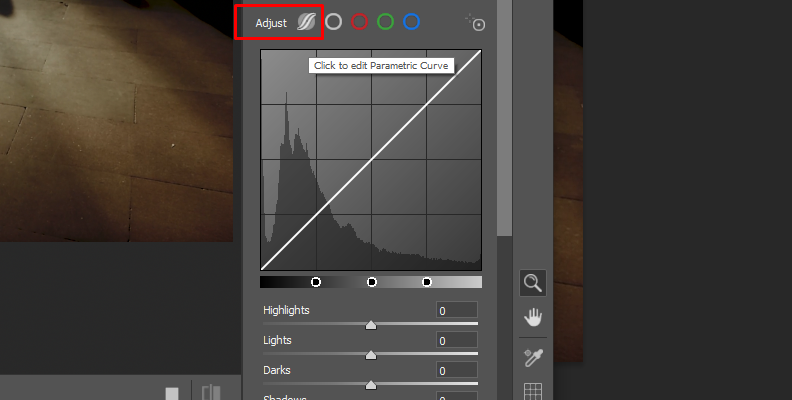
Select the tones you want to affect within the shadows. It allows you to lighten the shadows without affecting the rest of the image too much.
Move the first two dots under the curves to the left (the dark tones).
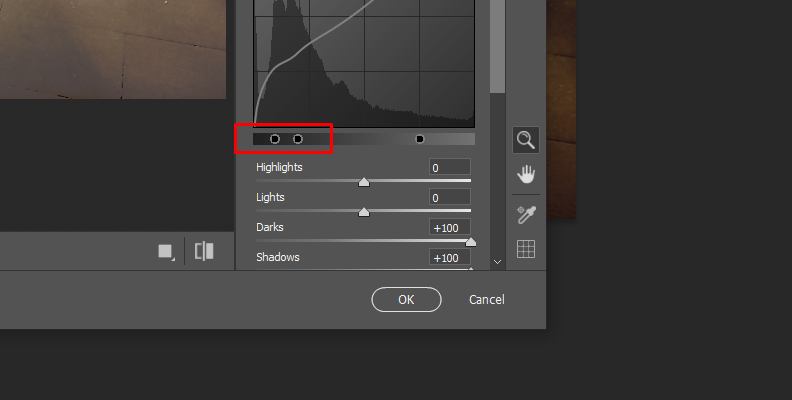
Increase the Darks slider to brighten the shadows.
Click OK.
Alternative Method: Lighten Shadows with Optics Shadows/Highlights in Photoshop
optics
For this tutorial, you’ll use the Shadows/Highlights filter. This effect reduces contrast uniformly across the picture to darkening highlights and brightening shadow areas. It allows for shadow foreground corrections caused by strong background lighting and makes highlight adjustments.
To follow this tutorial, download Optics from our website. You can follow the tutorial using the Optics free trial. Install the Boris FX Hub and choose Optics from the products list to install it. Note that Optics will be available as a plugin or a standalone version.
Step 1: Import Image to Optics
Launch Optics and click File > Import. Then, select the shadow image to make adjustments.
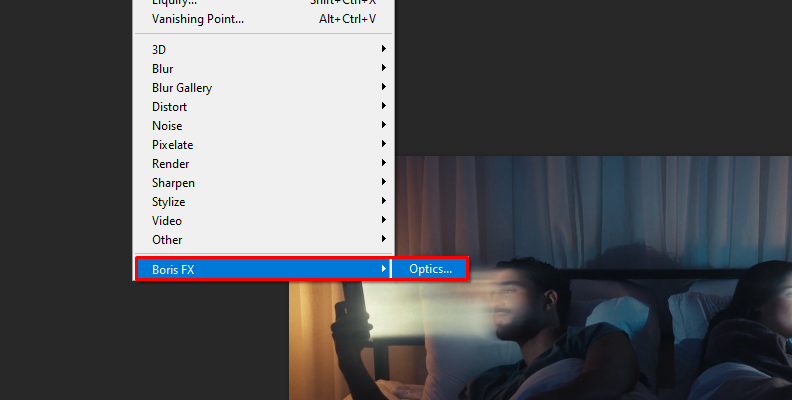
If you’re using the Photoshop plugin, import the image for correction. Then go to Filter > Boris FX > Optics. The Optics interface will launch, and you can follow the rest of the tutorial as if you are using the standalone version.
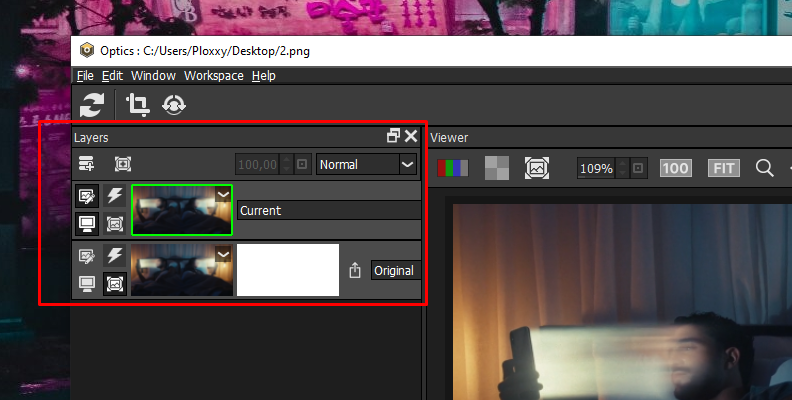
In Optics, the new image is placed in the background layer, and the current layer is used to apply filters and effects without affecting the original.
Step 2: Apply the Filter
Go to the Filters panel below the view window and select the “Color” category. Scroll to find the Shadows/Highlights filter and click on it to apply it to the current layer.
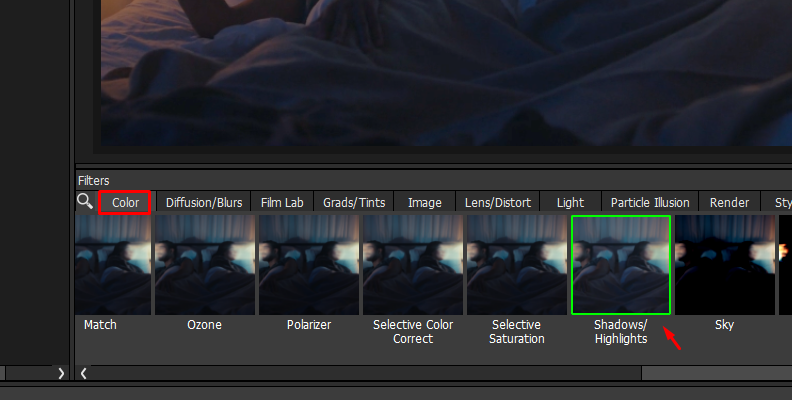
When you apply the effect, the default settings will automatically be used on the photo. Look at your presets panel and preview each one to see if there’s something ready to use for the shadow tone in the image.
Step 3: Adjusting the Optics Shadows/Highlights Filter
The filter has a few parameters that control the effect, whether you want to start from scratch or with the default settings. You have two parameter groups: one set of sliders for shadow and one for highlight, and position and range to modify the value of the generated matte.
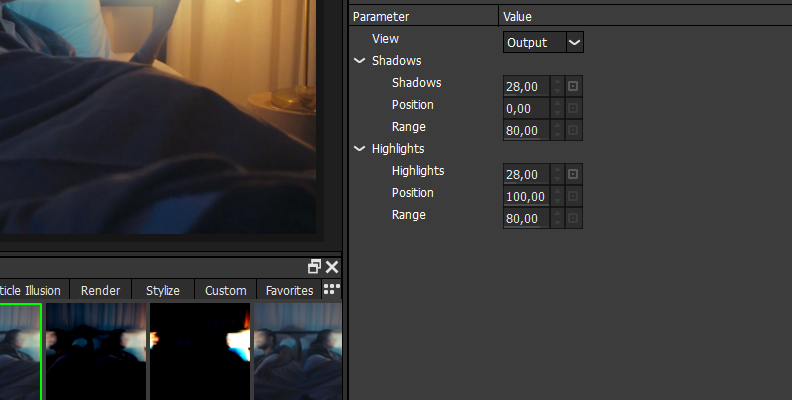
Use the Shadow slider to raise the brightness value of the shadows and the Highlights slider to adjust the brightness value of the highlights.
You can modify the generated matte to have more control over how the filter affects the shadow and highlights.
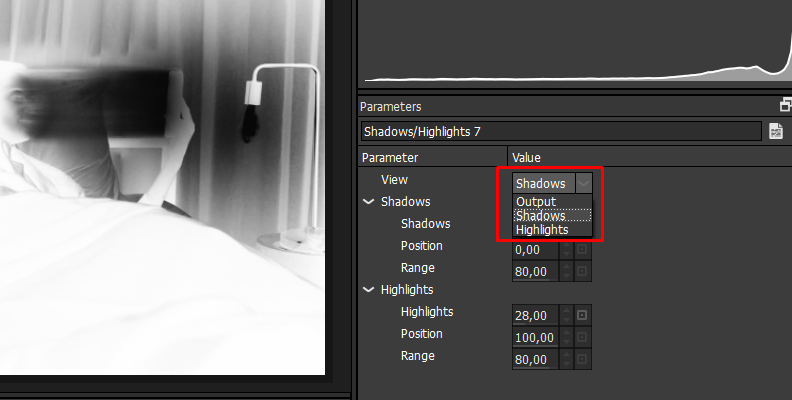
First, change the view from Output to Shadow or Highlight to see the matte values generated by the effect. Then, use the Position and Range sliders to define the new value for highlight and shadow areas.
Change the view to Output to see your image, and make a correction to the parameters to achieve the desired result.
A good practice is to save your custom settings. Click on Create Custom Preset to create a new preset.
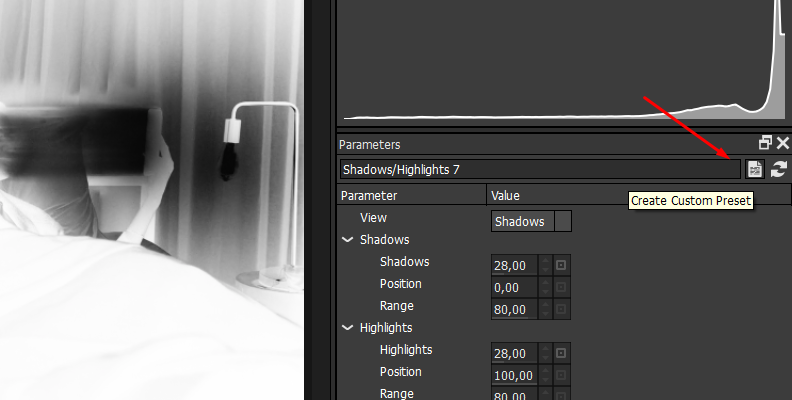
In the new dialog box, fill in the name, tags, and other details and click OK. Note that the new preset will be added to the filter’s preset panel, which you can reuse in a different image or project that needs shadow correction.
Step 4: Working with Layer Masks
You can change the shadow tones using a layer mask to isolate the filter with the shadow area or to protect the background or an object you don't want to be affected by the filter. An example is to apply masks to darken the background areas.
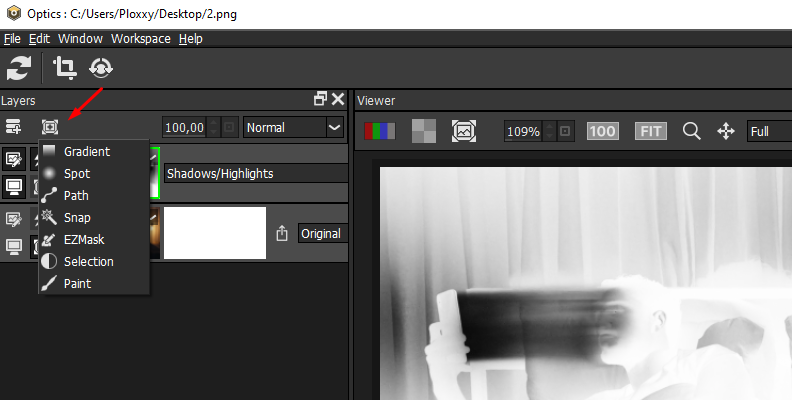
Click the mask button on the layers panel at your left. There are different types of masks. Choose one, and you’ll see more options on the top toolbar for your mask, such as radius, opacity slider, and more.
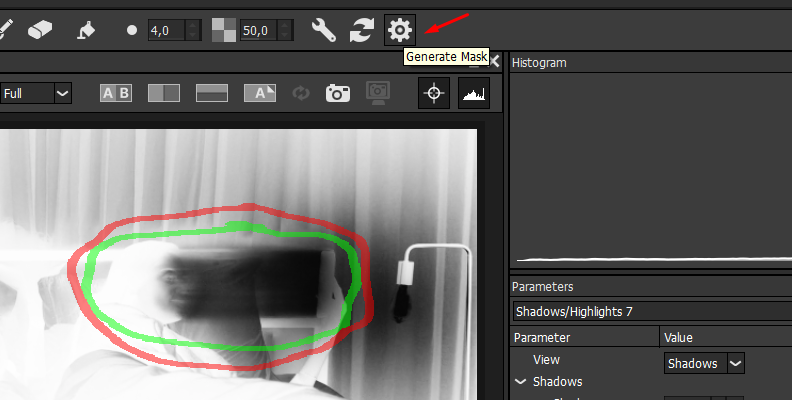
Draw your mask, then click the gear icon to generate it. You can add more layer masks to achieve different effects. For example, to add more contrast, change the opacity tone, or darken a non-shadow area.
Click on the image layer to see it with the filter affected by the new layer mask. If needed, adjust the layer mask using the mask toolbar. You can add blur and slide the opacity to smooth the rough edges.
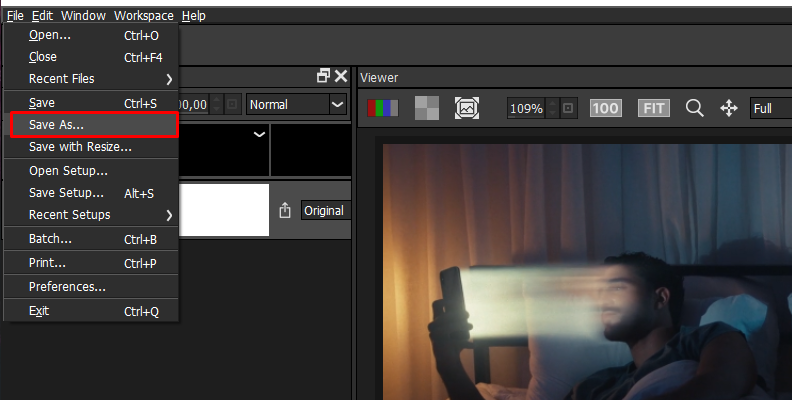
Step 5: Export the lightened Image
Export the image from File > Save As and choose a name and folder to save.
If you're using the plugin tool, click Apply to close the Optics interface and return to Photoshop with the lightened image ready to continue editing or apply other effects.
Final Words
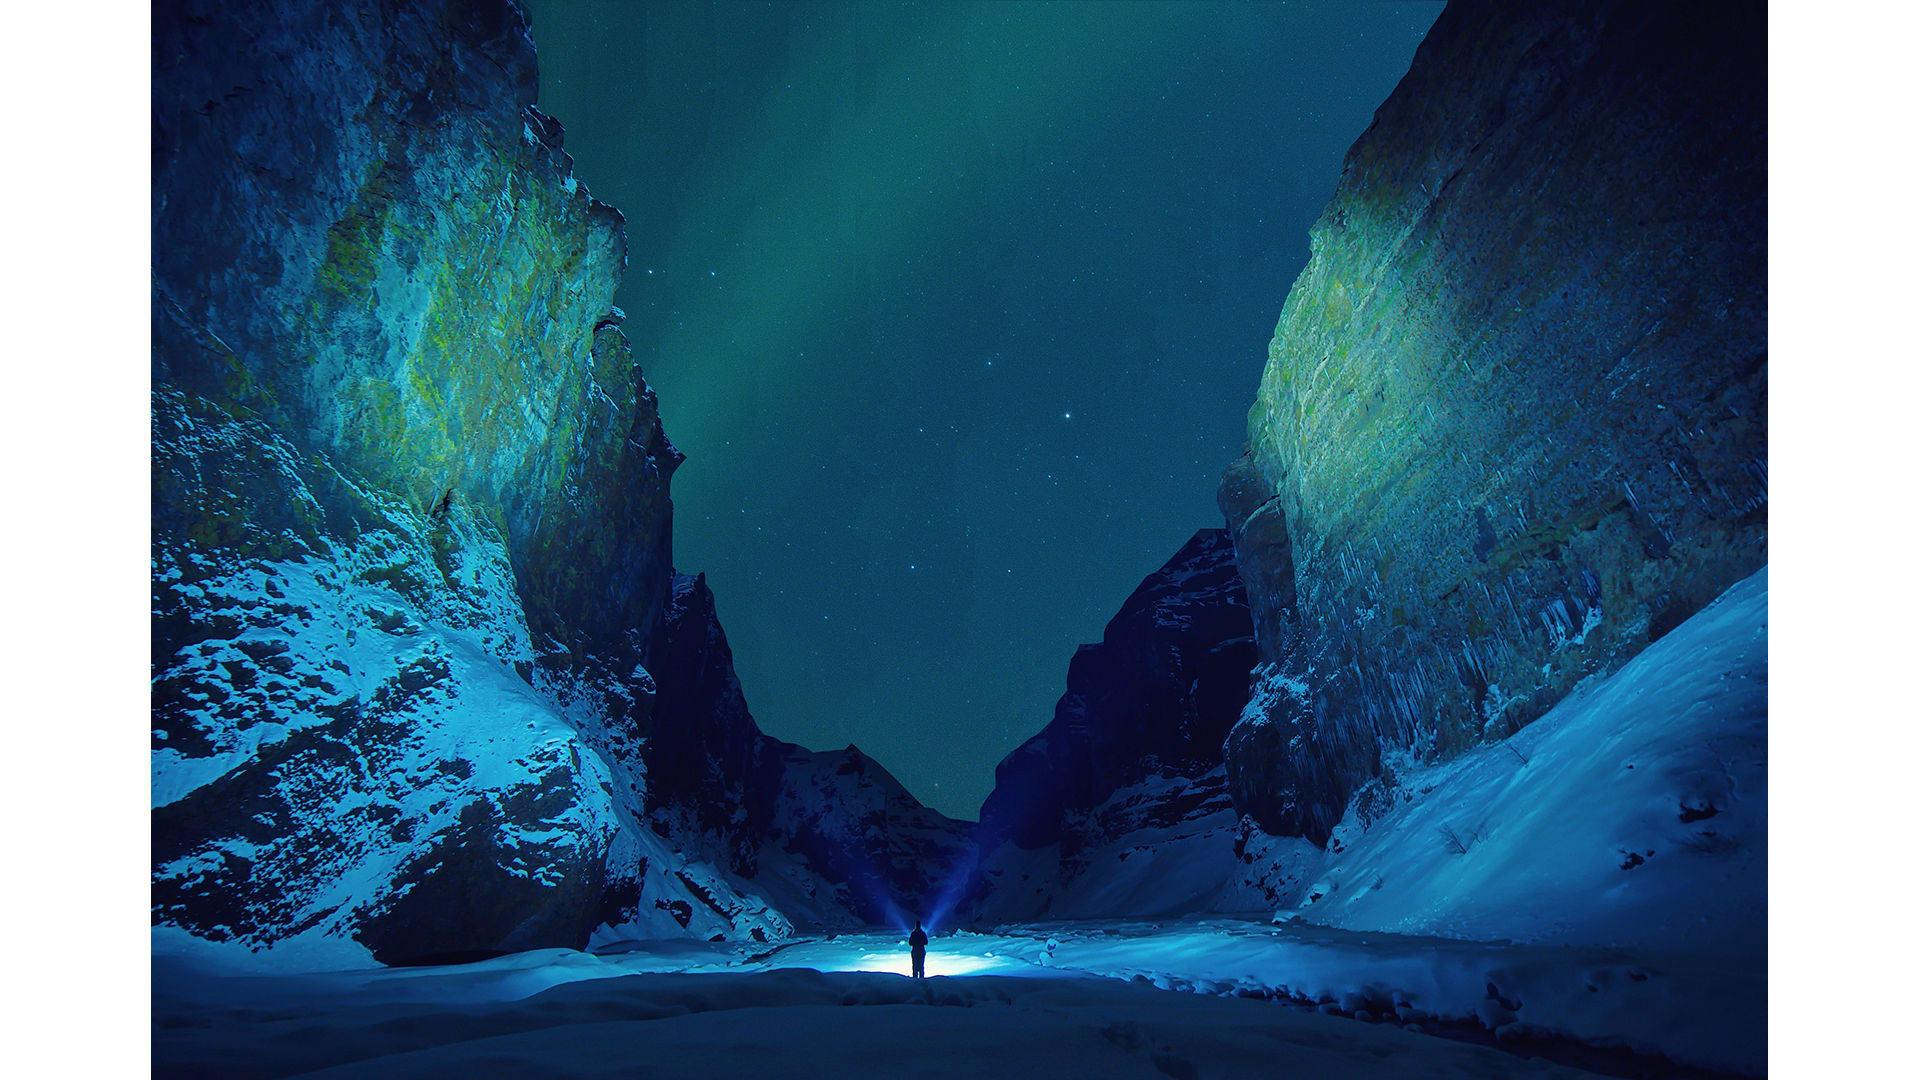
Following these steps, you can make a shadow bright on any image with Optics! And combining other filters and effects featured in Optics offers a wide array of customization options. Experiment with color correction, the curve tool, low and high contrast, adding extra light sources, and blur.
Get Optics today and explore the endless options to enhance your images.
Good luck!


