


Whenever we take a photo, we want it to be a clear, accurate representation of what it is we are looking at. Whether it’s a quick selfie, a detailed nature snap, or the preservation of a personal memory, the picture needs to look good.
One of the biggest issues that can arise from taking photos is that of grain. You know it when you see it and it can ruin even the best-composed shots. However, there is plenty you can do to help fix this problem and plenty of ways you can learn how to fix grainy photos.
What Causes Grain in Pictures/Photos?
Grainy photos, which are also sometimes referred to as noise on photos, can be caused by a few different factors.Digital cameras and digital images are convenient, but grain is one possible issue with them and this form of digital noise can be a real problem.
Taking these factors into consideration when you are taking your photo will help prevent grain and noise from being captured. The more you are aware of what causes the problems, the easier it will be to avoid them in future.
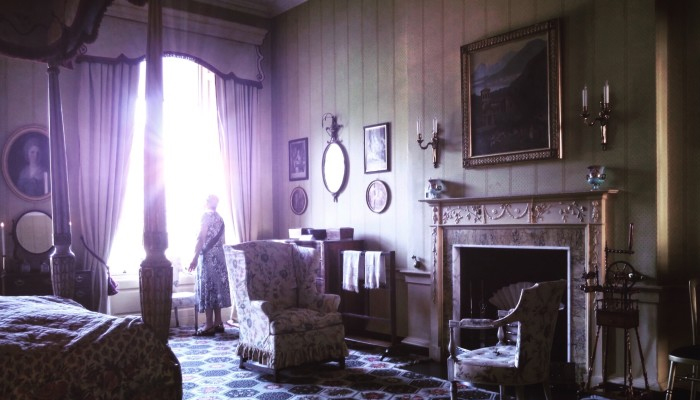
Amount of Light
![]()
Usually, the cause of grain or noise in photos is because there isn’t enough light for your camera to accurately capture the image.
This is true whether you’re using a cheap phone for taking your pictures or a high-end camera. Whatever equipment you’re using, you need to have enough light and if there isn’t enough you will end up with grainy photos.
The sensor in the camera will try to compensate for the lack of light hitting it by making the light that does reach it more pronounced — this will cause grain.
High ISO
![]()
ISO (International Standard for Organization) is a measure of how sensitive the sensor in your camera is. The greater the value of the ISO on your camera, the more prone it is to taking pictures with grain.
Increasing the ISO can be useful if you are shooting in low light conditions or at night, but the chance of grain dramatically increases.
Small Sensor on Camera
If you find that you are getting grainy pictures even when you are shooting in conditions that aren’t that dark, it might be that the camera you’re using has a small sensor that doesn’t have the sensitivity to capture images well in anything other than bright light.
The larger the sensor, the more light-capturing pixels there are and the less grain there will be.
Low Exposure
![]()
If the exposure time on your photo is set too low then the result can also be grainy photos. You need to ensure that the exposure time is set appropriately for the type of composition you are trying to put together.

Ways to Avoid Grainy Photos?
When it comes to dealing with grain in photos, prevention is better than cure.
Though there are plenty of techniques to help recover and repair grainy photos, the best approach is to try and avoid the grain in the first place.
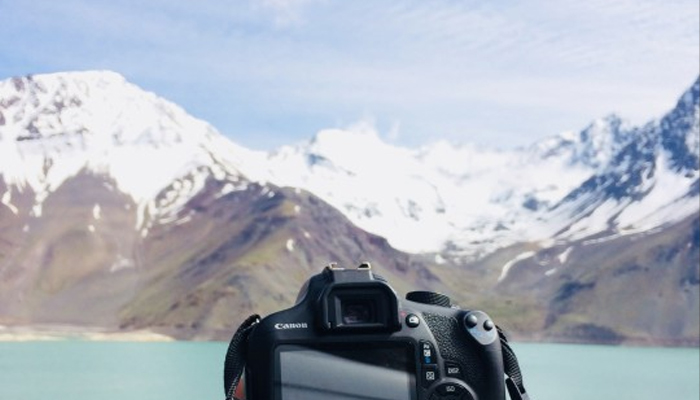
Light
![]()
The first and most obvious solution is to work with as much light as possible. The more light you have, the more light your camera will be able to pick up, and the less grain your pictures will have as a result.
If you are able to shoot in conditions that allow for the best natural light, this is the ideal way to go. However, this isn’t always possible so using alternatives, such as reflected light or a soft box can help.
These tools can add subtle additional light that will help reduce the grain in your photos without overwhelming your composition.
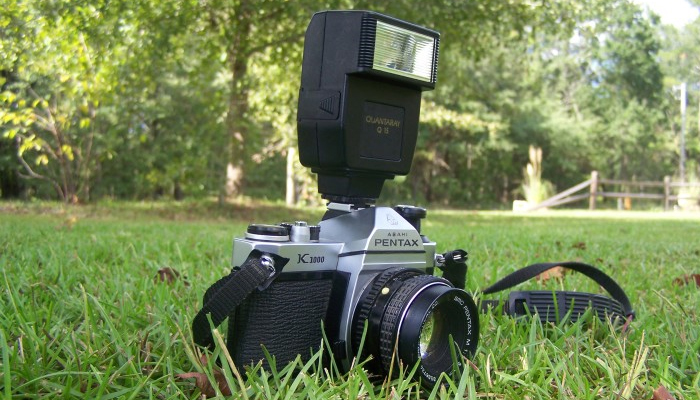
Flash Unit
![]()
And, if all else fails, you can always use a flash. While many photographers aren’t keen on this as a solution because it can result in harsh exposure, you have to balance whether this provides a better-quality image with additional light versus a lower-quality image with grain.
Every scenario with this will be different so there’s no one correct answer, but it’s worth considering.
Image Format
Common image formats such as JPEG are universal standards, but they don’t always offer the best quality when it comes to capturing images.
JPEG is a compressed format and sometimes during that compression, grain can occur.So while it is convenient from a compatibility standpoint, it's not always ideal for getting the best results.
RAW Images
The RAW format is a far more versatile image format to use when it comes to capturing original photos.
The file sizes will be considerably larger than JPEG but the quality will be much better. And because the quality is better, the grain will be less.
Some DSLR cameras will allow you to take both a RAW and a JPEG image simultaneously. If you have a model that does this you can set it to do so and then choose which works out best for the ultimate in flexibility.
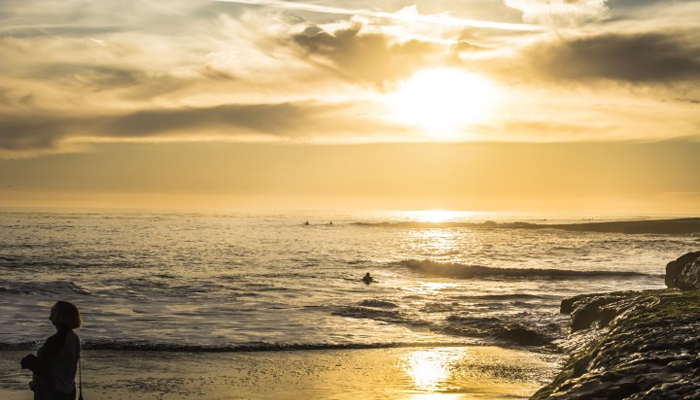
Metering
![]()
When choosing what object to focus your camera on, go for the brightest one in your shot and then have your camera metered to this particular object or light source.
In addition to helping reduce grain, this can also improve the overall brightness and contrast of your photo.
That’s because it helps the camera avoid struggling to make up for a lack of light and results in an overall better level of detail in darker areas. A little experimentation with this should help you improve the balance and reduce the grain fairly easily.
Noise Reduction
![]()
If your camera has a noise reduction feature, it can definitely help when it comes to grainy photos. It’s not something that you want to have on all the time by default, but if you are shooting in an environment where grain is likely to be generated, it’s worth using it.
The reason you don’t want it on all the time is that it can sometimes cause a loss of detail in pictures that don’t require noise reduction. But in conditions where grain occurs, it can make a significant difference. Again, a little experimentation will help you decide the conditions to use it in, depending on what model of camera you have.
Low ISO
![]()
Though it’s not a hard and fast rule, lowering the ISO when you are shooting will generally help lower the amount of grain you have on your photos.
It’s not a cure-all, but if you are able to do it in conjunction with a reduced shutter speed and — if possible — an increased aperture, then it can help with lowering the amount of grain. Both the shutter speed and increased aperture will help cut the chances of getting a grainy picture.

How to Fix Grainy Photos in Photoshop

If none of the above preventative measures work and you still end up with grain on your photos, then these steps will help you fix grainy photos. Knowing how to fix grainy photos can be a real life saver.
Boris FX Continuum
While both Photoshop and Lightroom deliver great results when it comes to removing grain from photos, third-party plug-ins can often provide better improvements.
That’s because these plug-ins are specially written and built to tackle a problem, rather than being a range of tools contained within a suite.
And when it comes to removing grain from video, Boris FX’s BCC Noise Reduction is a world-class plug-in designed to remove grain from even the most noisy of sources.
The filter is able to help restore grain by smoothing out the noise. It does this by comparing each pixel within the source file to the ones which are in its immediate vicinity. The filter then will then blend pixels that are close while discarding ones that are different and distant in color.
This allows the filter to be able to remove noise without losing detail, as is common with other noise reduction tools.
There is also a Compare mode, which allows you to compare the changes you are making with the original source. This is delivered in a convenient split-screen view, with the changes on one side and the original on the other to allow a simple, direct comparison of the results once the noise reduction has been applied.
A Smoothing Mode pop up window helps you to figure out the type of smooth that is going to be applied. These fall into three categories, Temporal-Spatial, Spatial and Temporal Smoothing. Depending on your clip, choose the one which has the most improvement while allowing the original to shine through.
There are also options to Sharpen, Mix, and to use a motion tracker to allow you to track an object and apply the effect to that object only.
However, whichever you choose and however grainy your source, you can be confident both that Boris FX’s filter will be able to restore your footage and that there is no better tool on the market to achieve world-class results.
Adobe Photoshop
![]()
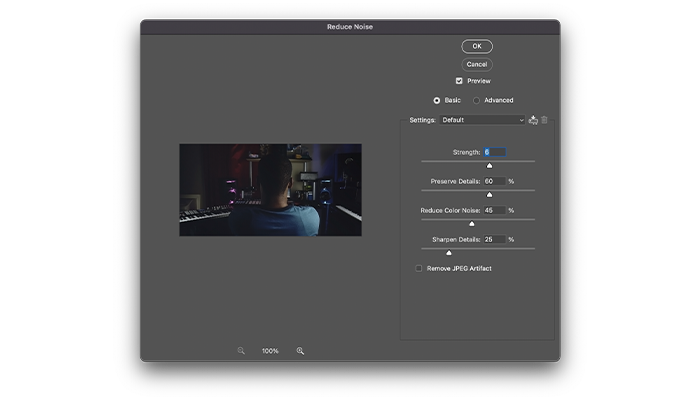
Photoshop’s Noise Reduction tool can make a big difference when it comes to how to fix grainy photos and improve image quality. Whether you just need to fix one grainy photo or multiple photos, learning the skills to do it in Adobe Photoshop is a great way to go.
First, launch Adobe Photoshop, then import the grainy picture that you want to work on.
Go to the Filter menu, then choose Noise, then Noise Reduction. This will open the Reduce Noise window. There are four different sliders that can be adjusted.
![]()
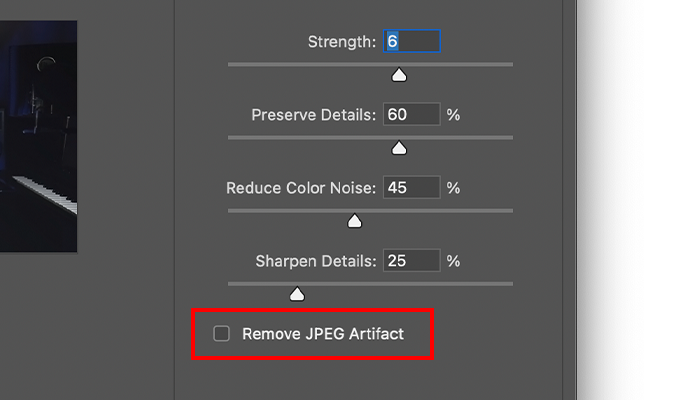
Strength
This controls the amount of noise reduction that will be applied to your photo. You can set this high or at maximum to begin with then gradually make adjustments down once the other options have been adjusted.
Reduce Color Noise
When there’s grain on a photo it can sometimes appear like a small patch of any one individual color. This is known as color noise. Adjusting this setting will help deal with the problem. It does require a light touch though, as too much application can result in other colors bleeding into each other.
Sharpen Detail
Sometimes, reducing the amount of image noise can also cause some loss of overall sharpness in the image, depending on how much change has been made. Sharpen Detail helps to compensate for this and will result in a sharper image.
Preserve Details
This will set how many details from your original photo will be preserved. Getting the value right will mean that your detail will be as accurate as possible, but a value that is too high runs the risk of cancelling out any noise reduction. A value that’s too low could lose detail.
All of these settings take a little practice to balance correctly, depending on how much grain or noise you have on the original photo.
There is also a Remove JPEG Artifact box - put a check in this to generate a preview of the changes you are making.
![]()
Once done, click OK and the changes will be applied to your photo.
How to Fix Grainy Photos in Lightroom Classic
Adobe Lightroom Classic is another piece of photo editing software that also has a noise reduction feature that can help you fix grainy photos.
Lightroom has more detailed control than Photoshop for dealing with grainy images and as such is often a better choice for professional photographers. However, both pieces of software offer excellent noise reduction.
Launch Lightroom Classic and open the grainy image you want to work on.
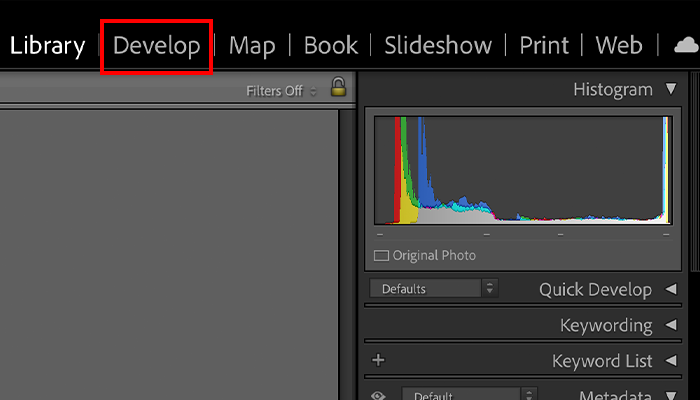
Once done, go to the Develop module.
![]()
When there, go to the Detail panel on the right-hand side of Lightroom. You can then choose Noise Reduction.
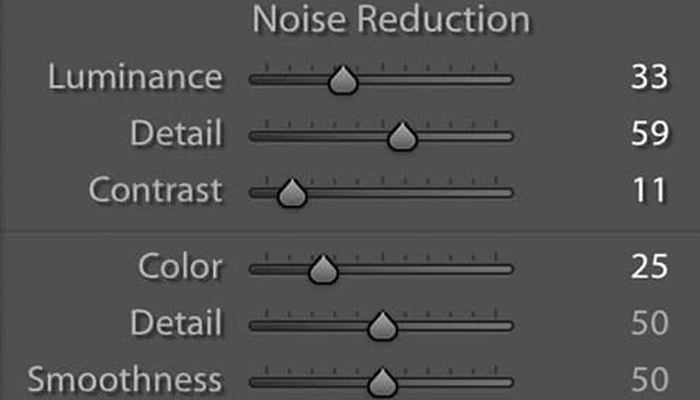
There are two different sections here, Luminance, Detail, and Contrast as well as Color Detail and Smoothness.
![]()
Luminance noise is a result of how differences in light can affect the camera sensor. This is different from color noise, which is normally made up of pixels that are different colors from the image and cause the grain. With Lightroom Classic, you can control both of these different types of noise individually.
The first three sliders adjust the Luminance noise. The first slider will apply the amount of noise reduction that is applied to your photo. As with the Photoshop Preserve Detail option, the Detail slider will allow you to adjust how the detail of your photo is adjusted.
Finally, the contrast control will help replace and balance any contrast that may have been lost during the adjustment of the first two sliders.
For color noise, the principles and adjustments are pretty much the same. The color slider will adjust the amount of noise reduction applied to the color noise grain on your photo. The Detail slider will allow you to adjust how your detail is seen. The final slider is for Smoothness. This allows you to change how smooth your photo looks.
Confirm in the preview that you are happy with the results and that you are finished.
As with Photoshop, there is no one correct level for these settings. Each grainy image you need to work on will be different because no two grainy images are the same. The amount of grain and noise on each photo will be different so therefore the settings required to fix grainy photos will be different.
Adjust the settings in slow increments to gradually make changes so the noise reduction can be applied effectively without reducing the quality of your image.

Conclusion
Grain on both photos and videos can really degrade the quality of an image and take away from the pleasure of viewing it. There are many conditions that can lead to grainy photos, but once the picture is taken it’s too late to be able to go back and reshoot it.
However, there are plenty of tools available which can you fix grainy photos. Whether you use Photoshop, Lightroom, or Boris FX, you can be sure that your photos and videos will be as good as they possibly can be and that memories can be saved forever.Fixing grainy photos will become second nature, whatever image editing tools you are using!


