Bad audio can compromise even the most stunning video. Distorted audio is undoubtedly the most common issue you’ll come across when creating visual content. As a professional filmmaker, understanding the ways to fix distortion and clipping audio will save you time and headaches, helping you bring to life content you’ll be proud of.
Adobe Audition is one of the top-rated audio editor software choices available for noise reduction. It’s included in the Creative Cloud along with Adobe Premiere Pro, Photoshop, and the rest of Adobe applications. Its compatibility with Premiere Pro makes it perfect for video editing.
Today we’ll look at how to fix distortion using Audition's built-in effects. At the end of the piece, I’ll show you how to quickly fix distortion using our AudioDenoise plug-in compatible with Audition, and some extra tips on noise reduction and how to to avoid recording your videos with unwanted noise.
Hear It For Yourself
Advanced audio AI removes noise and boosts your vocal quality.
Toggle it on/off to hear the difference.
Remove Wind
Remove Noise
Remove Pops & Plosives
Level Audio
Remove Rustle
Remove Echo
Remove Wind
Let’s dive in!
What Causes Audio Distortion?
Audio distortion is a deformation in the output audio waveform. Thus, the output signal and the sound we hear are not a perfect replica of the recorded audio signal.
When you listen to audio distortion, you’ll hear a gritty, buzzing, or hissing sound. Distortion occurs for a variety of causes, from unwanted ambient noises to bad quality audio equipment, wrong setup, or hardware malfunction. In digital audio recording, clipping is one of the most common causes of distortion.
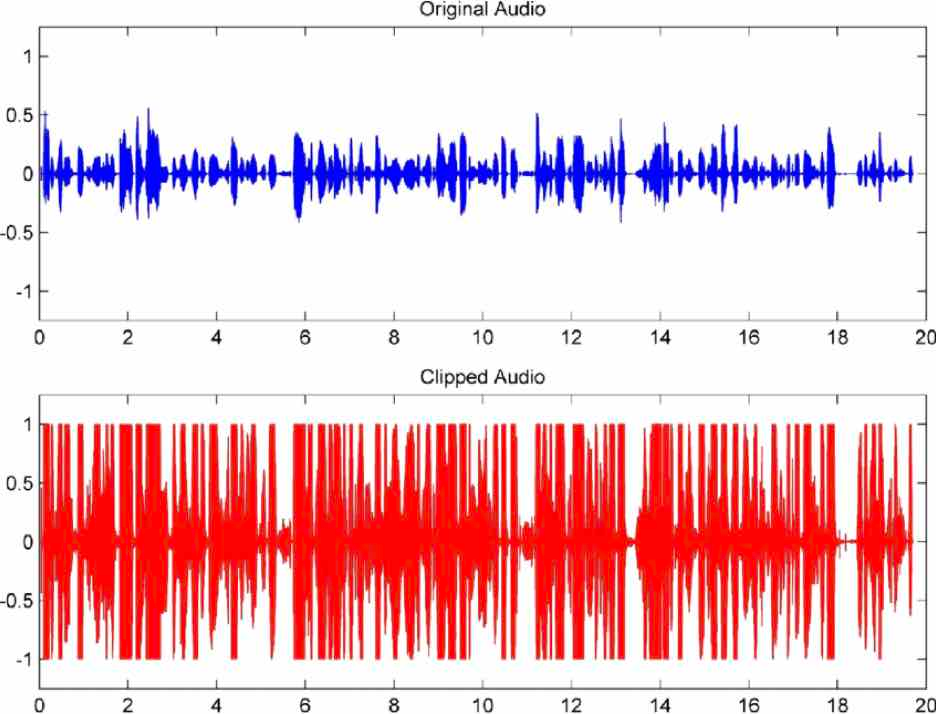
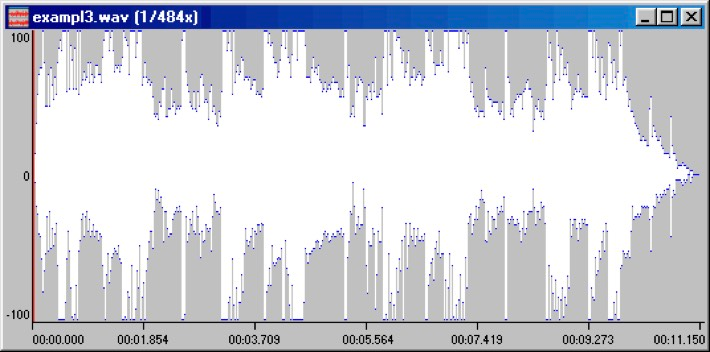
Clipping happens when a sound's high-amplitude sections exceed what the recording equipment can adequately capture. You can see this effect when you import your audio file to your non-linear or DAW software like Adobe Audition. The audio waveform is cut from the top and bottom, with both ends flat.
How to Remove Distorted Audio in Adobe Audition: Step-by-Step
Step 1: Import Your Audio File to Fix Distortion
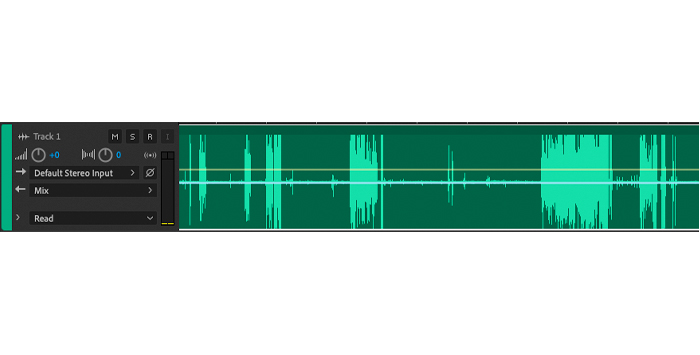
Identify your files with distortion and import them into your Audition session. You can tell if the audio is distorted by looking at the waveform. It might not be evident at first, but if you zoom in on the waveform, you'll see where the high peaks are clipping.
Once imported, select all the audio tracks you need to fix distortion in. Use the shortcut CTRL + A on Windows or CMD + A on MAC.
Step 2: Run a Diagnostic for Noise Reduction
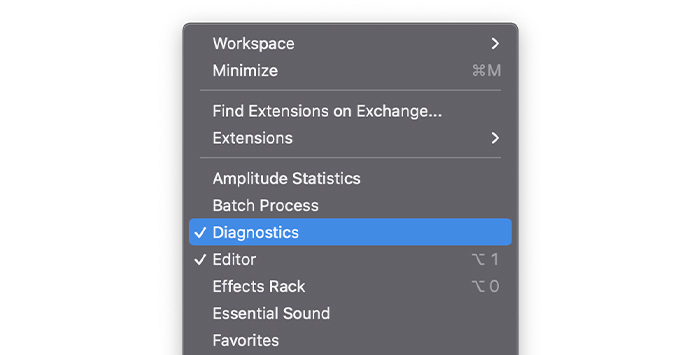
Go to Window in the upper menu and select Diagnostics. This will open the tab Diagnostic on the left side of your Audition screen, where you can choose different effects.
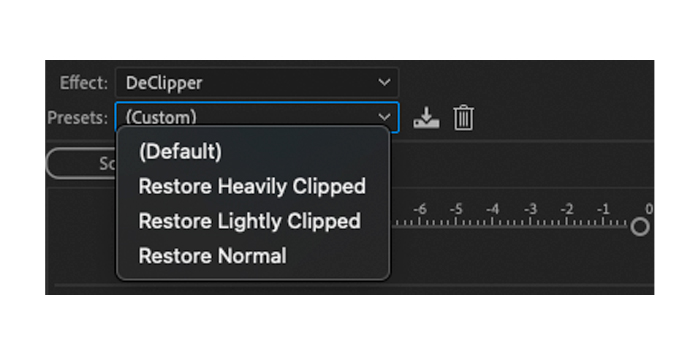
Select DeClipper, an automatic click remover, and select a preset between Heavy, Light, and Medium noise reduction according to the amount of distortion present in your file.
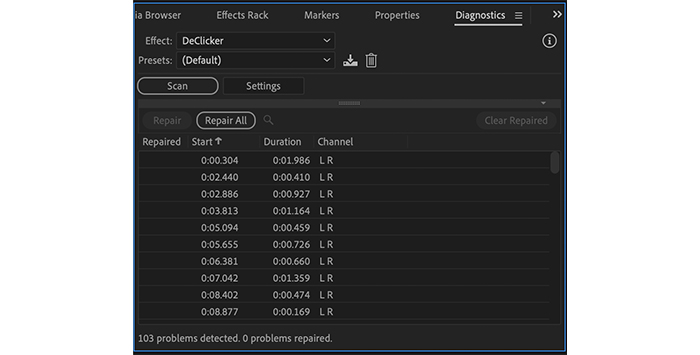
Once the scan ends, you'll see a list with timestamps where an issue requires attention. Based on the length of your file and the problems found, it can take a few minutes to complete.
Click on Repair All to apply the DeClipper effect and playback your audio to verify if the distortion has been fixed.
Step 3: Normalize Your Audio
Finally, let’s normalize the video to ensure the audio has an even volume level in loud and quiet parts of the audio.

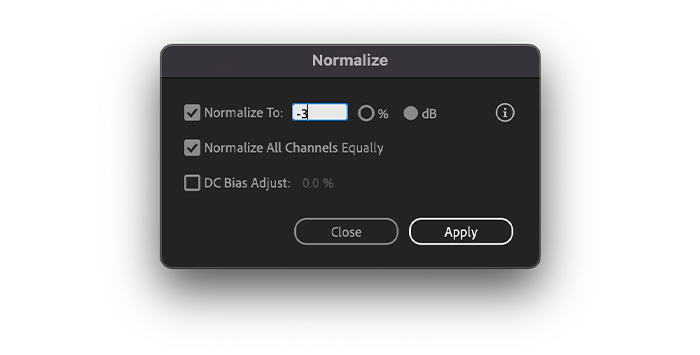
Select the audio track, go to the menu bar Effects > Amplitude and Compression, then select Normalize. In the next pop-up window, set Normalize to –3dB. Keeping it under 0 will prevent your audio from clipping and getting distorted again. Click Apply to normalize.
Always playback your audio after every change you make to ensure you get the desired results. The final result should be a clean audio ready to be synced with your video.
How to Remove Distorted Audio in Adobe Audition with AudioDenoise
Sometimes, the distorted sound from your video is hard to repair because it’s caused by other noises that Audition stock effects can’t handle. Luckily, you can use professional third-party plug-ins on Audition that can solve issues the built-in effects can’t tackle.
AudioDenoise is a noise reduction plug-in designed for video editors, audio engineers, music producers, and podcasters who need to fix distortion and remove noise that’s hard to get rid of. AudioDenoise uses carefully-crafted AI technology to remove background sounds of all kinds, ranging from sudden hiss to subtle hums, that can compromise the sound quality of your content. With an intuitive interface and endless customization options, AudioDenoise can remove complex noise and fix distortion while leaving the rest of your audio untouched.
Step 1: Install CrumplePop Plug-Ins and Add Them to Adobe Audition
Go to the CrumplePop download page and install the noise reduction plug-ins on your computer.
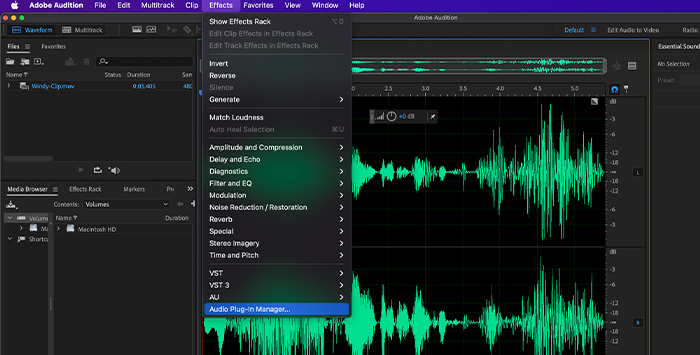
Add the plug-ins to Audition by going to the menu Effects > Audio Plug-in Manager. Add the folder where the plug-ins are installed and click Scan to search for the plug-ins.
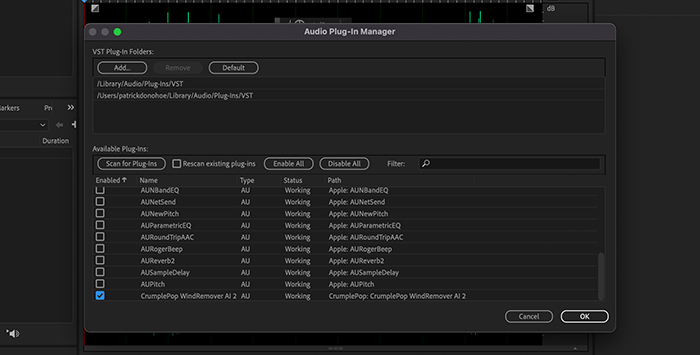
When the scan is complete, click Enable All, then OK to close the window.
Step 2: Apply AudioDenoise to Your Distorted Audio
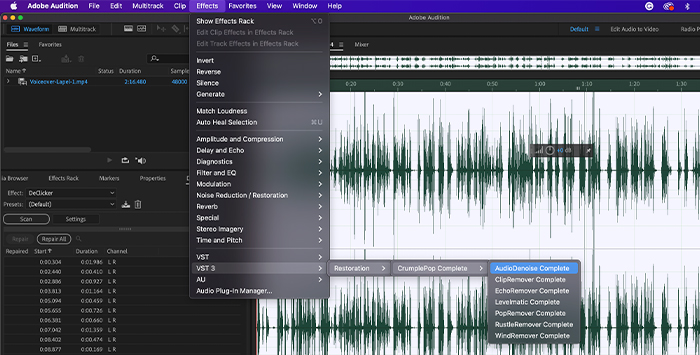
Go to your Effects menu again, where you should now see your external plug-in under VST3 or AU accordingly. Search and select AudioDenoise to apply it. It will open the plug-in interface and add it to the Effects Rack on your left side.
Step 3: Set Up AudioDenoise to Remove Noise and Fix Distortion
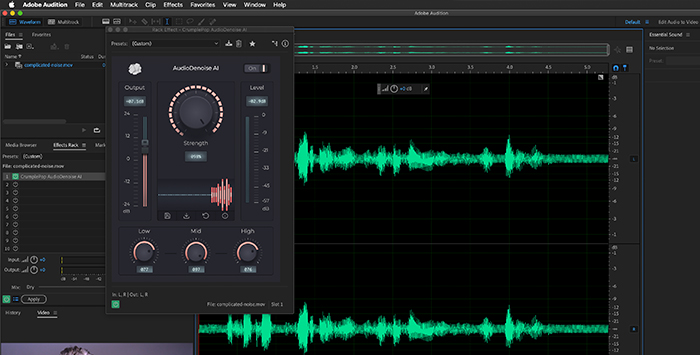
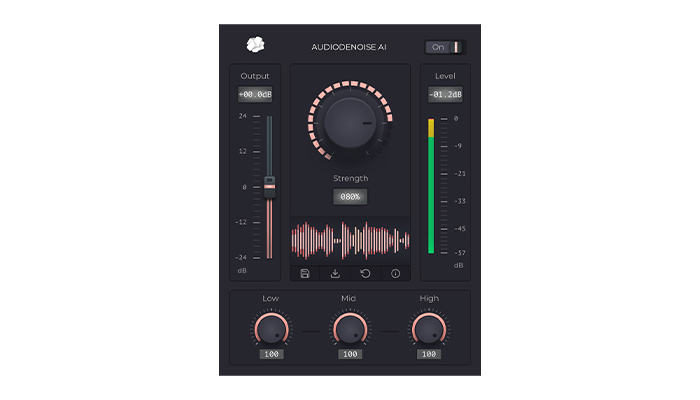
AudioDenoise interface is simple and intuitive. You have one Strength knob that controls how much of the effect is applied. The plug-in allows you to adjust other settings, like how much noise reduction you want to use in the low, mid, and high frequencies, and increase or decrease the output volume. It also shows a level meter to ensure your audio does not clip.
You can also create your own presets, allowing you to use these settings in other applications such as Adobe Premiere Pro or Final Cut to improve the overall quality of your videos.
Tips to Avoid Distortion
Finally, here are some tips on how to avoid recording audio with distortion. Remember, it's always better to prevent these issues than fix distortion in post-production, so spend some time setting up your equipment and analyzing the recording location before pressing the record button.
Choose your recording position to minimize background noise in your recordings.
Do a test recording to adjust your audio interface and microphone preamps, ensuring your gear doesn’t clip.
Place the microphone away from noise sources to avoid possibly clipping your recordings.
Monitor your Peak LED indicator on your recording device. Most audio interfaces and portable recorders have one.

Keep an eye on your audio level meters on Audition to adjust the gain and avoid clipping when you record directly from Audition.
Final Words
Distortion can be prevented easily as long as you familiarize yourself with your gear and the recording environment before filming. Try all features in Adobe Audition to edit and fix distorted sounds, such as the multitrack editor, frequency analysis, spectral frequency display, and get the noise print from your audio. And if all comes to worst, you can always use a professional third-party plug-in to fix distortion and remove complex noises.
Good luck, and stay creative!