


Neon lights are cool and attractive, but not just anyone can create a neon sign and place it on set for their next photoshoot.
Luckily, modern photo editing software such as Adobe Photoshop allows us to create and add various effects to people and objects within our photos, such as an inner or outer glow, which are some elements needed to put together a neon sign/text virtually.
In this guide, we'll show you how to create neon text using Photoshop. If you need neon signs for an image you're working on, a YouTube channel intro, a logo, or anything else, you've come to the right place.
We've got much to cover, so without further ado, let's get started.
Why Neon Signs?
Adding a neon sign or any type of neon text to your image can give it a whole different look. Depending on what you're planning to achieve, the outer and inner glow effects from the neon sign can improve the aesthetics of the image, especially when using popular and proven color combinations, such as blue and orange or light green with purple.
Neon signs also have a functional use.
You can often see them used to attract eyes when promoting things such as a black Friday sale or announcing a new movie at a theater.
They also provide a specific "retro" feel, which is something many find appealing when seen in ads and design work.
You'll often see a neon sign aesthetic and neon colors in general when creators go for the vaporwave and synthwave aesthetics, which are very popular thanks to films like Drive (2011) and video games like Far Cry 3: Blood Dragon.
Regardless of what you need them for, whether for creating advertisement designs, stream overlays, logos, or simply want to know how to create a neon sign in case you receive a request for one, the sections below will provide all the steps you need to bring one to life using Photoshop.
How to Create Neon Sign/Text in Photoshop
In this section, you'll find one of the multiple approaches to creating a neon glow sign within Adobe's most popular image editing software.
Please note that there are numerous ways to do this, and this is just the one we've chosen to show you, as we believe it is the simplest and most effective.
With that said, here's what you need to do:
Step 1: Launch Adobe Photoshop and Create a New Project
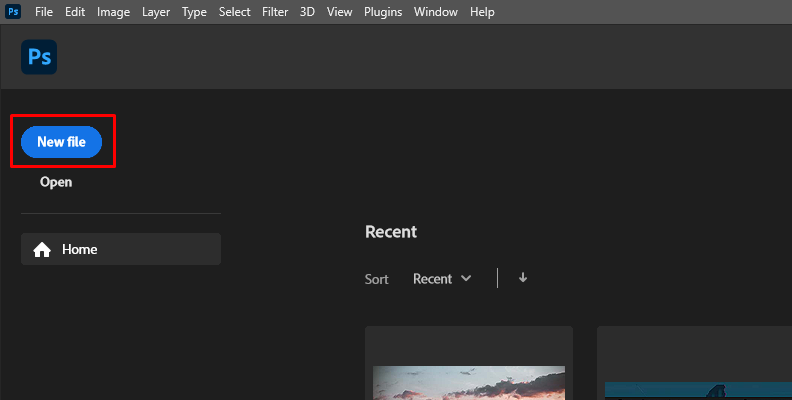
Your first step is to launch Photoshop on your PC, wait for it to load, then create a new project. We recommend this approach so that you don't make any unwanted changes to a project you've already started for work.
Once you know how to make a neon sign, you'll be able to apply the knowledge to your existing projects.
Step 2: Import Background Image(s)
Now that you have a new project open and ready to work on, it's time to import the background image to which you'll be adding a neon sign.
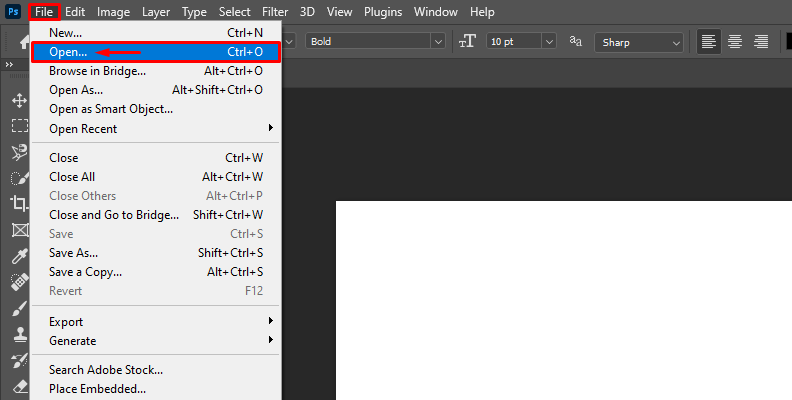
To do this, simply go to "File" -> "Open" as shown in the image below, and choose the file from your computer's storage.
Once your image is imported, move on to the next step.
Step 3: Use the Text Tool to Create Your Sign's Text
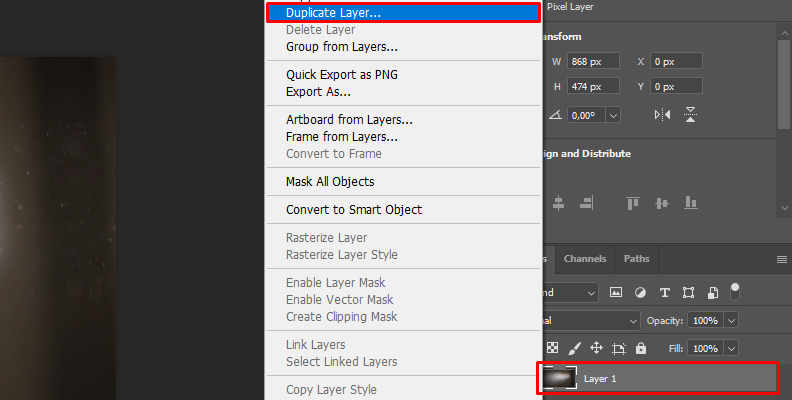
Before you begin writing the text that we'll turn into a neon sign with an outer glow and all the necessary extras to make it look aesthetic, we first recommend duplicating your background layer.
To do this, select your main layer, then right-click it and choose "Duplicate Layer" as shown in the image below.
You can also use the CTRL+J keyboard shortcut on Windows.
Now that your main background layer is duplicated, you can work on a copy of it and be able to revert any changes easily. We recommend creating a new layer for every significant change that you make to your image so that you can reverse something a few steps back without undoing your whole work.
With that said, it's now time to use the text tool to create your sign's text.
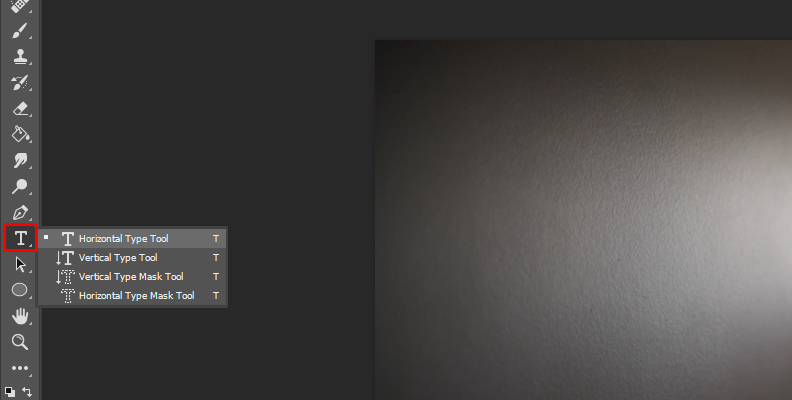
Click on the "T" icon from the left sidebar menu with all the tools listed, then click anywhere on the image to create a text box. Type in your text, and it can be anything you want. We'll go with "NEON" for this example.
Doing this will automatically create a new text layer, as you'll see on the right in your layers panel.
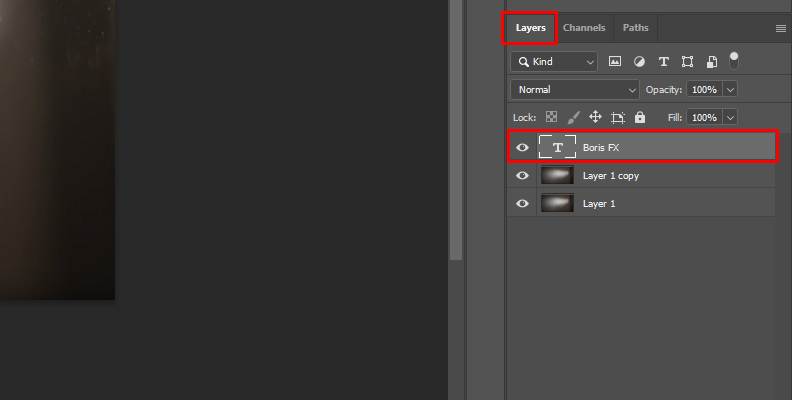
Feel free to change the font to something that looks more like a neon sign. The "Neon" font by Fenotype is a good choice, but you can find many others too.
Step 4: Accessing the Layer Style Panel
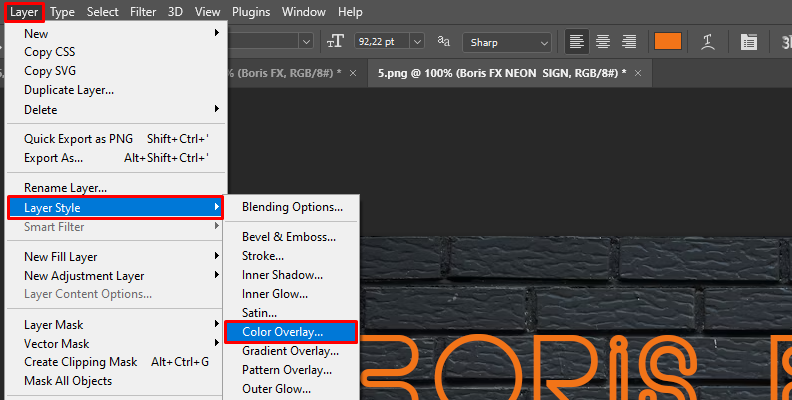
Your next move now is to open the "Layer Style" panel where we'll be creating layer styles, giving our text color and the "tubular" look that will make it look like it's made out of real neons.
To do this, click "Layer" -> "Layer Style" -> "Color Overlay" as shown in the image below.
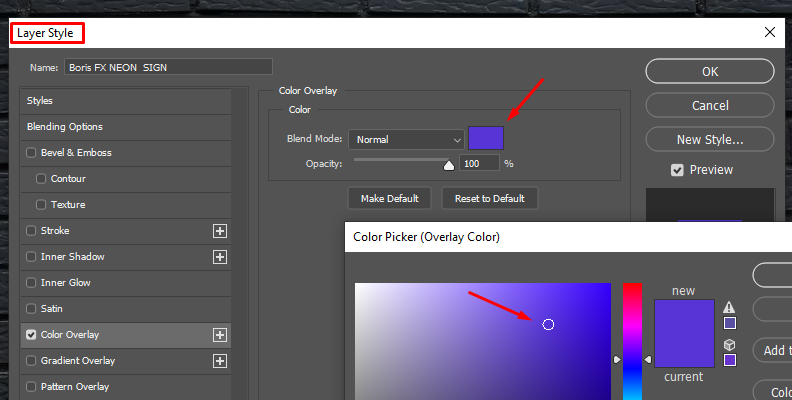
Here, use the color picker to give your sign a color. Feel free to use any, but consider blue, green, or pink, as those work very well for a neon glow. Do not close the panel after picking a color.
Now, choose "Bevel & Emboss" from the left sidebar by "ticking" the box left of it.
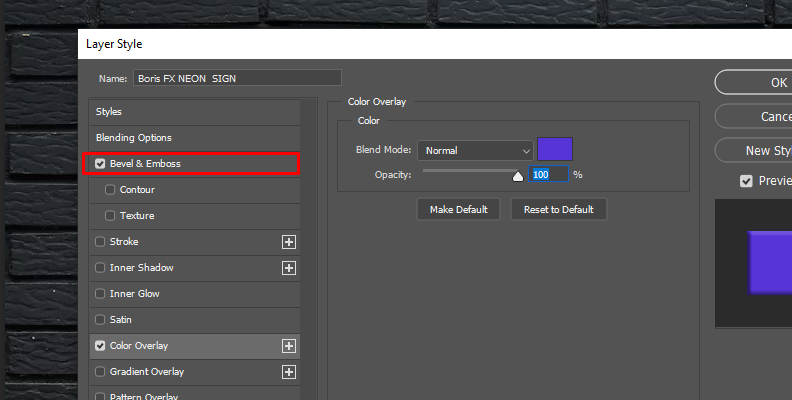
From here, it's up to you to experiment with the different settings in the "Bevel & Emboss" panel. We can't say for sure which parameters to change for your neon sign, as every project is different and your background may not match the style we used here.
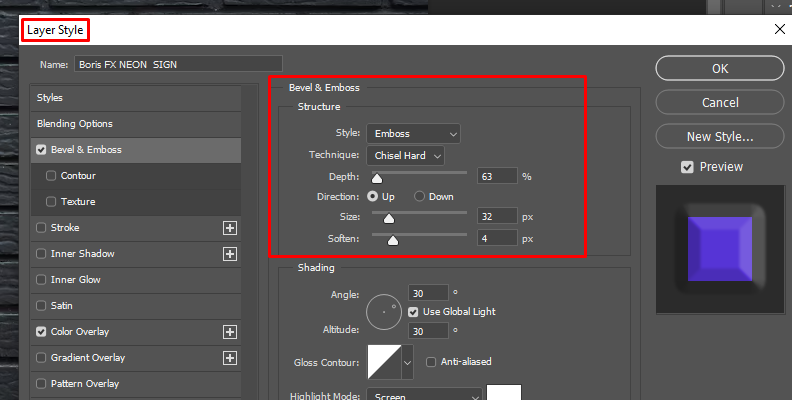
Luckily, you can preview the changes in real time, so keep experimenting until you find something that works for you.
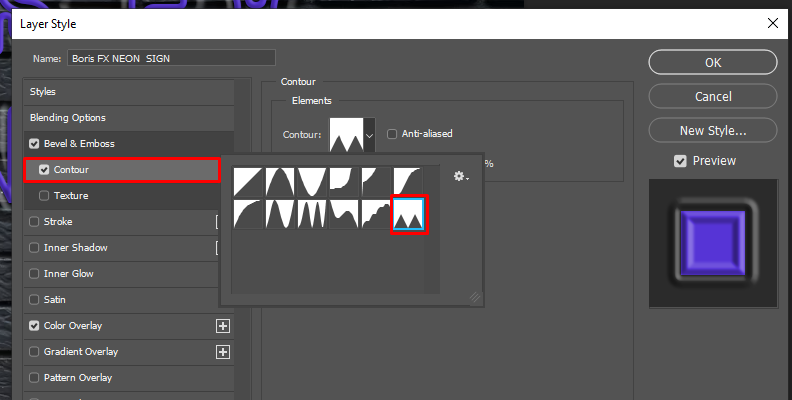
Step 5: Add a Contour to Your Sign
Open the "Contour" panel by "ticking" the box next to it first to enable the feature, then click on the panel to bring it up.
Choose a contour that you like. Again, you need to find something that will fit your project best. We ended up picking the last option.
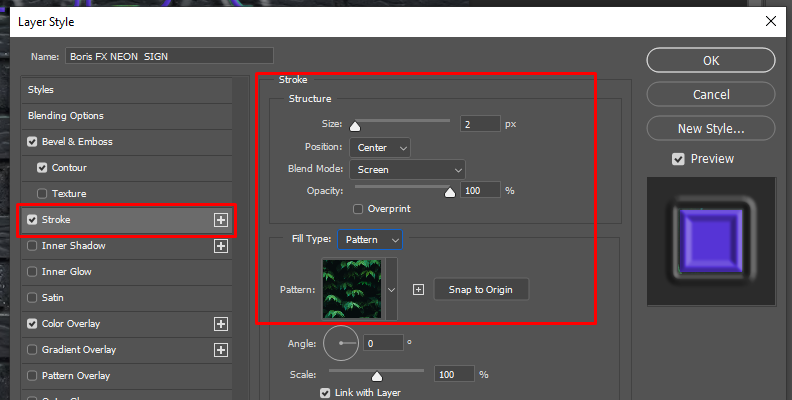
Step 6: Add a Stroke
Open the "Stroke" panel as you did with the "Contour" panel, and try out different settings. Choose a blend mode, size, opacity, pattern, and more. We ended up using the "Screen" blend mode.
These are the rest of the settings we picked.
Step 7: Add Inner Glow
The next step is to use the "Inner Glow" panel. These are the settings we used for the inner glow but feel free to experiment and preview the changes as you do to find what works best for a neon effect.

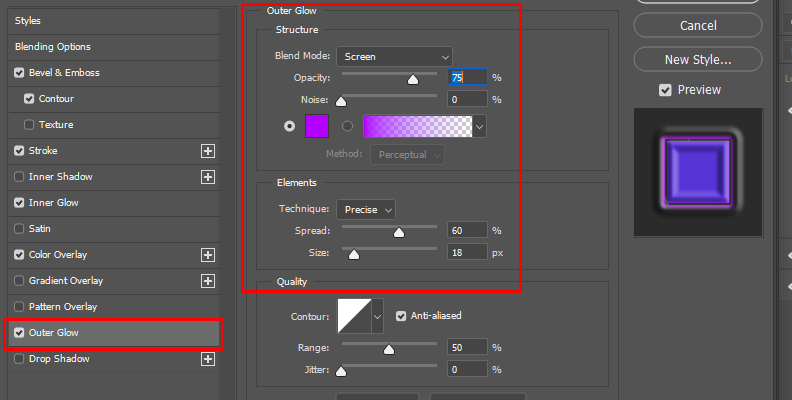
Step 8: Creating the Outer Neon Glow
The outer glow is what will bring your sign to life, so head over to the "Outer Glow" panel and add it.
Here are the settings we used for the outer neon glow.
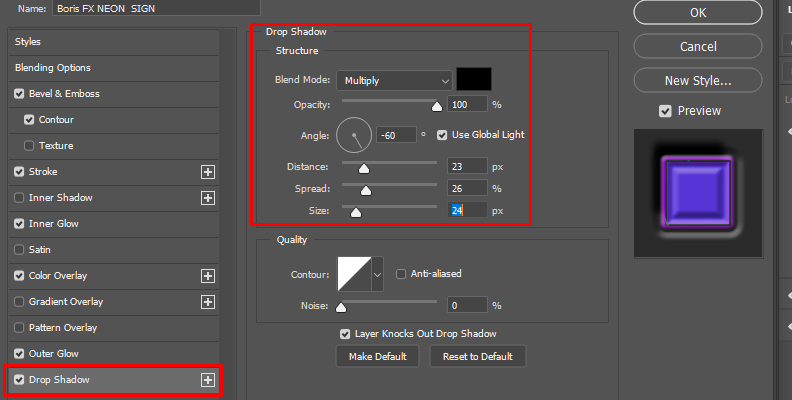
Step 9: Drop Shadow
The drop shadow effect in Photoshop allows you to "separate" objects, in this case, the sign from our background, which is a wall. This makes it look more realistic, as if it's hanging on the wall.
These are the settings we used for our drop shadow.
Finally, click the "OK" button now to save the changes in the "Layer Style" panel, as we'll be doing some work outside of it.
You can try adding more effects too, like a pattern or gradient overlay, for example.
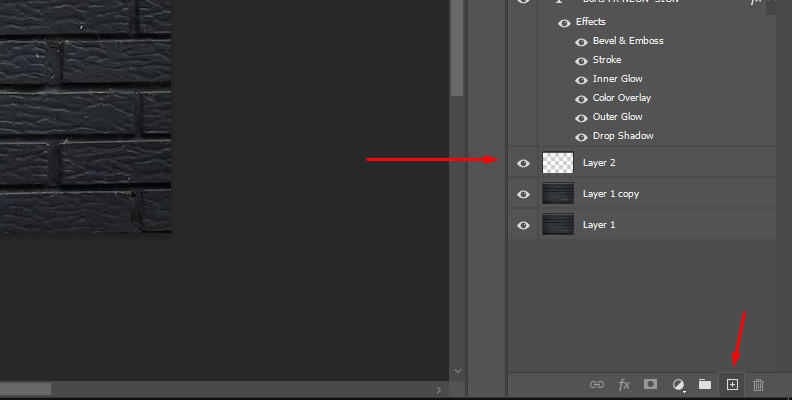
Step 10: Painting a Soft Light
To further increase the realism effect of our sign, we need to paint soft light along the letters and make it look as if the sign is casting light on the wall behind.
To do this, create a new layer that will be right above your main background layer, which is the image you imported first, in our case, the wall.
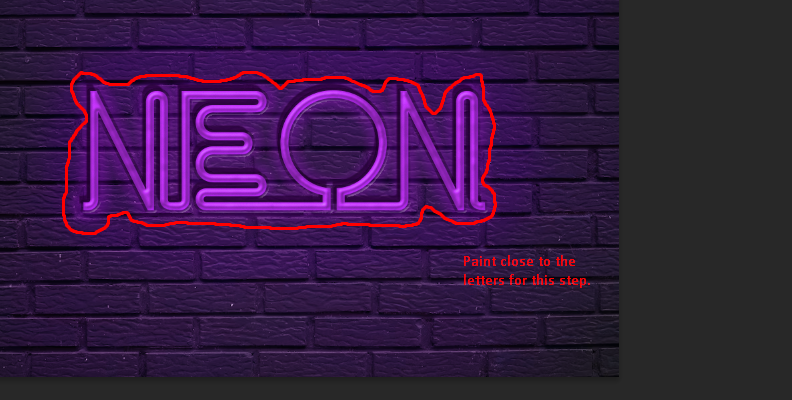
Now, use a soft brush and paint along the letters of your sign using a color that would realistically match the glow that your sign would emit.
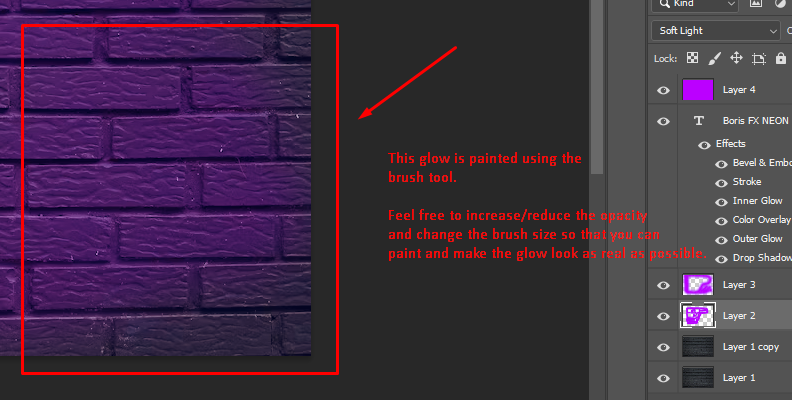
Next, create another layer and use a brush with a larger size but even softer and with less opacity, to paint the further glow and make it look like it's weaker and weaker the further it is from the main light source, which is your sign.
Step 11: Connecting the Background With the Light
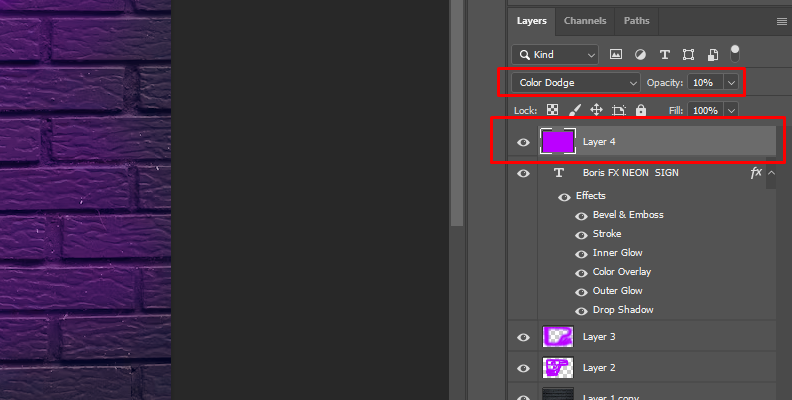
Our last step to make this really realistic is to create a new layer and use the paint bucket tool to fill it with the color that you want your wall to be lightened with. We chose the same color that we used for our neon sign and then changed the blend mode to "Color Dodge" and the opacity to 10%.
Please note that these settings may be completely different for your project. Experiment with the blend mode until you find one that works best and allows you to add an accent to the already-cool neon effect. You can use "vivid light" or "soft light" as they are the most popular choices.
Step 12: Adding a Power Cable (Optional)
You can use the pen tool, "add anchor point tool" and "direct selection tool" to draw and shape a power cable. This will add to the realism.
That's pretty much all there's to it!
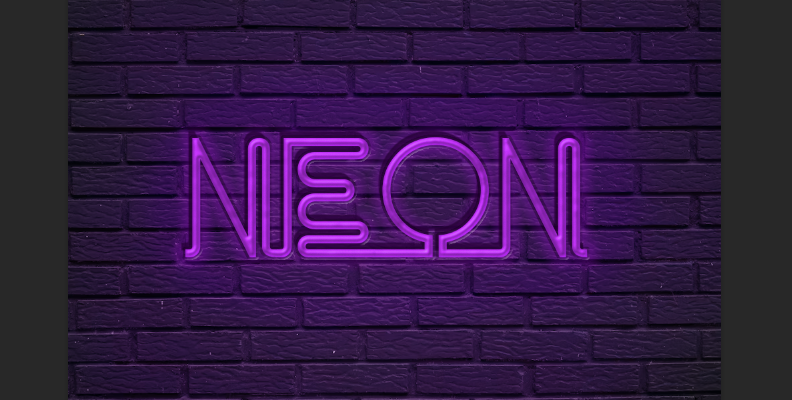
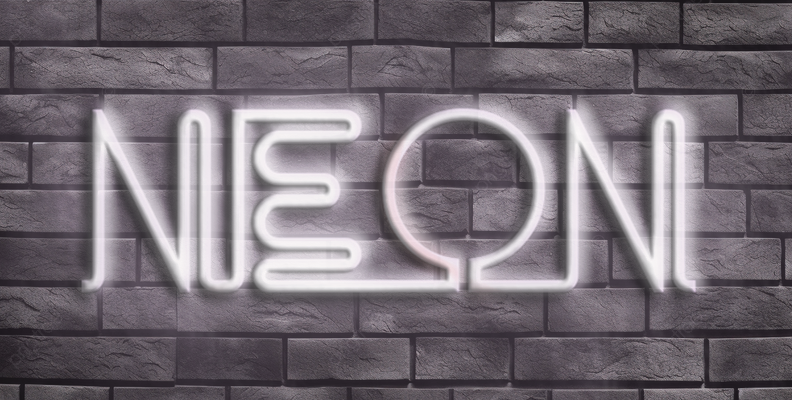
Here's how our sign turned out.
As you can see, it's lighting the wall behind it nicely, more the closer it is, it's casting a shadow, and it just looks as if it's one bent neon tube attached to a wall, when all it really is is a text layer with a cool font and some effects added to it.
Feel free to use different words, experiment with fonts, blend modes, layer styles, and whatever else you need to create the best possible neon effect in Photoshop. There are no rules when it comes to this task, so let your creativity flow.
How to Create Neon Text With Boris FX Optics
Third-party plug-ins are not always necessary for creating things such as the neon glow sign we just put together in the previous section.
However, when you compare the time and skill needed to do that manually versus doing it with a plug-in, you'll notice there's a huge difference.
In this section, we'll show you how to create neon glow text using Optics by Boris FX.
Optics is available as a standalone app and as a plug-in for Photoshop, so once you visit the official Boris FX website and download your free Optics trial, choose how you prefer to install it.
Once everything is set up and ready, here's what you need to do:
Step 1: Launch Photoshop and Import a Background Image
In the previous section, we've shown you how to import an image. You can use the "File" -> "Open" method again to do so.
Once you import the image, duplicate the layer and name the original "Background". We won't be touching that one. Instead, we'll be working with the duplicates.
Step 2: Use the Text Tool to Create Your Sign and Launch Optics
Just like in the previous section, we'll use the text tool with a font of choice to create our text. After typing the text, you'll immediately notice that a text layer is created.
Now, select the text layer, then go to "Filter" -> "Boris FX" -> "Optics" to launch Optics within Photoshop. Your image will automatically load into Optics.

Step 3: Apply Your Effect of Choice Using Optics
Once your image is fully loaded into Optics, use the search bar to find an effect that you like.
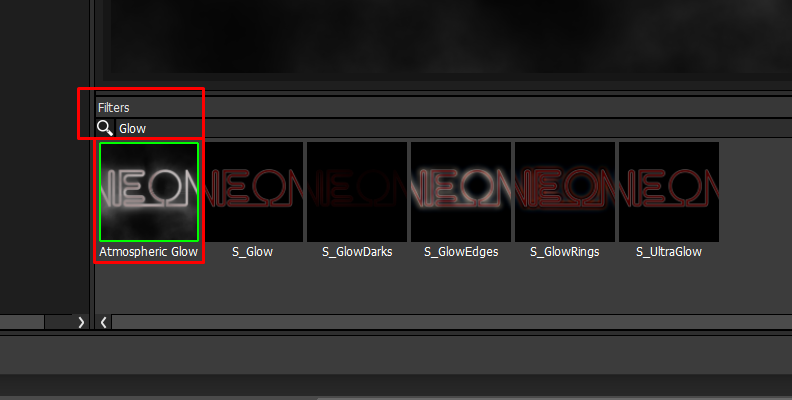
We'll choose the "Atmospheric Glow" effect. You can also try the "S_UltraGlow", "S_EmbossGlass" or "S_EmbossShiny", as all of them have unique looks that can help you create a cool neon glow.
Just like all other Boris FX effects/filters/plugins, you can heavily customize the effect that you choose, and the same applies to the Atmospheric Glow as well.
Simply head over to the "Parameters" panel on the right, and expand as many panels as you need.
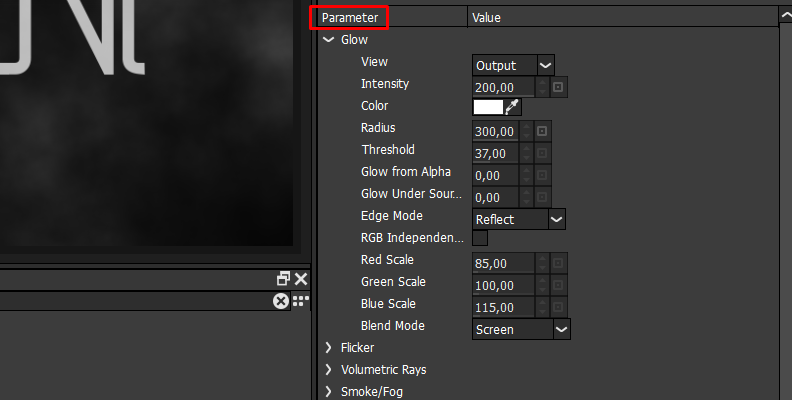
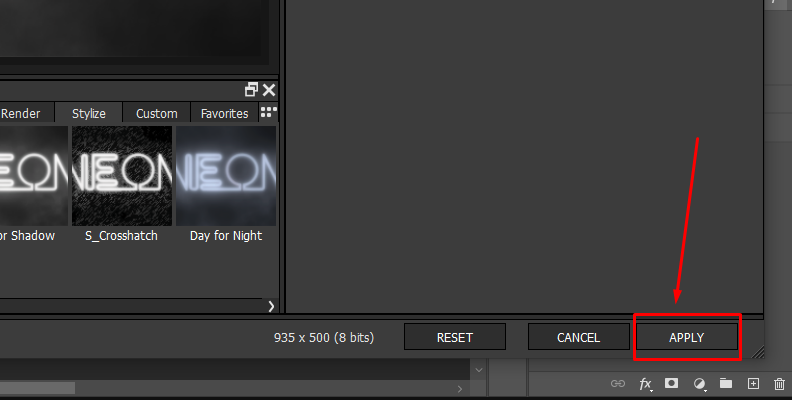
Modify the settings in each panel you expanded, and when done, press the "Apply" button in the bottom-right corner.
And just like that, in only a few minutes, you have a neon glow sign with a lot less work compared to if you were to do everything manually like in the previous section.
Final Words
That's everything you need to know about one of the many approaches to creating neon texts in Photoshop.
There are many other ways to do this and an infinite number of combinations regarding settings, techniques, and parameters, so let your imagination loose and find out what works best for your project.
Good luck and thanks for reading!


