


In the digital age we live in where everyone is craving attention online, simply posting pictures and videos on social media platforms like Instagram or Facebook is not enough. While videos generally tend to perform better than photos, there are other tricks to grab your audience's attention: one such trick is to use photo animation. This technique can help you create cool art, add motion to your profile photo, or simply make your content stand out.
Animated photos with light effects, panning, fading, or even a small slide or jump can catch the viewer's eye and make them stop scrolling. You can use animation to enhance your social media posts, website, presentations, products, animated stickers, logos, or gifs. This article will guide you through the process of animating photos professionally on both Windows and Mac operating systems using Sapphire. Additionally, you’ll also learn how to animate photos for free using simple online animation tools.
Grab the photo you want to animate, and let's dive in!
What is Photo Animation?
Photo animation is a technique to make static images look like they’re moving by applying special effects. Photo animation can go from a simple fade, zoom, or pan of the image to more complex effects like applying light effects, particles, dust, and dispersion effects to a specific area in your photo, such as lightning in the sky, rain on a window, steam from a cup of coffee or a ball of fire in your hand.
How to Make An Animated Photo on Windows
You can use a wide range of photo editing tools for photo animation on Windows. Today, I'll show you how to animate a picture professionally using Sapphire, which works inside such as Premiere Pro (which we'll use in our example), DaVinci Resolve, VEGAS Pro, After Effects, and other supported hosts
Sapphire offers outstanding transitions and effects to make your photos stand out. It also features an effect builder to craft custom effects that you can save as presets for future animations. These simple steps will help you animate photos in Sapphire-supported hosts on Windows.
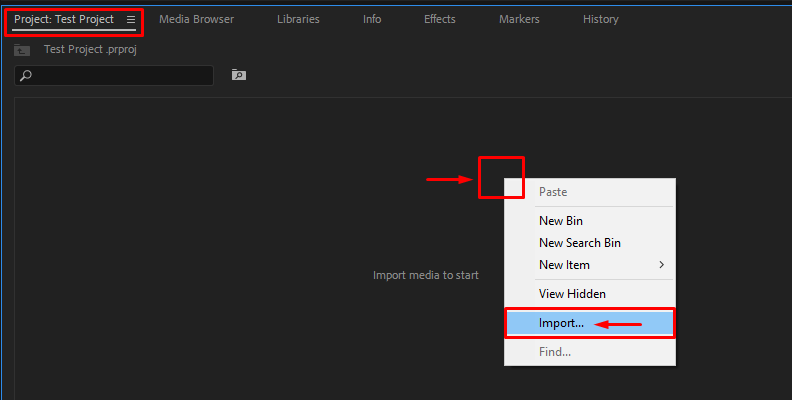
Import the photos you want to animate to your editing tool.
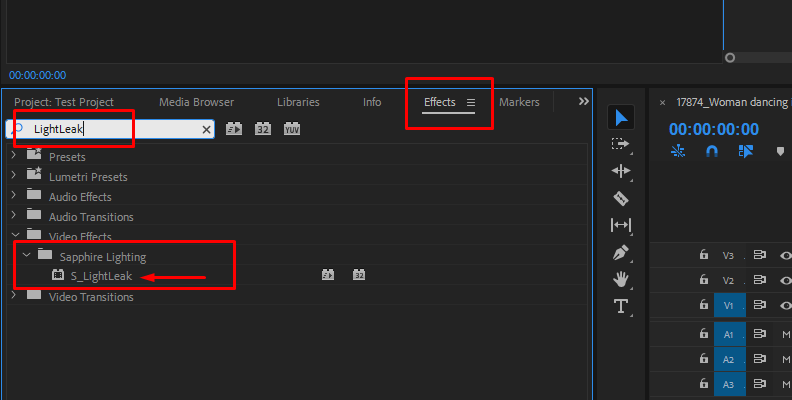
Open your effects library and search for a Sapphire effect. Depending on your photo editing tool, you might be able to preview the effect, but if not, you can preview them in the Sapphire website Gallery.
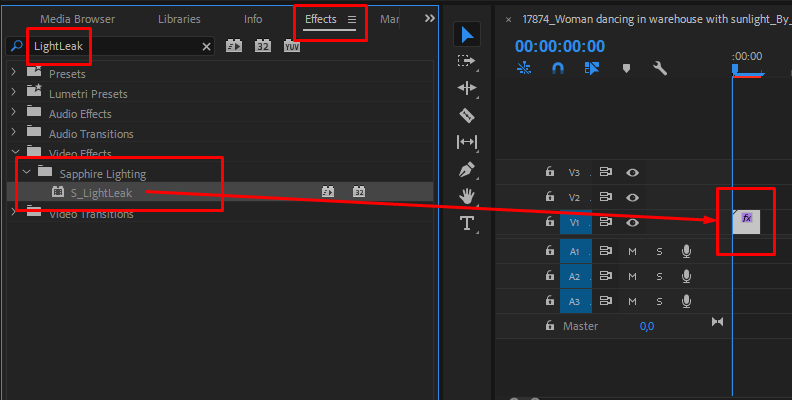
Add the Sapphire effect by dragging it into your photo clip.
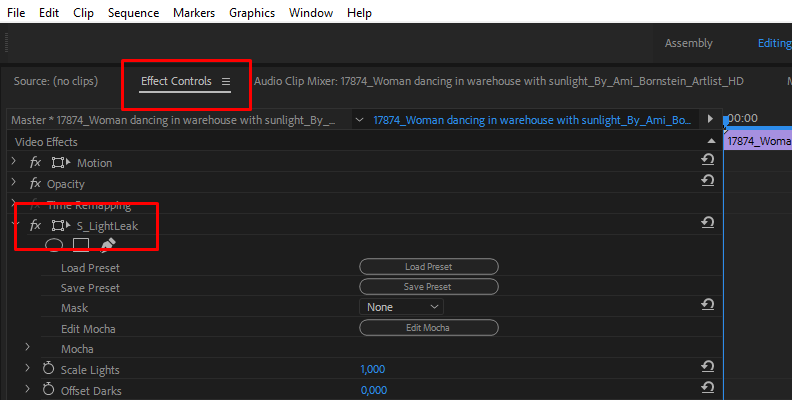
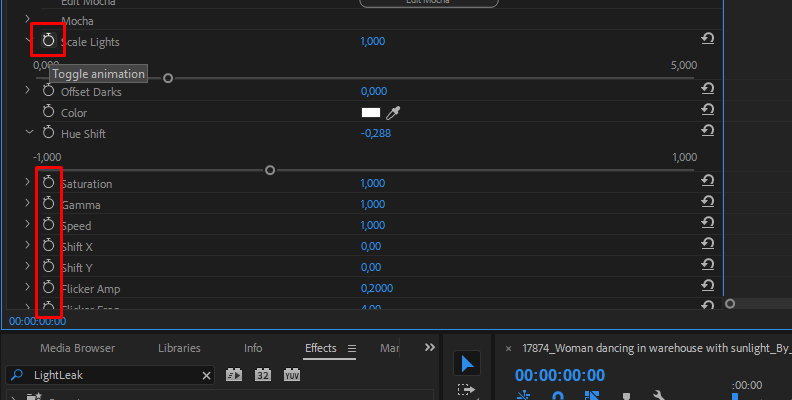
Open the event FX or effects panel and play with its parameters to create a unique animation. Some effects will have presets you can use as a starting point.
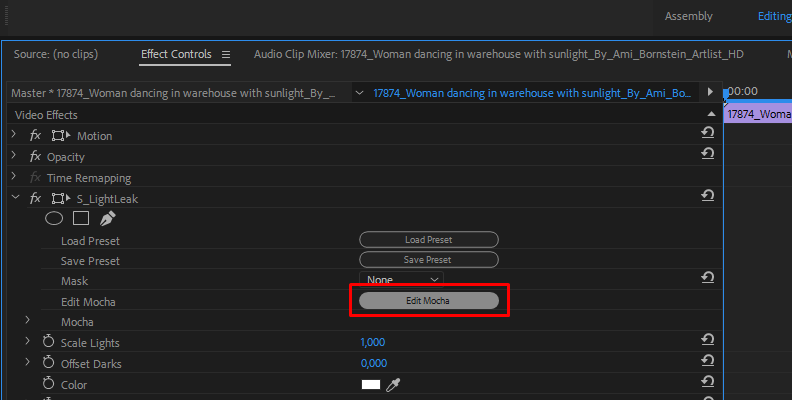
Most Sapphire effects have an integrated Edit Mocha feature for animating clouds, smoke, water, or other inserted objects. It allows you to create masks in the photo to apply animation effects to a specific area or object.
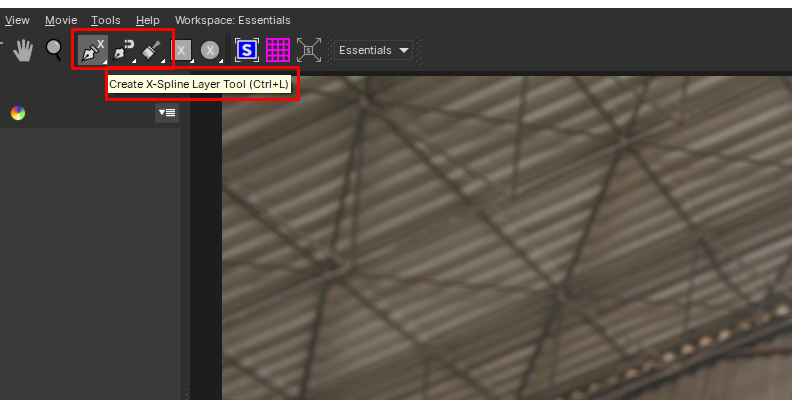
In Mocha, draw a mask on the area using spline tools. You have your typical b-spline, x-spline, and magnetic splines to work with. Label the mask so you stay organized when you work with multiple animations and close Mocha to return to your editor.
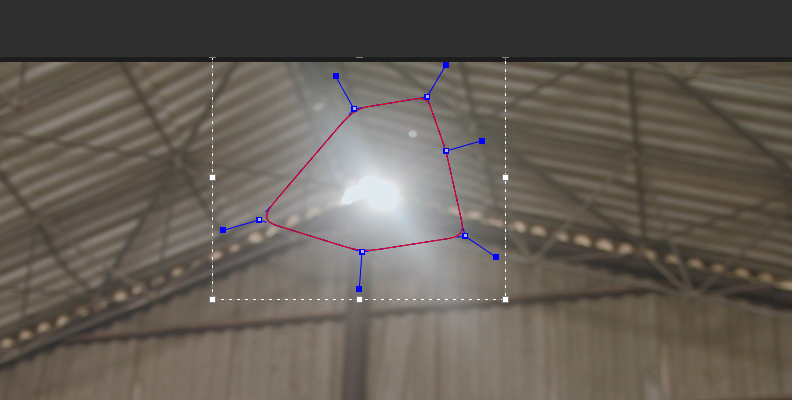
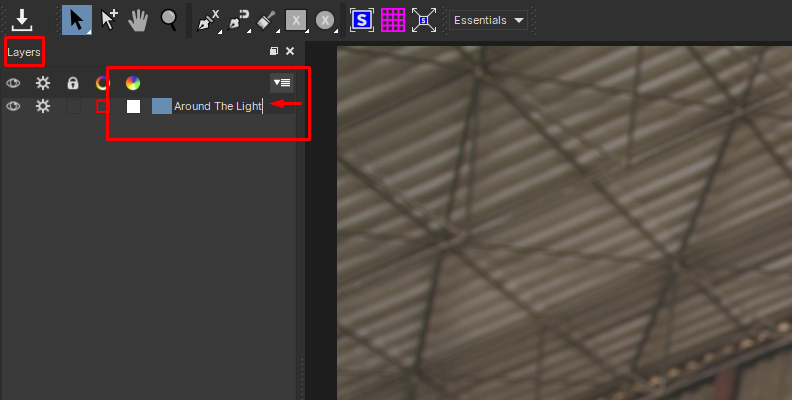
Now, you can see the animation only on the mask you create in Mocha.
Experiment with effects such as warp, vortex, flicker, ultra glow, bokeh, ultra zoom, film damage, and more to enhance your photos' depth and movement.
Render and export your animated photo.
How to Make an Animated Photo on Mac
Like Windows, with Mac, you have very similar tools. This guide section is for software exclusive to Mac users in supported Sapphire hosts such as Autodesk Flame, After Effects, and DaVinci Resolve. Overall, the steps to animate pictures are mostly the same for Mac and Windows users; differences depend more on the software you are using.
Create a new project for your editor program and import the photo to animate. Edit or apply color correction if you need before animating your pictures.
Open your FX browser on your editor and search for Sapphire. They might be under the OFX > Sapphire category. If you know which effect you want to add, use the search box that some video editors have to find it quicker.
Apply the selected Sapphire effect to your photo and open the parameters. The effect will apply the default settings, but you can choose presets or manually adjust values.
One of the best features of the Sapphire plug-in is its integration with Mocha tracking. Use Mocha to animate an object in the picture, and not the entire image, for example, car lights, candles, eyes, or a starry night.
To use Mocha masking, click Edit Mocha. Mocha will launch a different UI with your source image. Select an x-spline tool and draw a mask around the object you want to animate. Close the Mocha UI once you finish.
Back in your editor, you can now adjust the effects and feather the edges of the mask so the animation looks realistic.
Thanks to Mocha, you can apply different Sapphire effects on other objects in the photo and animate them independently of the background.
Photo Animation Online
One of the best photo animation apps online is Canva. Its user interface is the easiest you can find, and with a free Canva account, you can fully animate photos. If you want even more editing tools, the premium upgrade will offer everything you need to create professional animations. Canva works on any system that supports web browsers and mobile devices with Android or iOS. There's also a desktop version for Windows and Mac.
The results with Canva won't have the professional quality as with Sapphire's plug-ins in After Effects or VEGAS, but it works well if you want to add movement to your static images.
To animate photos using Canva, follow these simple steps.
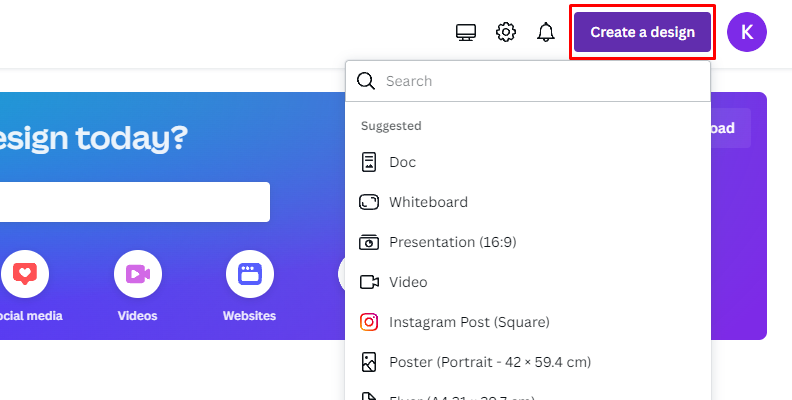
Sign in to Canva and select Create Designs. You can choose a template, start from scratch, or decide to edit an image and later add it to a new design.
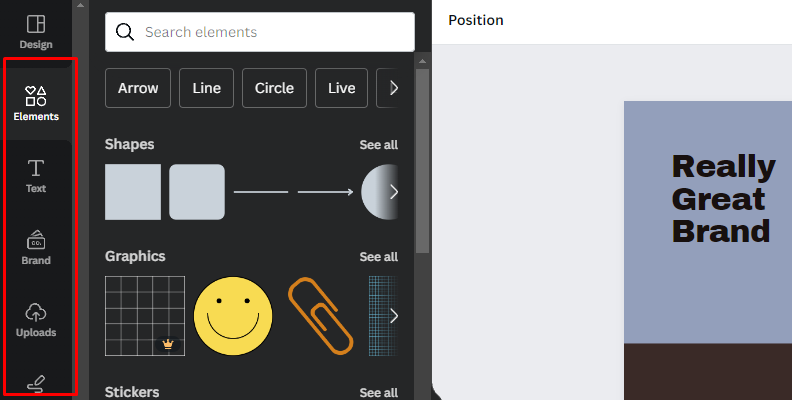
Upload your photo and edit it. You can add text and other elements, graphics, and stickers.
Click animate to open the animation options. You can preview each animation by hovering the mouse over it to adjust speed and intensity.
When you find one you like, click on it and preview it.
Click the share button and select download. Choose the file types that you need and click download. You can download your animated photo in video or GIF.
How to Animate a Picture with Sapphire Nitro FX
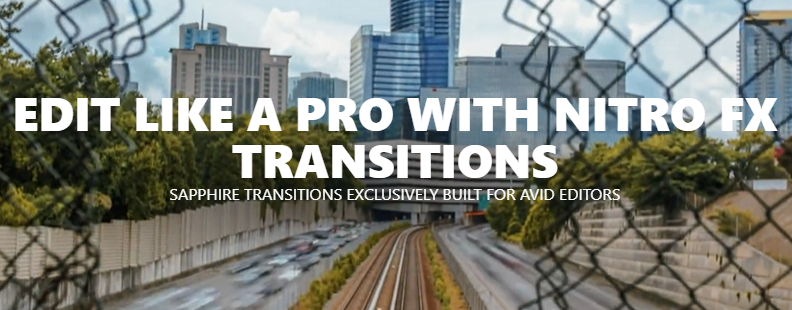
To all Avid Media Composer users, you can now get Nitro FX, a Sapphire transition pack designed by the award-winning director Angus Emmerson. Nitro FX was created exclusively for Avid Media Composer in Media Composer itself. The pack features over 50 professionally handcrafted drag-and-drop transitions ready to add to your timeline as Media Composer sequences and supports projects in different FPS and any resolution.
Nitro FX transitions are fully customizable and easy to use regardless of your skill level and provide unique and fun modern glitches, warps, lens flares, and more. To use Nitro FX for photo animation, you need Avid Media Composer 2020 or above and have a Sapphire FX license installed on your computer. Then, put the transition pack in and install it.
Let's start by setting up Nitro FX and learning how to use it.
Step 1: Download Sapphire Nitro FX
Go to the Nitro FX product page to buy the program. After completing the required steps, you will receive a download ZIP file at your email address. Download the file and extract it in a folder you can find later. Remember, you must install Sapphire on your computer first to use Nitro FX.
Step 2: Install Nitro FX
Installing Nitro FX takes a few minutes. After the extraction, you will see several bins in the folder. Copy the bin file to the Avid project folder where you want to use Nitro FX. Ensure that you select the proper bin for your project. The Nitro FX pack should be on your bins the next time you open your Avid project.
If you're already on Avid, you can apply the Nitro FX pack directly from your project. Right-click on your Bins panel, select Open Bin, find the folder in your system, and open the correct bin for your project. It will automatically add the Nitro FX packs to your project and can drag them to your timeline.
Step 3: Use Nitro FX in Avid Media Composer
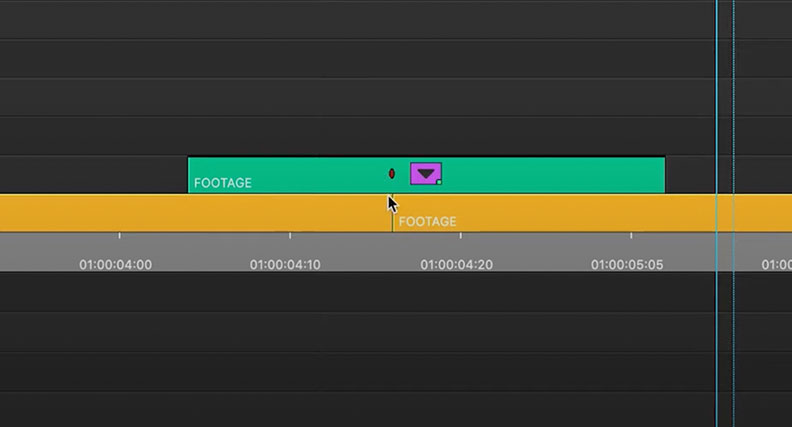
Now that you have Nitro FX installed and ready to go select the effects from the Nitro FX bin in your project and drag and drop it on top of your photos and video footage. Align the effect with your footage and render. Play it back and see the transition effects in action.
The Nitro FX will affect everything beneath it in the timeline. So, you can apply it to video footage, texts, or still images to create a photo animation.
Step 4: Customize the Animation

Although these animations are ready to use, you can fully customize them to add personalized transition animations to your footage. If you open the transition, you will see all the effects nested inside the Nitro FX animation. You can drag them to change the time and make the transition animation shorter or longer, remove the effects you don't like or need in that specific image, or adjust each effect parameter individually.
Finally, render and playback to see the result.
Final Words
Now, you're ready to take your photo animation skills to the next level!
For quick and easy animation with just text and stickers, there are plenty of photo animation apps and online tools available. However, if you're looking for more advanced transitions crafted professionally, consider upgrading your skills with Nitro FX for Avid Media Composer. With Nitro FX, you can access the best of Sapphire and create stunning, professional-grade photo animations for your clients or personal collection.
Good luck!


