


If you've heard or read about using a displacement map to add distortion effects to your videos but still have no idea what it's all about, this article is for you!
In this complete tutorial, you'll learn about displacement maps, including the pros and cons of using a displacement map and the difference between displacement maps and normal maps. In the last section, I'll show you how to make a displacement map in a step-by-step guide using the BCC Turbulence filter from the Continuum plug-in suite.
Let's dive in!
What is a Displacement Map?
Displacement mapping is a technique used in graphic design and animation. As the name suggests, displacement maps displace a texture or mesh to add more detail, depth, silhouettes, and shadows to a surface. It's a common method used with others, like parallax mapping, normal mapping, and bump mapping.
Displacement maps comprise grayscale values only. They take the luminance value of the texture layer and displace the position of the pixels to create an effect on an image or different layer.
A displacement map is commonly used to create unusual distortion effects in footage or images, as a visual effect, or to create mockups.
Pros and Cons of Displacement Map
Advantages of a Displacement Map
A displacement map is a great option for adding more detail to a low-resolution image or mesh. It also makes more realistic mockups for your products and logos and can create realistic silhouettes, shadows, better depth, and greater distortion.
Disadvantages of a Displacement Map
The disadvantage is that the geometry of a displacement map can be complex to create, especially for beginner designers and VFX artists. Also, it requires more CPU from your equipment and a longer render time.
Displacement Map vs Normal Map
Now that you know what displacement maps are, let's review what normal maps are to understand their differences.
Normal maps add detail and fake illumination for bumps and dents in a surface. The detail is better than bump maps but less realistic than a displacement map since it does not add any resolution or additional geometry.
However, contrary to displacement maps and bump maps, which are grayscale, a normal map uses and stores the information in RGB values corresponding to the X, Y, and Z coordinates, providing a wider selection of hues.
Both techniques add detail to a textured surface, but a displacement map adds geometry and modifies the surface by adding and altering the geometry, which offers more realistic detail.
How to Make a Displacement Map with BCC Turbulence
Now, let's get into this tutorial. BCC Turbulence is included with your Continuum license, so you don't need to download anything else if you already have one. If you don't have an active license, you can download the Continuum Free Trial, which is fully featured with a watermark.

You can use BCC Turbulence and any Continuum effect on an image or video. It is compatible with the most popular video editing software, including Adobe products, DaVinci Resolve, Final Cut Pro, and VEGAS Pro.
For this specific tutorial, we'll be using Adobe Premiere Pro, but keep in mind you can use Continuum's effects, presets, and transitions in any software you're familiar with, as long as it's on the list of compatible programs.

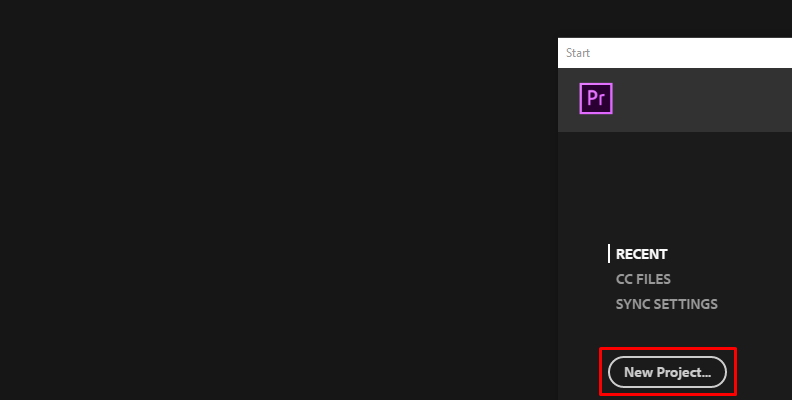
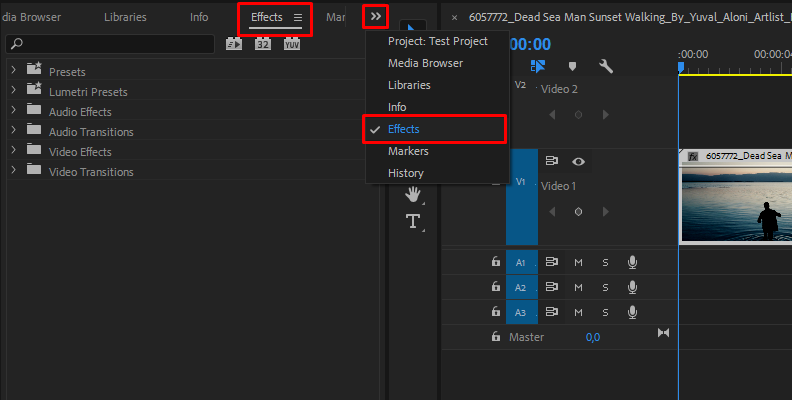
Step 1: Set Up Your Project
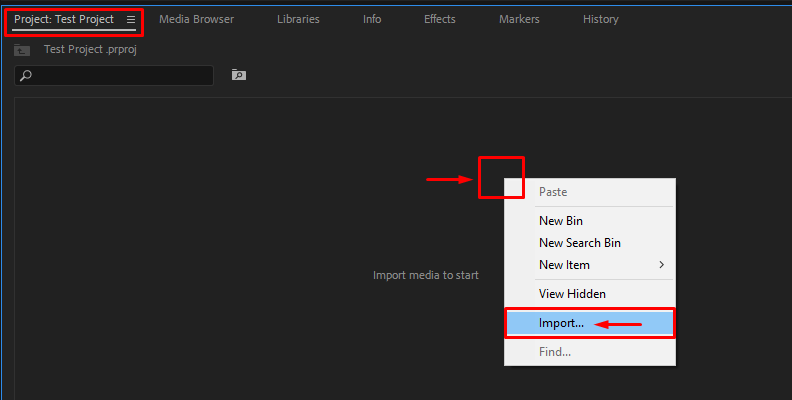
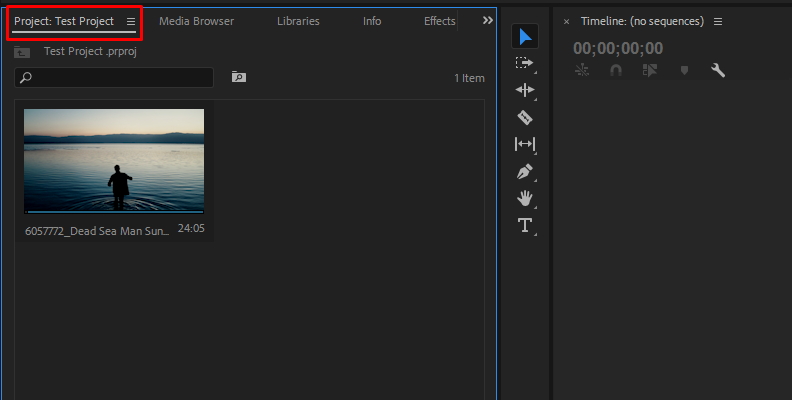
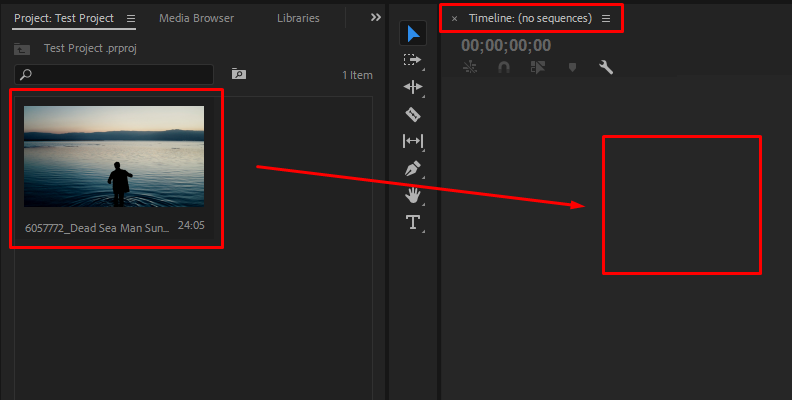
Open your favorite video editing software and create a new project. Import an image or video clip you want to add distortion with BCC Turbulence and set up your timeline and layers that you might need. In big projects, ensure you identify which layer has the clip or images to apply BCC Turbulence.
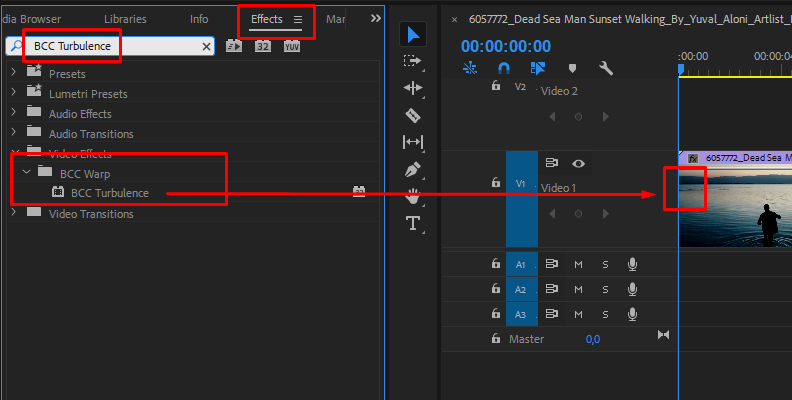
Step 2: Apply BCC Turbulence
Select the layer with the image and search BCC Turbulence in your effects library. You will find it there if you scroll under the BCC Warp category. Just click and drag it to the image layer to apply the filter. You will instantly see the effect's default settings in action, but don't worry if you don't like what you see; this is just the beginning.
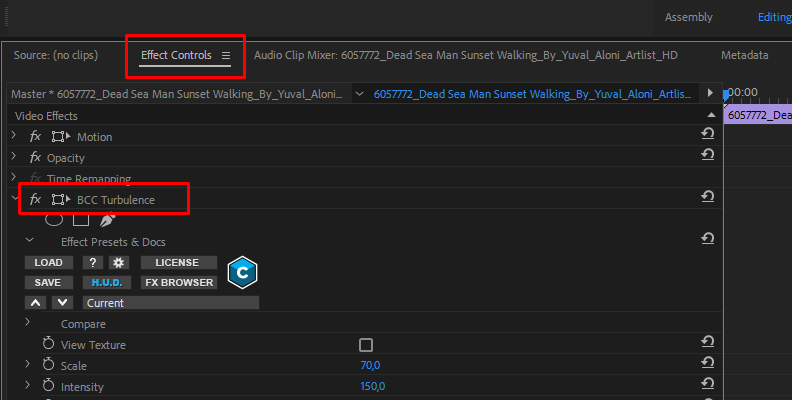
Step 3: BCC Turbulence Presets
BCC Turbulence comes with over 30 presets that are pre-installed and ready to use. You will find some useful static and animated presets for images that need effects such as melting glass, heat, clouds, waves, etc.
To access the presets, click on the FX Browser button at the top of the BCC Turbulence settings.
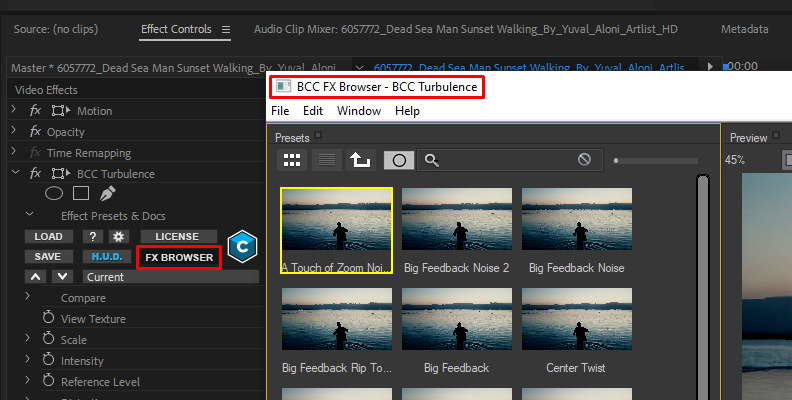
Select a preset and preview it. You can adjust it if it doesn't suit your needs. Choose one as a starting point or return to your host to create the displacement map and turbulence effect from scratch.
Step 4: Create the Displacement Map
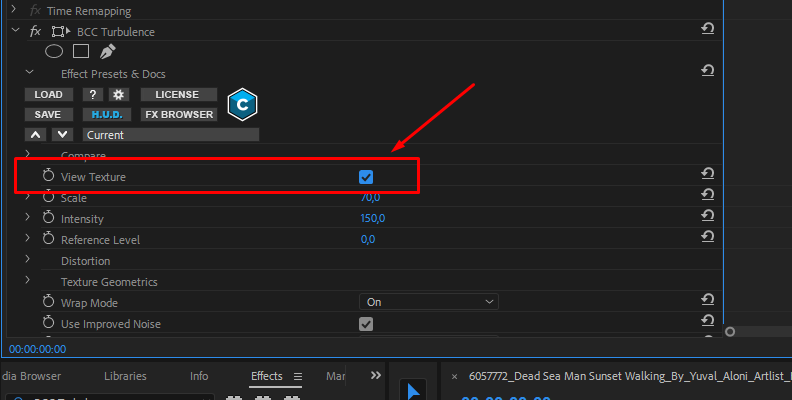
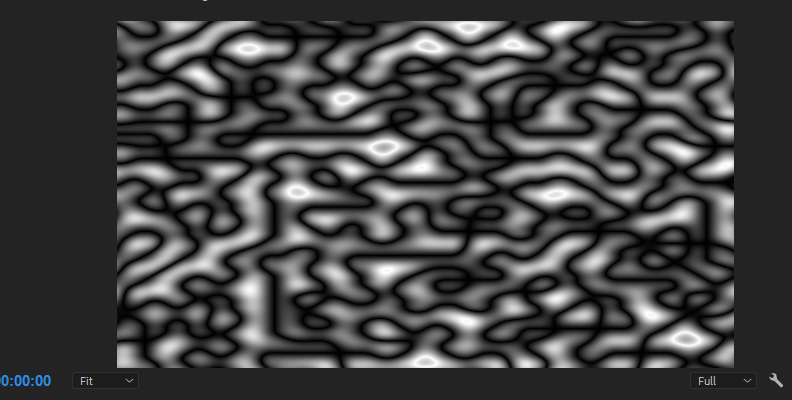
The BCC Turbulence has several settings to adjust. Start with creating the displacement map. First, check View Texture to make the textured surface generated by default visible. It uses the same algorithms as the BCC Noise Map 2 filter, so it will look familiar if you've used this effect.
First, choose the right Scale for your image, depending on the look you want. To adjust the monochrome image, use the Intensity, Reference Level, and Wrap Mode.
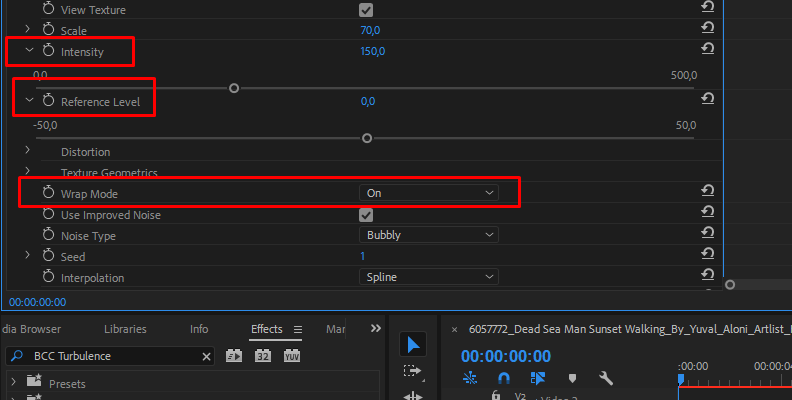
The Wrap Mode default setting is On. It wraps in both directions (positive and negative). You can set it only to positive or negative, which will create more black or white areas, or turn it off. Adjust these values together with the Intensity and Reference Level. You can leave the default values and adjust only the Intensity.
Step 5: Noise Layer and Texture Geometrics
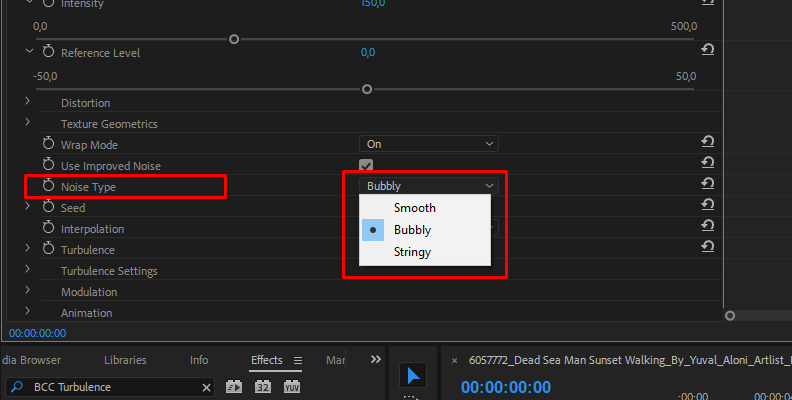
These settings help you create the noise layer for the displacement map. In Noise Type, select the overall look of the noise layer, choosing between Smooth, Bubbly, and Stringy, and set the random seed.
The Interpolation controls the algorithm used for the noise. Spline is set by default and provides great results, but it's worth trying out the other options. Other settings you can experiment with in the Texture Geometric group are the aspect to stretch the effect vertically, then adjust the offset, anchor point, and rotation.
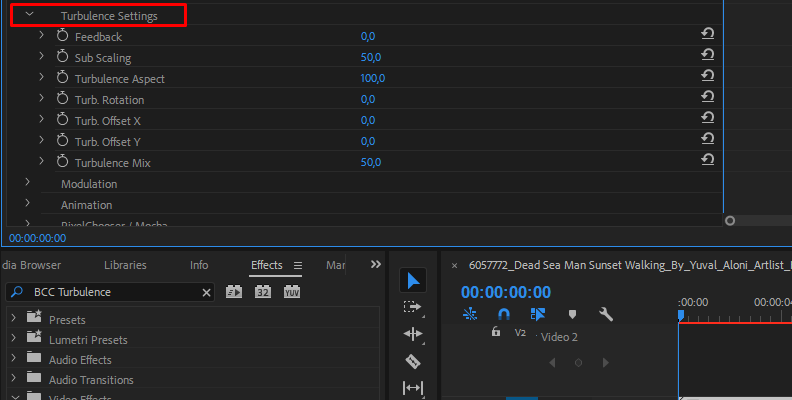
Step 6: Turbulence Settings
The single Turbulence setting sets the number of noise layers, and the Turbulence Settings group determines the combination of the noise layers with the initial noise layer. First, adjust the Turbulence to set the complexity of the noise before proceeding to the Turbulence group.
The controls in the Turbulence Settings group adjust each noise layer relative to the previous layer. For example, if you increase the sub-scaling, each layer will be larger than the previous one. Play with the feedback, sub-scaling, aspect, rotation, and turbulence mix to create unique turbulence effects.
Step 7: Modulation
You can modulate more aspects of the texture using a shape generator from another layer. Display the Modulation group and display the Modulation 1 Shape menu to choose either a layer source or a shape. Each option will enable different settings.
The Modulation 2 Source allows you to add a second layer to shape your effect. Adjusting these parameters is not mandatory, but they can create unique results.
Step 8: Animation Settings
The BCC Turbulence filter can be fully customized and animated, too. There are four parameters to adjust the filter's auto animation in the Animation settings. Change the noise flow and direction with Flow Rate and Flow Direction.
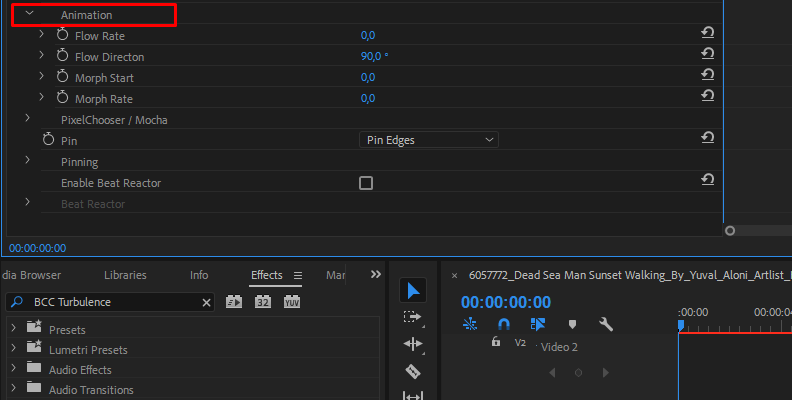
Morph Start adjusts the 3D noise space, and Morph Rate animates this space.
Step 9: Track the Turbulence Filter
If you enable PixelChooser/Mocha, you can track part of the image in a video to apply and restrict the displacement map to that image selection. You can use this to apply the effect to a window, a logo, or a motion graphic.
Keep in mind you can create unlimited styles using combinations of preset settings and parameters, so depending on what you're trying to achieve, every project will have a different "perfect" look. Feel free to be as creative as you can using this effect.
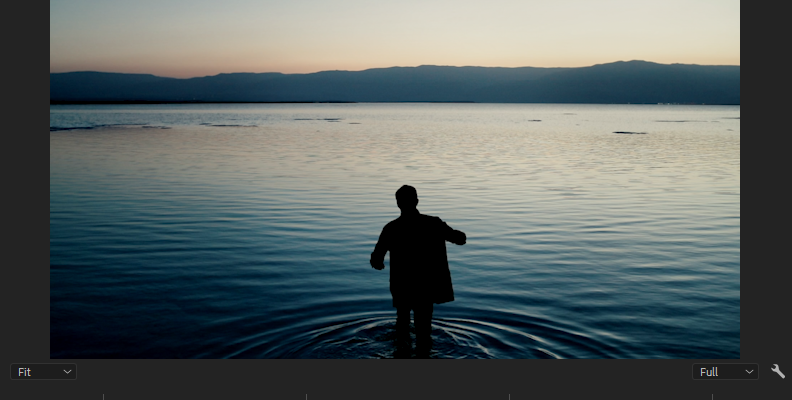
Here is our BEFORE image:
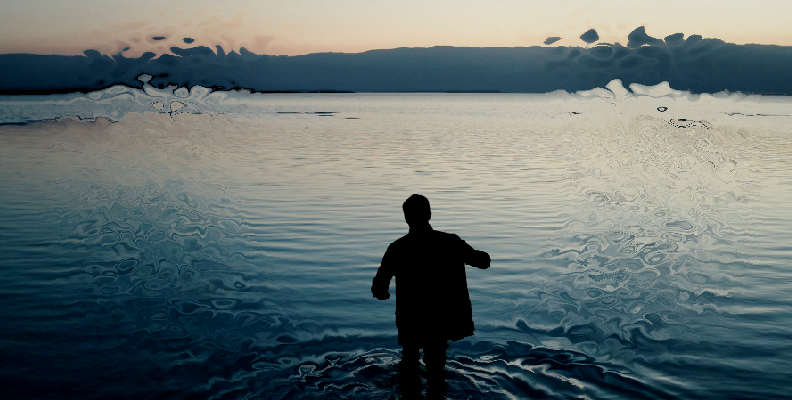
And here is our AFTER image:
Final Words
You can use BCC Turbulence in many creative ways: to create a scene underwater, behind smoke, or as a heat wave, and it can be used as an artistic filter when applied to an image. It's easier to use than creating the displacement map, configuring it, and blending it with your image. The editing and customization also allow BCC Turbulence to add distortion and textures to specific projects with more realistic looks.
Start using displacement mapping with Continuum and BCC Turbulence to add a real-life touch to the visual effects of your films and videos.
Good luck!


