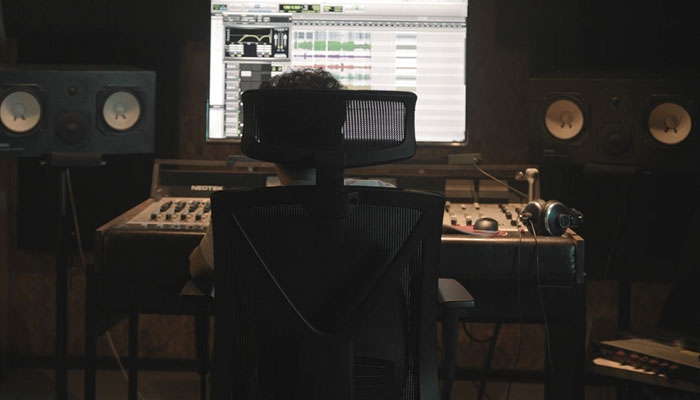
Audio post-production involves every major audiovisual project, including films, TV shows, commercials, online content, video games, documentaries, audio shows, and podcasts.
It takes a lot of work and time for the director and crew to make a film look and sound memorable. Sound and audio play a major role in our impression of a film, and it's often in the audio post-production stage when the magic happens.
In this guide, I’ll discuss the post-production steps and provide you with a plan of action, tips, and techniques for approaching the audio post-production process more confidently.
Let’s dive in!
What is Audio Post-Production?
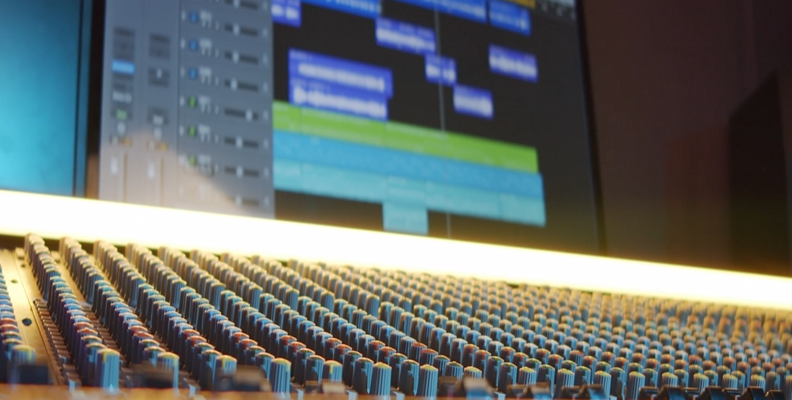
Audio post-production is the final process in the production pipeline. In this stage, audio engineers, sound designers, and re-recording mixers edit and clean up audio. Other crucial tasks in post-production include removing background noise, adding sound effects and Foleys, and leaving the audio ready to be played in synch with the film, video, podcast, or audio drama.
Before discussing audio post-production, we need to discuss the audio production process, which can be divided into pre-production, production, and post-production.
In pre-production, the audio team leader or supervising sound editor meets with the director and production crew and decides on the team size, recording equipment, and scouting locations. Depending on the project, the team will consist of different roles; in smaller projects, the same person may perform multiple roles, such as editor, sound effects, and Foley artists. Sound effect artists may start creating sounds to be used during the shooting.
The production stage is when the audio and video recordings begin. The audio and sound team ensures every mic is well placed and that the best audio for the post-production team is recorded. At this stage, the field recording team may capture additional sounds to be refined and added later in post-production.
As I mentioned, the final stage is post-production, when the sound team receives all the footage and audio from the production and begins to edit, re-record, enhance, replace, and repair bad audio. They also add sound effects. Music scoring is another part of the audio-post-production process, though sometimes a different team will handle it, depending on the project size.
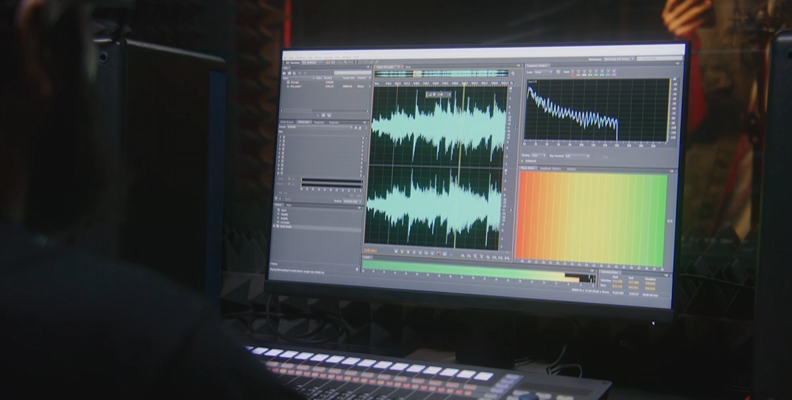
The goal of the audio post-production stage is to enhance the experience of the final production through audio. This includes creating consistent dialogue by removing unwanted sounds and enhancing scenes with sound effects, ambient sounds, Foley, and an enchanting soundtrack that tells a story on its own.
In general, the typical tasks of audio post-production consist of:
Analyze audio
Audio editing
Noise removal
Recording Foley sounds
Creating sound effects
Sound design
ADR (automatic dialogue replacement)
Mixing and mastering
In post-production, you find several positions or roles. Common roles in audio post-production include:
Sound supervisors: The team leader and the bridge between the director/producer and the sound team.
Dialogue editors: Ensure high-quality dialogue by cleaning and repairing it with noise removal tools and trimming or cutting unusable audio.
Sound effects editors: Record, edit, and use techniques to craft or modify audio effects.
Foley artists: Perform, record, and edit Foley sounds and ensure they are synch with the video.
Sound designers: The sound designer uses sounds to tell a story.
ADR mixer: Automated Dialogue Replacement is the process of re-recording audio that was not captured as intended and needs to be replaced.
Music composers: Scores and composes the music for the production.
Re-recording mixers: Put all audio tracks together to balance them and create the final mix.
Mastering Engineer: Gives the final shape to the final mix and ensures that loudness complies with the standard where it’s being played. Optimizes the audio to be played on multiple platforms and delivers the final files to the sound supervisor.
What Are the Steps of Audio Post-Production?
Now, let’s examine the audio post-production process in detail. I’ll describe each step and guide you on the tasks that need to be completed at each step and by which job roles. The process can vary depending on the production and the studio, and the first few steps may occur simultaneously in a large team.
Step 1: Setting Up Your Session
Before getting to the nitty-gritty of audio editing, ensure you have a session template ready in your DAW. A session template can be prepared in advance during pre-production or production, as it will allow you to organize your work and improve your audio post-production workflow.
The template can have tracks and AUX tracks ready and routed to dump your dialogue, Foleys, effects, music, etc. It’s like having a folder for each part, not hundreds of sheets of paper scattered over your desk. You can create templates or find a few online for different DAWs, like Pro Tools and Logic Pro.
Step 2: Analyze Audio
With your session template open and organized, add all audio to their dedicated tracks and listen to them. If other sounds are in the session, mute them and stay with the dialogue. You want to analyze the audio quality and pick between different takes.
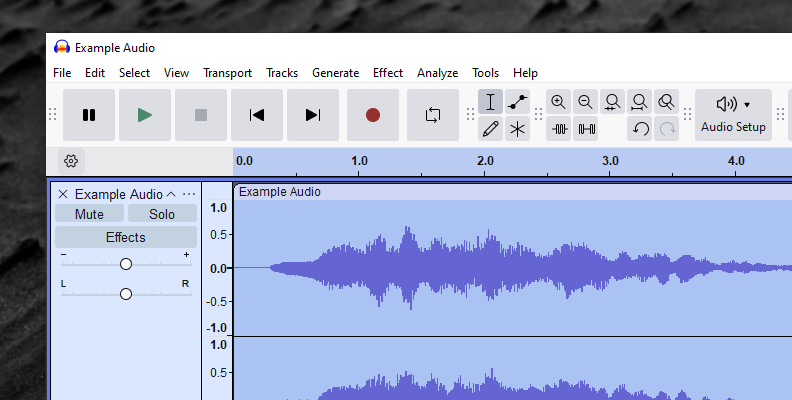
Decide what is good, what needs to be repaired or cleaned, and what needs to be replaced with Automated Dialogue Replacement (ADR), Foley, or covered with background sound.
Spot parts where you want to add a sound effect and mark them in the session for the sound effects editors, sound designers, or yourself if you’re doing sound effects, too.
Step 3: Removing Noise from Audio
One of the first things you want to do as a dialogue editor is to remove unwanted background noise. Noise is something that always comes through, no matter what. You can’t control it but can attenuate or eliminate it in post-production.
Find out if you need to remove noise completely or if reducing it would be enough. Then, mark clips to be covered later with sound effects or background ambient sound. Sounds that you might leave are weather and ambiance that don't affect the scenes, but sounds like traffic, a dog’s barking, or a car’s alarm are sounds you don’t want.
Select the audio clips you need to clean up and use audio restoration tools and plugins. DAWs usually have built-in filters and effects, such as equalizer (EQ) or noise gates, that can help you reduce noise. Other specialized tools, such as CrumplePop Voice Enhance, help you quickly enhance dialogue to move faster in the post-production process.
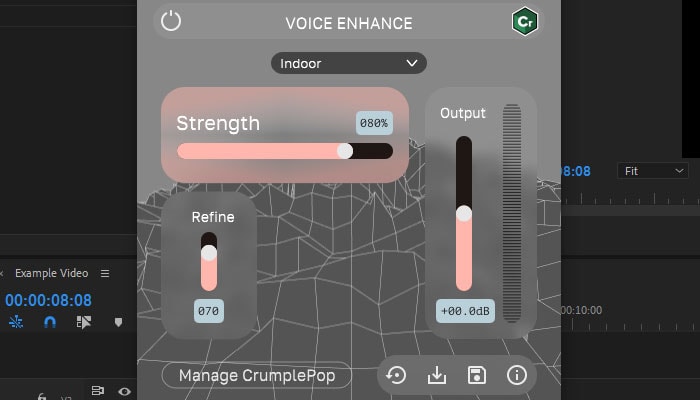
Plug-ins like Voice Enhance can be applied to a track to enhance a whole dialogue track that requires improvement or used in single clips of a track.
Cleaning up audio will allow everyone down the pipeline to work with a cleaner audio track, which is crucial for optimal results. If you start editing and applying sound effects and filters to a bad audio clip, the effects won’t work properly or might enhance the audio issue. So always listen to your audio!
Step 4: Dialogue Editing
The dialogue editor works with the repaired audio and begins editing. Here, you’ll trim the audio, copy-paste sections, add transitions, and adjust room tone, ensuring everything stays in sync in the timeline. EQ is very common in this step to shape and add texture to the voice.
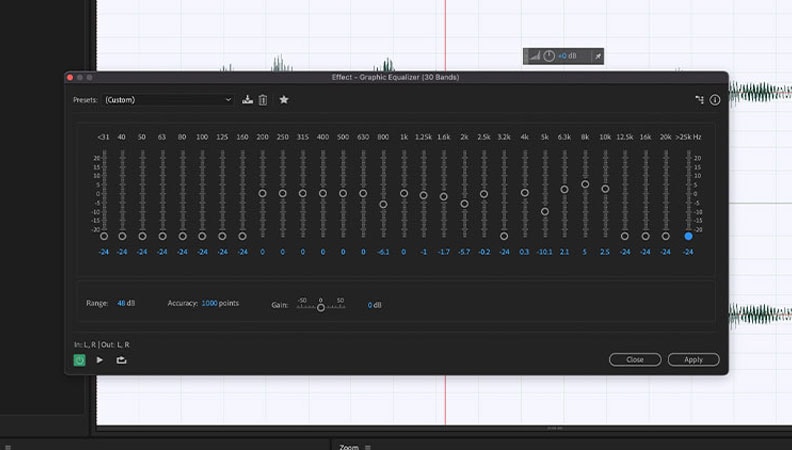
This step aims to ensure that the dialogue is clear, that transitions seem smooth, and that there are no sharp cuts between takes.
Step 5: Recording and ADR
As we mentioned earlier, ADR is the process of recording new dialogue parts in the studio to replace the unsuitable audio recorded in the set in the final mix. As the ADR editor, your work is to record the new dialogue with the actors in the studio as they watch the original performance. Then, edit it, replace the old audio with the new one, and sync it with the video.
The most common situations when you will need ADR include:
When you cannot repair or save the audio recorded in production.
The clip has background noise that was not completely removed.
To adjust the delivery of a line.
ADR is best used as a last resource because sometimes it can be difficult to match the emotion of the original scene or sync it with the video. However, working with a good team of actors and audio editors can provide a re-recording that is true to the original audio.
Step 6: Sound Design
Sound design is the creative side of audio. This is the step where sound designers, Foley artists, and sound effects editors record sounds or manipulate existing ones to create new ones to add to the scene or enhance the story being told. I’ll go through three terms: sound effects, sound design, and foley recording.
Foley sounds, named after sound effect artist Jack Foley, are sounds of human interaction, such as closing/opening doors and windows, footsteps, clothes rubbing, and handling objects like guns, dishes, or coins. Foley artists record these sounds in a studio environment as they watch the footage to ensure the action matches the actor’s actions.

A sound effects editor records, edits, and adds effects to manipulate sound in a DAW to create unreal, supernatural noises, backgrounds, ambiance, or other sounds that are impossible to record live. Examples of sound effects editing include explosions, spaceships, lasers, machine engines, monster growls, etc.
The sound designer layers all these sounds together, adding sound and audio effects to create a soundscape, enhance the scene, and add storytelling with sound for immersion.
This step involves picking sound effects from sound libraries, recording them, or both, and transforming them to craft the sound you need.
Step 7: Music Composition
While all the previous steps are happening, music scoring and production are also occurring in parallel. Musicians write and compose the soundtrack and begin recording, editing, and arranging their sessions to create stunning themes that will be later added to the final mix to add more emotion or enhance an action scene.
Music composition has its own production stages but converges with audio in post-production, where it is recorded, mixed, and mastered before being handled for the final mix.
Step 8: Audio Mixing
When you get to the mixing step, your dialogue should be clean and enhanced, all ADR added, and sound effects in place. Everything should be in sync and ready to begin the mixing process.
Here’s where everything comes together to make the dialogue stand out from the rest of the audio. Add audio processing effects and filters to balance the audio and create a cohesive mix in which everything has its place in the frequency spectrum.
You can use EQs to boost or reduce frequencies that affect the dialogue or bring up elements of the music. The goal is to balance the dialogue, music, background, and sound effects using the right amount of reverb, delay, compression, and other effects.
An experienced audio engineer should do the mixing to ensure the final mix accomplishes the director and producer’s creative vision.
Step 9: Audio Mastering
After finishing the final mix and checking with the sound supervisor that the mix has been approved, you may proceed with mastering. A different person than the mixer does this, but as many roles, you might end up doing the mastering.
This step consists of fine-tuning the mix, ensuring the audio is consistent throughout the entire project, and the loudness level complies with the industry standard or platform where it will be played.
Step 10: Export and Delivering
The last step is exporting the deliverables in the specified formats by the production team. Sound supervisors should provide you with the delivery formats and methods in the first meetings. Ask them if they don’t so you’re prepared from the beginning.
Useful Audio Post-Production Software
Working in audio post-production requires tools for a smoother workflow and achieving the best results. Here’s a list of audio post-production software to help you perform each task efficiently.
CrumplePop: Audio Restoration Plug-ins
CrumplePop is an advanced powered AI tool for audio that fixes noise and finishes audio, and Voice Enhance removes unwanted noise and improves vocal clarity. It offers finishing tools like Levelmatic and ClipRemover that you can add before Voice Enhance to keep your dialogue clips consistent.
Try Voice Enhance Now!
Instantly transform any voice recording into professional-quality sound with the power of AI. No internet access required- your audio stays private and secure. Toggle it on/off to hear the difference.
On-location Interview
Selfie-style Phone Audio
Zoom Call
Ridiculous Echo
Traffic Noise
Far from Mic
Untreated Room
Recording at Home
On-location Interview
Avid Pro Tools Digital Workstation (DAW)
Pro Tools is the standard DAW used in professional studios for filmmaking and music. It features recording, editing, mixing, and mastering audio tools and supports third-party plug-ins to create sound effects for sound design.
iZotope Dialogue Match
Dialogue Match is a great tool for adding ADR to your projects. It allows you to match the sonic aspects in the original recording, such as natural reverbs and background sounds, to the ADR recording to maintain the authenticity of your sound.
Plug-ins for Sound Design
A pack of plug-ins for sound design is necessary to create realistic effects and immersive soundscapes. Plug-ins like Valhalla Super Massive, Synthesizers like Serum, and virtual instruments will be great additions to your post-production toolkit.
Mixing and Mastering Plug-ins
One of the best tools professionals use for mastering is the FabFilter suite of plug-ins. They offer EQs, compressors, limiters, de-essers, reverbs, and gates for audio mixing and mastering. Another good choice is the mastering suite Ozone by iZotope.
Final Words
The audio post-production process is not to be taken lightly. It’s critical to take everything that’s been done in the previous stages and put it together: this includes listening to the recorded audio, choosing the best takes, replacing audio with ADR, and removing noise. Then, add effects and music, glue everything together, and master to achieve the standard loudness.
Remember that high-quality and great sound design can compensate for bad video footage, but a high-quality image can hardly fix a poor sound. With Voice Enhance, you can reduce a lot of time-consuming work in the post-production process, lifting a lot of the workload, especially in small projects where you have to take on multiple roles.
Download CrumplePop today, and make it your first step in cleaning up audio. Start your free trial to enhance your vocal track with studio-like quality.
Good luck!


