


A bad sound recording can ruin the best of your footage and audio content. Keeping consistent audio quality will make your audience enjoy and engage with your projects. Sometimes, background noises can affect it, or you may want to add some audio effects to make the sound more impactful.
In today's article, we've listed the most useful Premiere Pro audio effects for improving audio quality in your videos.
Where Do I Find the Essential Sound Panel on Premiere Pro?
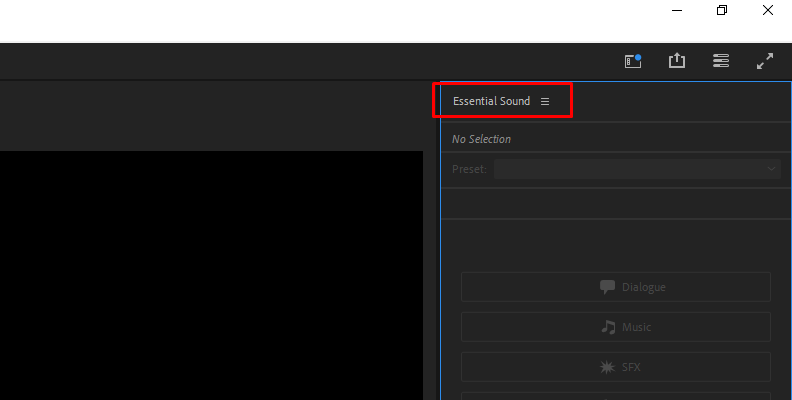
The Essential Sound panel is a comprehensive feature in Premiere Pro that includes tools for audio mixing, audio repair, volume control, improving audio quality, and adding sound effects to a video. It allows you to have a smoother workflow and enhance the quality of your audio clips and sound effects.
In Adobe Premiere Pro, you can label your audio clips as Music, Ambience, Dialogue, or SFX. This classification allows you to add presets to multiple clips belonging to that category, making applying audio effects faster so you can focus on more complex tasks in audio editing. Every effect you add to the panel will be reflected in the audio clip mixer, which advanced users can edit later.
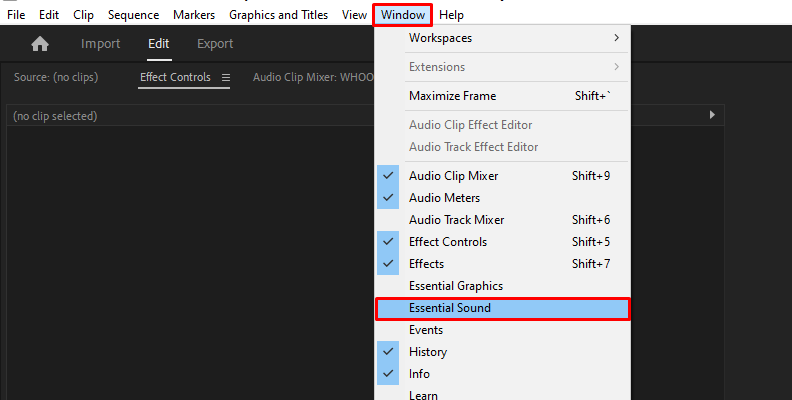
To enable the Essential Sound panel in Adobe Premiere Pro, go to Window > Essential Sound.

5 Audio Effects in Premiere Pro That You Need
In this list of the best audio effects in Premiere Pro to improve audio quality, we have included the most useful built-in effects, plus third-party alternatives if you want to explore other options.
Adobe Premiere Pro supports third-party VST, VST3, and Audio Units (Mac only) audio plug-ins. If you work with DAWs or other audio post-production software, you'll be happy to know you can use your VST sound effects in Adobe Premiere Pro.
DeNoise Effect
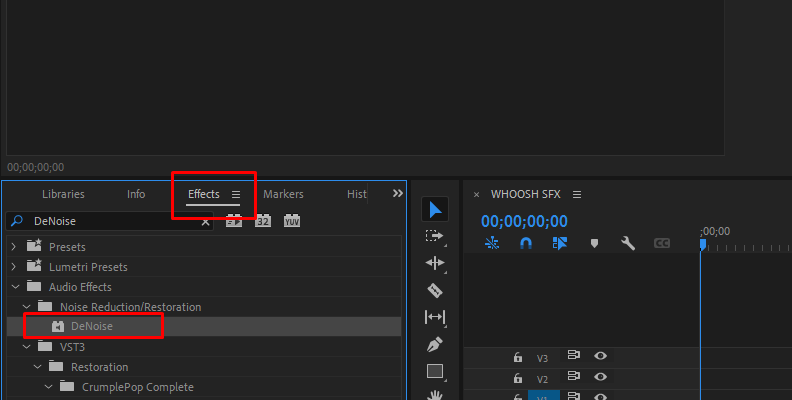
Unwanted background noise is one of the things that affects audio quality the most. Having a DeNoise effect can help you repair your dialogue clips and voice-over recordings. The DeNoiser feature in Adobe Premiere Pro does a good job at removing light background noise, but it can struggle to remove traffic, dogs barking, or plosives.
 Adobe Premiere Pro allows you to use third-party plug-ins, and
 crumplepop

With CrumplePop audio effects, you don't need previous audio experience. It's easy for beginners and advanced users who want to quickly improve audio clarity using advanced AI algorithms that analyze the audio clips, identify the background noise, and remove it without affecting the rest of the clip.
Hear It For Yourself
Advanced audio AI removes noise and boosts your vocal quality.
Toggle it on/off to hear the difference.
Remove Wind
Remove Noise
Remove Pops & Plosives
Level Audio
Remove Rustle
Remove Echo
Remove Wind
Parametric EQ
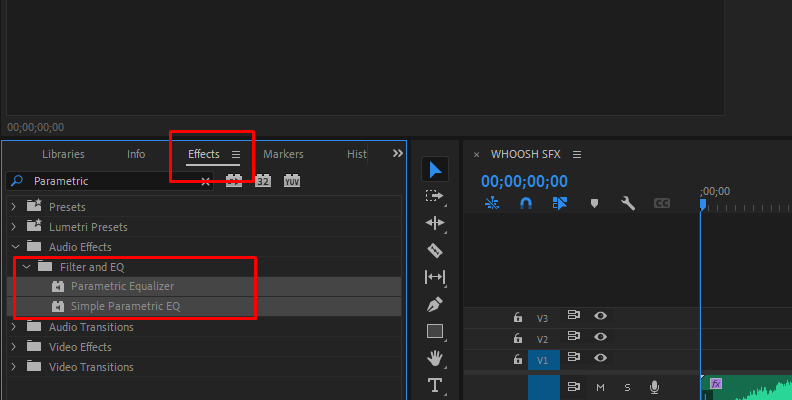
A high-quality EQ is one of the most vital instruments in your audio effects toolbox. A parametric EQ allows you to shape your sound, balance your audio tracks by adjusting a specific frequency to enhance your audio, and apply filters such as lowpass, highpass, and notch filters.
All parametric EQ works very similarly. The parametric EQ features a graph where you can adjust each frequency to cut or boost it. This allows you to modify a sound effect for sound design and manually clean up your audio track, targeting high frequencies or mid-frequency sounds.
What makes the parametric EQ different from other EQs is that you can control the amplitude and bandwidth of the frequency, providing more clarity to your audio without adding coloration.

The Parametric EQ built-in to Adobe Premiere Pro offers all these options and features some presets for acoustic instruments, hi-pass, lowpass, and vocal enhancers. If you want to enhance your third-party plug-in library, the FabFilter Pro-Q 3 is an excellent EQ audio plug-in that offers sound quality in an unrivaled, easy-to-use interface.
DeEsser Effect
A DeEsser is an audio effect that compresses and reduces the sibilances in your vocal tracks. Sibilances are harsh sounds caused when recording words with S, Z, Sh, Ch, and F sounds. They can also be tamed using a parametric EQ, but DeEsser effects are built to target specific frequencies where those sounds are.
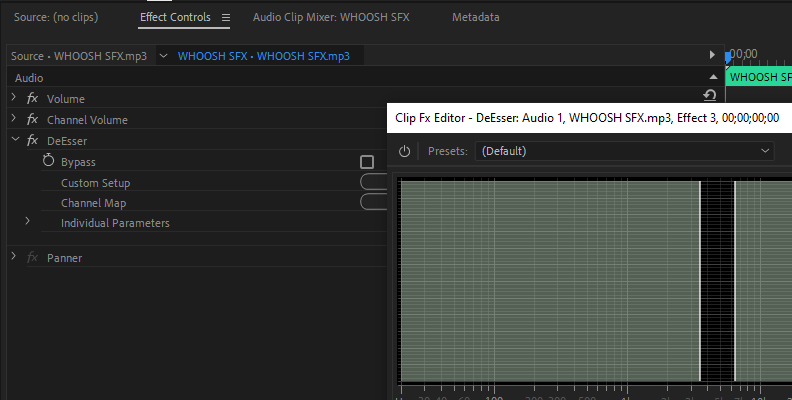
Think of a DeEsser as a reduced multiband compressor with only one band, which you can customize to focus on specific frequencies, such as the higher ones where most sibilances are and the bandwidth. Additionally, if you can't find where the sibilances are, you can output the sibilances only to listen to what will be compressed.
If you want to upgrade your DeEsser tools, a few popular options are Waves DeEsser, with its intuitive and simple UI, and Soothe 2, which identifies and reduces sibilances on the fly.
Pitch Shifter Effect
The Pitch Shift effect adjusts the pitch of the audio file to which it's applied. It can create cartoon character voices such as chipmunks or monsters for comic videos, be used for creative sounds in sound design and music production, or keep a speaker's identity private in a podcast.
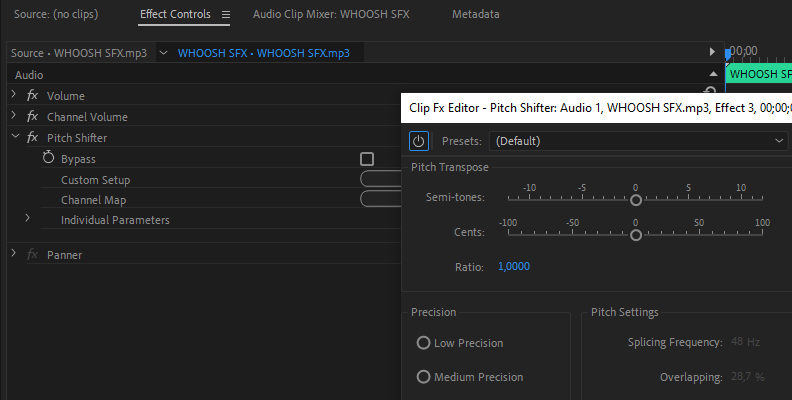
Like other Adobe Premiere Pro audio effects, Pitch Shifter also comes with presets you can quickly select to apply to the audio file, ranging from high-pitch to low-pitch effects.
Among the most famous pitch shifter and pitch correction audio effects are Little AlterBoy and Waves SoundShifter.
Studio and Surround Reverb Effect
Reverb is an audio effect that can make an audio file sound like it was recorded in a bigger room with echoes, such as a cathedral, a tunnel, a well, and more. Adobe Premiere Pro features two reverb effects: Studio and Surround Reverb.

The Studio Reverb is a lighter audio effect that simulates an acoustic space. The Surround Reverb sound effect was designed for 5.1 sources but works well with stereo and mono audio tracks.
The Surround Reverb sound effect in Premiere Pro features room presets and settings to adjust the room size and surround width to make your sound effects as realistic as possible.
How to Add Audio Effects in Premiere Pro
Adding audio effects is an essential skill that every video editor must learn. Follow these steps to add sound effects to your video clips in Premiere Pro.
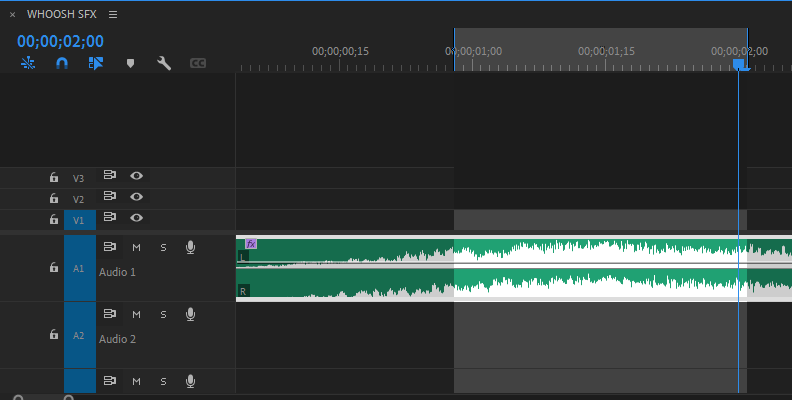
Step 1: Analyze Your Video Recording
Review your footage and identify the parts of the video where you need to add an audio effect. You can add audio effects to repair or improve the quality and sound effects to add more immersion to the scene.
Step 2: Apply Effects
There are different ways to apply the desired effect: the Essential Sound panel, the Effects panel, or via the Audio Track Mixer, which I'll explain in the next section.
Step 3: Layer Audio Effects
Layering audio effects can help you create unique sound effects for your audio and vocal tracks. For audio effects, it works the same. You can add a phaser effect, a compressor, and a balance effect to adjust the stereo track.
Step 4: Adjust the Audio Effect Settings
The effect controls panel shows every audio effect applied. Each effect has an Edit button that launches the audio effect UI to fine-tune it or use a preset.
How to Apply Audio Effects in Premiere Pro
Here are three methods to apply audio effects in Premiere Pro.
Essential Sound Panel
Make sure the panel is enabled in Window > Essential Sound. Select the type of audio between dialogue, music, ambiance, or specialty effects, and then apply an audio effect from the list.
The options will be different depending on the kind of sound you have. For example, for dialogue, you have the repair tab with DeEsser, EQ, and Dynamics; for SFX, you have Reverb, Pan, and Volume levels. Select and adjust the effect in the Essential Sound panel and listen back to the audio clip.

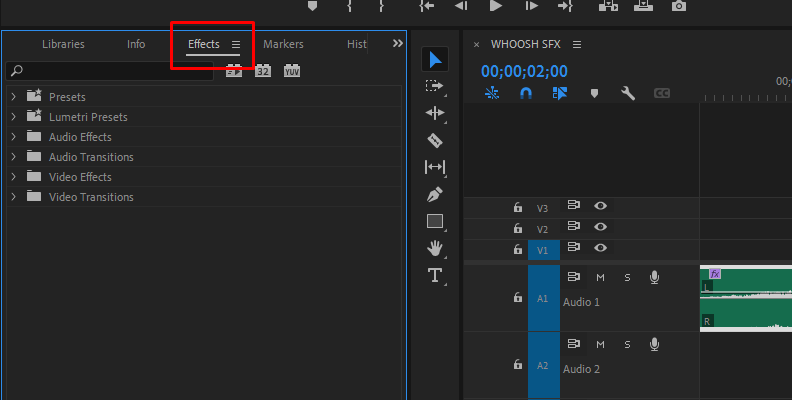
Effects Workspace
The effects library can be accessed from the Effects Workspace. Enable it from the menu Window > Effects. This will let you select the Effect panel from the project view. Display the Audio Effects folder and search for the category folder of the audio effect you want to apply. You can also use the search box to find a specific sound effect.

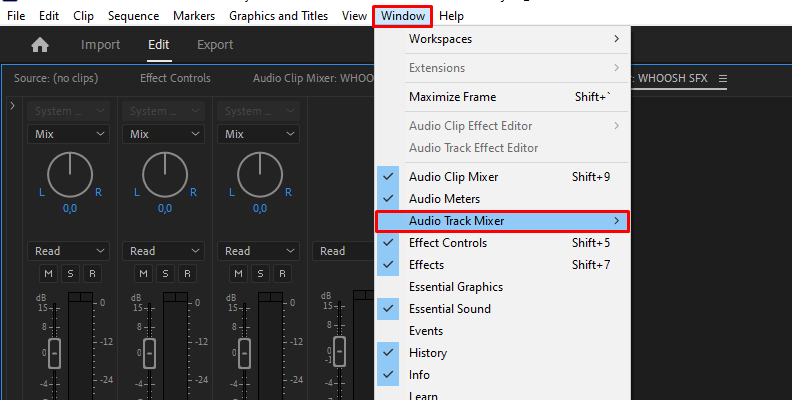
Audio Track Mixer
When you apply audio effects with the previous methods, they affect individual audio clips in the track. The Audio Track Mixer allows you to stack effects to affect all the clips in the audio track.
To see the Audio Track Mixer, go to Windows > Audio Track Mixer. You will see as many track mixers as tracks in your main sequence. Select the audio track where you want to apply audio effects. If you can't see the effects slots, click on the little arrow in the upper left corner of the Audio Track Mixer.
Click on any slot within the FX area that is available and select an effect. Repeat the process on a different slot, and you will stack the audio effects on the entire track.
Final Words
Audio effects might not always be obvious to your audience, but they will notice the quality as they enjoy audio without noises, sibilances, or with added sound effects that make the video more engaging and keep the volume levels balanced.
Explore all the built-in audio effects that Adobe Premiere Pro offers you, and once you have mastered them, explore alternatives with third-party VSTs.
Good luck!


