


Video production can sometimes seem a little overwhelming to the newcomer. There are a lot of terms to learn, approaches to take, and work to be done.
However, breaking down the amount of work that needs to be done can make the process clearer, simpler, and easier to follow.
Whether you are using expensive, professional editing software like Adobe Premiere Pro and Final Cut Pro or a free version of something like DaVinci Resolve, getting to grips with post-production will give you a good, clear understanding of everything involved and will always pay dividends.
Main Differences Between Pre-Production, Production, and Post-Production
The terms pre-production, production, and post-production all refer to different parts of the process of assembling your video into its final state.
Pre-Production

This is the planning part of your production. It involves undertaking everything that needs to be done before you shout “action!” for the first time. This can encompass anything from finalizing your script to scouting locations, getting your cast together, preparing costumes and makeup, lighting, and so forth. Your budget should also be carefully considered at this point. It is also where you will storyboard your project and get a shot list together. The more time you invest in getting your pre-production right, the easier the actual production itself will be.
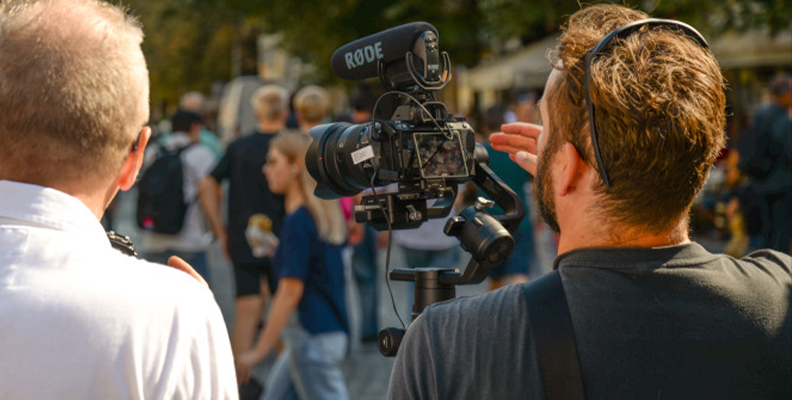
Production
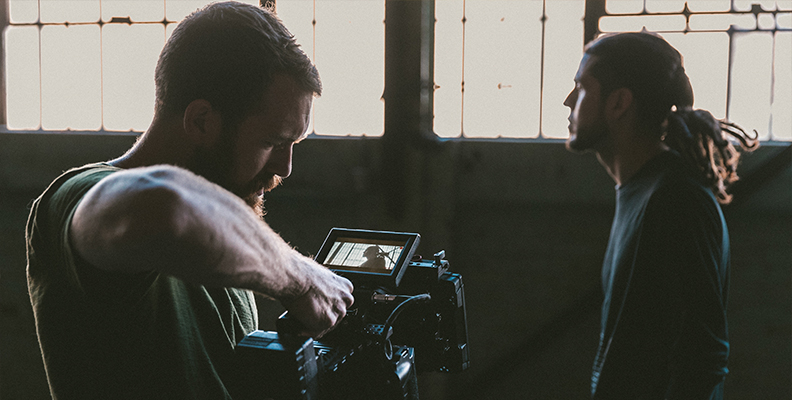
This is when you actually shoot your video. Following the storyboard or shot list will make it easy to keep track of what you have recorded or what still needs to be done. Note that as well as following your script, this stage can also include things like taking establishing or background shots that won’t necessarily feature actors but which can be vital to set your scene. Your dialogue will also be recorded at this stage, but separately from the video footage. This will make it easier to edit, repair, or redub the audio after the production part of your project is completed.
Post-Production
This is where you take all the footage and audio you have recorded and assemble it into its final version, ready to show to the world. These steps include getting your rough cut together, adding titles, sound mixing and editing, and more. There are several steps to go through in post-production that will transform your raw footage into something special. Let’s go through them one by one so you can be sure all the bases are covered.
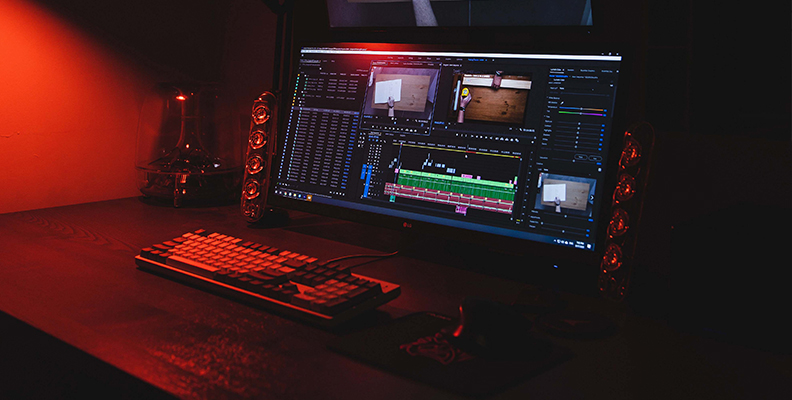
Video Post Production Workflow
When it comes to video post production, having a video post-production workflow will make your life considerably easier. All this means is having a series of steps to follow sequentially to ensure that you produce consistent, high-quality content and that nothing is missed.
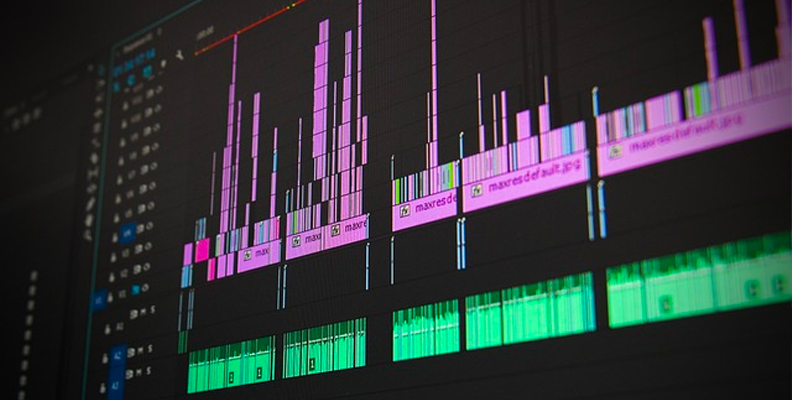
Rough Cut
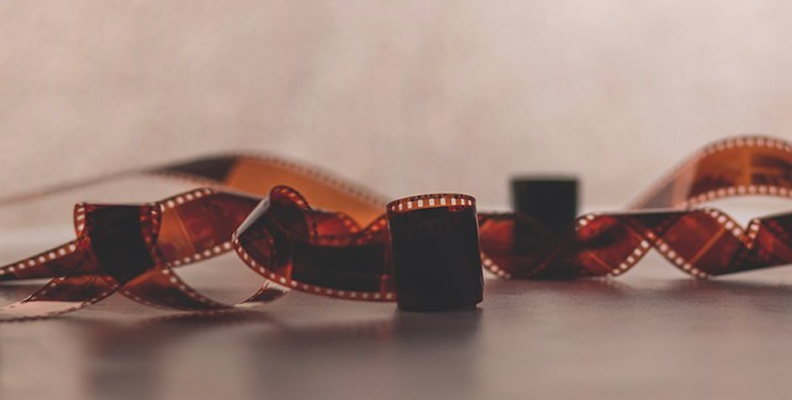
The first thing to tackle is the rough cut. What this means is that you take the footage you have recorded, put it on a hard drive, and review everything you have shot to sort it, log it, and categorize it.
Once this has been done, you can arrange the footage so that it follows the storyboard you had laid out in your pre-production stage. Load the footage into your video editor and get everything roughly where it should be.
Rough Cut and Assembly Cut
The completed “rough” version of the final product is known as an assembly cut — literally, the assembly of the footage that you have recorded. At this point, you don’t need to worry about music, sound effects, and so forth — the assembly cut is all about getting the video sorted out and in the right order.
Note that you can have several assembly cuts if you so wish, or just one. Comparing different orders might help you decide how best to approach your footage. However, being comfortable with one is good too.
Whatever works for you and helps you ensure the footage is being shown off to its best advantage is fine.
Picture Lock
The second post production phase is picture lock. It’s the stage where you ensure that all your shots are exactly where they should be. In other words, ensuring that everything is locked in place, hence picture lock.
Normally, once this phase has been completed, it means that the footage you shot is in its final form, and you can start to move on to other aspects, such as the soundtrack.
However, it might be at this stage you want to add a little music, sound or video effects, or any other features so you can get a feel for how it will work with your footage. This would just be a rough version, so it doesn’t need to be perfect, it’s just indicative of how the final product will be.
Consultation
It is also at this stage that you want to ensure everyone involved with the project — the client, if it’s not yourself, the director, the producer, etc. — has seen the assembly cut and agreed to the order at the end of the picture lock stage.
You don’t want to complete the edit only to find out that multiple stakeholders aren’t happy with the way it’s turned out, and you need to go back and start from scratch again. Ensuring everyone’s agreement at this stage will ensure a better final product that everyone can be happy with.
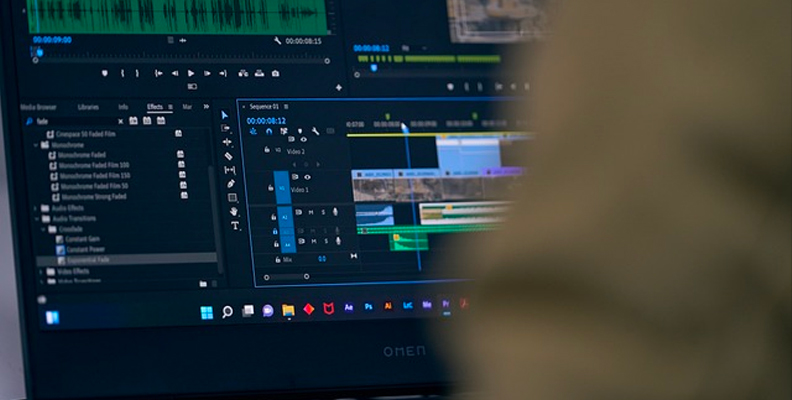
Video Editing

When everyone has agreed to the order of your footage, the next step is to start the video editing. The video editing process involves you considering every aspect of the footage that has been shot and how it can be worked with to produce the best results.
The video editing phase can be broken down into different stages.
Visual Effects
Visual effects, or VFX for short, are special effects that are added in post-production to your footage. With the growth in CGI (Computer Generated Imagery) these are increasingly common, even in productions that you wouldn't necessarily expect to have VFX. Most video editing software will have some kind of post production tools for VFX, from simple green-screen effects to more complex CGI and more.
Adding Visual Effects with Boris FX
For the best range of professional visual effects, Boris FX’s suite of effects provides a perfect way to work with your footage. Whether you need to make major additions to your footage or simple enhancements to what you’ve shot, Boris FX is bound to have the correct tool for you.
Alongside the award-winning software, you get access to the Boris FX training products as well, so you can learn to develop your skills along with industry professionals.
Adding VFX to your footage can really make it come alive, but it’s worth remembering that it’s easy to get carried away. Sometimes less is more, so consider what you want to add or remove from your footage carefully.
Image Cropping
Sometimes, even with the most careful of cameramen or directors, elements can creep into the shot at the edge of the frame that you just don’t want to be there. Or you may wish to alter the composition of one shot if it wasn’t quite captured perfectly. If that’s the case, then image cropping is the answer.
This is the process of adjusting and changing the edge of the image to get rid of unwanted elements. By removing the elements you don’t want, you can improve the final product without any unwanted distractions.
Color Grading

Color grading is the process of changing the way your footage looks to help create atmosphere and a real sense of presence, ambiance, and atmosphere in your footage.
This is done by adjusting several different color elements within the footage. This can be contrast, color temperature, detail, saturation, black and white balance and levels, luminance, and more.
All of these individual elements go into creating the mood of your footage and help build the way you want your footage to be seen. So, for example, if you’ve shot a kids’ show, you might want to have the brightness and color up high, to suggest warmth, fun, and engagement.
Whereas if you’ve shot a mystery, you might want it to be darker, gloomier, and more moody by turning the color temperature down and reducing the luminance.
Careful and thoughtful consideration of color grading can have a dramatic impact on how your footage comes across. This takes care and time, but the effort will produce great results.
Image Stabilization
Even when being as careful as possible and taking every precaution, camera shake can still creep in. This is especially true if you have a very dynamic camera that is being moved around a lot.
Using a gimbal can certainly help reduce this camera shake, and many cameras have built-in image stabilization software to assist as well.
However, if both these fail, your video editor will have a tool to assist with image stabilization.
All you need to do is select the footage required and run the software’s image stabilization tool over it. It’s a simple thing to do, but it’s another step in the process of making your footage as professional as possible.
Adding Text and Graphics
The last part of editing your video is to add any text elements that might be required. This can be titles, end credits, or even something as simple as a location flashed up on the screen to let viewers know where the action is taking place.
Titles and Subtitles
This can also include subtitles if you have more than one language in your production. If you are producing a commercial, it could include things such as terms and conditions or a call to action.
Or if it’s a documentary or news piece, you might have what’s known as a lower third. This is the text that goes along the bottom of the screen (the lower third of the screen) to explain what’s happening, to give context or information about the scene being viewed, or even someone’s name and position.
Getting your text right will ensure your viewers always have the best information available to them.
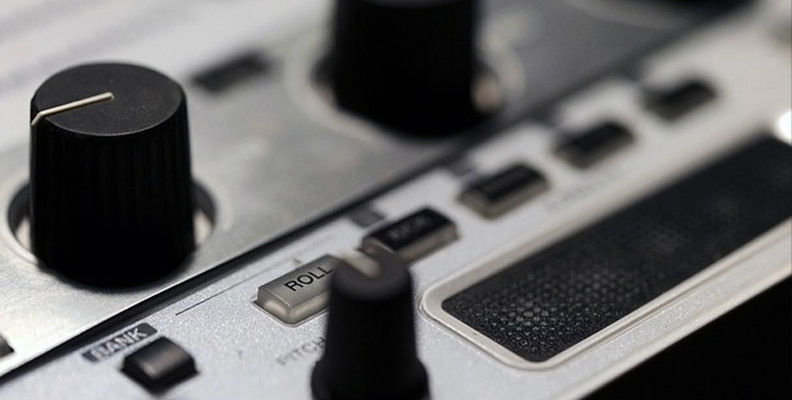
Sound Mixing

Getting your sound right is a crucial part of the post production process. As with editing your video, sound mixing can be broken down into different elements.
Dialog Sync
If your on-location sound recording is separate from your video, the first thing to do is ensure the dialogue is re-synced correctly. If you used a clapperboard when shooting your video, this should be a simple process — just line up the audio clap from the board with the video of it, and you should be perfectly in sync.
Getting dialog sync correct is incredibly important. It only has to be a little off for it to become distracting, and poor sync will immediately get viewers turning off.
If your audio tracks have been recorded separately, it also gives you the chance to re-record them in case any background sounds were picked up, making the script sound recording hard to hear. Dogs barking, traffic, passers-by... they can all cause problems, but they can easily be fixed by re-recording your dialogue during the film post production process.
Spending time ensuring this element of your sound mix is correct is both fundamental and basic to producing great video content.
Music
A background musical score provides mood, atmosphere, and tone to your piece. You need to ensure that the music is correctly synced to the scene and also ensure that the music you have chosen is appropriate to enhance the scene it’s being inserted into.
If you are using music, it’s also important to ensure you have the rights to use it! If it’s your own composition, of course, you won’t have to worry about this, but if the piece is copyrighted, you will need to obtain permission and pay a licensing fee.
Sound Effects
The third and final stage of sound editing is sound effects. These aren’t just big, dramatic events like laser guns firing or big explosions, it can also cover things as simple as footsteps in a hallway or a door opening and closing.
These kind of effects are often added in post-production to ensure they have the same sound level as the other parts of the soundtrack, or to make sure they “pop” and stand out if they’re required to help emphasize the on-screen action.
Foley Recording
Sound effects can be pulled from sound effect libraries (again, ensure you have the correct licensing before using them) or you can record or create them yourself and add them if you have the facilities. These are known as Foley effects, and the people who create them are Foley artists.
Sound Levels and Balancing
Once all your sound elements are in place, you need to balance them against each other to confirm one isn’t drowning out the other.
If you have background music, you don’t want it to swamp out the dialogue. Music and sound effects need to be clear and distinct from each other.
Most video editing software will have automatic sound leveling functionality. However, you don't need your video editing software to do this for you, and you can also do it yourself.
Balancing sound levels and audio editing takes a little bit of practice and experimentation, but getting it right is very important. Each sound element needs to be clear and in its correct place.
Good sound can make a production, bad sound can destroy even the best shot footage.
Final Cut
Now you have completed all these stages, you have a final cut — a version of your video that is ready to be shown to the world.
At this point, you should review the final product to ensure that it’s everything you want it to be. If all the elements have come together in the way you want, then you’re done! If not, you can go back and make further tweaks and changes.
Completed Project
Once your tweaks have been completed, review them again. When you are happy with the rest, that’s it — you have completed your post production work.
Conclusion
There are a lot of steps to consider in the video post production process. Each needs to be followed carefully to ensure the best quality outcome for your video creation.
While it can sound like a lot of work, ensuring you have a good video post production workflow will help you to stay on top of all the tasks and make certain that nothing gets missed along the way.
And the more often you go through the process, the more automatic it will become to you. And before long, no matter what video editing software you use, you’ll be producing the very best video content possible.


