


Applying Dissolve Transition effects to your video clips is a fantastic way to add flair to your footage using Adobe After Effects. Today, you can find incredible plug-ins with many dissolve transitions and presets ready to use.
In movies, a transition occurs for various reasons: it's an effect that can help you move your story forward by suggesting the passing of time, closing a scene, blending two similar shots, animating a presentation, and adding flow to big films or small projects.
In this tutorial, you'll learn how to add a dissolve transition in Adobe After Effects, customize it, and create your unique dissolve transition effect from scratch to produce engaging videos and motion graphic projects. You'll just need After Effects, two video clips, and your creativity.
Let’s dive in!
How to Create Dissolve Transitions in Adobe After Effects Step-By-Step:
With Adobe After Effects, creating dissolve transitions might not be as intuitive as with other NLE software such as Premiere Pro, VEGAS Pro, or DaVinci Resolve. However, After Effects includes a series of transition presets pre-installed to apply to your layers in no time.
First, I'll show you how to apply these dissolve transitions and adjust their settings to make your videos look smoother and more professional. Later, I’ll also show you how to create your own transitions, customize them to fit your projects, and make your footage unique.
Add A Dissolve Transition Using AE Transitions
I'll start with the simplest part of the tutorial, which is adding dissolve transition effects already installed with After Effects. This is the most straightforward way to add a transition in After Effects without spending too much time tweaking the settings.
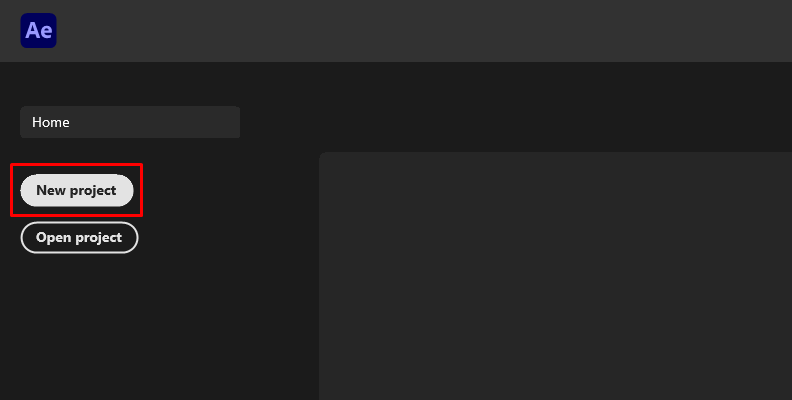
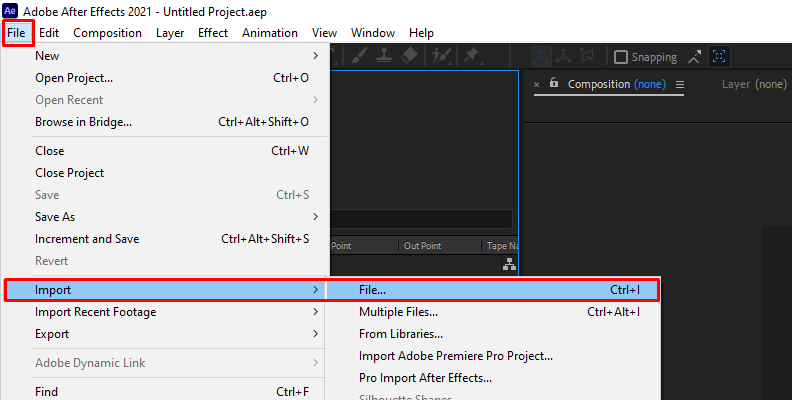
Step 1: Import Your Video Files
Import the clips you want to transition to and from. Create a new composition and place each clip one above the other, overlapping where you wish the dissolve transition to occur.
Step 2: Add A Dissolve Transition
Select the layer to add the transition effect. You can find After Effects transitions in the Effects menu > Transitions or from the Effects and Presets panel > Transitions. After Effects features 17 transitions, including block dissolve, wipes, jaws effect, and Venetian blinds effects. For this exercise, let's add a block dissolve transition.
Step 3: Transitions Settings
When you apply the transition, nothing happens unless you follow the next steps. You must go into your Effects controls, set the Transition Completion, and animate it to make the layer dissolve smoothly into the layer below. 0% Transition Completion means the top layer will be fully visible, and 100% will make the layer disappear and the one below visible.
Set the playhead where you want your layers to dissolve and enable keyframing by clicking the stopwatch next to Transition Completion. Move the slider to 100% to gradually dissolver the effect into the layer. You can add keyframes in between if you want the effect to take more time to transition.
There are more settings you can adjust in the Effect Controls. For the Block Dissolve specifically, you can change the height and width of the blocks and add some feathering to the edges. By default, the option Soft Edged provides the best results, but if you're looking for a blocky glitch effect, disabling it will make it more abrupt.
Play with the settings and other transitions, such as card wipe, where you can adjust timing randomness, random seed, wipes angle, and more. Each effect will have parameters you can modify to create exceptional dissolves.
Create A Basic Dissolve Transition
With this method, you’ll only work with layer opacity, another easy way to create a transition between two scenes. However, the drawback is that you don't have many customization options. It can work for a simple transition between two clips. Still, if you want to add multiple dissolves in your project, it can get boring and predictable to see the same dissolve transition throughout the footage, unless you aim for a more uniform look.
Step 1: Set Up A New Composition
![after effects dissolve transition]()
Import your files and drag your clips into the timeline.
![]()
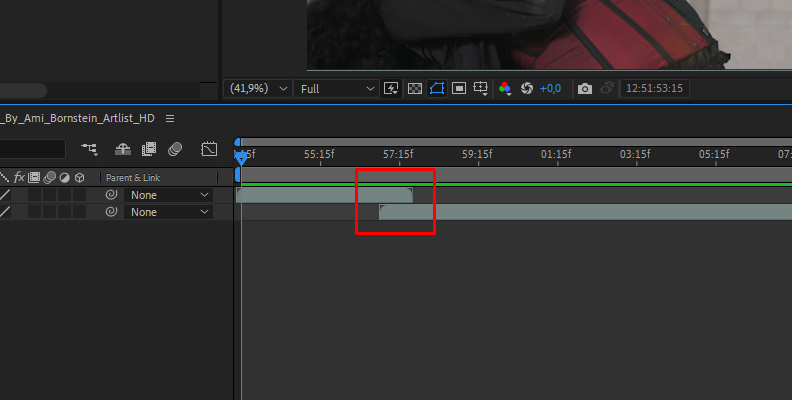
Remember to overlap the two layers where you want to create the dissolve.
![]()
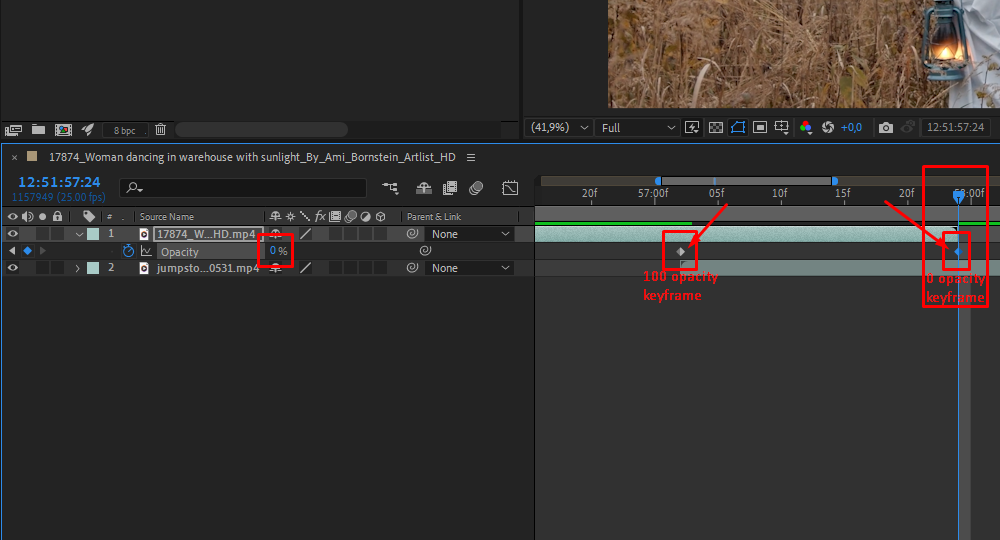
Step 2: Change the Opacity Settings
![]()
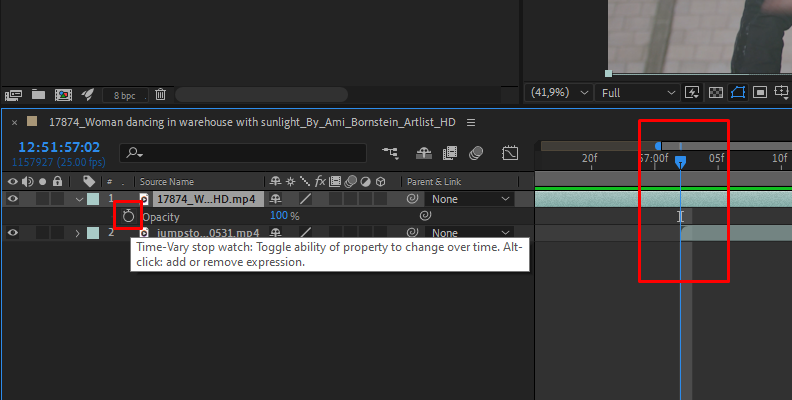
To bring the opacity settings, press the T key. You need to animate the top layer's opacity from 100% to 0%. It will create a dissolve that gradually transitions into the layer below. First, place the playhead where you want the transition to start and click the stopwatch to enable keyframing, which will add a keyframe in that position. Move the playhead where you want the transition to end and change the opacity value to 0%.
![]()
For a smoother cross-dissolve effect, adjust the opacity from the bottom layer, but instead of going from 100% to 0, do it from 0% to 100%. It will create a dissolve transition where the top layer vanishes as the bottom layer becomes visible.
![]()
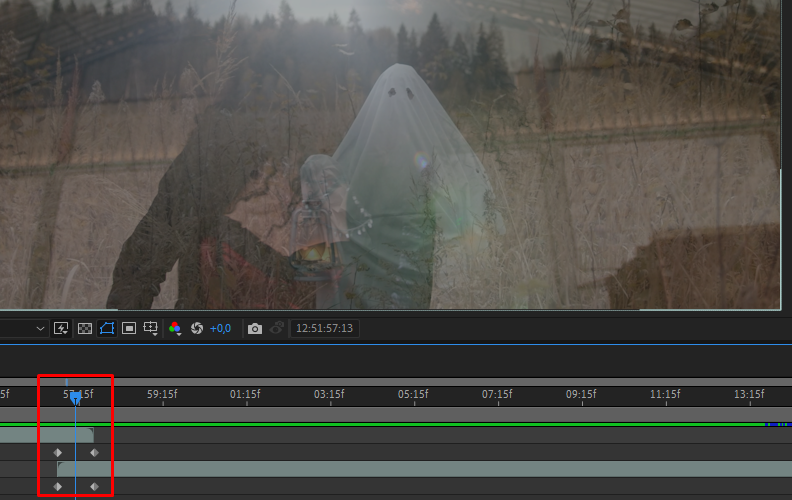
You can play with the settings and add more keyframes to achieve a different transition behavior.
![]()

Masking
In the next part of the tutorial, we’ll use masks to create more complex and engaging dissolve transitions. You'll be familiar with the process if you've worked with masks before, even in other NLEs. I'll make the steps as straightforward as possible just in case this is your first time masking in After Effects.
Step 1: Set Up A New Project
Import your media files to After Effects, create a new composition, and drag your layers in order.
Step 2: Create A Mask
Select the top layer and use the shape tool to create a rectangle outside the frame. You can make any shape you want: you can even use the pen tool to manually create a shape to build transitions for a person who walks in and out of frame.
Step 3: Keyframe the Mask
Now, go to the top layer and display the mask settings. Place the playhead where you want the animation to start and then enable the Mask Path stopwatch to keyframe the animation of the mask. Move the playhead to where you want the transition to end, ensure you are using the Selection Tool, and double-click on the mask to drag it to cover the top layer, revealing the back layer.
If you want to do something more complex, like transition from a car passing by, you’ll need to create a mask around the car and then adjust and keyframe the mask frame by frame. It's time-consuming, but the effect will be worth it.
Metaballs Effect
A metaball effect is produced when figures or surfaces with an organic look combine to form a cohesive body when placed closely together. We'll use this effect to make a dissolve transition based on shapes that cover the layer and reveal the bottom layer as they expand and merge. You'll start by creating the shapes using the masking technique in the previous steps.
I'll skip the project and composition creation to start with the masking process.
Step 1: Create A New Solid Layer
Create a new solid layer from the main menu Layer > New > Solid. Rename it and click OK. This layer will be your shape layer.
Step 2: Create Shapes
Select your shape tool and create a few shapes in the solid layer. You can draw any shape that fits your project. Create them separately or together, and don't worry too much about the size. Remember, we want to create the metaball effect to merge them and reveal the layer below.
Step 3: Mask Settings
Open each mask's setting to create the animation of the shapes colliding. Move the playhead at the beginning of the timeline and set the Mask Expansion to a significantly negative number to start with transparent shapes. Something around -100 should do it.
Move the playhead a few frames later and change the value to a considerable positive number to make it expand and cover most of the screen. Set it above 300 or 400. Adjust the values depending on how big or small you create the shape.
Select all the keyframes and press F9 for Easy Ease. The animation will show the shapes appearing and expanding in the solid layer. To make the effect more dynamic, select each keyframe and move it to a different position so that the animation begins at various points.
Step 4: Creating the Metaball Effect
The final step is to polish the metaball transition effect to make the dissolve transition look better. Start by creating an Adjustment Layer in the menu Layer > New > Adjustment Layer and name it Metaballs or as you want. You will add a few effects to achieve that goal in this layer.
You can mix and experiment with different effects. A Gaussian Blur effect can add a transition softness to the chain of effects.
When finished, select the shape layer and the adjustment layer with the effects, right-click on them, and select Pre-Compose to create a unique layer with the Metaballs Effect. Name it and click OK.
Step 5: Applying the Dissolve Transition
The pre-compose layer should be above your two overlapping layers. To apply the new transition, select the top layer, click on Track Matte, and select the Pre-Compose layer in Alpha Inverted Matte.
Preview the sequence to see the nice dissolve transition with a metaball effect.
Final Words
After Effects provides many tools for creativity and building custom transition effects. Practice with the examples in this tutorial, experiment with different shapes and effects and get creative to approach your following projects with more confidence.
Good luck!


