


After Effects is a powerful piece of software that can enhance the creativity and flexibility of any would-be video producer.
And one of the most common ways After Effects is used is by adding transitions to videos. Transition effects are something any motion graphics projects can benefit from.
They can make any video look slicker and more professional and are a simple, easy way to spice up any kind of video with dynamic transitions, whether it’s a corporate training video or the latest cinematic blockbuster.
Whatever it is you are producing, After Effects can help.
How to Add Transitions in Adobe After Effects
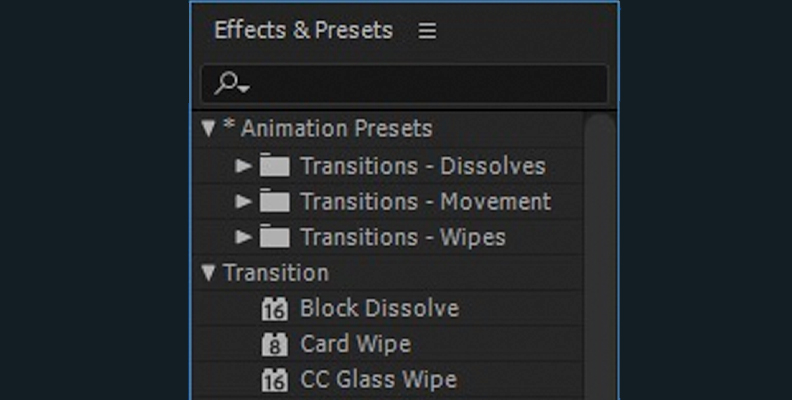
After Effects transitions are easy to add and there are plenty of effects transition presets. These are free transitions included with After Effects.
You can find them in the Effects and Presets panel. There, you will find a list of the transitions that have been installed and are available for you.
These can either be the Adobe default ones, or third-party transitions that can be bought and installed separately.
After Effects Transitions
In order to apply the effects, the first thing you need to do is overlap the two layers you want to transition between in your timeline.
Once this has been done, drag the transition effect you want to use from the Effects and Presets panel onto the top layer and set the keyframe for completion. You can then define any parameters you need for the effect you want to achieve.
You can also set up custom transitions once your skill level has become more advanced.
8 Simple Video Transitions in After Effects
Block Dissolve
![]()
The block dissolve will transition between two layers by making one layer disappear in a random series of blocks. It's pretty much a one shot setting but still effective.
The height and the width of the blocks can be set independently of each other, so you don’t need to stick to simple squares, you can define rectangles of almost any shape and size.
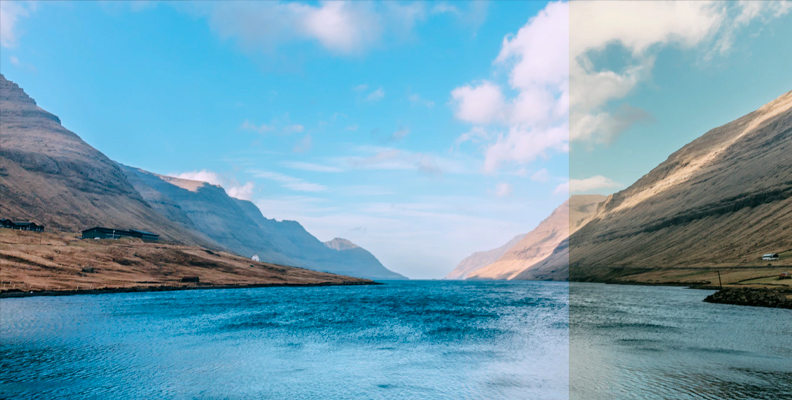
Linear Wipe
![]()
The Linear Wipe is one of the most simple and common wipes seen. It produces a simple, straight-line wipe of a layer depending on how you set a direction.
The only setting here is the Wipe Angle. So if you choose a wipe to take place at 90° the wipe will travel from left to right. If you choose 180° it will be from right to left.
When used with draft quality, the linear wipe isn’t anti-aliased (that is, there is no additional smoothing applied to the wipe). At Best quality, the transition is anti-aliased so the result is smoother and the results look better.
The Linear Wipe is a simple way to transition between one part of your video and another and is one of the easiest wipes to get to grips with.
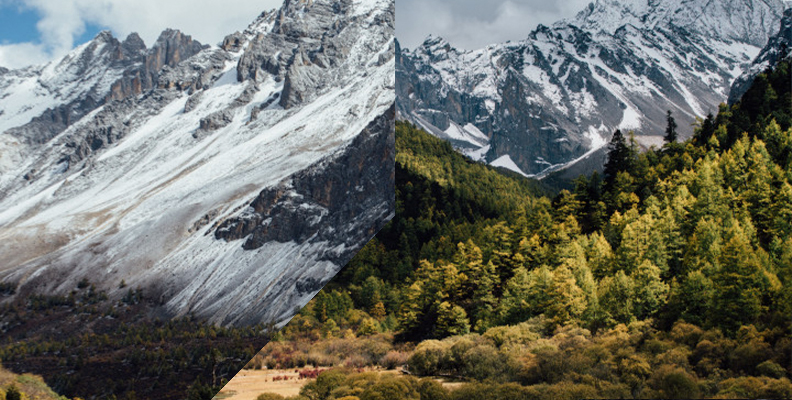
Radial Wipe
![]()
A Radial Wipe will produce a transition that is a circle and emirates from a user-defined point on the screen. These are rotating transitions.
There are two settings to consider here. The Start Angle will define the angle the transition starts at. An angle of 0° means that it starts at the top of the screen and increasing the angle will move the start.
There is also the Wipe Setting, which defines whether the circle of the wipe travels clockwise or anti-clockwise. You can also configure it to move between the two.
Effective and easy to control, the radial wipe expands the list of transitions available and looks smooth and detailed at Best Quality.
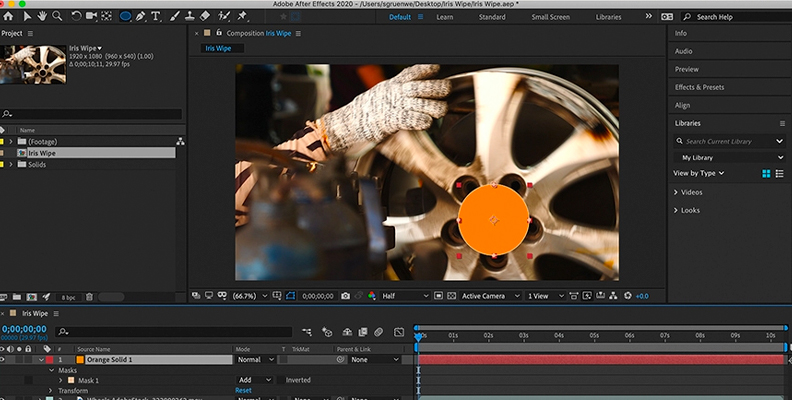
Iris Wipe
![]()
The Iris Wipe is a little more sophisticated than the Radial or Linear wipes. It creates a radial transition that uncovers a layer beneath. Defining the number of points will define the shape and size of the Iris Wipe.
You can define the number of points used to create the Iris Wipe, defined in a range between 6 and 32 points.
You can also define whether an inner radius is required as well.
If you do choose one, you can define the inner and out radius for the transition, though you don’t have to define an inner one if you don’t require it. Set the inner value to 0 if you don’t want to see it.
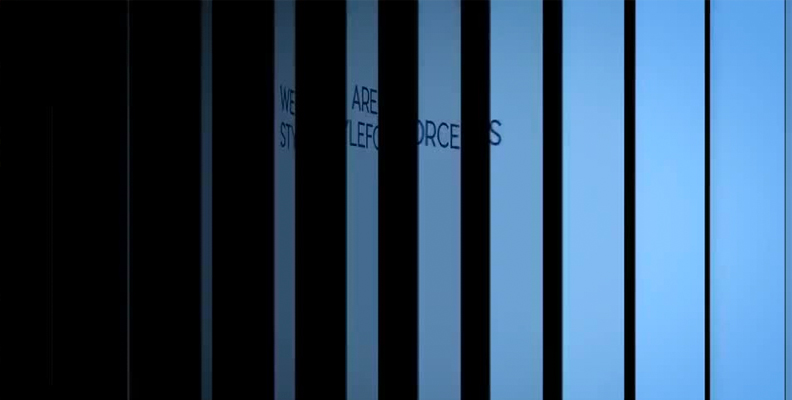
Venetian Blinds
![]()
The Venetian Blinds effect will reveal a layer beneath the primary one by layering strips and removing them, making it look like you are seeing the layer be revealed through blinds.
There are a number of settings here that affect the way the blinds transitions work. The percentage, direction, width, and feathering can all be adjusted so that you can customize the effect to match your requirements.
You can even overlay the transition, so if you have one direction traveling from left to right you can have the other traveling from right to left. This allows you to create more varied blinds transitions than just the standard one.
Venetian blind transitions might seem simple, but with a little thought and practice can make for some really interesting transitions.
Gradient Wipe
![]()
The Gradient Wipe is one of the most versatile wipes in After Effects.
It works by making the layer become transparent based on user-defined luminescence values of pixels in another layer. This second layer is referred to as the gradient layer.
The Gradient Wipe has additional flexibility because it can be based either on a static or a moving image, so you can dissolve between two moving video sources. This allows for considerable additional creative approaches to transitions.
The following settings need to be considered with the Gradient Wipe.
Transition Softness
This is the amount the transitions between pixels happens by. If you set it to 0%, pixels are either entirely transparent or entirely opaque. If the value is greater than 0% then the pixels are in a state of transition.
Gradient Placement
This is how the pixels of the gradient layer are mapped onto the pixels of the layer the effect is being applied.
Center Gradient
This uses one instance of the layer that has been set up in the center of the layer.
Tile Gradient
This setting uses multiple, tiled copies of the layer when it is applied.
Invert Gradient
This reverses, or inverts, the change the gradient layer is making. So lighter pixels in the gradient layer then create transparency at lower transition completion values than the darker pixels do.
While there are a lot more settings in the gradient wipe, they really do help create interesting, unique, and different transitions in your projects.
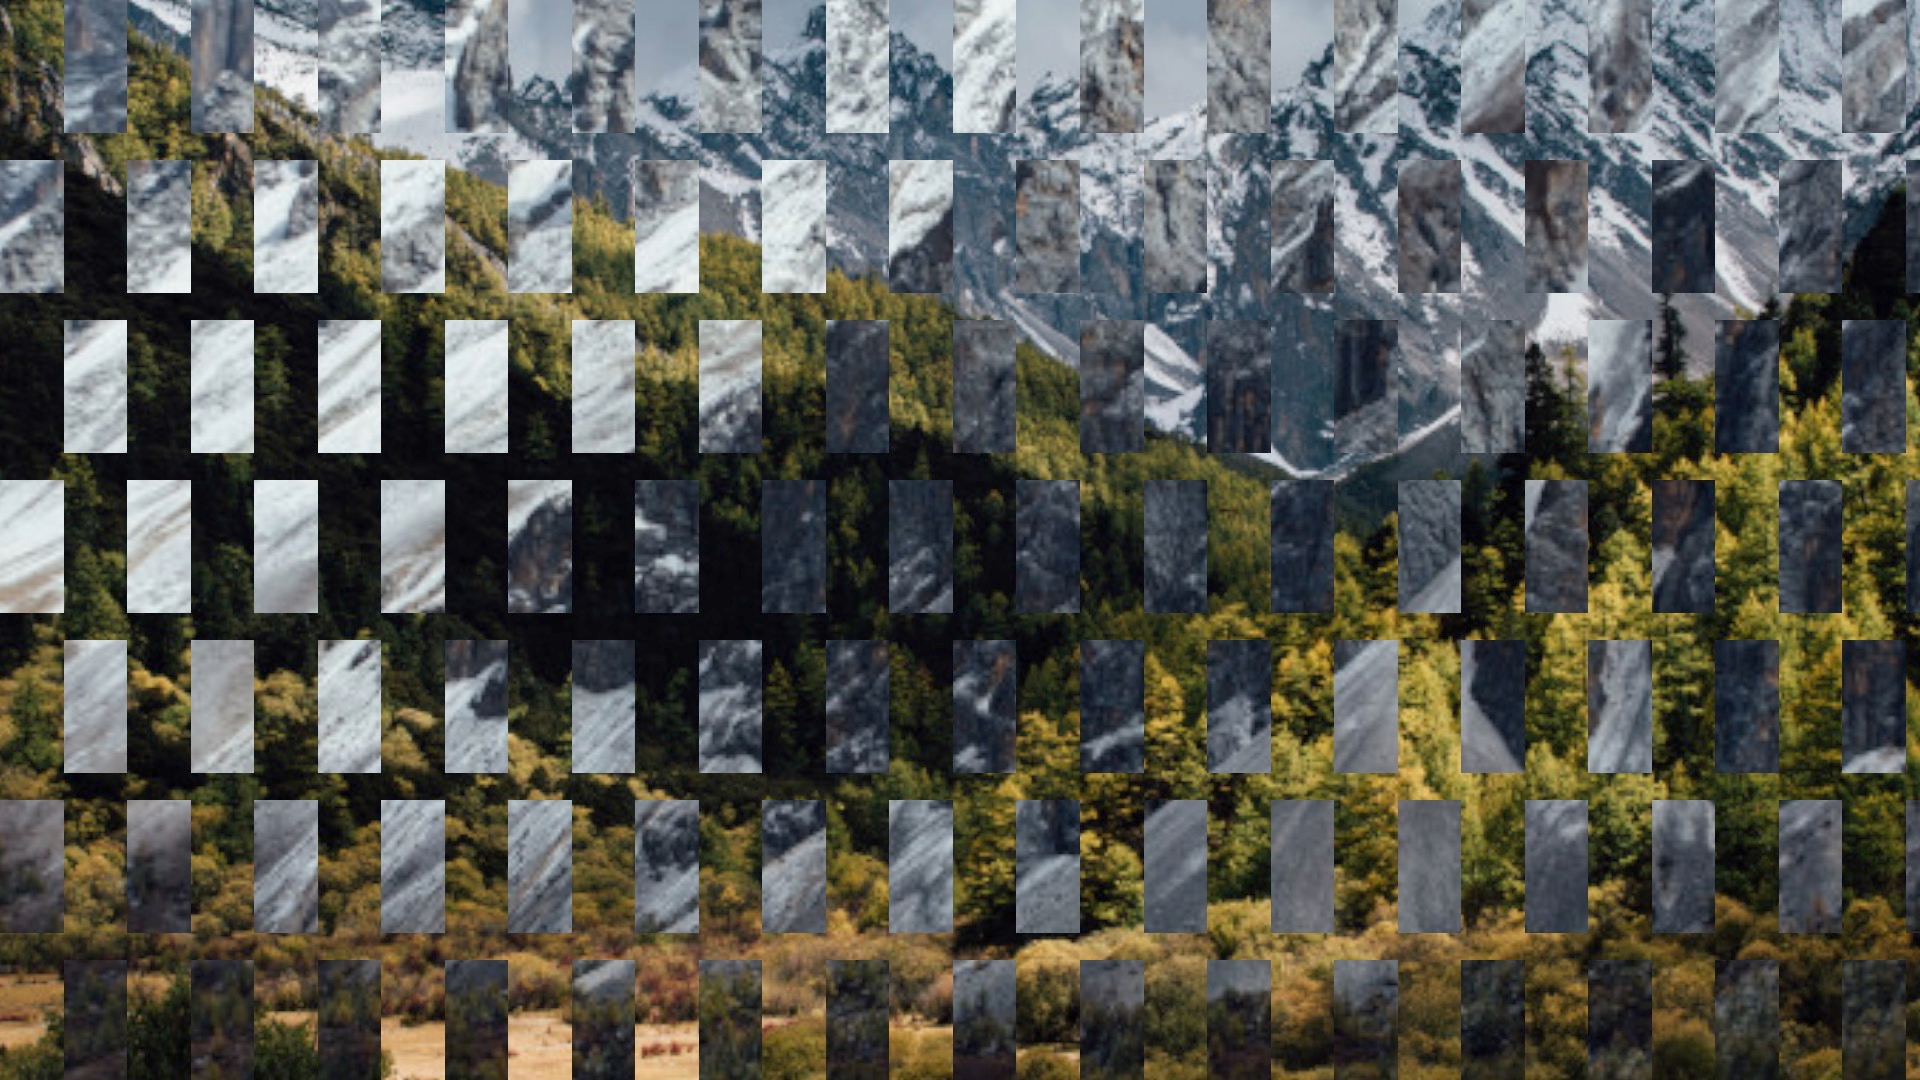
Card Wipe
This is an effect that imitates a collection of cards showing an image and then flips them to reveal an image underneath. You can control the number of rows and columns of the cards, the flip direction of them, and the direction of the transition (up, down, left, and right).
You can also decide how random the changes are going to be, as well as the jitter. The latter setting allows you to add a degree of naturalism to the way that the cards transition and can help make the transition look smoother and more organic.
The basic controls allow you to access the different settings as well as the rows and columns.
Card Wipe Settings
The back layer allows you to define what appears on the back of the card once they have flipped. This can be anything in the composition as long as it is part of the composition.
The Card Scale will let you define the size of the cards across the screen. Anything less than a 1 will reveal the underlying image in the gaps, anything over a 1 will create an overlapping, blocks effect.
You can adjust the axis and direction of the cards by changing the Flip Axis and Flip Direction settings. The Flip Order will adjust the direction that the transition occurs.
Timing Randomness means that your transition doesn’t have to follow a regular, ordered transition and can be as random as you like. A value of 0 will mean the cards transition in the predicted order, anything else will cause them to be more random — the higher the value, the greater the degree of randomness.
The camera angle can also be adjusted so that you can set up further possibilities with positioning, zooming, and focal length.
There are effects templates available too, so you can get started easily.
The card wipe transition is a powerful tool and understanding its settings means that you will have plenty of opportunity to get creative and produce something really different.
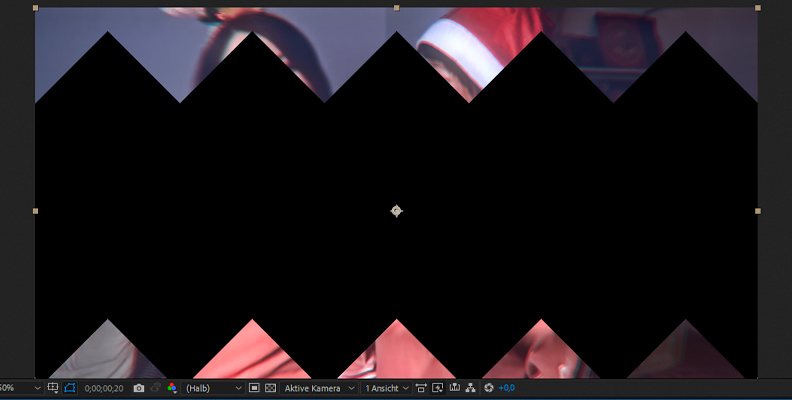
Jaws Effects Transitions
![]()
To finish with, one of the simplest effects is the Jaws Effect. This creates a transition that is a series of serrated edges that glide apart to reveal the layer beneath.
You can adjust the height and width of the Jaws Effect to create smoother or more artificial transitions, depending on what you want. You can also adjust the direction of the separation, either top and bottom or left to right, pulling out from a center point.
The Jaws Effect is a simple but compelling method of transitioning between shots and one that will seem instantly familiar.
Conclusion
After Effects creates many powerful ways for you to be able to use video transitions.
However, despite the fact that the results are impressive, After Effects own transitions are easy to manage and learn, meaning that you can be making smooth, professional looking video projects in no time at all.
And while these transitions are simple, they are a great building block to work with before getting into more complex transitions like glitch transitions and ink transitions further down the line.
So get started and get these simple, professional-looking transitions mastered and improve your videos!


