


Today, I’ll show you how to add and create titles to your videos using BCC Title Studio. Whether you're working on impressive movie titles or unforgettable openers, Title Studio offers an endless pack of plugins to choose from, and is compatible with all the most popular video editing software, from DaVinci Resolve to Final Cut Pro, and more.
Title Studio is a standalone 3D Titles and Animation application and a premium plug-in from the Boris FX Continuum Suite. With Title Studio, you can create 2D and 3D vector titles, lower thirds, motion graphics, callouts, credit rolls, and much more. It allows you to import OBJ, C4F, and EPS 3D models to make a 3D motion graphics title from scratch.
Let’s dive in!
How to Make 3D Titles with Title Studio
Download and install Title Studio. You can work with the free trial version of Continuum to follow this tutorial.
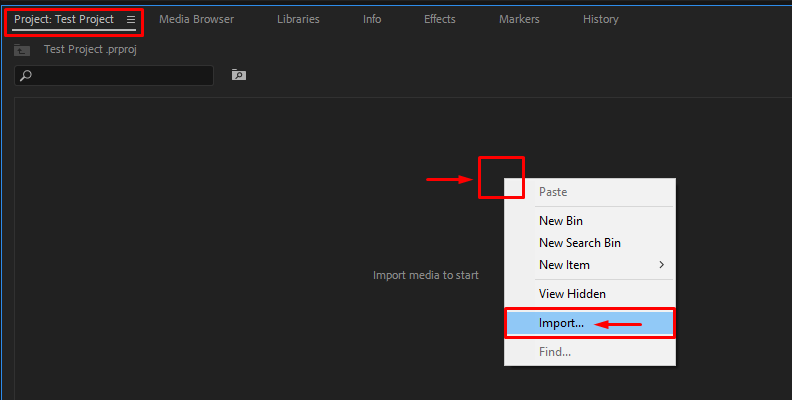
Step 1: Create a Project
![3d titles]()
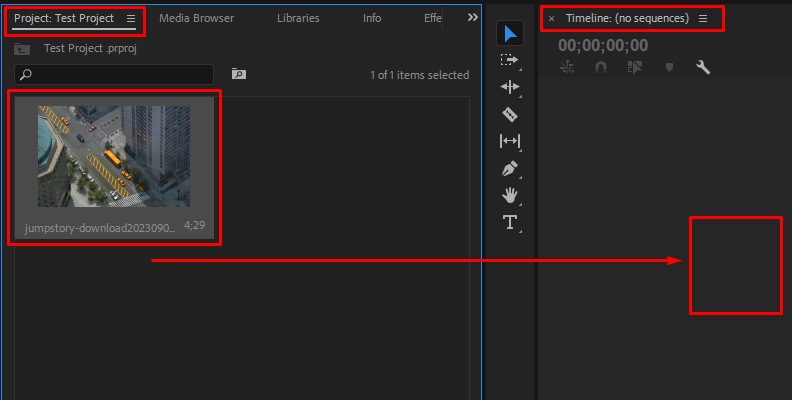
Open or create a project on your host video editing software, import the video clip to which you want to add a 3D title, and create a new timeline.
For this example, we'll be using Adobe Premiere Pro.
![]()
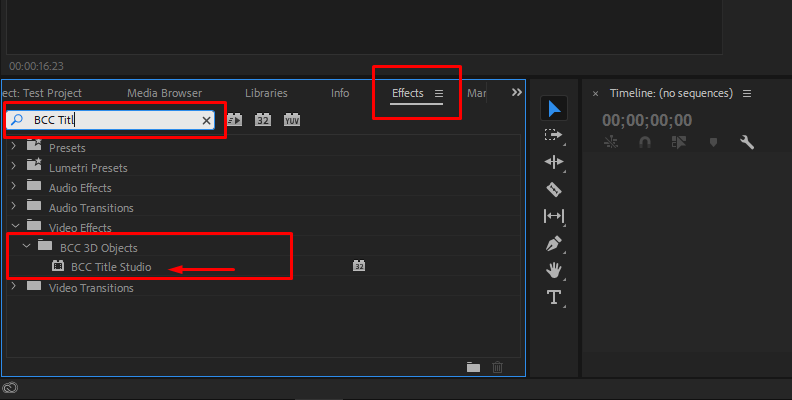
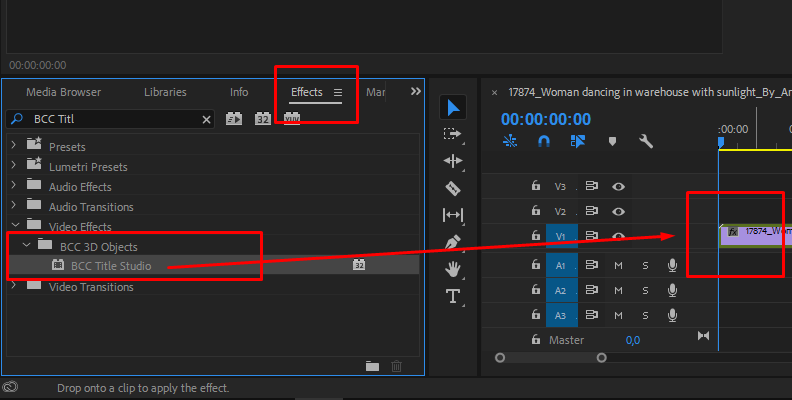
Step 2: Add BCC Title Studio
Search for the BCC Title Studio effect in your effects library. Drag and drop Title Studio onto the clip in the timeline. You can apply it directly to the clip or use a separate layer or track.
![]()
![]()
From here, you have different options. You can start building your titles from scratch in the Title Studio UI, modify one of the presets in the FX Browser, or use the presets as they are.
Let's start with a preset, and then I’ll show you how to revamp it to make custom titles.
Step 3: Title Studio Presets
![]()
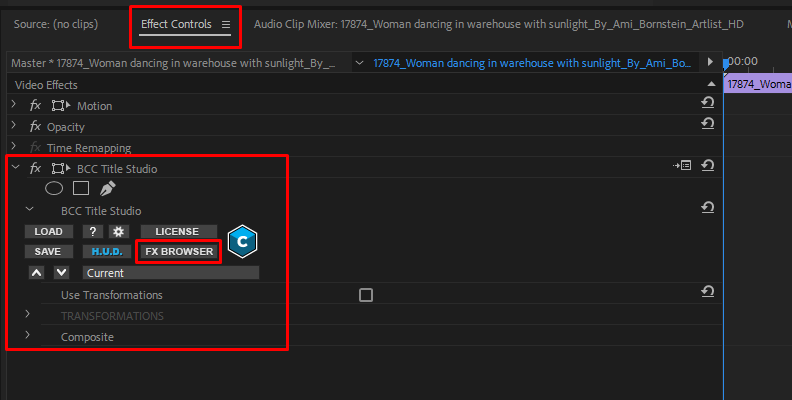
Open your effects panel and search for the Title Studio settings. Click on FX Browser to launch the presets browser.
![]()
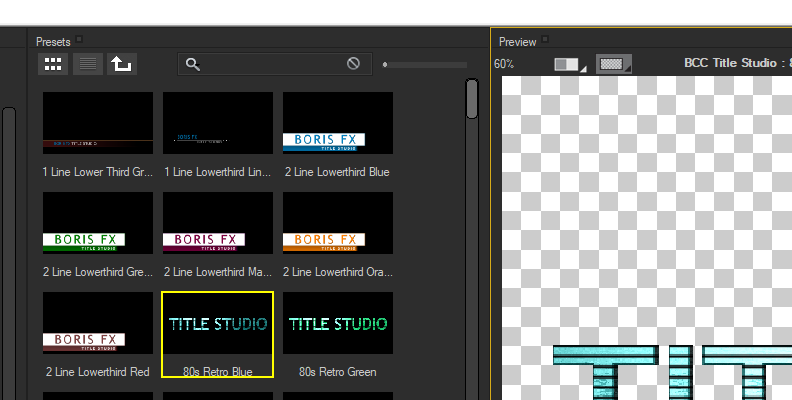
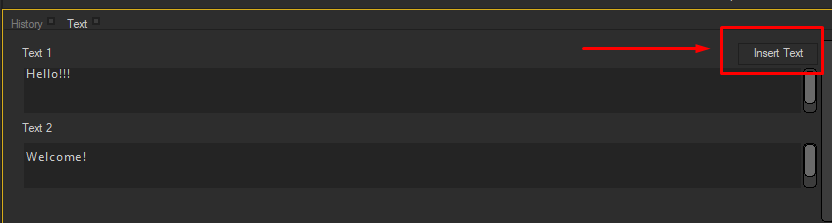
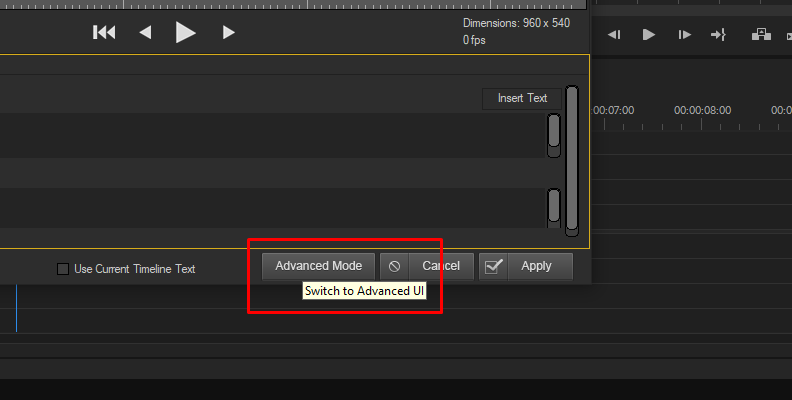
You can search by category and preview the titles. Change the text under the preview window and press Insert Text to apply it.
![]()
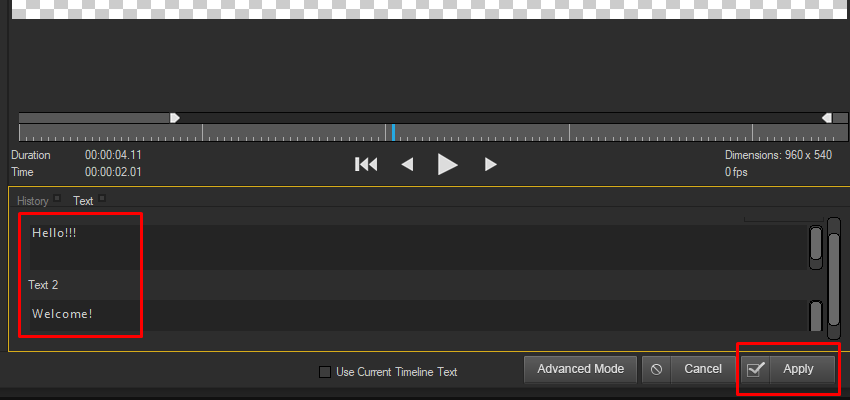
Press Apply at the bottom right of the screen to save the changes and return to your host. You should see your brand-new title appearing on our screen.
![]()
Step 4: Working in the Title Studio User Interface
If you want to modify the selected preset or create a 3D title from scratch, go to the Title Studio settings and click on Launch UI Window. You can also launch the UI from the FX Browser by clicking the Advance Mode button on the bottom.
![]()
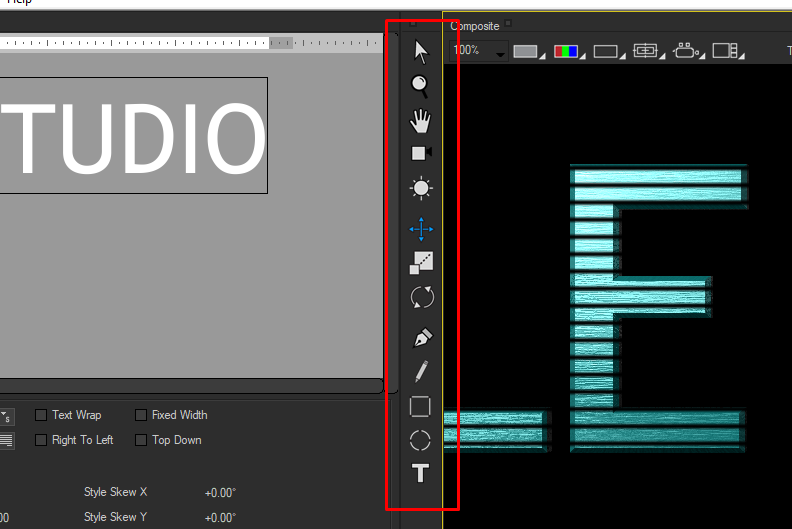
In the Title Studio UI default workspace, you have a composite window to preview the changes, which allows you to draw and move objects directly in the preview. In the middle, you’ll find some tools to draw shapes or add new text boxes.
![]()
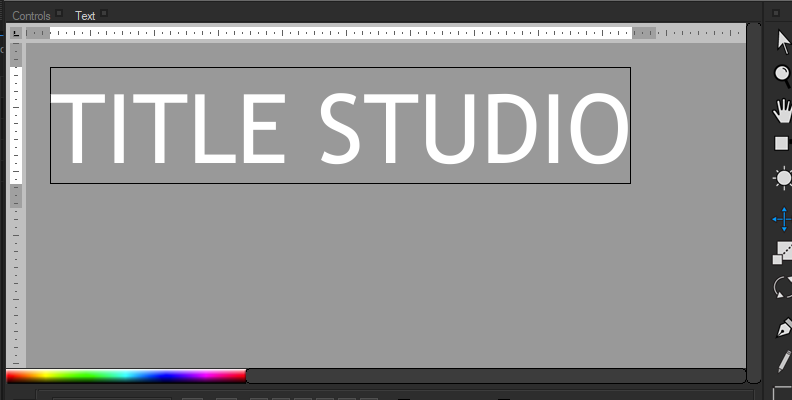
The text and controls panels are on the left, where you can type and adjust text and object settings.
![]()
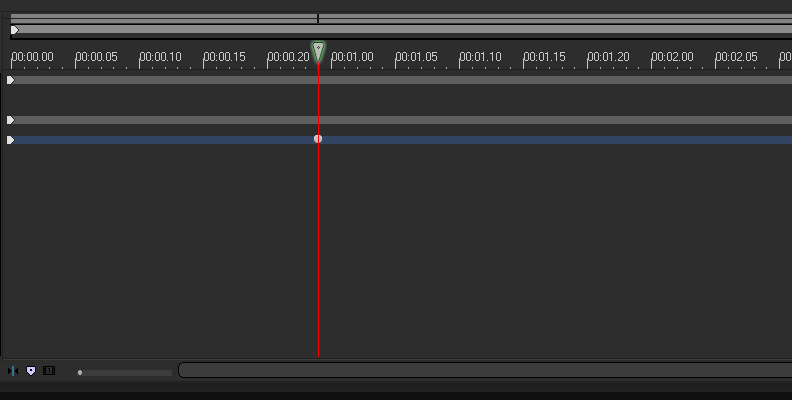
At the bottom of the screen, you'll see the timeline.
![]()
Select a layer from the bottom left corner to start editing your title preset, and use the panel above to adjust its controls. Try selecting a text layer (you'll know if it's text if you display the layers and see a T to the right).
![]()
You can change the title's text, font, size, and font color in the text tab. In the control tab, you can modify positions, scale, brightness, and opacity, among other things. Click Apply to set the changes.
You can also modify the shapes, materials, and other objects from the presets and create new shapes using the tools in the middle.
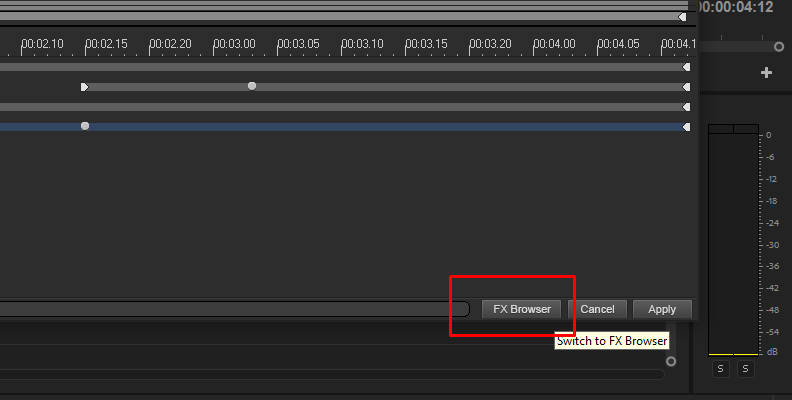
If you need to go back to the FX Browser, you can do it from the button on the bottom right corner.
![]()
Once you made all the changes, click Apply to return to your host.
Step 5: Create a 3D Title From Scratch
Add the BCC Title Studio to a video track to create a title from scratch and launch the Title Studio UI. You can start by changing the text from the default title and setting the desired font, color, and position. Or you can delete all the layer tracks and add new layers as you go.
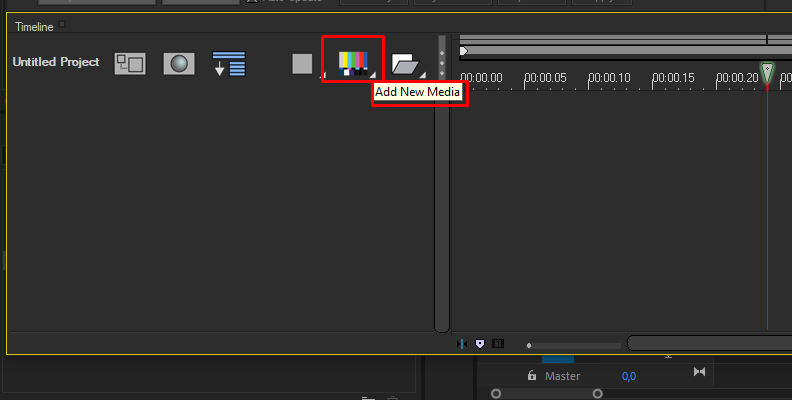
If you need to add more lines of text, add a new layer by clicking the Add New Media button (the icon with color bars) at the top of the timeline.
![]()
You can add Flat Text, Flat Text with 3D lights, or Extruded Text. Rearrange the order of the layers by dragging them up and down in the list.
Creating Spline Objects
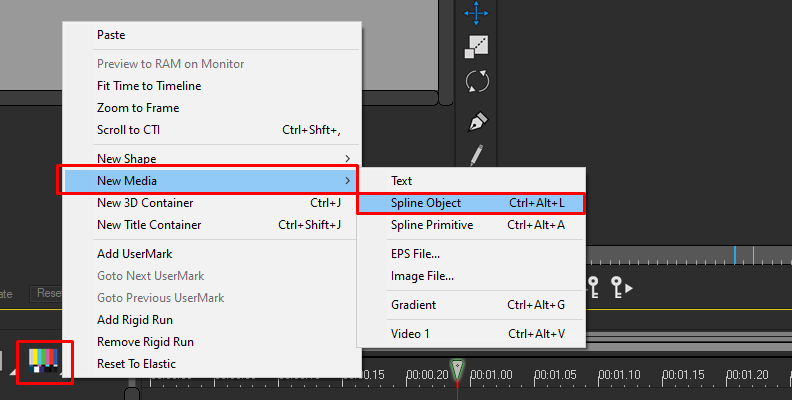
Click Add New Media and select a Spline Object. Use the rectangle, oval, or pen tools to draw the shape on the preview window. Arrange the spline layers and adjust their parameters from the control tab. You can also import a 3D model, EPS, or image file from Add New Media.
![]()
Animating Your Titles
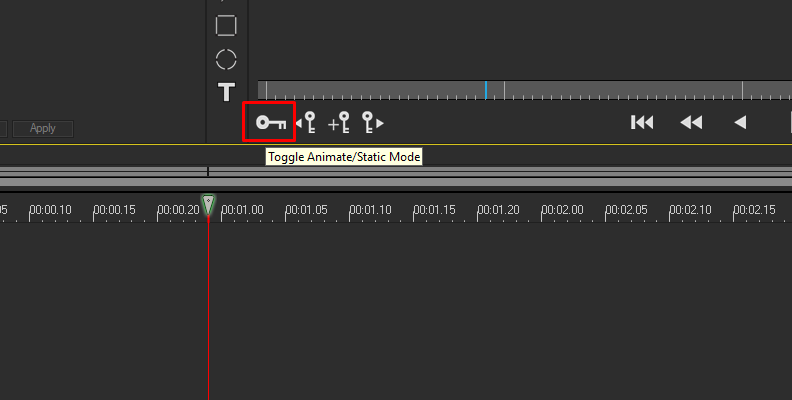
You can animate your titles by keyframing them. To start animating your title, click on the key button on the timeline to enable automatic keyframing. Select the layer to animate and move the playhead on the timeline.
![]()
Go to the controls and change the parameter you want to animate, such as position, opacity, border, etc. Repeat the process with each spline and text layer. If you prefer to add keyframes manually, you can do it by clicking on the key icon with a plus symbol. Turn off automatic keyframing when you finish to avoid animating things you don’t want.
Click Apply to return to the host application and see your titles.

Final Thoughts
Title Studio offers an easy way to personalize titles for your videos, from applying transitions to creating unique 3D title sequences. It’s intuitive enough for beginners looking for quick solutions, but also professional enough for intermediate users who like to tweak preset settings and advanced users who love working on an empty canvas.
Download the Title Studio free trial today and add a new layer of creativity to your projects.
Have fun!


