Recording a podcast requires many skills, from finding interesting topics to discuss to ensuring you have engaging hosts or guests. However, one thing they all have in common is a need for good sound quality.
Audio quality can make the difference between podcast listeners staying engaged with your podcast or someone just turning it off. But do you know how to get the best quality sound when recording your podcast?
Fortunately, we're here to help!
Podcasting Recording Tips For High-Quality Audio
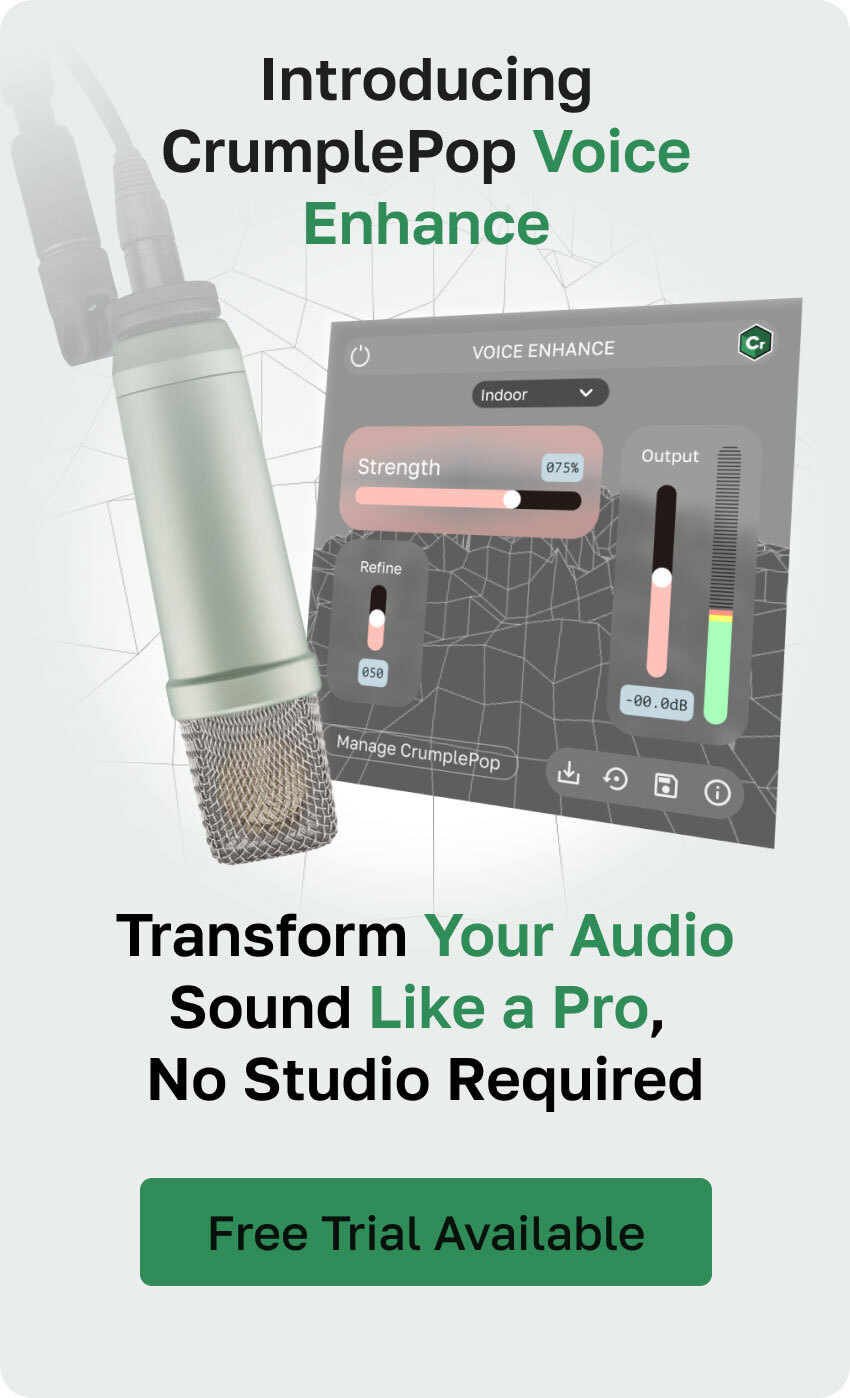
Use Voice Enhance
Try Voice Enhance Now!
Instantly transform any voice recording into professional-quality sound with the power of AI. No internet access required- your audio stays private and secure. Toggle it on/off to hear the difference.
On-location Interview
Selfie-style Phone Audio
Zoom Call
Ridiculous Echo
Traffic Noise
Far from Mic
Untreated Room
Recording at Home
On-location Interview
There are a few companies that offer Voice Enhance software, but none are better than the CrumplePop Voice Enhance plug-in. The clearer, more distinct, and warmer a voice is, the easier listeners will find it to engage with your content, and that's exactly what Voice Enhance does.
The plug-in is an AI-powered tool that is designed to enhance any vocal recording from directly inside your DAW (digital audio workstation).
And despite being incredibly powerful, it's also incredibly simple to use. Simply select the portion of audio you want to apply the effect to, launch the plug-in, select the strength of enhancement you need, and that's it. The process is simple, but the results are remarkable.
The plug-in is available in VST3, AU, and AAX formats, so you can be guaranteed compatibility with both your DAW and operating system.
To achieve the best podcast audio quality, Voice Enhance is the plug-in to use.
Consider the Environment
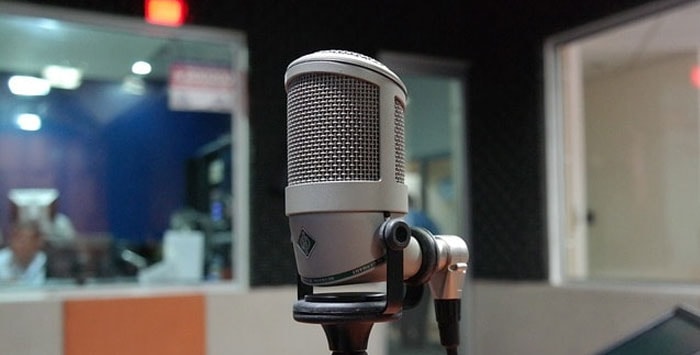
Whenever you are podcast recording, consider where you will be doing the recording. Different environments will inevitably produce different recording issues, and not everyone has access to the pristine environs of a professional studio.
If you're recording indoors, ensure you're recording your podcast in a quiet room with no background noise or other disturbances. The smaller the room, the better, too - a small room will create less echo and will help you get better-quality audio.
Similarly, try to avoid recording in a room with a lot of reflective surfaces, such as windows or mirrors. This will greatly increase the amount of echo you hear.
If you're recording outside, do your best to avoid other background noises, such as traffic or other people. Making the right microphone selection can be a crucial step here and can make a big difference to the amount of background noise you pick up in an outside environment. You don't want your hosts or subjects struggling to be heard over trucks rumbling past or people walking their dogs!
Use High Quality Microphones
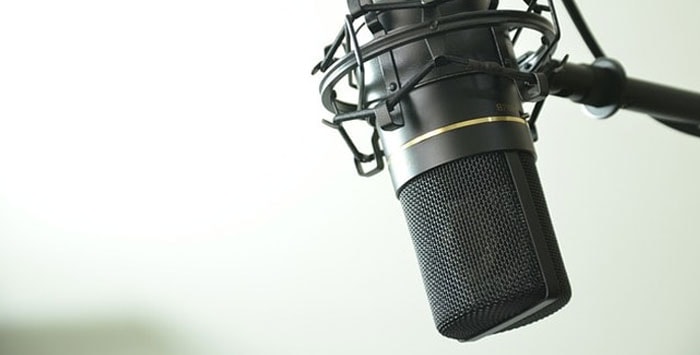
Speaking of microphones, ensuring you have a high-quality microphone is one of the single most important things you can do. Traditionally, XLR microphones have always been regarded as the best, but this is becoming less true as the quality of USB microphones is getting better and better.
If you have a USB microphone, ensure that any software that comes with it has been set correctly to ensure the best quality sound you can achieve. If you have an XLR microphone, it's worth investing in a good audio interface. The better the quality of the interface, the more likely you are to get high quality audio for your podcast.
Making the Right Equipment Choice
It's possible to pick up some really great equipment for surprisingly little money these days, but sometimes, even spending a few more dollars on a better microphone can pay real dividends.
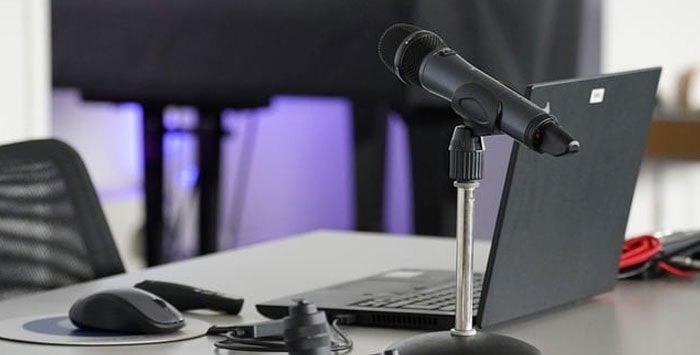
Choosing the right sort of mic is also important, so if you're recording inside, ensure you have a good microphone stand (either floor or desk) so you can keep a consistent distance from it. This will help your voice remain even and at the same volume. If you are recording outside, consider using a lavalier microphone to cut down on background noise.
Whatever microphone you use, it needs to fit your recording scenario, and having good podcasting equipment can make the difference between having an audio recording that sounds professional and one that sounds unlistenable.
Record Each Participant on Separate Tracks
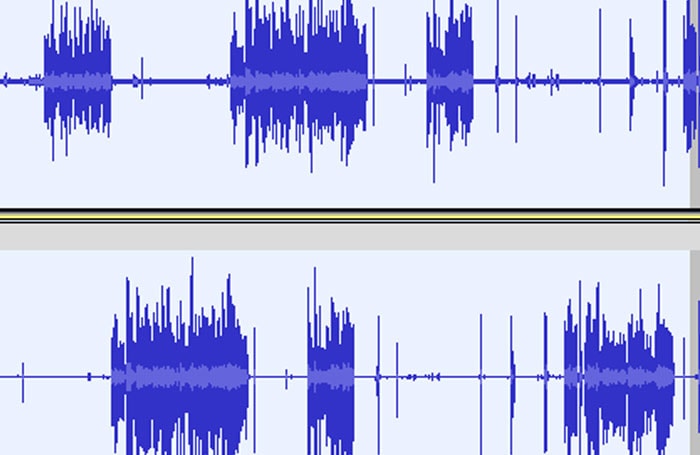
No matter what recording software you are using, pretty much every DAW will have a multi-track recording feature, allowing you to record each participant on separate channels. This is very important because when it comes to producing your podcast, you will want to ensure you can make changes to each person individually.
If you have one person who is speaking very quietly, you might want to increase their volume, but at the same time, you might have someone else speaking very loudly that you want to reduce the volume of. Pay close attention to the audio settings on each track so that you can be sure you're getting the best from the person you're recording.
Ensuring that everyone is on different tracks will make the editing process much easier and result in much better sound quality.
Start With a Test Recording
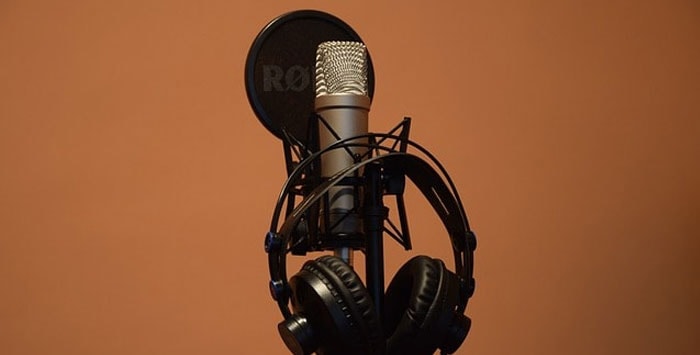
One of the best and simplest ways to ensure that your podcast recording is going to go well is to do a test recording before beginning the actual recording session. By doing this, you can eliminate many of the issues you might otherwise miss.
If you're doing a podcast recording at home, it's easy to miss things like background noise - because it's an environment you're familiar with, you probably just screen things like that out unconsciously. Very few people notice things like their fridge humming or an A/C unit running because these background noises fade from our awareness.
However, even recording a quick test will immediately make them apparent. It's amazing how much sound can be picked up on a test recording and how easy it is to eliminate background noise when you are aware of it. And the less background noise you have, the less post-production you will need to do.
Checking Your Levels
It's also a good opportunity to get your levels sorted out before you begin. You want to ensure you have a good amount of signal but not so much that you get clipping. Aim to have the peak of your signal (that is, the loudest part of it) at around -2 dB (decibels). That will provide you with a strong signal, it won't cause clipping, and it will give a little room for any post-production work you need to do.
Getting your levels right is a crucial part of obtaining professional and clear audio.
Create a Noise Profile
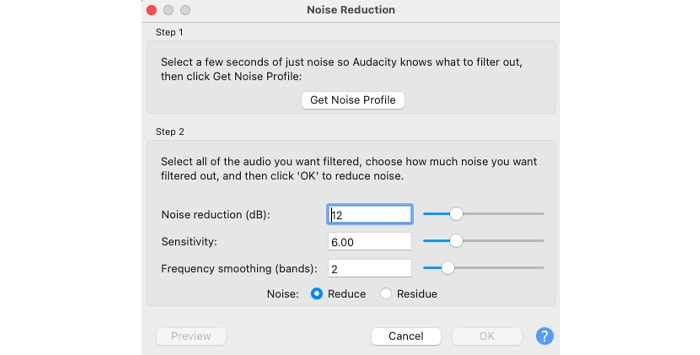
This is another simple tip, but it can really make your life easier. Before you start speaking, allow your DAW to record a few seconds of silence. "Silence" never is, of course, but what this captures is your room ambiance.
This is incredibly useful for your DAW's Noise Reduction tool. It gives the software something to analyze, so when you create a noise profile, it can easily distinguish between the room ambiance and the sound of your speaking. This makes the noise reduction tool much more effective. And the more effectively the noise reduction tool can work on your recording, the clearer and more professional audio you will have at the end of the process.
All that from recording a few seconds of silence!
Practice
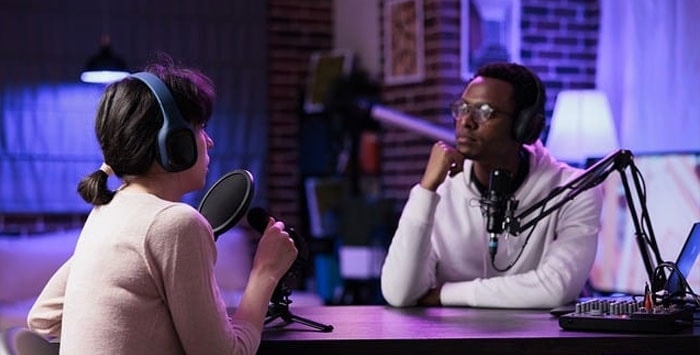
Podcasting is a skill, and, like any other, the more you practice, the better you will be at it. Especially if you are starting out, getting used to talking, finding interesting ways of delivering what you want to say, or feeling out the back and forth of a conversation takes a bit of time.
Delivering a monologue or holding a conversation or discussion on a podcast isn't the same as chatting to friends in a bar - you need to learn to pace the conversation, judge when (or when not) to interject, and find your own "voice."
Many people starting out can feel self-conscious and practicing is the best way to ensure that when you turn on your recording equipment, everything is going to sound great. If you're confident in yourself, your listeners will respond positively, and you'll have a more professional sounding podcast.
Learn Good Microphone Technique

Understanding good microphone techniques is another way to produce high-quality audio for your podcast recording.
Firstly, ensure that you have good microphone placement. If you are sitting at a desk, make sure the microphone is level with your mouth so you don't have to bend or stretch to reach it.
It's also worth using a boom arm rather than a stand if possible. A boom arm is easier to position and will pick up less vibration than a stand. However, regardless of which you use, ensuring it's in the right place will make a big difference to the quality of your sound.
Keeping Consistent Distance
You need to ensure that, as much as possible, you keep your mouth a consistent distance from the microphone. This will mean your volume levels will remain constant and make editing simpler. It's easy to forget this during an actual recording - if you turn your head to look at notes, lean back in your chair, or otherwise move, the distance between the mic and your mouth will change, and you probably won't even think about it but it's worth paying attention to.
Use a Pop Filter
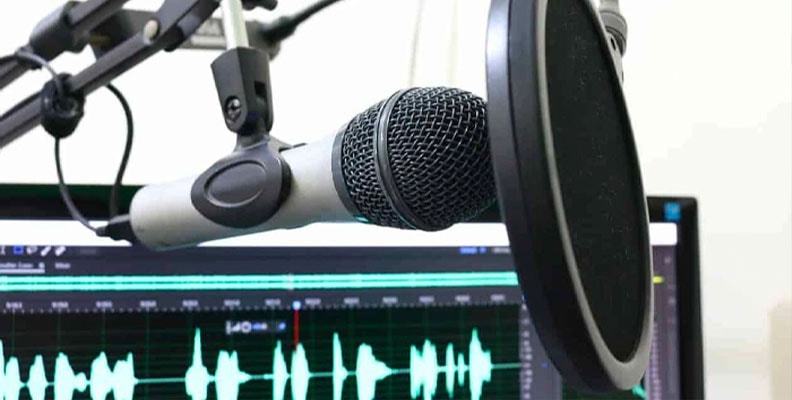
Relatedly, if your microphone didn't come with a pop filter, buy one!
It's a very simple piece of equipment, just a silk screen that sits between you and the microphone. But pop filters can make a real difference to the quality of sound you record.
As the name suggests, a pop filter helps to keep pops, plosives, and other breath noises to a minimum. This makes your speech sound clearer and will contain fewer off-putting sounds.
Sometimes, even the simplest bit of equipment can make a real difference.
Choose the Correct Podcast Recording Software
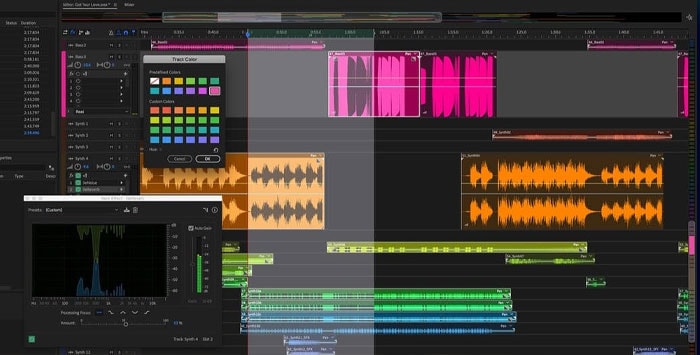
Choosing the correct podcast recording software can be a really important decision when it comes to recording a successful podcast.
There are a wide variety of DAWs available, some tailored more towards music, and some tailored more towards podcasting with specific podcast recording software tools included.
Some, such as Adobe Audition, can have a very steep learning curve but can produce very high-quality audio once you've gotten to grips with it. Others, such as Audacity, are much simpler to get to grips with but might not have the advanced features you require.
Work Within Your Budget
Consider your budget, too. Paying for expensive, professional editing software won't necessarily make sense if you're only going to utilize a few features, and you may be better off considering something cheaper or even free. However, if you're going to be producing a podcast recording that really needs to be the best, then it might be worth investing in.
Each podcast will have its own scenario, so consider this when making your choice.
Always Wear Headphones
Sometimes, podcast recording tips are simple, like this one - the tip is simply to wear them!
Wearing headphones will make it much easier to hear any stray sounds or ambient noise that might be picked up, it will allow you to have a much better idea of how all the participants are sounding, and it will avoid echo or "double voices" being picked up.
It will also allow you to hear your own voice the same way you hear everyone else's. While this isn't always a comfortable experience for everyone - loads of people can't stand the sound of their own voice! - It's really important to ensure consistency and avoid bad audio quality.
Place Audio Cues
Nobody's perfect, and we all make mistakes from time to time. That's true even when you're recording podcast episodes. Someone might stumble over their words, cough, forget what they want to say... it could be anything.
To simplify the editing process, when this occurs, leave audio cues on your recording so it's easy to identify where the mistakes are. That way, it's simple to return to them after the recording and fix them.
Use Loud Sounds for Cues
The audio cues can be sound effects, saying a word like "EDIT!" really loudly so there's a visible spike in the audio (actually the technique I use myself!), a high-pitched sound, or anything else. But leaving cues like that can really make a producer's life so much easier.
Mute Anyone Not Speaking
If someone isn't speaking during the recording process, put them on mute. It will stop you from picking up any stray sound from them and will mean there's just one less task to do during the editing. It goes without saying you need to remember to unmute them before they start speaking again, though!
It's a small thing, but every little helps.
Trust Yourself!
The more you record and the more podcast episodes you produce, the better you will get at it. Experience will teach you when to do something and when not to do something, so trust your ears and your own judgment.
If you're recording a podcast, the chances are you already know how a podcast "should" sound. Whether it's a serious journalistic interrogation of a subject, a silly knockabout chat, or whatever you choose to podcast about, you'll know what it should sound like and what you're trying to achieve.
So when you're trying to replicate that sound or feeling, trust your instincts and your judgment. You're the podcaster now - it's your choice!
Final Words
It doesn't need to be a difficult or complex procedure to record a podcast if you know what you're doing. Following a few simple podcast recording tips can be the difference between your podcast being heard around the world or being unheard and forgotten. Focussing on the basics of getting the recording techniques right will not only make your life easier as a producer, but it will also result in engaging, compelling material.
So get recording, and you'll sound better than ever!
FAQ
What Level Should I Record a Podcast At?
The answer to this question is slightly more involved than you might imagine. There are actually two levels involved here, the level you record your podcast at, which is normally expressed in decibels. The ideal level for this is around -1 dB.
LUFS Normalization Settings
However, there is also what is known as LUFS (Loudness Units Relative to Full Scale). Confusingly, this is sometimes also known as LKFS, which stands for Loudness, K-weighted, Relative to Full Scale, but it's exactly the same thing.
To understand LUFS, you need to know what normalization is. Put briefly, normalization applies a consistent amount of gain to an audio recording to bring it to a predetermined, or normal, level. LUFS is the measure of this. When you upload your podcast to a podcast host, it will be normalized, so if you have your LUFS level set correctly beforehand, it will sound perfect after it has been uploaded.
You can set the level of LUFS in your DAW. The ideal level is -16 LUFS, but anything in the range of -14 to -18 will suffice.
Once you have set the LUFS level in your DAW that's it - you can forget all about it and be confident that everything sounds correct once your podcast is uploaded.


