EZ Mask
EZ Mask creates mattes by using a trimap--a pre-segmented image consisting of three regions of foreground (what you want to isolate), background and unknown. Strokes are used to define foreground and background with unmarked sections in between considered unknown areas where partial opacity values are computed.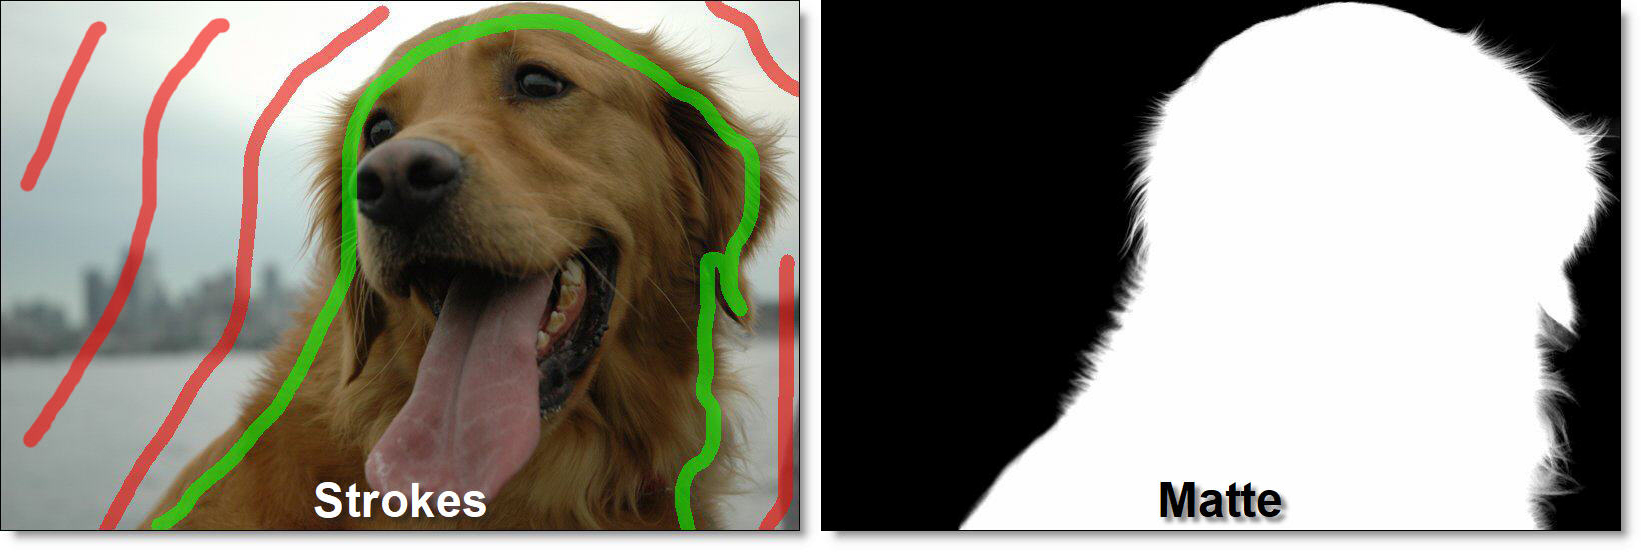
1 Add an EZ Mask node from the Nodes > Key tab and connect it to the source node.
The Foreground brush is selected by default.
2 Draw a stroke around the inner edge of the object to define foreground area (what you want to cut out) by clicking and dragging.
A green foreground stroke is created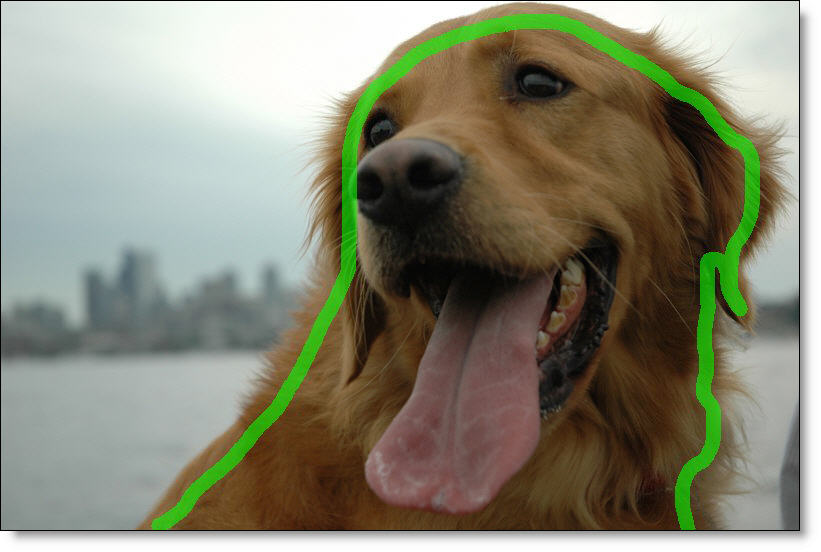 .
.
.The strokes should be near the boundary of the foreground, but not right up against the edge. Strokes that are closer to the boundary will dominate the creation of the matte. Also, if the foreground has varying colors, the strokes should cover these colors.
Note: If you Shift-click with the left mouse button and then click in a different location, a straight line is drawn. If you keep Shift depressed while clicking, you will create interconnected straight lines.
3 Next, draw a stroke around the outer edge of the object to define background area (what you want to get rid of) by right-clicking and dragging.
or
4 Alternatively, you could select the Background brush and draw with the left mouse button.
A red background stroke is created.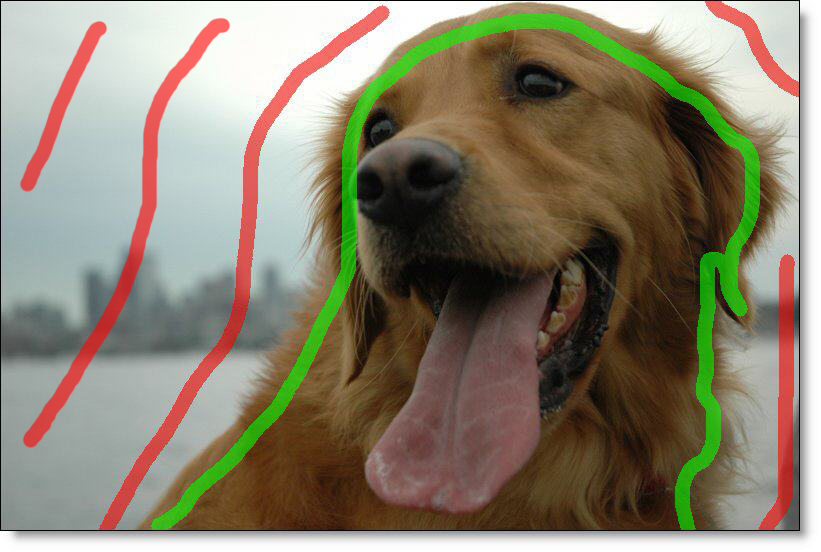
As you let up on the mouse button, a matte is generated.
5 Press the A key twice to view the generated matte.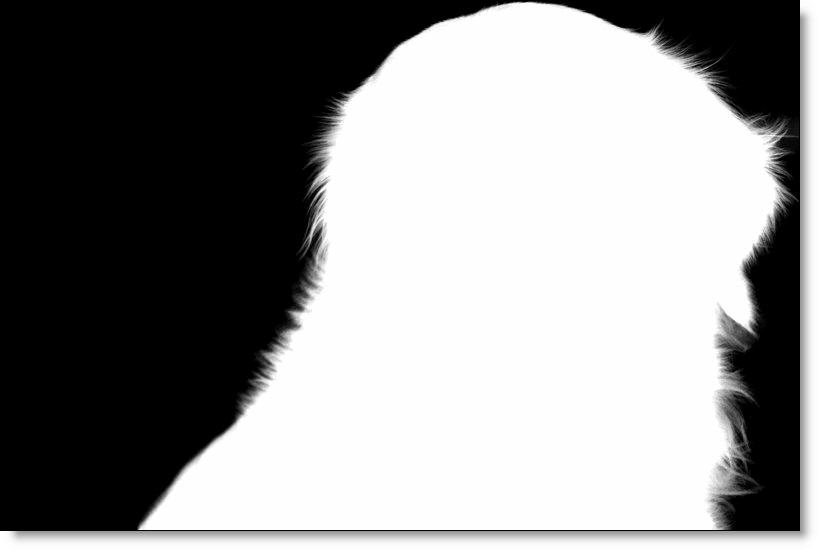
If you only provide a few sparse strokes, EZ Mask will take longer to process with a less accurate result.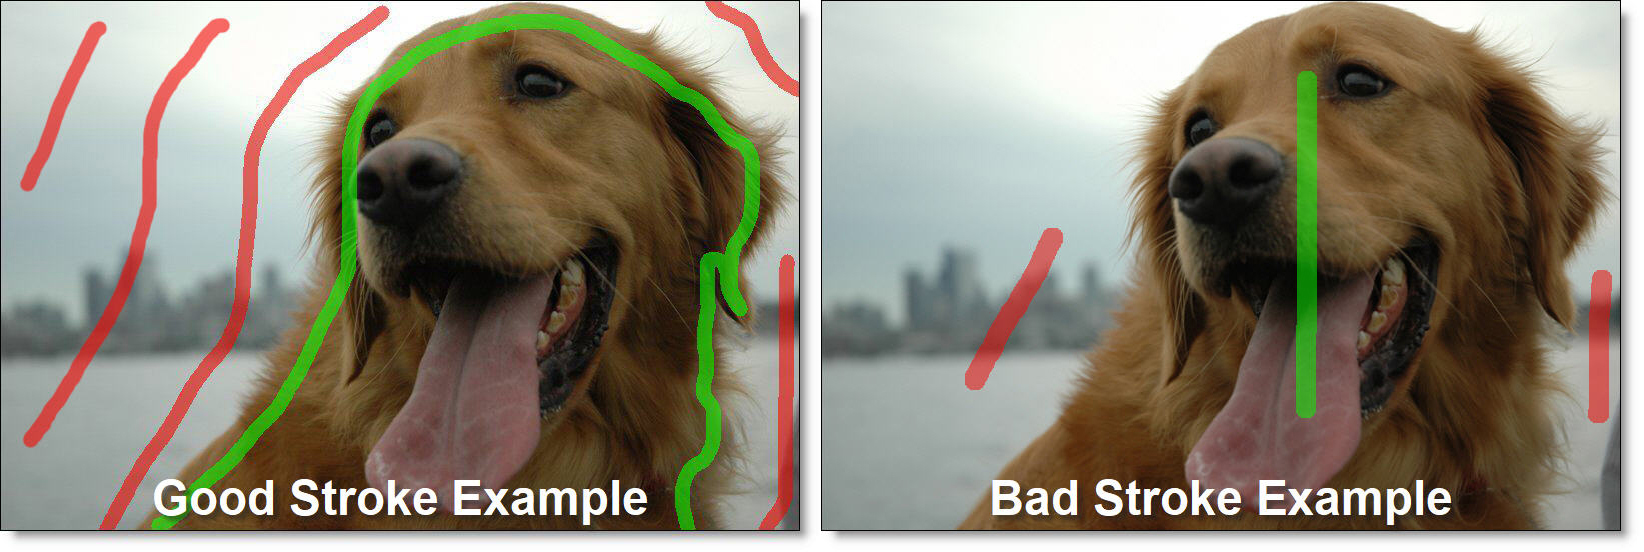
6 If at any time you want to turn off the display of the strokes, click the Overlay icon above the Viewer or press 0 (the number zero) shortcut key.
In the generated matte, white is foreground, black is background and any gray areas in between represent a level of transparency. Refine the matte by adding additional strokes as needed.
7 If you see gray areas in the foreground object that should be completely white, make additional foreground strokes in those areas.
8 If you see gray areas in the background that should be completely black, make additional background strokes in those areas.
9 Gray values in Unknown areas can be reduced by increasing the Deartifact value located in the Node parameters.