zMatte
Description
Using proprietary matte extraction techniques, zMatte quickly and simply creates mattes with minimal parameters even if you are dealing with fine hair detail, smoke, or reflections. It is easy to use, yet provides the needed tools when faced with good, bad, or ugly shots--tools such as multiple matte creation, automatic spill suppression, sophisticated matte and edge manipulation, and color correction.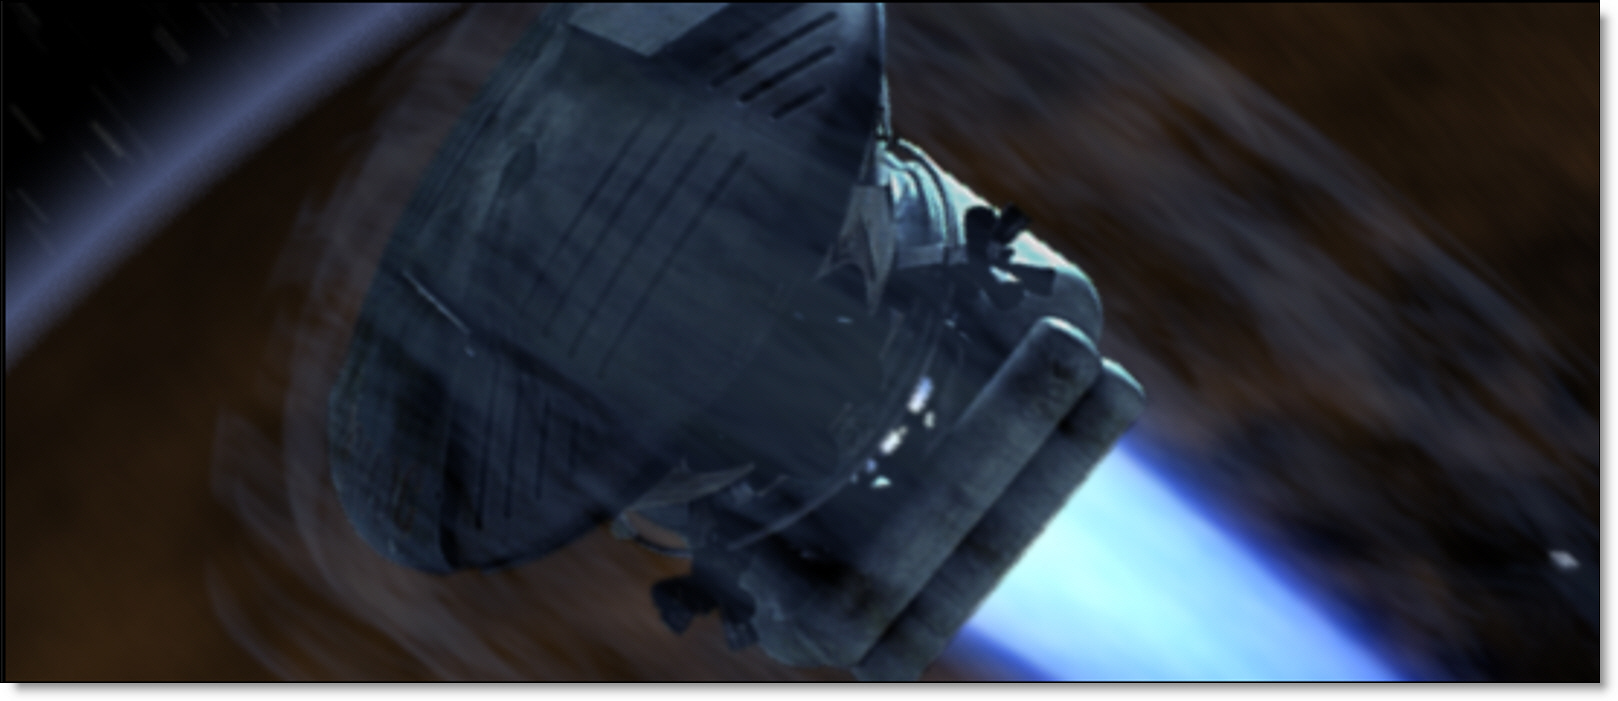
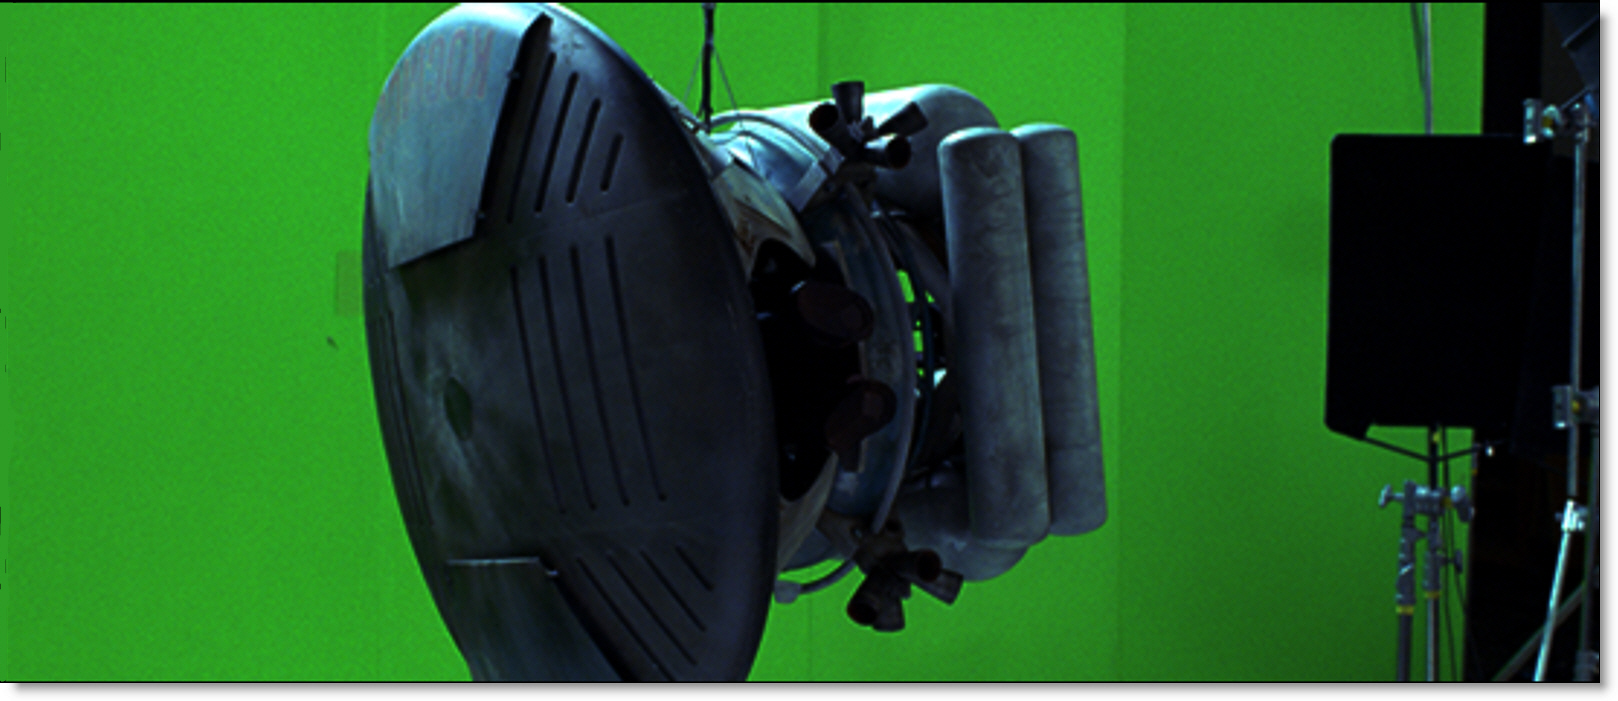


Go to the zMatte tutorial to see how it works.
Node Group
Key, Silhouette.
Deartifact
The Deartifact parameters are handy for cleaning up artifacts caused by DV and HD video footage. In fact, they are useful for cleaning up foregrounds that have aliased or jaggy edges.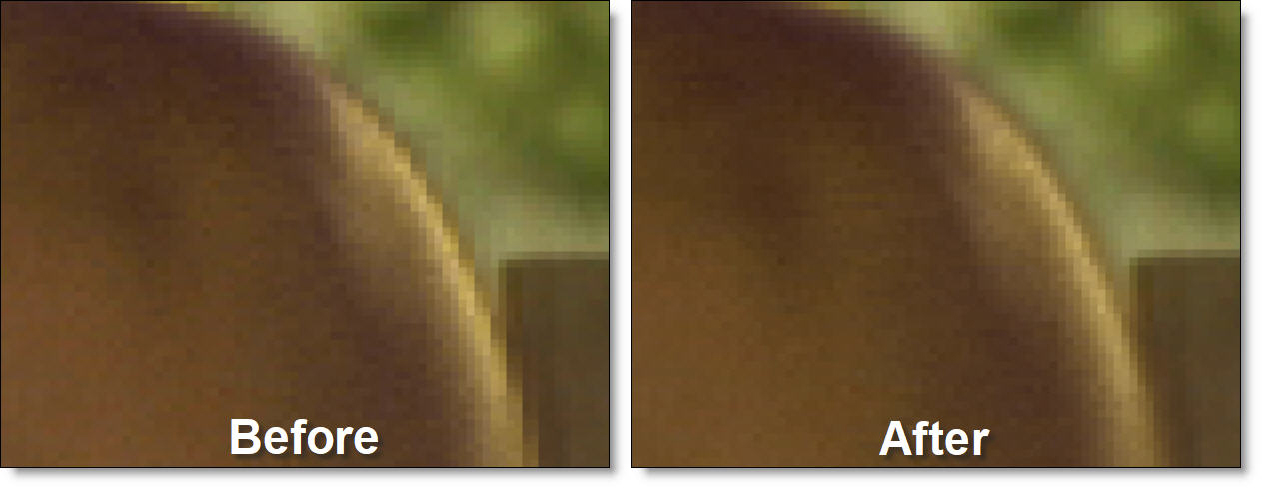

When activated, a RGB to YUV conversion takes place so that you can blur only the U and V color channels. Since this is where most of the artifacting shows up, this has the effect of cleaning up the ratty edges encountered when keying DV or HD video footage. It is usually best to blur mostly on the horizontal axis.
Note: The Deartifact parameters default to settings that are good for DV footage. If you are working at higher resolutions, you will want to increase the blur settings.
Enable
Activates Deartifacting.
Horizontal Blur
Prior to pulling the matte, the U and V color channels are blurred by a fast, quality blur along the X-axis.
Vertical Blur
Prior to pulling the matte, the U and V color channels are blurred by a fast, quality blur along the Y-axis.
Gang
The horizontal and vertical values can be ganged together.
Primary Matte
zMatte can utilize up to two mattes in the creation of the final composite. If only one matte is needed, you would use the Primary Matte. When adjusting the Primary Matte, you should select Primary Matte in the View pop-up menu so you can see what you are doing.
Note: Keep in mind when creating your matte that wherever you see black in the matte, you will see background in the final composite. Wherever you see white in the matte, you will see foreground in the final composite--foreground being anything that is extracted from the blue or green screen.
Extract On
Extract On selects the type of matte extraction. Select whichever type isolates the desired values. A matte is extracted based on one of the following:
Blue Screen
Choose blue screen if you have a blue screen.
Green Screen
Choose green screen if you have a green screen.
Luminance
A matte is extracted based on the luminance of the image.
Hue
A matte is extracted based on the hue of the image. When adjusting the Position parameter, you are selecting different hues.
Saturation
A matte is extracted based on the saturation of the image.
Average
A matte is extracted based on the average of the image’s RGB values.
Red
A matte is extracted based on the image’s red values.
Green
A matte is extracted based on the image’s green values.
Blue
A matte is extracted based on the image’s blue values.
Alpha
A matte is extracted based on the image’s alpha values.
Cyan
A matte is extracted based on the image’s cyan values.
Magenta
A matte is extracted based on the image’s magenta values.
Yellow
A matte is extracted based on the image’s yellow values.
Background/Foreground
When using the Extract On > Blue Screen or Green Screen settings, Background and Foreground are used while all other matte extraction methods use Position and Range.
Background
Sets the background value. The lower the value, the harder or blacker the matte will become. It is best to set the Background value as high as possible, while at the same time making sure that the background is completely black.
Foreground
Sets the foreground value. The higher the value, the harder or whiter the matte will become. It is best to set the Foreground value as low as possible, while at the same time making sure that the foreground is completely white for any areas that should be opaque in the final composite.
Position and Range
When using matte extraction methods other than the Extract On > Blue Screen or Green Screen settings, Position and Range are used instead of Foreground and Background.
Position
The Position value pinpoints the values to be used in the matte. For a Luminance extraction, a Position value of 100 would make a white matte of the highlights and a value of 0 would make a white matte of the shadows.
Range
Increases or decreases the range of values in the matte. A low Range value indicates a narrow range of values. A high Range value indicates a large range of values included in the matte.
Black Clip
Blacks in the matte are made blacker by increasing this value. As the value increases, more values are clipped to black. This is helpful for getting rid of unwanted gray areas in what should be the black part of the matte.
White Clip
Whites in the matte are made whiter by increasing this value. As the value increases, more values are clipped to white. This is helpful for getting rid of unwanted gray areas in what should be the white part of the matte.
Shrink/Grow
Shrinks or grows the matte. Negative values shrink and positive values grow the matte.
Blur
The matte is blurred by a fast, quality blur.
Wrap
Helps blend the foreground into the background by making the background wrap into the foreground edges without completely losing the edge. The edge of the foreground starts to become transparent.
Secondary Matte
Sometimes two mattes are needed to create a good key. zMatte allows you to create two different mattes and combine them with various Blend modes.
With the exception of those listed below, the remaining parameters for the Secondary Matte are the same as the Primary Matte: Extract On, Background, Foreground, Position, Range, Shrink/Grow, Blur, and Wrap.
Enable
Activates the Secondary Matte.
Note: You must first enable the Secondary Matte before it can be seen in the View pop-up menu.
Blend
Once a blend mode is selected, the Secondary Matte is combined with the Primary Matte.
Add
The Secondary Matte is added to the Primary Matte.
Subtract
The Secondary Matte is subtracted from the Primary Matte.
Multiply
Produces a result where there is a union of the Primary and Secondary Mattes.
Screen
This looks kind of like the Add blend mode, but highlights are retained as opposed to being burnt out.
Difference
Produces a result where a value exists in the Primary and Secondary Mattes, but not in both.
Darken
Compares the two mattes and takes pixels with the lower value.
Lighten
Compares the two mattes and takes pixels with the higher value.
Amount
Sets the opacity of the Secondary Matte.
Holdout Matte
A Holdout Matte defines foreground areas that should not be keyed out. The input can come from an existing source channel or a node like Roto, and the result is combined with the output matte.
Channel
Determines which channel to use as the Holdout Matte source.
Red
Uses the red channel.
Green
Uses the green channel.
Blue
Uses the blue channel.
Alpha
Uses the alpha channel.
Luminance
Uses the average luminance of the RGB channels.
Blend
Sets the blend mode for combining the Holdout Matte with the Primary Matte. See the Blend options for more information.
Amount
Sets the opacity of the Holdout Matte.
Garbage Matte
A Garbage Matte defines background areas that should be keyed out. The input can come from an existing source channel or a node like Roto, and the result is combined with the output matte.
Channel
Determines which channel to use as the Garbage Matte source.
Red
Uses the red channel.
Green
Uses the green channel.
Blue
Uses the blue channel.
Alpha
Uses the alpha channel.
Luminance
Uses the average luminance of the RGB channels.
Blend
Sets the blend mode for combining the Garbage Matte with the Primary Matte. See the Blend options for more information.
Amount
Sets the opacity of the Garbage Matte.
Color Suppress
Removes either blue or green spill from the foreground object.
Note: Color Suppress is only available when using Extract On > Blue or Green Screen in the Primary Matte.
Enable
Activates color suppression.
Foreground
Suppresses color spill in the foreground.The default value of 100 should be sufficient for most situations.
Range
Increases the range of areas that are color suppressed. If color spill is still evident, increase this value.
Edge
Suppresses the color spill of the foreground edge to the color gray. This is very useful for edges that contain a lot of transparency like hair or reflections.
Color Correct
The Color Correct parameters allow you to adjust the foreground image so that it matches your background.
Hue
Rotates the hue of the foreground.
Saturation
Adjusts the saturation of the foreground. Positive values saturate, negative values desaturate.
Brightness
Adjusts the luminance of the foreground. Positive values brighten, negative values darken.
Contrast
Adjusts the contrast of the foreground. Positive values increase contrast, negative values decrease contrast.
Gamma
Adjusts the gamma of the foreground. The gamma adjustment leaves the white and black points the same and only modifies the values in-between. Positive values brighten the image, negative values darken the image.
Temperature
Adjusts the color of the foreground to be either warmer or cooler. Dragging the numeric field to the right makes the foreground cooler (bluer) and dragging the numeric field to the left makes the foreground warmer (redder).
Cyan/Magenta
Adds either Cyan or Magenta to the foreground. Dragging the numeric field to the right makes the foreground more magenta and dragging the numeric field to the left makes the foreground more cyan.
Red
Adds or subtracts red from the foreground.
Green
Adds or subtracts green from the foreground.
Blue
Adds or subtracts blue from the foreground.
Flash Amount
Sets the opacity of the Flash Color.
The Flash parameters mix a color into the foreground image through the use of a standard eyedropper or color picker. The default color is white. What in the world is this for? It is a great way to add atmosphere to an element. Flash comes from the film term "flashing", which describes the optical process of lowering the contrast of an image by flashing it with light. In terms of a composite, you would pick a color off of the background image and selectively add that color into the foreground image. This has the effect of making the foreground element look as if it is receding into the distance.
Flash Color
Sets the color of the Flash Color.
Eyedropper
The eyedropper allows you to pick colors directly off of the screen.
Color Picker
Colors can be selected using a standard color picker.
Light Wrap
Helps blend the foreground into the background by making the color of the background wrap into the foreground edges without completely losing the edge. This is accomplished by placing the background layer into a special matte and then combining it with the foreground. You can look at the Light Wrap element in the View menu.
Brightness
Sets the brightness of the Light Wrap.
Wrap
Sets the size of the Light Wrap.
Edge
The Edge parameters allow you to color correct or blur only the edge of the foreground. You can also mix the edge of the foreground with the background. Before using the Edge tools, it is a good idea to take a look at your Edge Matte in the View Menu so that you can see what your edge actually looks like.
Size
Determines the size of the edge matte.
Color Correct
The edge of the key can be color corrected. See the Color Correct controls for parameter descriptions.
Blur-Horizontal
The edge of the foreground is blurred by a fast, quality blur along the X-axis, but only in areas of the edge matte.
Blur-Vertical
The edge of the foreground is blurred by a fast, quality blur along the Y-axis, but only in areas of the edge matte.
Gang
The horizontal and vertical values can be ganged together.
Opacity
Mixes the foreground back to the background, but only in areas of the edge matte.
Transform
The keyed foreground/matte can be manipulated using a Transform. Go to the Transform node to see how it works.
Node Outputs
Output
Outputs the foreground input and generated matte. Use this option if you plan to do further work on the RGB and alpha channels downstream from zMatte.
Composite
Outputs a composite of the foreground over the background based on the generated matte.