













 Marco Sebastiano Alessi |
July 17, 2026
Marco Sebastiano Alessi |
July 17, 2026


Gain staging is the foundation of a good recording and mix, with healthy signal levels throughout the process. Proper gain staging preserves audio quality more effectively than relying on numerous plugins to fix signal problems.
This article covers what gain staging is, its importance, and key tools so you can use it as a reference guide for your mixes.
Let’s dive in!
What is Gain Staging?
Gain staging is the process of managing audio signal levels at each stage of a signal chain — recording, mixing, and mastering — to maintain signal clarity, optimize headroom, and avoid distortion or noise. By maintaining levels not too loud (causing clipping/distortion) or too quiet (causing a high noise floor), it ensures a clean and professional mix.
This was essential in the analog days to keep the signal above the hardware hiss (the noise floor) while staying below the point of distortion (the ceiling) before it reached the first processing. Today, with digital audio workstations (DAWs), gain staging lets you maintain enough headroom to work with plugins without overloading your master bus.
Gain staging should be the first step when mixing. Though it should be considered at every stage: recording, mixing, and mastering, to maintain the quality and clarity of the audio signal.
Why is Gain Staging Important
We know that gain staging can help you avoid unwanted noise, whether from clipping or the noise floor. Because most modern DAWs work in 32-bit or higher, it’s less likely to clip internally between channels. However, gain staging still plays a crucial role during the mixing process. Here are the main reasons why you should learn gain staging.
Avoids Clipping: Prevents a loud signal from exceeding the maximum limit (0 dBFS in digital) and avoids harsh digital clipping in your tracks.
Reduces Noise Floor: Prevents a high noise floor from quiet signals that are amplified later in the chain, raising the hiss and introducing unwanted background noise. This is especially important in the recording process.
Plugin Optimization: Most analog-modeled plugins, such as EQs, compressors, and saturators, are designed to work with an input gain of around -18 dBFS to -12 dBFS. If working with input levels at -1 dBFS, most plugins distort unpleasantly and exacerbate signal issues.
Gives Headroom: Gain staging leaves you with enough headroom in your mix for mastering, so processing can sum to the master bus without clipping the final output.
How to Practice Good Gain Staging
For good gain staging practice, you need to understand the boundaries of an audio signal: noise floor, which is the inherent electrical hiss from audio hardware; headroom, the safety zone between your loudest peak and the point where the signal starts to clip; and clipping, unpleasant, harsh distortion that occurs when the signal exceeds the limit.
A solid workflow follows the signal from the source (the recording process) to the final output (the mastering process).
Gain Staging at the Source
At the recording stage, set an average level around -18 dB, and peaks between -12 dB and -6 dB, leaving room for post-processing. First, adjust your audio interface and preamp input gain to keep levels near -18 dB. Play your loudest sections to confirm peaks don't exceed -6 dB. Start with these steps for a balanced mix and master.
Gain Staging for Mixing
Gain staging at the mixing stage begins with setting up the right clip gain levels. Before continuing, let’s just clarify any confusion between clip gain and the mix faders.
Clip gain is pre-FX. It adjusts the volume of the raw audio file (the clip) directly. It changes the signal level before it enters your plugin chain. Before any compressors, EQ, or saturation.
Mixer Fader is post-FX and adjusts the signal level after it has passed through all your plugins. You adjust faders to balance the tracks after all processing.
To adjust the input gain, you can do it in two ways:
Clip Gain Tool: You can use a clip gain plugin at the start of the signal chain of every track. And adjust it to the sweet spot at -18 dB, with peaks around -10 dB. This guarantees that all your tracks are, on average, -18, a healthy input level, before they reach the next plugin. This provides sufficient headroom for subsequent processing.
Manual Gain: Check the gain controls within your DAW. You usually have a Gain slider or fader for the clip.
After applying plugins, monitor output levels. Use each plugin's output slider to boost the signal, aiming for -18 dB. Always watch your metering tools to confirm levels stay within the target range.
Once all plugins are applied, adjust mix faders so your master bus outputs average levels around -18 dB, or between -20 dB and -16 dB. Make sure the master bus does not clip before moving forward.
Keep an eye on tracks and the master. Sometimes individual tracks are not clipping, but once they reach the master, they can add to the master. That’s why ensuring that headroom for the next mastering stage is essential.
Following these guidelines, you will avoid the most common issues: master bus clipping and focusing on fader positions rather than input gain feeding the plugin.
Gain Staging in Mastering
When preparing a mix for mastering, leave enough headroom by keeping levels below the clipping point. The mastering engineer then applies final polish and loudness standard adjustments for the end media.
Tools for Better Gain Staging
Getting your gain staging right is the difference between a muddy mix that feels choked and a balanced mix with breathing room. To achieve good gain staging, you will need tools to manage input levels across the signal chain. Most DAWs include great native tools, and there are other third-party options to simplify the process.
You’ll need metering tools to visualize average levels, such as the following:
Peak meter (sample peak and true peak). Measures the absolute highest level of an audio signal instantly. Essential for preventing digital clipping (over 0 dBFS).
VU meter. Measures average loudness and perceives sound intensity. Good for monitoring analog-style saturation.
RMS (Root Mean Square). Measures the average power of a signal over a short time. It is used to understand the perceived loudness and density of a track better than peak meters.
LUFS meter (Loudness Units Full Scale). Measures perceived loudness over time based on standardized algorithms (ITU-R BS.1770). Crucial for mastering for streaming platforms (Spotify, Apple Music, etc.).
Also, look for tools to adjust the raw audio clip. Some tools automatically adjust the gain to hit specific targets, which saves you tons of time. The following list is just a few of the best tools available.
Samplitude

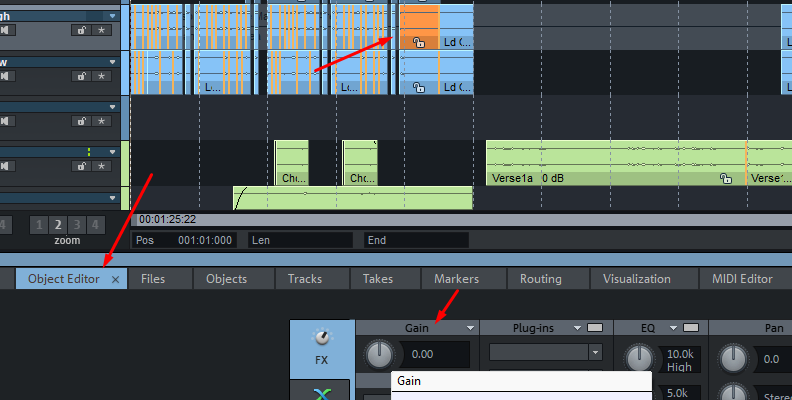
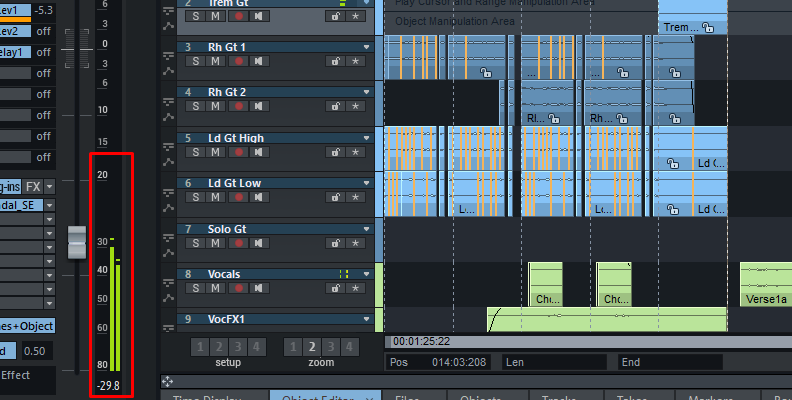
Samplitude’s object-oriented workflow provides a distinct advantage for gain staging compared to most other DAWs by allowing you to manage levels at the most granular level. The Object Editor allows you to adjust the gain of individual clips independently and apply plugins and effects for each object to normalize or trim audio segments to a consistent level before they hit the main track fader. It also features high-end visualization tools, including a customizable meter that lets you switch between Peak, RMS, and Loudness.
Klanghelm VUMT
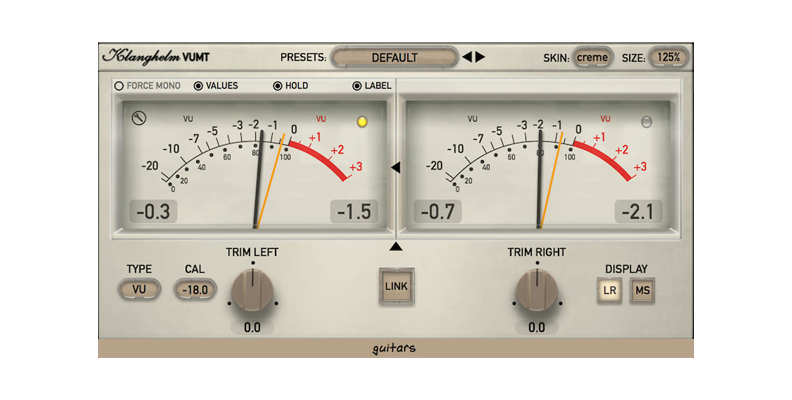
Widely regarded as one of the most reliable and affordable analog-style metering plugins available and a staple for gain staging, mixing, and mastering because it captures the "feel" and ballistics of classic hardware meters much more accurately than standard DAW peak meters. VUMT’s meters are fully customizable, and it offers dedicated trim controls to make gain staging easy.
Waves VU Meter
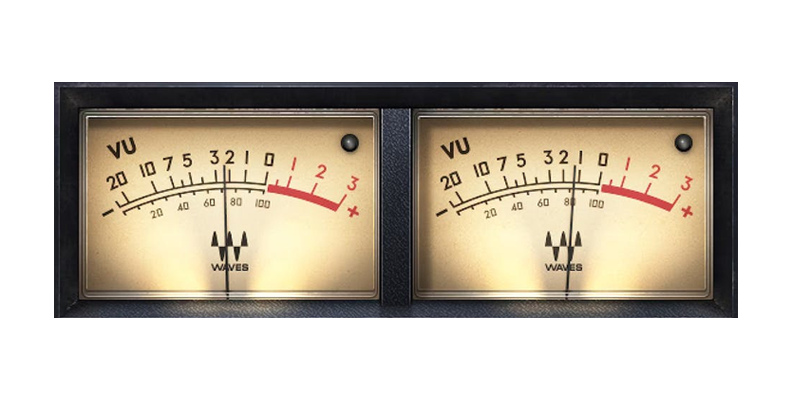
A simple, classic industry-standard meter to consistently monitor average audio levels. A straightforward, no-frills emulation of a classic analog VU meter. It does not offer extra processing tools that others on the list do, but it’s highly valued for its simplicity and visual accuracy.
HoRNet VU Meter MK4
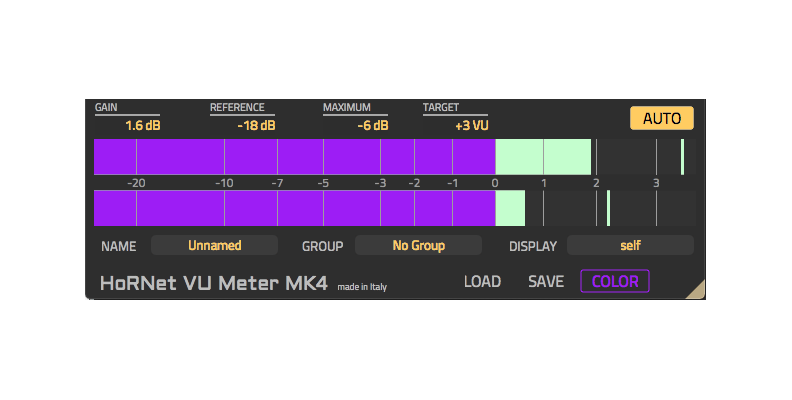
A powerhouse of utility that distinguishes itself from the previous tools by focusing heavily on workflow automation. It’s not another visual tool like many out there. The MK4 is designed to handle the tedious parts of gain staging for you with its fabulous “Auto Gain” feature, which automatically adjusts the internal gain to peak the signal at your desired level.
Scheps Omni Channel
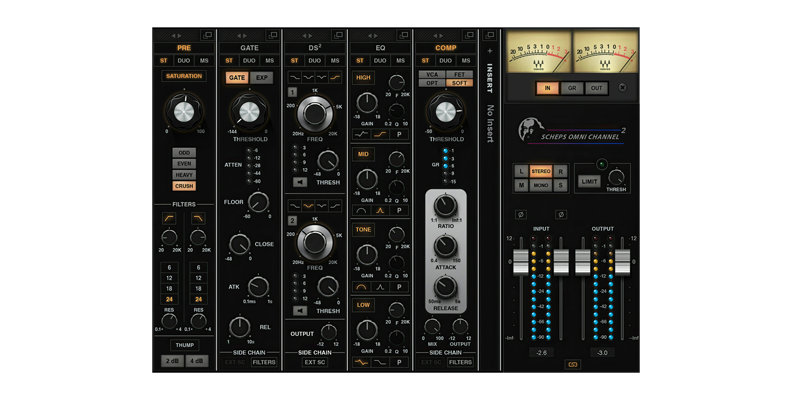
Designed by mix engineer Andrew Scheps, Scheps Omni Channel is considered a Swiss Army Knife of channel strips. It’s a complete, modular processing chain designed to handle every stage of a mix in a single interface. Featuring both a digital peak meter and an analog-style VU meter, and a fast, precise level setting.
Final Words
The goal of gain staging is to obtain the highest possible signal-to-noise ratio without introducing unwanted distortion or clipping by setting the appropriate clip gain for each track in your mix. It's a crucial step in audio mixing that should not be overlooked.
Good luck!
FAQ
What Levels Should I Mix At?
When mixing, your focus shifts from the input level of individual tracks to the cumulative energy of the entire song. The goal is to leave enough "room" for a mastering engineer.
For reference: Set your individual tracks at -18 dB and try to maintain the output after effects around the same, with the loudest peaks hitting around -6 dB on the Master fader.
Is -18 dBFS the standard?
You don't need to be mathematically perfect. If your signal is hovering around the -18 to -12 dBFS range, tracks will "breathe" correctly, and your mix will sound more balanced and dynamic.