Legacy Flow Tracker
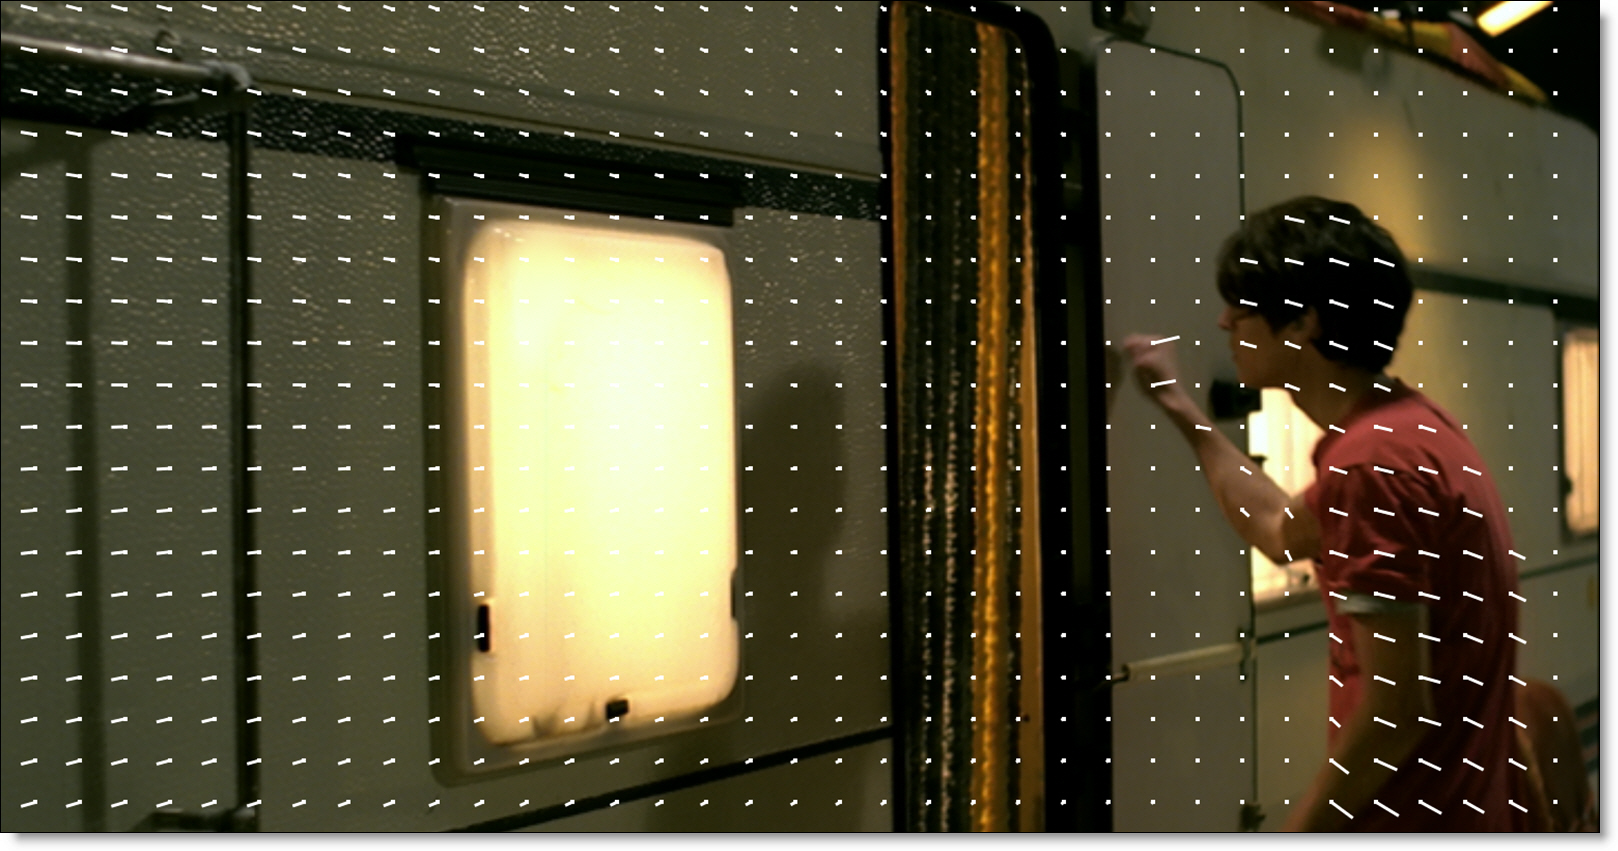
The Flow tracker uses optical flow to track a shape’s points and requires an appropriate Roto > Data input port connection: Optical Flow ML node, PowerMesh Warp node or a STMap distortion plate connected to a ST->Flow node.
Go to the Flow Tracker tutorial to see how it works.
Using the Flow Tracker
Choose A Data Source
Connect either an Optical Flow ML, PowerMesh Warp or a ST->Flow node to one of the Roto based node’s Data input ports and the Flow tracker becomes enabled.
• Optical Flow ML: Optical flow vectors are used as the tracking source.
• PowerMesh Warp: The PowerMesh > Mesh is used as the tracking source.
• ST->Flow: ST-Maps are converted to optical flow vectors which are then used as the tracking source. This is useful when using a Nuke Smart Vector generated ST-Map.
Shape Creation and Tracking
• Create a shape in the area to be tracked. Each point on a shape is tracked, so it is important that the shape’s points fall within the field of motion.
• If the shape drifts or is not accurate enough after tracking, fine tune the result by setting additional shape keyframes and re-run the track. When more than one keyframe is present prior to tracking, the tracker uses both forward and reverse tracking resulting in a more accurate track.
Note: The second time the Flow tracker runs, it is much faster as the initial run is caching the optical flow vectors.
Flow Tracking With Tracked Layers
The Flow tracker can be used in conjunction with a Point, Planar or Mocha tracked layer. The layer tracks the general camera motion while the Flow tracker tracks the remaining motion.
Handling Occlusions
In some cases, there are parts of an image that can interfere with the effectiveness of the Flow tracker. To handle this, you can use exclusion areas while tracking. By using the Obey Matte input of the Optical Flow ML node, the computed motion vectors are removed within the matte exclusion area and replaced with vectors that are interpolated from outside the matte’s boundary.
Go to the Handling Occlusions While Flow Tracking tutorial to see how it works.
Create Optical Flow ML Node
Automatically creates an Optical Flow ML node connected to the source with its Data output connected to the Data input of the Roto node.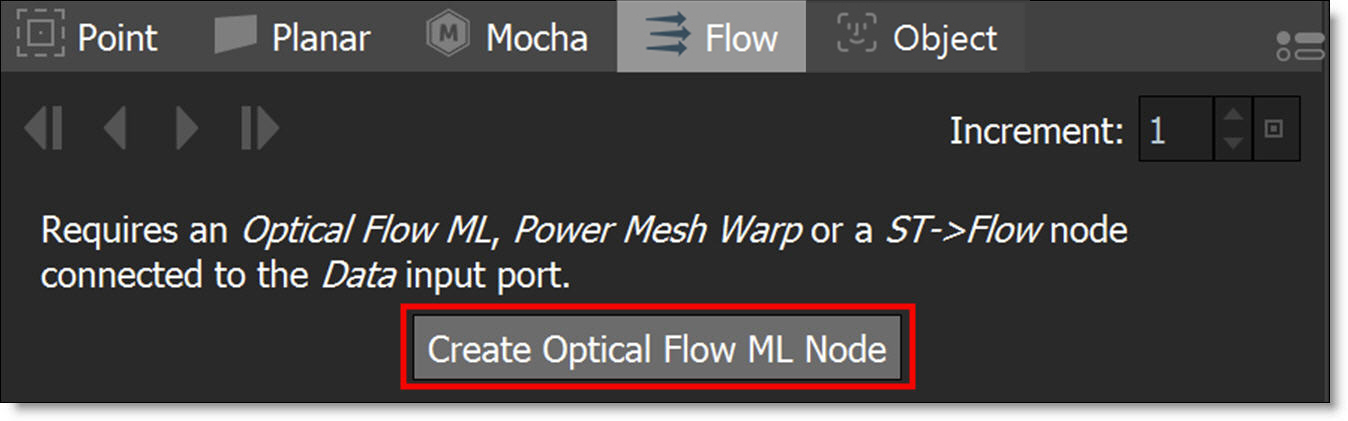
Tracker Direction
The Tracker Direction buttons are used to track backwards and forwards and are enabled when there is a Data input and a shape selected.
Note: In a Stereo project, the Tracker Direction buttons are grayed out in the Left/Right View. You must be in either the Left or Right View to track. In the Morph node, the Tracker Direction buttons are grayed out in View Output. You must be in either View A or View B to track.
Track Backward One Frame
Tracks backward one frame at a time.
Track Backward
Tracks backward to the beginning of the Timebar.
Track Forward
Tracks forward to the end of the Timebar.
Track Forward One Frame
Tracks forward one frame at a time.
Increment
Sets the keyframe frequency when tracking. Set shape keyframes on every frame or at an interval.