Roto Blend
Description
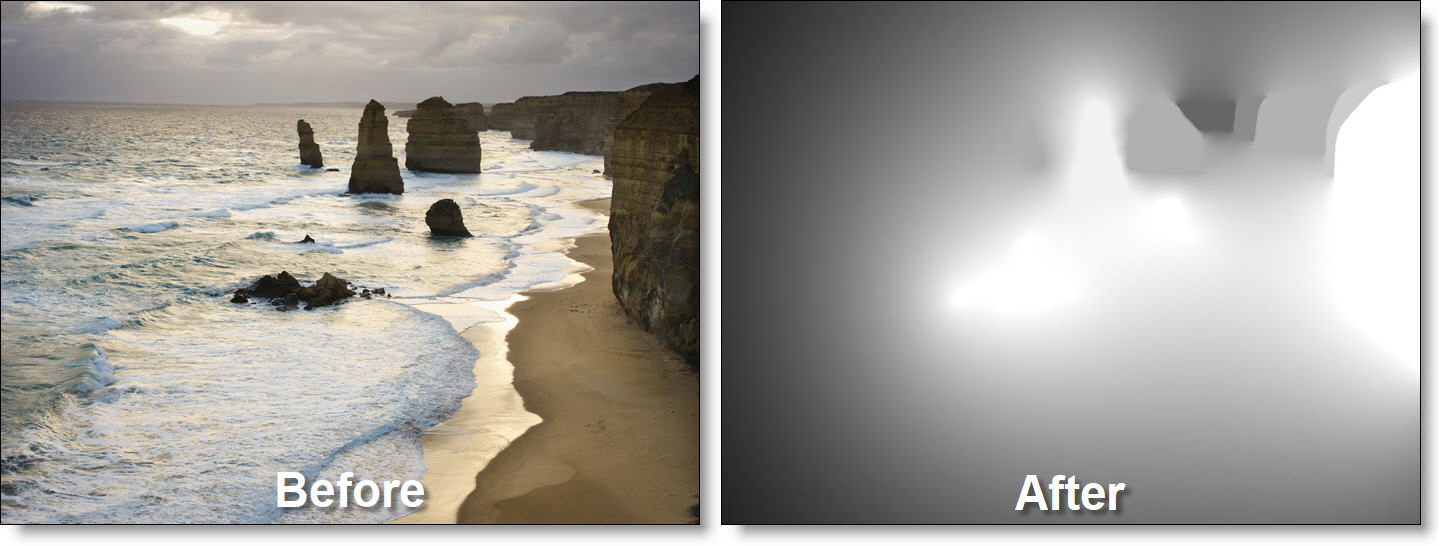
Smoothly blends the opacity of shapes together which can then be further manipulated in the Depth node.

Since shapes are required for the Roto Blend node, it has its own shape tools similar to those in the Roto node. See the Roto Node for more information.
Go to the Roto Blend tutorial to see how it works.
Node Group
Image, Silhouette.
Node Parameters
When the Roto Blend node is being edited in the Trees window, parameters specific to the Roto Blend node can be adjusted in the Node parameters.
Precision
Sets the computing precision of the Roto Blend node. There are Draft, Normal and Better choices.
Draft
Draft mode provides a fair representation of your work but has clearly visible defects. It is fast, interactive and very responsive, but is not intended for finished work.
Normal
Assuming you are using a reasonably modern machine, Normal can be used in most interactive situations and is sufficient for finished work.
Better
Better is slower than Normal, though still interactive on modern processors. It can be used for final renders although you should pre-check the final render before submitting it to a render farm.
Shape Parameters
Most of the roto tools contained in the Roto node are available in the Roto Blend node as well as parameters specific to shape blending. This includes B-Spline, Bézier or X-Spline shapes in addition to point and planar tracking.
Opacity
Controls the opacity of shapes.
Color
Sets the color of shape outlines.