Viewer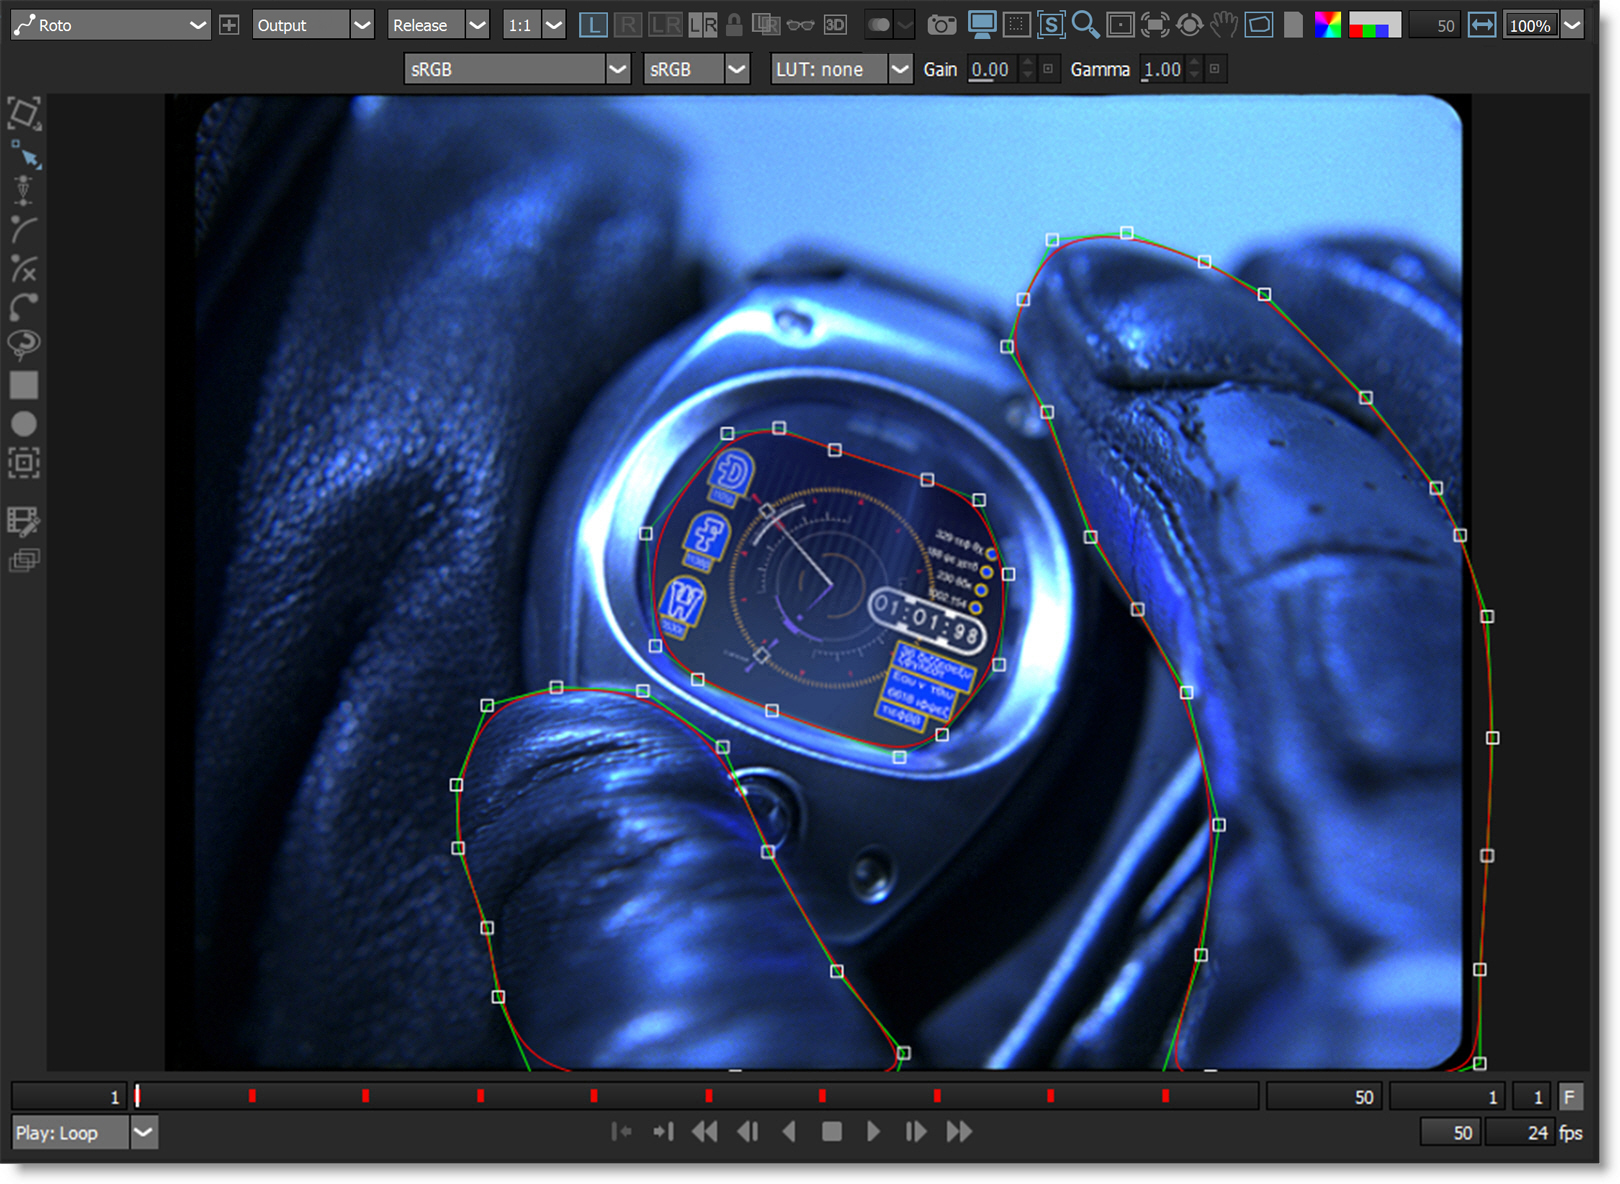
Color Management
Silhouette uses the OpenColorIO standard originally developed by Sony Pictures Imageworks for its color management. You can load custom color configuration files and custom LUTs, apply colorspace conversions, as well as use other controls for fine tuning.
1 Make sure that the Display Options icon is enabled in the Viewer.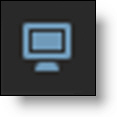
Silhouette automatically tries to determine the colorspace based on the data in the file and other information from the header.
2 If not set correctly, change the input colorspace of the current scene using the Colorspace pop-up menu.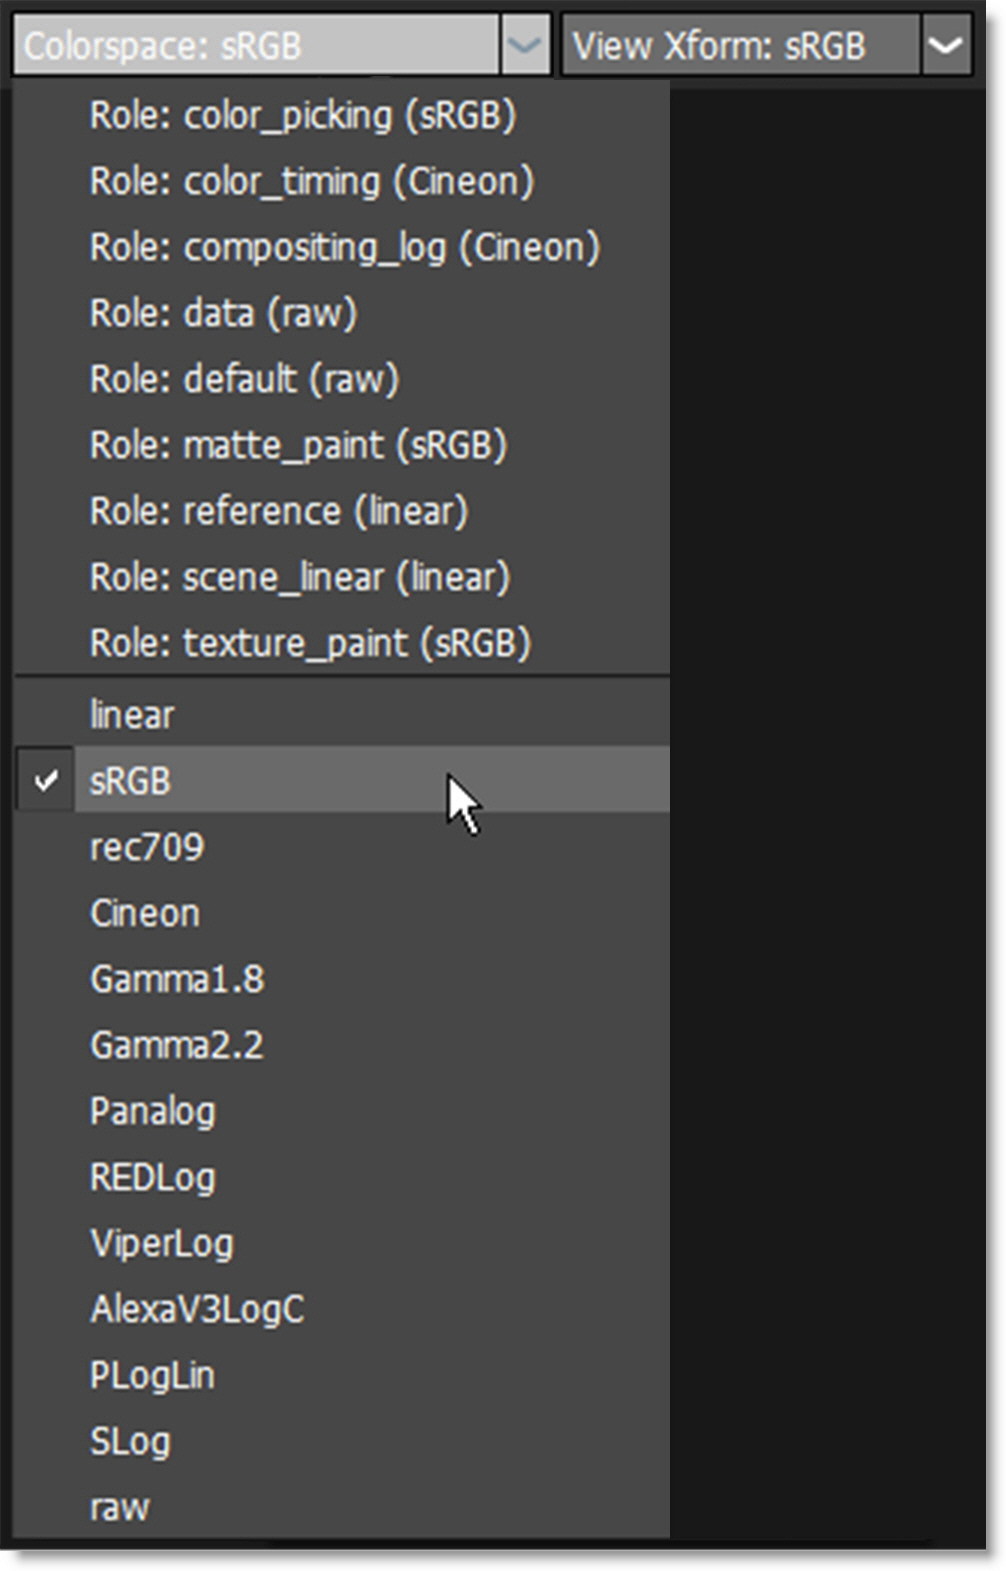
When using Cineon/DPX images with the Color Management > Cineon/DPX Working Space preference set to Linear, the input colorspace should be set to Linear. When the preference is set to Log, the Cineon colorspace should be used.
3 If you are using a custom OCIO configuration with multiple Display options, choose the colorspace of the display using the Display pop-up menu.
Note: If there is only one Display option, the Display pop-up menu is hidden.
Use View Transform to set the transform that occurs between the input scene’s colorspace and the display colorspace.
4 Select a colorspace that matches your display device using the View Transform pop-up menu.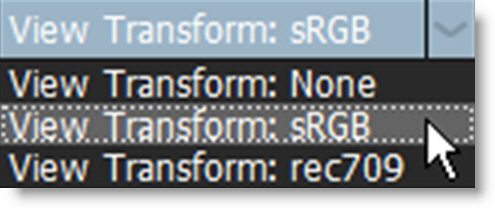
5 To adjust the brightness of the image in the Viewer, use the Viewer > Display > Gain and Gamma settings.
You can select a custom OpenColorIO (.ocio) configuration file by choosing it in the Color Management > OCIO Configuration preference.
For more information on OpenColorIO, including the OCIO file format, please visit http://opencolorio.org/.
Using The View Channels Buttons In The Viewer
1 Click on the Red, Green, Blue or Alpha buttons to solo that channel as a gray scale image.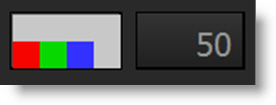
If only one component is selected, it is displayed in gray scale. The horizontal white bar above the RGBA buttons quickly toggles the display of the image back to full color mode.
2 Select the horizontal white bar above the RGBA buttons to quickly toggle the display of the image back to full color mode.
3 Either press the Alpha button (to the right of the blue button) or the A key to cycle the state of the alpha display.
Note: To view a shape’s alpha channel, you must first set the View to Output before pressing the Alpha button or A key.
Hitting the Alpha button or A key once superimposes the alpha channel over the image. Pressing a second time displays the alpha channel over black. Hitting again shows only the color image.
Shift-A activates RGBA mode which does the following: Toggles the View to Output, superimposes the alpha channel over the image and deactivates the Overlay. Pressing Shift-A again returns the Viewer to its previous state.
Viewer Navigation
Zooming
1 Select a value between 25% and 500% in the Zoom pop-up menu.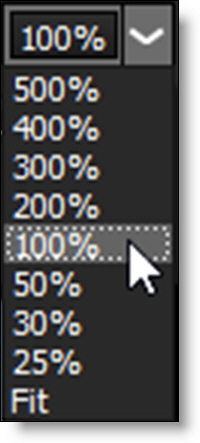
or
2 Use the scroll wheel on your mouse to zoom in and out of the image.
or
3 Press Space Bar-Shift and move the mouse up to zoom in or down to zoom out.
or
4 Use the + or = keys to zoom in and the - key to zoom out.
Zoom and Centering Presets
1 Press the F keyboard shortcut or select Fit from the zoom pop-up window to display the image as large as possible within the Viewer window.
2 Press the H keyboard shortcut or double-click the middle mouse button to set the image to a 100% zoom level and center it in the Viewer.
3 Press Ctrl/Cmd-F to center the selected object in the Viewer.
Viewer Rotation
Rotating the Viewer can facilitate rotoscoping and painting.
1 Select the Rotate icon to enable Viewer rotation mode.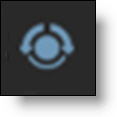
Once Rotate is enabled, the Adjust Rotation editing control (hand icon) becomes available.
2 Press the Adjust Rotation icon to enable it.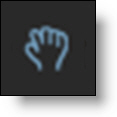
3 Click and drag in the Viewer to set the angle.
Once the angle has been set, you will need to disable Adjust Rotation to use the node’s tools.
4 Select the Adjust Rotation icon again to disable it.
Opening Additional Viewers
Open additional Viewers that can be set to any node or view.
1 At the top left of the Viewer, click the New Viewer icon.
A new viewer opens as a floating window.
2 Select the node to view.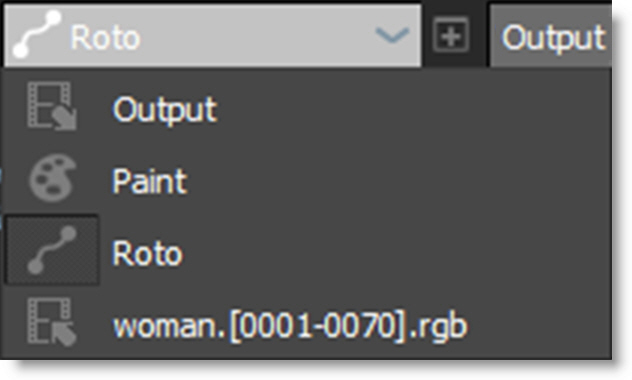
The new Viewer has the following controls: Node, View, Update Mode, Stereo View, OCIO, Preview, Channels, and Zoom controls. The remainder of the controls are shared with the main Viewer.
Note: Multiple viewers from the same node have the option of being synchronized in terms of zoom and pan using the Use Viewer > Synchronize Viewers preference.