PowerMesh Warping
PowerMesh enables a powerful sub-planar tracking process that tracks warped surfaces and organic objects. Mesh tracking takes place in Mocha Pro and when connected to the PowerMesh Warp > Data input in Silhouette, images are either warped or unwarped based on the generated mesh.
For more information on Mocha Pro PowerMesh tracking, see the Mocha User Guide.
1 In the Trees window, add a Mocha Pro node from the Silhouette group and connect it to the source node.
2 Add a Warp > PowerMesh Warp node after Mocha Pro.
3 Connect the Mocha Pro Data output into the PowerMesh Warp node’s Data input located at the top right of the node.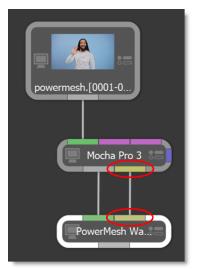
4 Single-click in the center of the Mocha Pro node to view and edit it.
5 Click Launch Mocha UI.
6 Track an area using the Mesh option.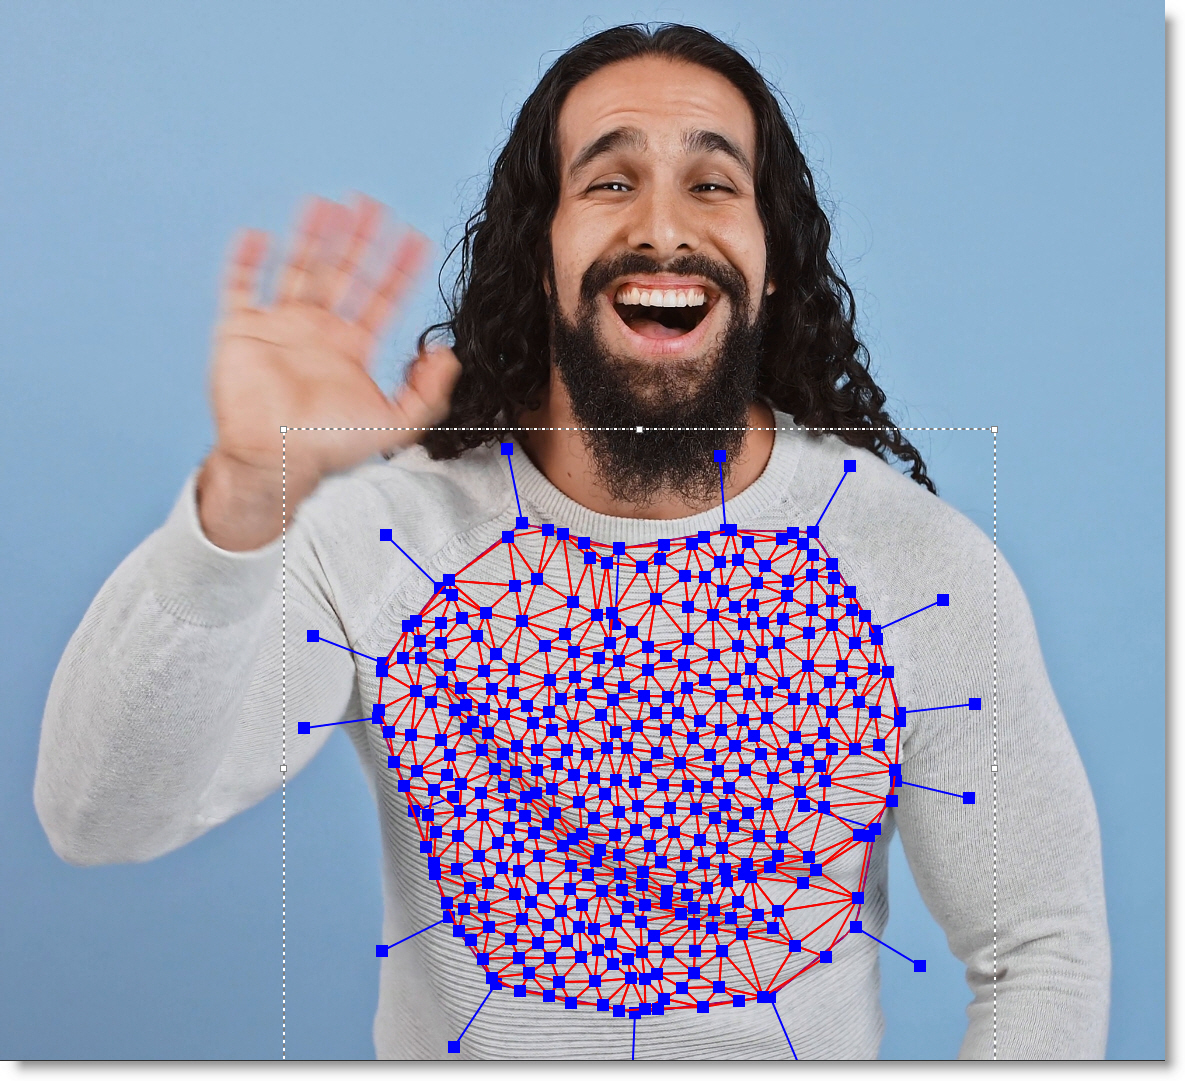
7 Close and save the project.
8 Connect the image you want to warp into the Mocha Pro source input.
9 Single-click in the center of the PowerMesh Warp node to view and edit it.
10 Select the tracked layer in the Mesh pop-up menu.
11 Choose Warp in the Mode menu.
12 To view the mesh over the input, select Mesh in the View menu. Switch back to Output to see the final result.
13 Set the Precision to Best for final rendering.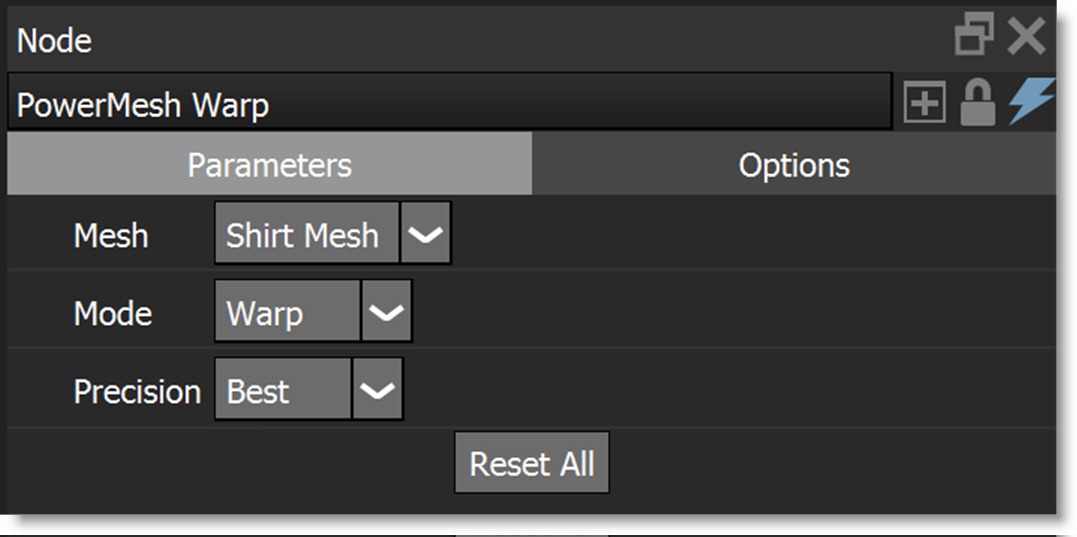
14 Composite the result over the original image.
Note: You can optionally unwarp the source, add elements and edit, and then rewarp the result. However, this unwarp/warp workflow degrades the image more than just warping once.