Pin Based Warping
Pin Warp allows you to warp specific image areas using pins, while leaving other areas untouched. Adjustments can range from subtle nip and tucks to something more obvious like repositioning an arm or leg.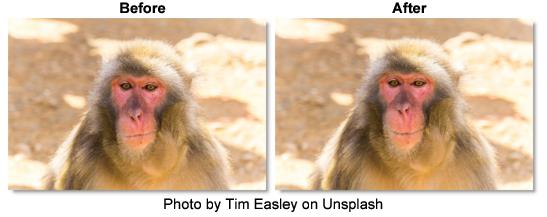
1 Load some source footage and create a session.
2 In the Trees window, add a Pin Warp node from the Nodes > Warp tab and connect it to the source node.
3 Click-drag on the image to create a pin that contains a source and target. You can add up to 20 pins.
The farther the target (red circle) is dragged from the source (green circle), the more the image warps.
4 To constrain the warp, click-release on the image to set a tack.
The tack acts as a barrier and limits the effects of the warp.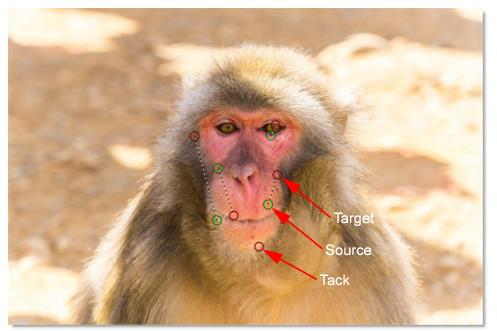
In addition, each pin and tack has a radius which determines its strength.
5 Hover over a pin to display the radius.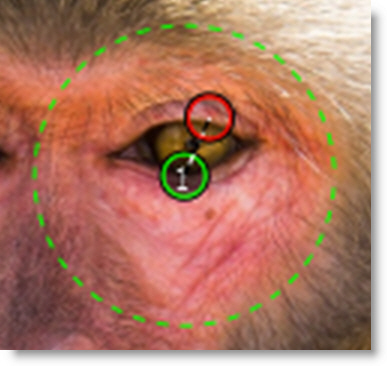
6 Shift-drag the pin radius to adjust it.
7 To track the pins and tacks, connect a Tracker output into the Pin Warp node’s Data input located at the top right of the node and select a point tracker or tracked layer from the Transform pop-up menu.
The pins and tacks are now transformed by the motion of the tracked layer.
Go to the Pin Warp node for more information.