Importing and Replacing Media
Before you can start using Silhouette, media (footage) has to be imported. The Silhouette plug-in automatically imports the media (footage) selected in the host application and appears in the Sources window. Although the plug-in is limited to three sources on the host side, you can import an unlimited amount of media directly in Silhouette.
Importing Media
1 Drag and drop files or folders into the Sources window to automatically create sources.
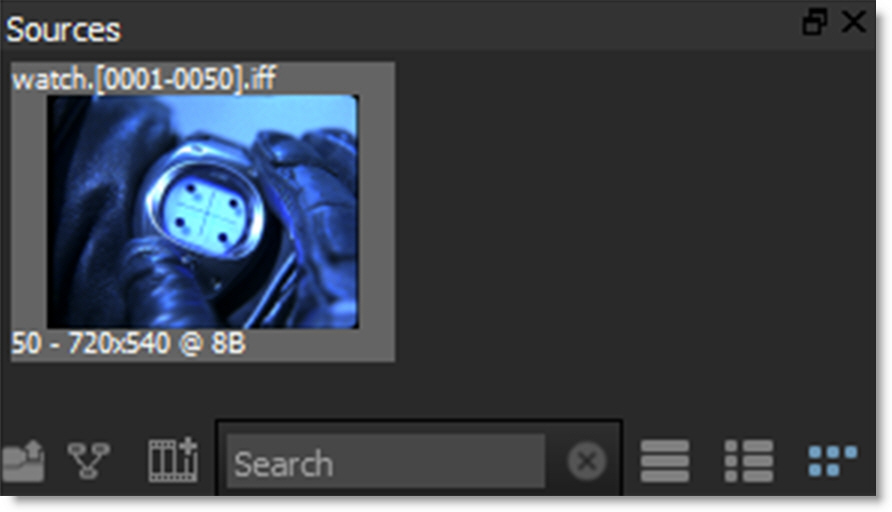
The clip is imported into Silhouette and appears in the Sources window.

2 Alternatively, import using the file browser using one of these methods:
• Select File > Import > Media.
• Double-click on an open space in the Sources window.
• Click the Import icon at the bottom left of the Sources window.

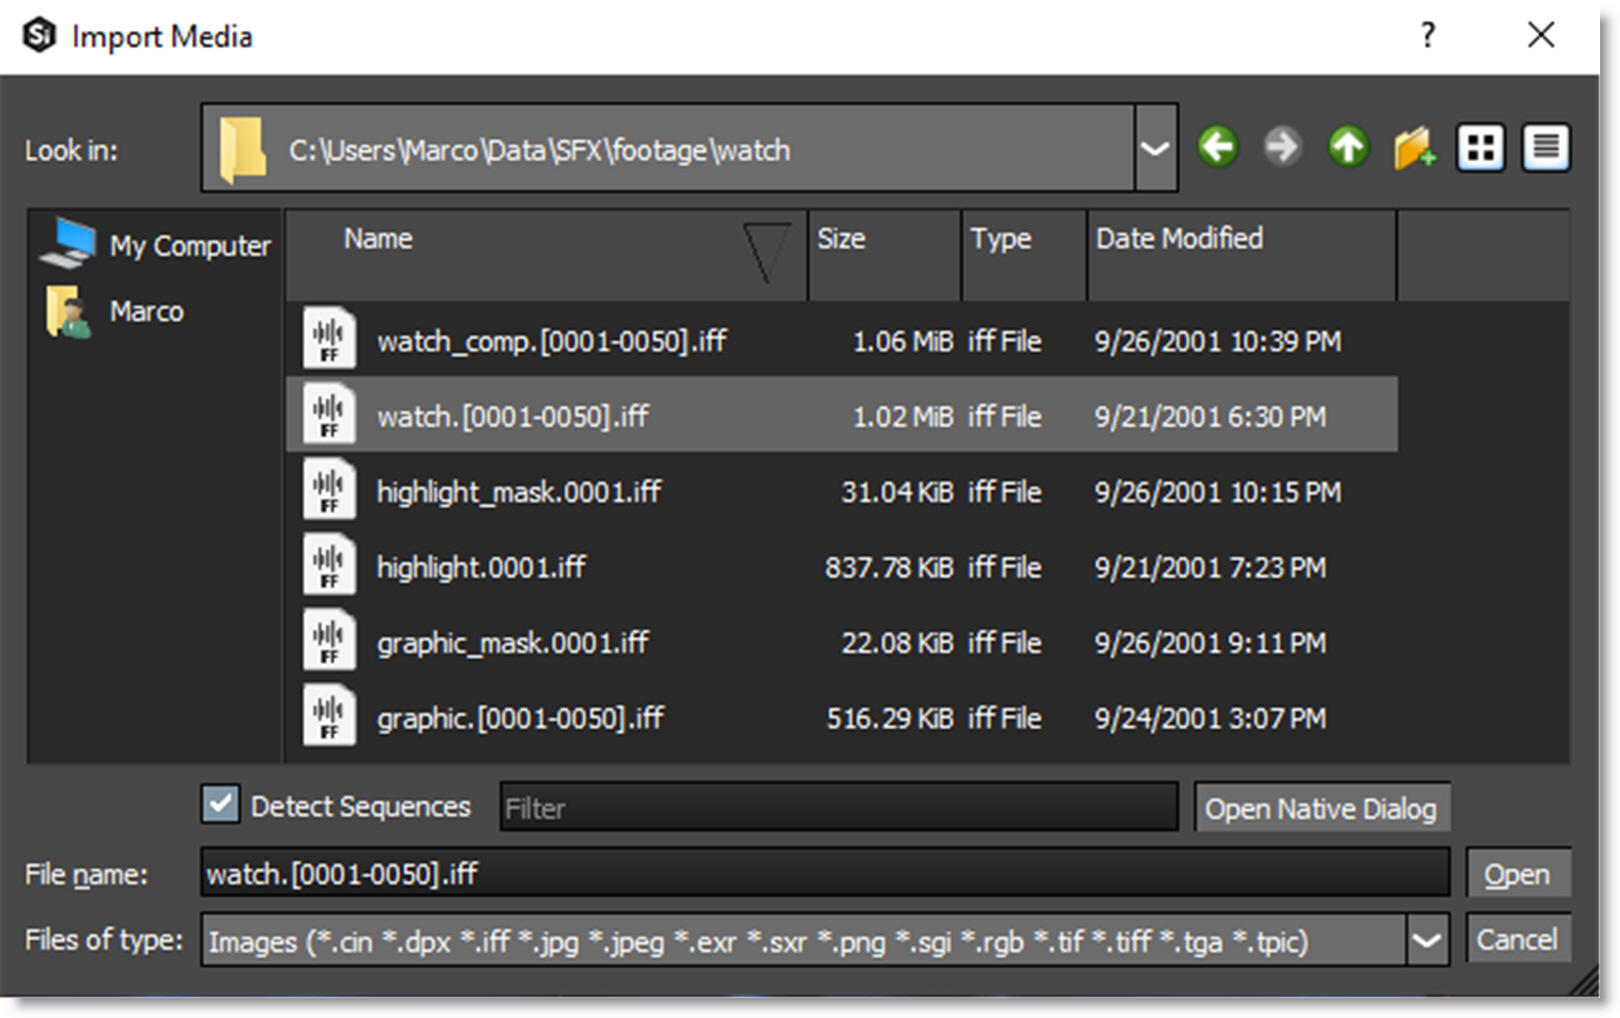
3 When the File Browser opens, navigate to the location of your clip.

Silhouette supports both image and movie file formats.
Image File Formats
• Cineon (.cin)
• DPX (.dpx)
• IFF (.iff)
• JPEG (.jpg .jpeg)
• OpenEXR (.exr .sxr)
• PNG (.png)
• SGI/RGB (.sgi .rgb)
• TIFF (.tif .tiff)
• TARGA (.tga .tpic)
Movie Clip Formats
Movie file formats are supported through GStreamer which is a versatile media handling library for reading various codecs and footage containers.
• AVI MOVIE files (.avi)
• DV STREAM files (.dv)
• M2TS MOVIE files (.m2ts .mts)
• MKV MOVIE files (.mkv)
• MPEG MOVIE files (.mpg .m2v)
• MPEG-4 MOVIE files (.mp4 .m4v)
• MXF MOVIE files (.mxf)
• QUICKTIME MOVIE files (.mov .qt)
• RED R3D MOVIE files (.r3d)
• WMV MOVIE files (.wmv)
Note: Some clip formats such as MXF will use codecs that Silhouette does not support. In this case, you may need to convert the clip to a supported format.
1 Select a sequence and click Open.
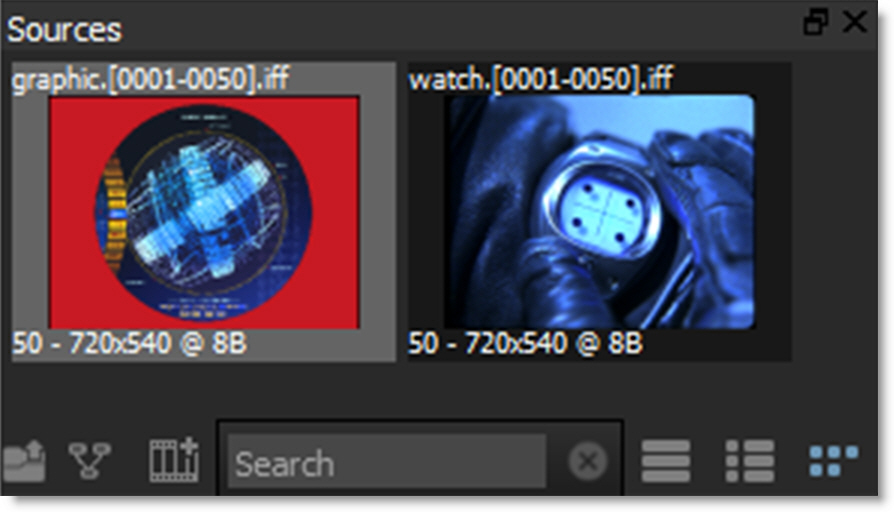
The clip is imported into Silhouette and appears in the Sources window.

Replacing Media
1 In the Sources window, click on a clip to select it.

2 In the Object window, click the Browse icon at the far right of the File field.

The File Browser opens.
3 Navigate to your clip, select it and hit the Open button.
The old clip is replaced with the new clip.
Managing Media Paths
You can virtualize media paths in order to improve asset sharing between users, asset management and render servers by specifying the file path with a SFX_MEDIA environment variable.
Note: This is accomplished through a default SfxContentResolver that maps a “sfx” scheme to the SFX_MEDIA environment variable, and vice versa.
1 Using the standard method for setting an environment variable on your OS, create an environment variable named SFX_MEDIA with a value being the path where you media is stored, for instance, C:\Media\footage\.
2 Import a clip that is nested under the path you set for the environment variable.
3 Select the imported clip in the Sources window.
Please note that in the Object window > File field, the beginning of the source’s path is now sfx://.
4 Go to another computer with the same media, but a different folder structure, and set the SFX_Media to the new path.
5 Open the project created by the first machine and all of the source footage will be linked properly on your second machine.