Creating a Project
Standalone
When you start Silhouette, you are required to create or open a project. A project contains footage and sessions. A session in Silhouette is where you composite, rotoscope and paint.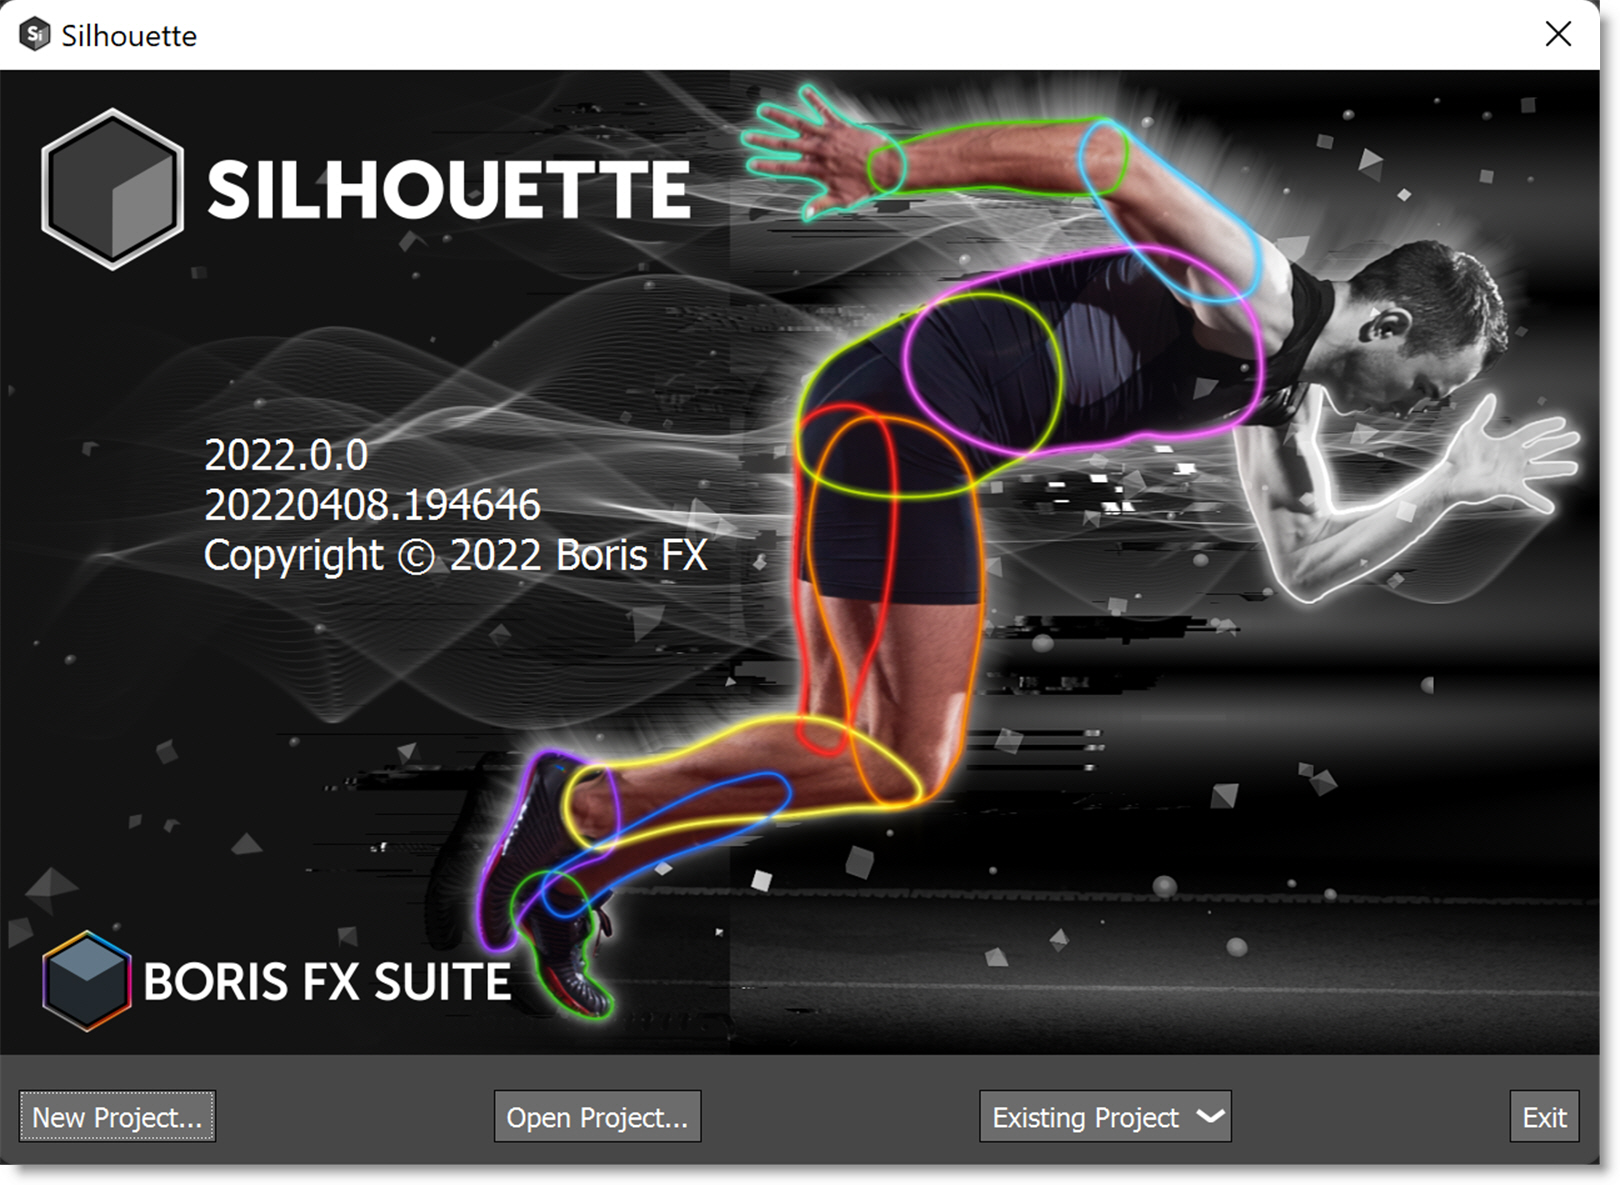
1 Select New Project.
The New Project dialog box opens.
2 Enter a name for the project, choose a folder to store the project and then click Create Project.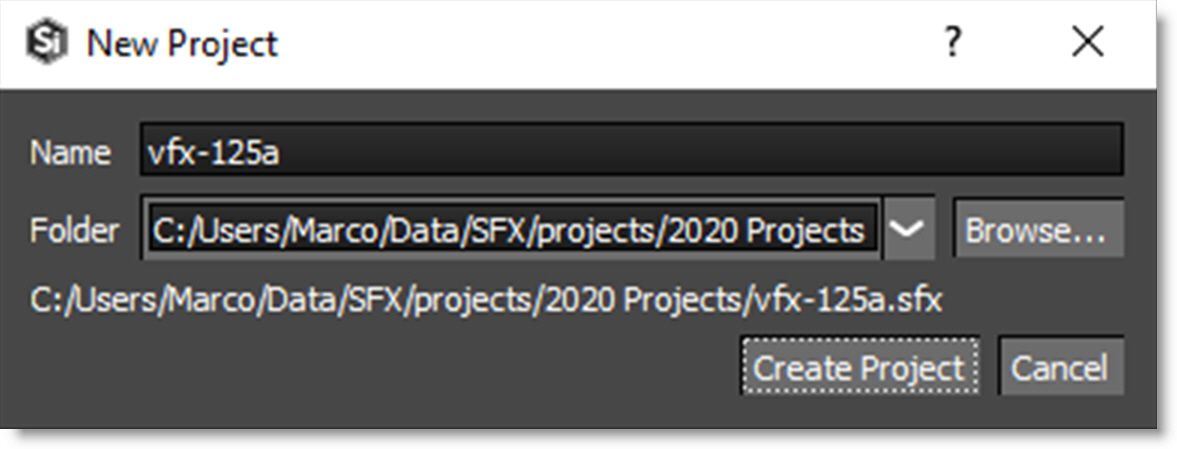
The Silhouette user interface opens once the project is created. When the new project is created, a folder is generated using the name of the project and contains the project file as well as paint data, autosave, and backups.
Plug-in
1 Open the Silhouette user interface.
• After Effects/Premiere Pro: Click the Silhouette Interface > Open button.
• OFX: Click the Open Silhouette Interface button.
The Silhouette project dialog opens.
2 When prompted, enter the name of your Silhouette project, set the Working Depth to match the host application’s bit depth, and select a project type.
Project Types
• Composite: Automatically adds an Output node to the source and selects the Composite workspace. Back in the host, the Render parameter is automatically set to Output: Composite. Use Output: Cutout if you want RGBA output from Silhouette.
• Paint: Automatically adds Roto, Paint and Output nodes to the source, connects the Roto > Data output to the Paint > Data input and selects the Streamlined workspace. Back in the host, the Render parameter is automatically set to Paint.
• Roto: Automatically adds Roto and Output nodes to the source and selects the Streamlined workspace. Back in the host, the Render parameter is automatically set to Roto.
3 Click Create Project.
The Silhouette user interface opens once the project is created. When the new project is created, a folder is generated using the name of the project and contains the project file as well as paint data, autosave, and backups.