Creating Sessions
Sessions are where you composite, rotoscope or paint and are required before you can start working in Silhouette. Think of sessions as sub-projects where there can be multiple sessions within the project.
When the project is created in the Silhouette plug-in, a session is automatically created based on the project type, but additional sessions can also be added.
Using Session Templates
Templates are presets for automatically adding nodes to the session and selecting a workspace.
1 Load some source footage.
2 Highlight the clip in the Sources window.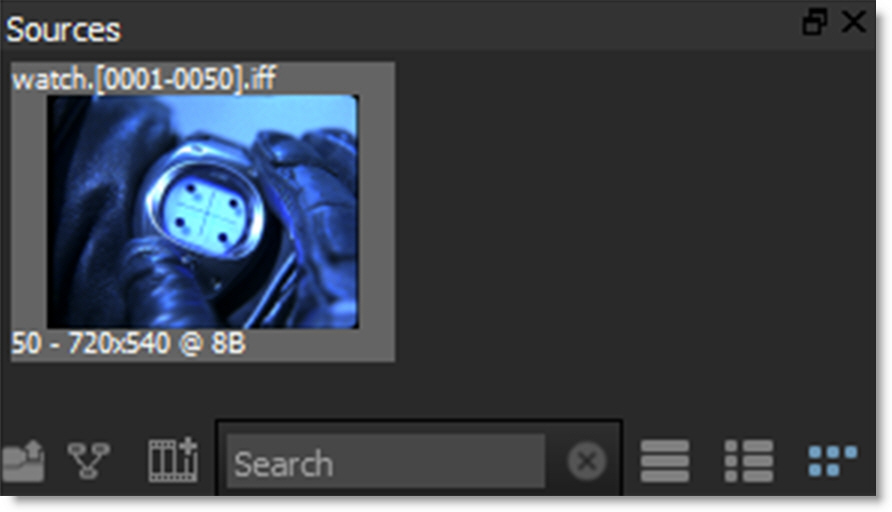
3 Choose Session > New Session, press Ctrl/Cmd-N or click the New Session icon at the bottom of the Sources window.
or
4 Drag the clip thumbnail from the Sources window to the Trees window.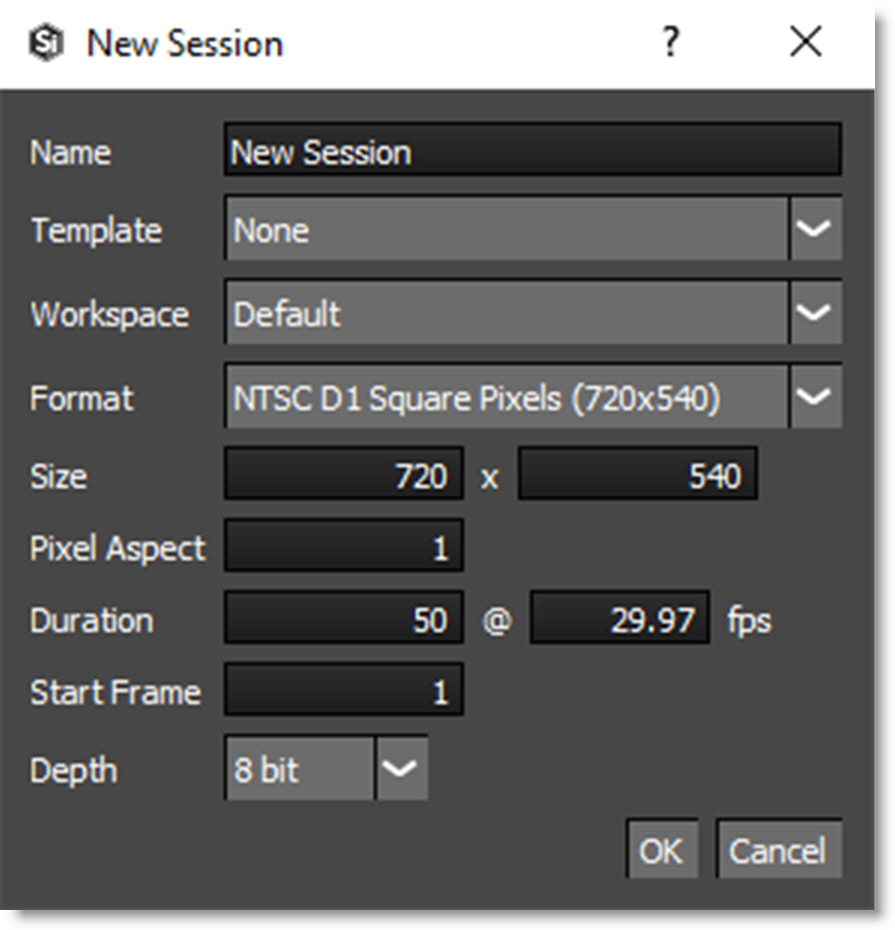
The clip settings are automatically imported into the session settings.
Note: If an in and out point has been marked for a source clip, the marked duration will be used for the session duration. For more information on source clip in and out points, see Source In and Out Points.
5 Select the Roto template.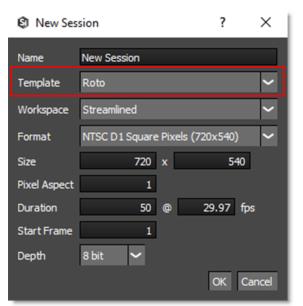
You can choose from the following templates:
• Composite: Automatically adds an Output node to the Source and selects the Composite workspace.
• Paint: Automatically adds Roto, Paint and Output nodes to the Source, connects the Roto > Data output to the Paint > Data input and selects the Streamlined workspace.
• Roto: Automatically adds Roto and Output nodes to the Source and selects the Streamlined workspace.
6 If you’d like, rename the session in the Name field and click OK.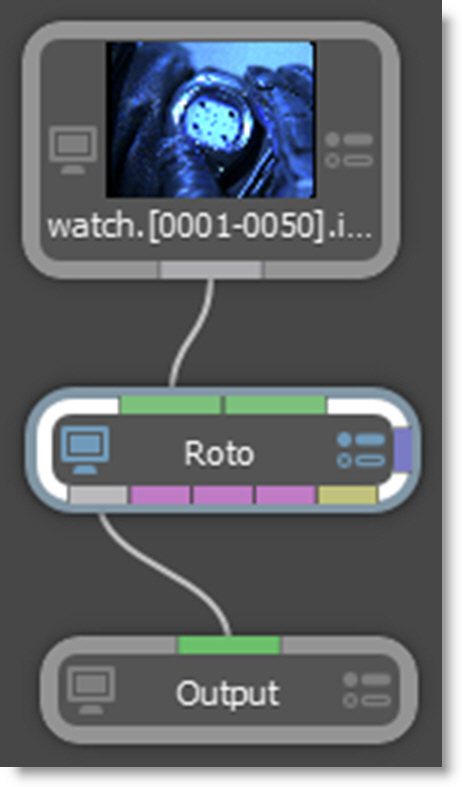
The source node is automatically connected to Roto and Output nodes. The Output node determines the file format, file name, disk storage location, and channels to be rendered. In addition, the Streamlined workspace is selected. Optimized for Roto and Paint projects, the Streamlined workspace reduces the size of the Trees window to make room for the Object List and Paint History immediately below.