Trees
The power of Silhouette lies in the Trees window where your effects are built. A tree is a series of clips and nodes, such as color correction, image processing and composite nodes, plugged together to create the desired effect. The tree is grown by adding clips and nodes in any order. The ability to view any node while editing another allows for very complex composites that can be set up and rendered in one pass.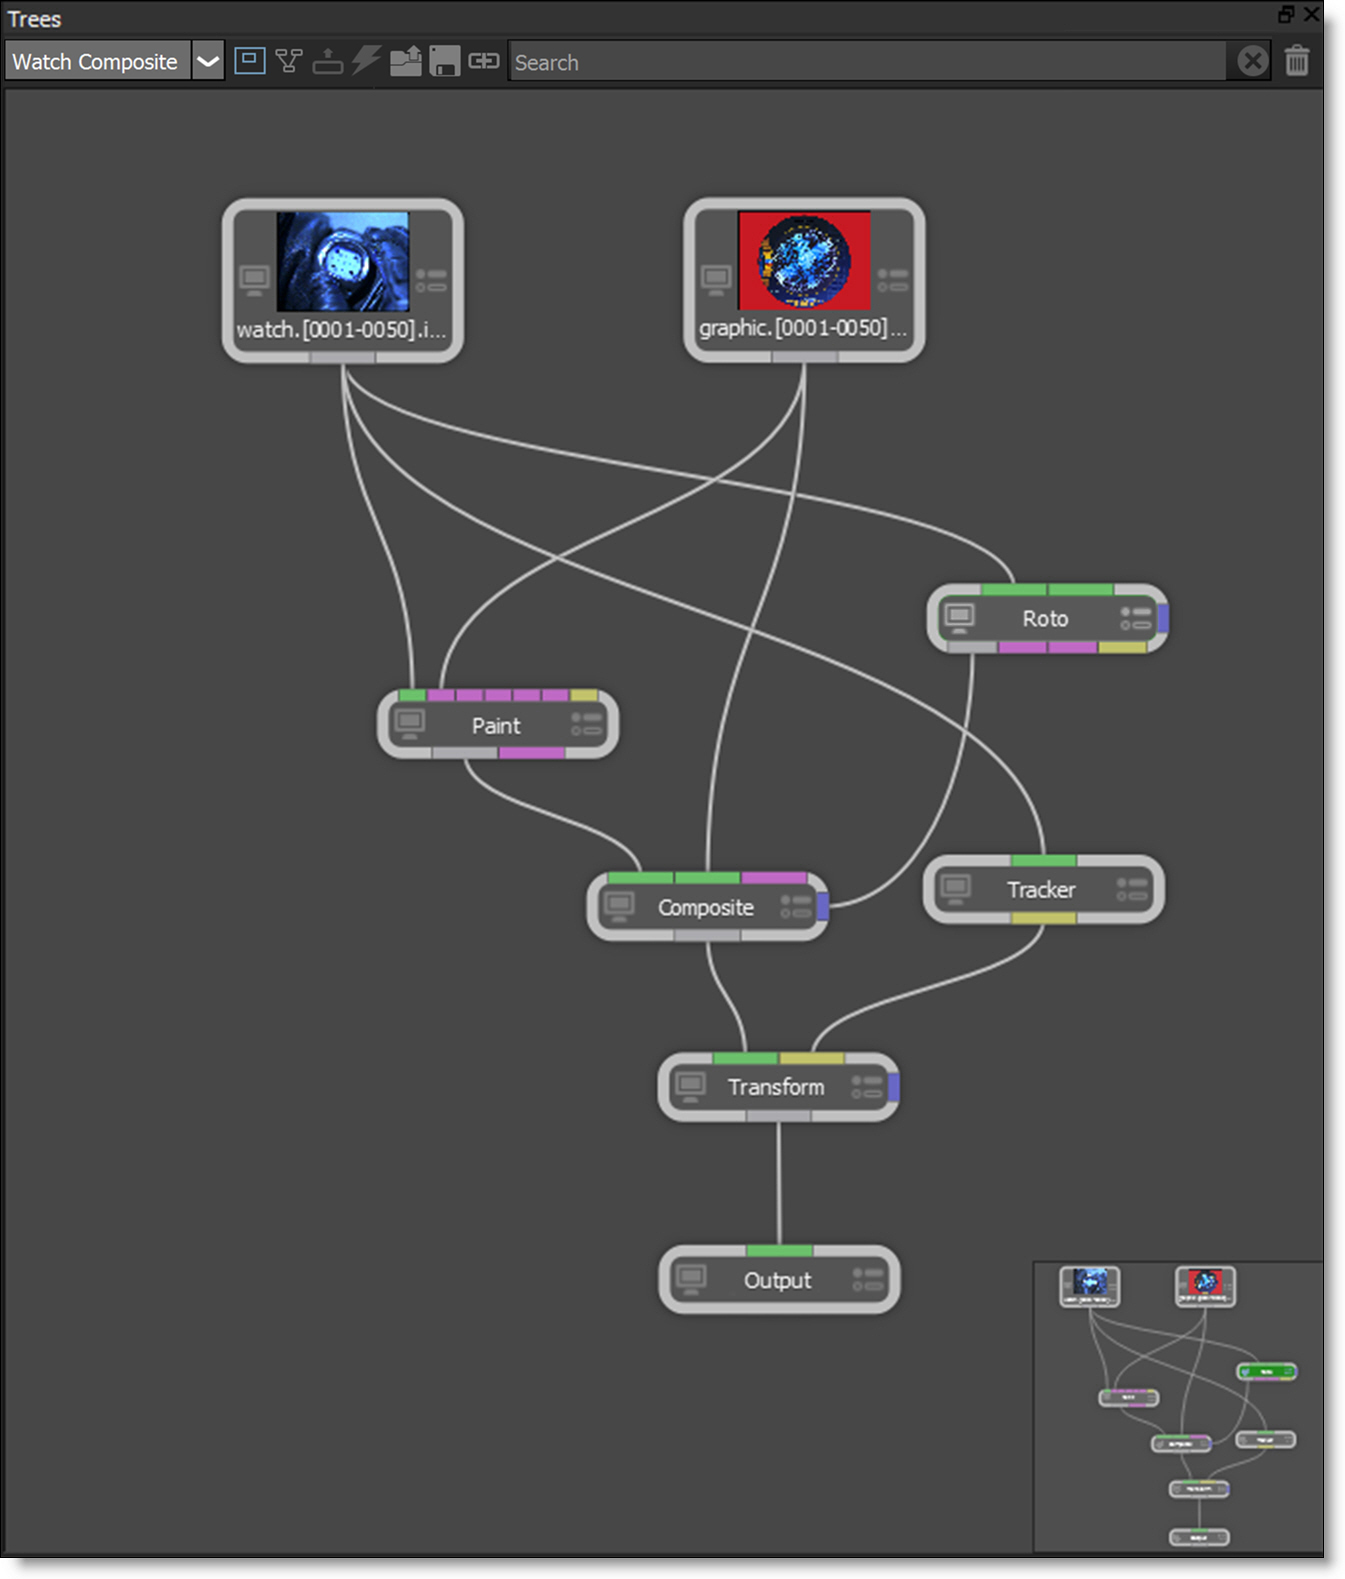
Session Selector
There is a Session Selector at the top of the Trees window where you can select the session to work on.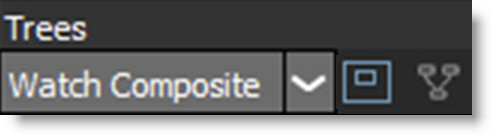
Overview
The Overview displays a miniature version of the entire Trees window at the bottom right.
Inside this Overview, a gray rectangle signifies the visible portion of the Tree which you click and drag to pan. If the gray rectangle is moved off screen, just click in the Overview and it will reappear.
Clean Up (C)
Neatly aligns all nodes in the Trees window.
Extract Nodes (E)
Click on a node and select the Extract icon at the top of the Trees window to extract it from the Tree.
Enable/Disable Nodes (D)
Click on a node and select the Toggle Enable State icon at the top of the Trees window to disable it. Click the icon again to enable it.
Load Nodes
Loads previously saved nodes.
Save Nodes
Saves selected nodes.
Note: The Paint node can’t be saved using Save Nodes.
Add Node (Tab)
Opens a search window where you type the name of a node and press Enter or Tab to add it to the tree. With a selected node, the new node automatically connects to it. Without a node selection, the new node appears at the cursor location.
Search Nodes
Searches for nodes in the tree.
Delete Session
Deletes the current session.
Trees Context Menu
Right-clicking in the Trees window opens the context menu.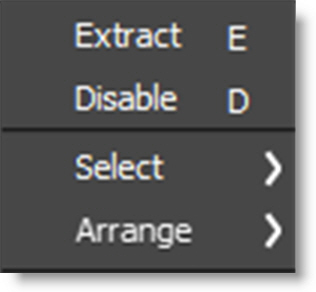
Select
Sources
With selected sources, selects and highlights the sources in the Sources window.
Upstream Nodes
With selected nodes, upstream nodes are selected.
Downstream Nodes
With selected nodes, downstream nodes are selected.
Arrange
Clean Up
Neatly aligns all nodes in the Trees window.
Align
Lines up selected nodes either horizontally or vertically. Nodes are aligned horizontally when they are on average horizontal, and vertically when they are more or less vertical.
Distribute
Nodes are distributed in a line between the two nodes that are furthest away from each other.
Trees Window Shortcuts
Shortcut | Action |
|---|---|
C | Neatly aligns all nodes in the Trees window |
D | Enable/Disables the selected node |
E | Extracts the selected node from the Tree |
Shift-Middle Mouse-Double-Click | Fits the tree to the Trees window |
Tab | Opens a search window where you can type the name of a node and then press Enter or Tab to add it to the tree |
Nodes
Silhouette is a node based system and different nodes are used for various functions. Located in the Nodes window at the bottom of the screen, nodes are grouped into the following categories: Color, Composite, Diffusion, Filter, Film Lab, Image, Key, Light, Sapphire, Silhouette, Special Effects, Time, Tints, Transform, Utility, Warp, and OFX.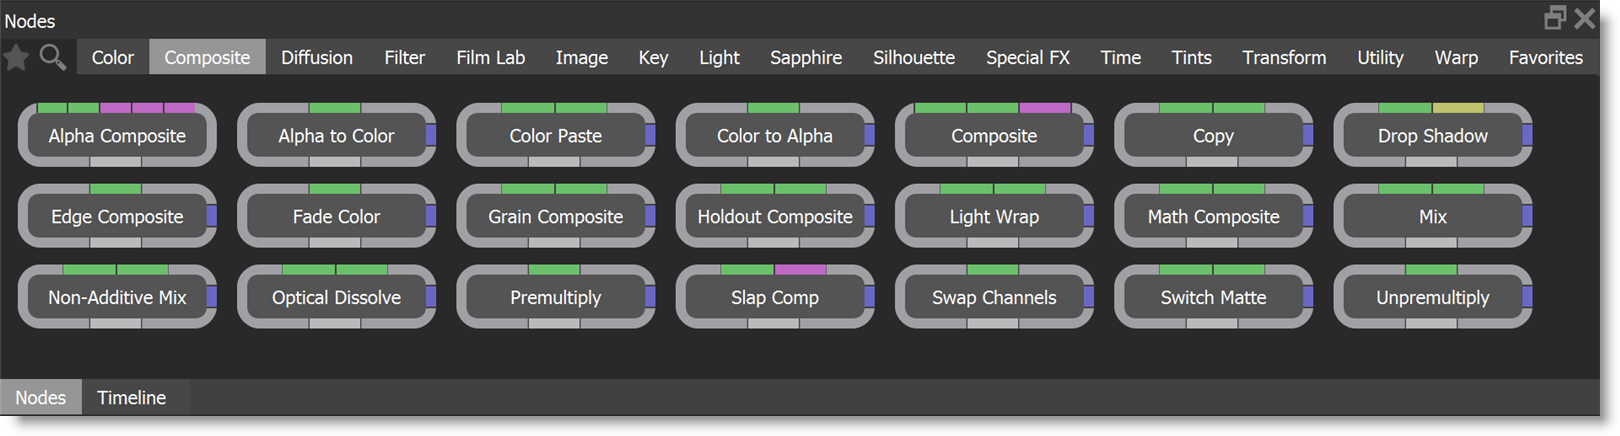
Nodes can be dragged and dropped to the Trees window and then wired up to the appropriate inputs. Once active in the Trees window, the node’s controls appear in the Node parameters window and if required, the relevant tools show up in the Toolbar.
Favorites
Nodes can be tagged as a Favorite allowing them to be grouped separately in the Favorites tab of the Nodes window.
You can tag a node as a Favorite by selecting the node (single click) and pressing the Favorite icon located at the top left of the Nodes window.
If the node is already a favorite, the Favorite icon lights up when the node is selected and you can turn it off.
Search
To search for nodes in the Nodes window, click the Search icon at the top left of the Nodes window.
Enter the node into the search field and it will appear.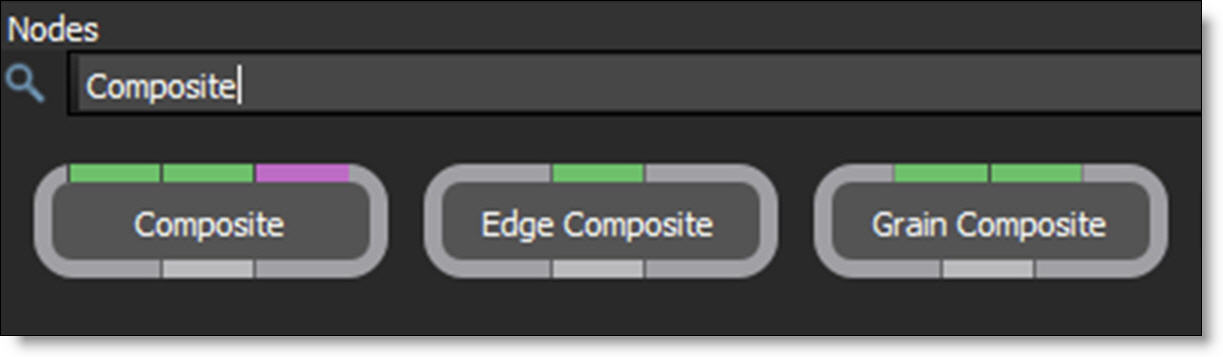
Disable the Search icon when done to return to the normal Nodes window view.
Note: With the mouse in the Nodes Window, you can press the Tab or Enter key to enter search mode, and the Esc key to leave it.
Node Connections
Nodes can be configured for either vertical or horizontal layouts. Vertical layout sets the node’s input and output at the top and bottom of the node while horizontal layout sets the node’s input and output on the sides of the node. This is controlled by a User Interface > Tree Layout preference.
Vertical Layout
The different colored bars on the border of the nodes allow you to connect them together.
Inputs
The colored bars on top of a node are the inputs. Depending on the node, the type of input required may change. Green bars are foreground and background inputs, purple bars are auxiliary inputs, and yellow bars are data inputs. Tool tips pop up when you hover over a node’s input or output to easily identify it.
Output
The colored bars on the bottom of a node are outputs. The gray colored bar is the main output, purple bars are auxiliary outputs, and yellow bars are data outputs--like layers. You use the output of a node to feed it into the input of other nodes.
Obey Matte
The blue colored bar at the far right is the obey matte input. Whatever is plugged in to the obey matte input will constrain or limit the effect of the node.
Horizontal Layout
The different colored bars on the border of the nodes allow you to connect them together.
Inputs
The colored bars on the left side and top of a node are the inputs with the primary input being on the left side. Depending on the node, the type of input required may change. Green bars are foreground and background inputs, purple bars are auxiliary inputs, and yellow bars are data inputs. Tool tips pop up when you hover over a node’s input or output to easily identify it.
Output
The gray colored bar at the right side of a node is the main output. The colored bars on the bottom of a node are outputs. Purple bars are auxiliary outputs and yellow bars are object outputs--like layers. You use the output of a node to feed it into the input of other nodes.
Obey Matte
The blue colored bar at the top right is the obey matte input. Whatever is plugged in to the obey matte input will constrain or limit the effect of the node.
View / Edit Node
You can view one node in the Viewer while editing the parameters of a different node.
View Node
When enabled, the View Node icon on the left side of the node displays the result of that node in the Viewer.
Edit Node
When enabled, the Edit Node icon on the right side of the node displays its parameters in the Node parameters window.
Single-click the center of a node to simultaneously enable the View Node and Edit Node icons.
Adding Nodes
There are various ways to add nodes to a tree.
1 Click and drag a node from a Nodes window onto the center of an existing node wire where it will be inserted.
2 Single-click a node in the Nodes window to add it after the selected node or place it in the center of the Trees window if nothing is selected.
3 Use the Backtick key or right-click in the Trees window to add a node from the pop-up menu. It is added after the selected node or is placed near the cursor if nothing is selected.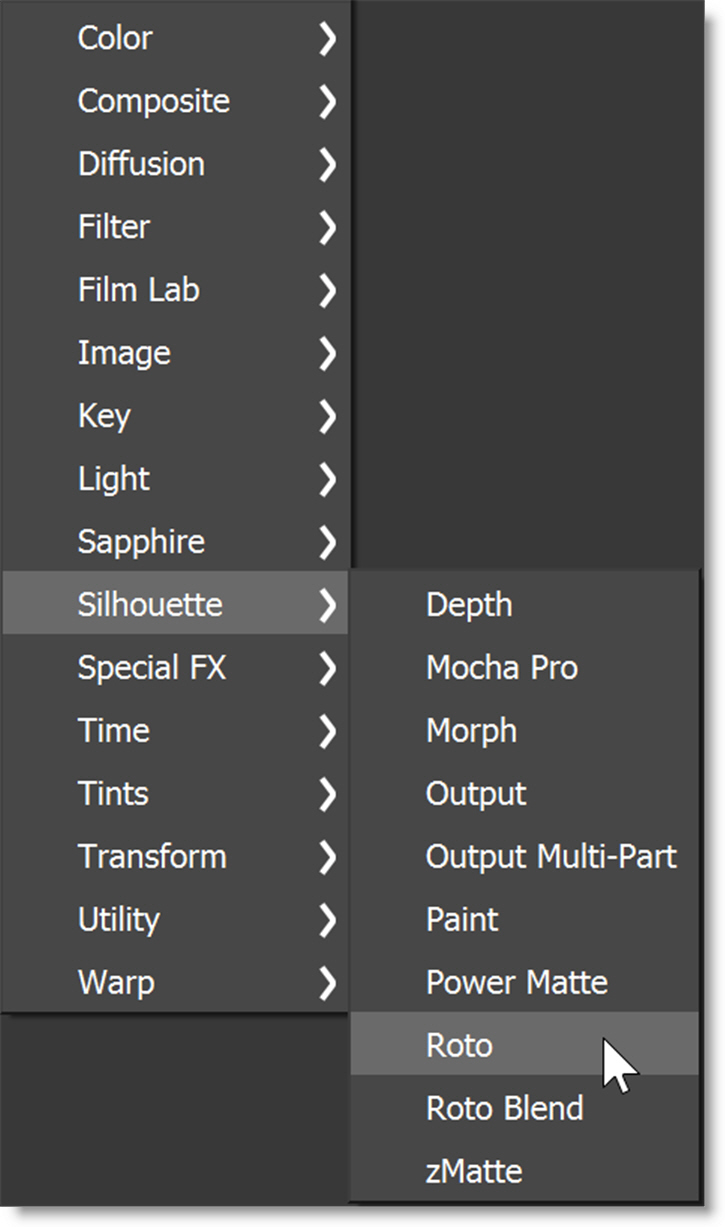
4 Press the Tab key in the Trees window to open a search window, type the name of a node and press Enter to add it to the tree.
5 Click and drag a node from the Nodes window on top of an existing node and a new branch is created.
Connecting Nodes
There are various ways to connect nodes in a tree.
1 Connect nodes together by dragging from the output of one node to the input of another node or vice-versa.
2 Select one or more nodes using Cmd(Win)-Ctrl(Mac)-click and then Shift-click on a target node. All selected nodes will wire up to the input bars on the target node in the order the source nodes were selected.
3 Drag an unconnected node over a wire, line it up with the input port you want to connect and then release once it automatically connects.
4 Touch input/output bars until they highlight, wait .3 seconds, the ports will connect, and then they will unhighlight as they can no longer connect again.
5 Swap inputs by dragging one of the wires and placing it on the other connected input.
6 Shift-clicking
• Node: If Shift-clicking on a node, the node becomes the target node. Any selected nodes become the source nodes that get wired to the inputs of the target node in selection order.
• If the bar is an input bar then the behavior above applies, but instead of using the primary input, the clicked bar is used. This will only work with a single node since multiple nodes can't be wired to the same input bar.
• If the port is an output bar, then a wire is added from the output bar to the primary inputs of all selected nodes.
Note: You can’t use a Source clip’s node input, only its output.
Grouping Nodes
Nodes in the Trees window can be grouped, collapsed or expanded.
Using Node Groups
• To group one or more nodes, right-click on one of the selected nodes and choose Group Nodes. A group window appears around the nodes.
• Ungroup nodes by right-clicking on the node group and select Ungroup.
• Rename the node group by right-clicking over the group and select Rename.
• Change the background color of the group by clicking on the color pot to the right of the title.
• Double-click on the group or click the collapse/expand icon to the left of the title to collapse/expand the group.
• Click-drag anywhere in the group (not on a node) to move the group.
Deleting Nodes/Wires
• Click on a node to select it and press the Delete key.
• Click on a wire to select it and press the Delete key.
Disconnecting Nodes
There are various ways to disconnect nodes from a tree:
• Click on a node and select the Extract icon at the top of the Trees window.
• Click on a node to select it and press E to extract it.
• Shake a node to the left and right to detach it.
Disabling Nodes
• Click on a node and select the Toggle Enable State icon at the top of the Trees window.
• Click on a node to select it and press D to disable it. If disabled, pressing D will enable the node.
or
• Click on a node’s Edit Node icon to edit its parameters.
• Press the lightning bolt icon at the top of the Node parameters.
Renaming Nodes
It is a good idea to rename your nodes, especially when you have a large tree, for organizational purposes.
To rename a node:
1 Click on a node’s Edit Node icon to edit its parameters.
2 Type in a new name at the top left of the Node Parameters window.
Once renamed, a read-only field appears to the right of the node name, displaying the node type.
Note: If the node's name is renamed to be different from its type, the tooltip displayed when hovering will show the node type in parenthesis.
Replacing Nodes
You can replace any node in the tree with another node within the Node Selector or with any other node in the Trees window.
To replace a node:
1 Alt-click and drag a node on top of another node and release.
Coloring Nodes
You can change a node’s coloring in the Node > Options tab.
Searching Nodes
You can search for nodes by using the Search field at the top right of the Trees window.
To search for nodes:
1 Enter the node’s name in the Search field at the top right of the Trees window and hit Enter.
The node is selected in the tree.
2 Hit Enter again to select the next node of the same name.
3 Click the X to the right of the Search field to clear the search.
Trees Window Pan/Zoom Shortcuts
Shortcut | Action |
|---|---|
Middle-mouse drag | Pans the tree |
Space Bar-drag | Pans the tree |
Scroll wheel | Zooms the tree in and out |
+ or = | Zooms the tree in |
- | Zooms the tree out |
Click and Drag in Overview | Pans the Overview overlay |