Using the Photoshop Plugins Panel
The Optics Plugins Panel in Photoshop is a dedicated workspace where you can select and apply Optics filters directly within the Photoshop interface.
1 Load an image in Photoshop and open the Panel by selecting Plugins > Plugins Panel and click Boris FX Optics.
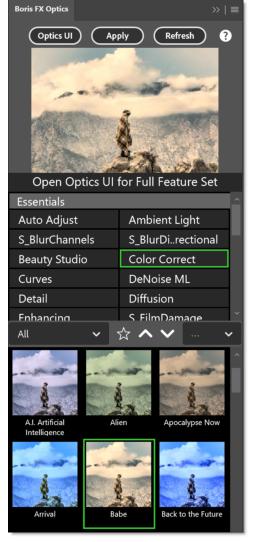
The Panel streamlines the experience of using Optics in Photoshop by integrating it into a unified, dockable panel--similar to how you’d use Layers, Properties, or Brushes.
2 Select Color Correct in the Essentials filter collection.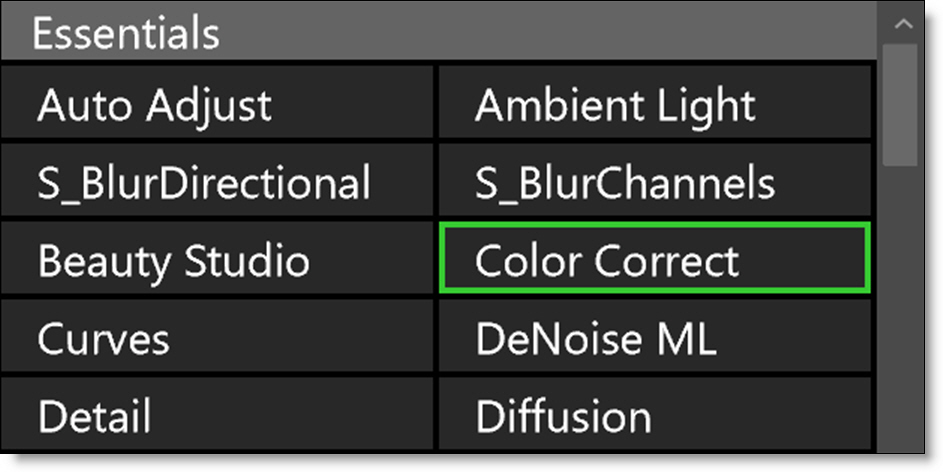
Collections are groups of filters organized by intended purpose. The panel includes four collections: Essentials, Looks, Custom, and Favorites. The Essentials collection offers a curated subset of commonly used Optics filters.
3 Click on a preset to select it.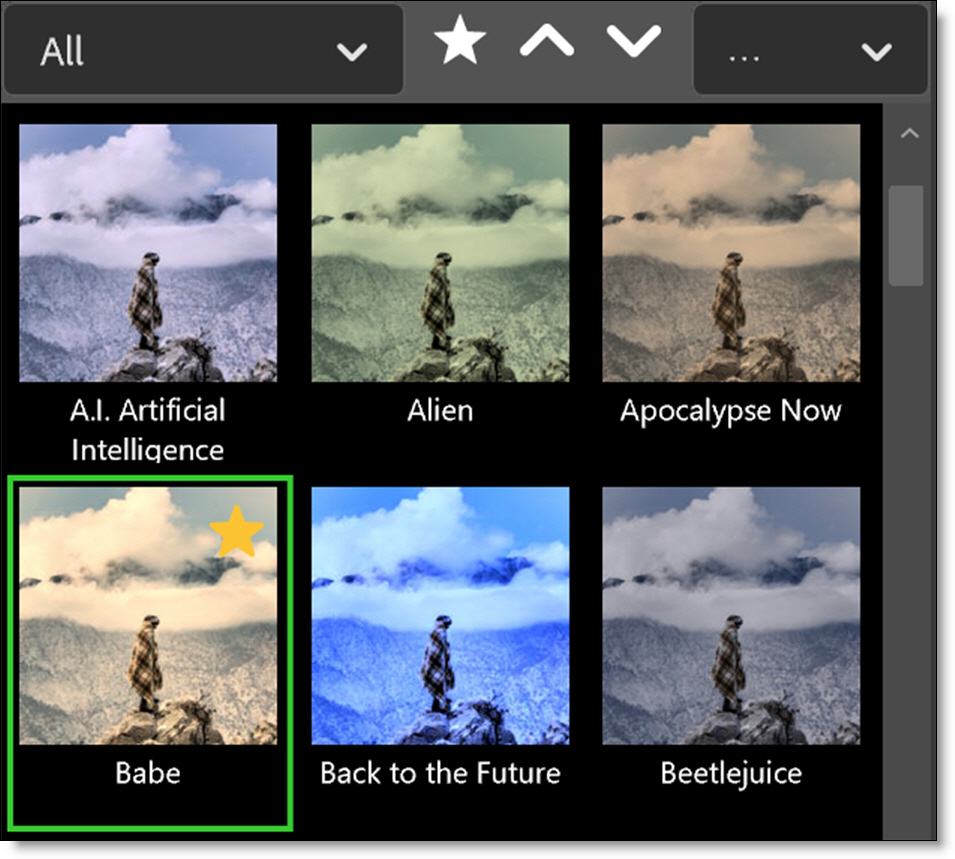
Note: Some filters contain multiple preset groups which are selectable at the top left of the Presets window.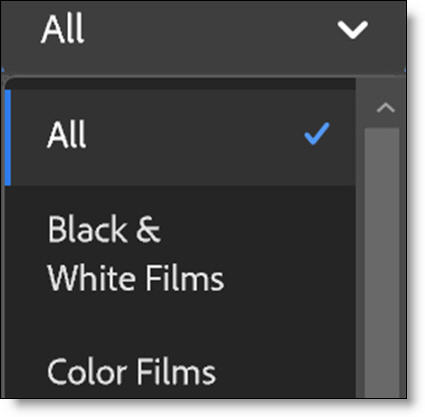
Clicking a preset updates the image shown in the Preview at the top of the panel. As you explore different presets, the Preview refreshes instantly--making it easy to quickly compare and experiment with multiple looks.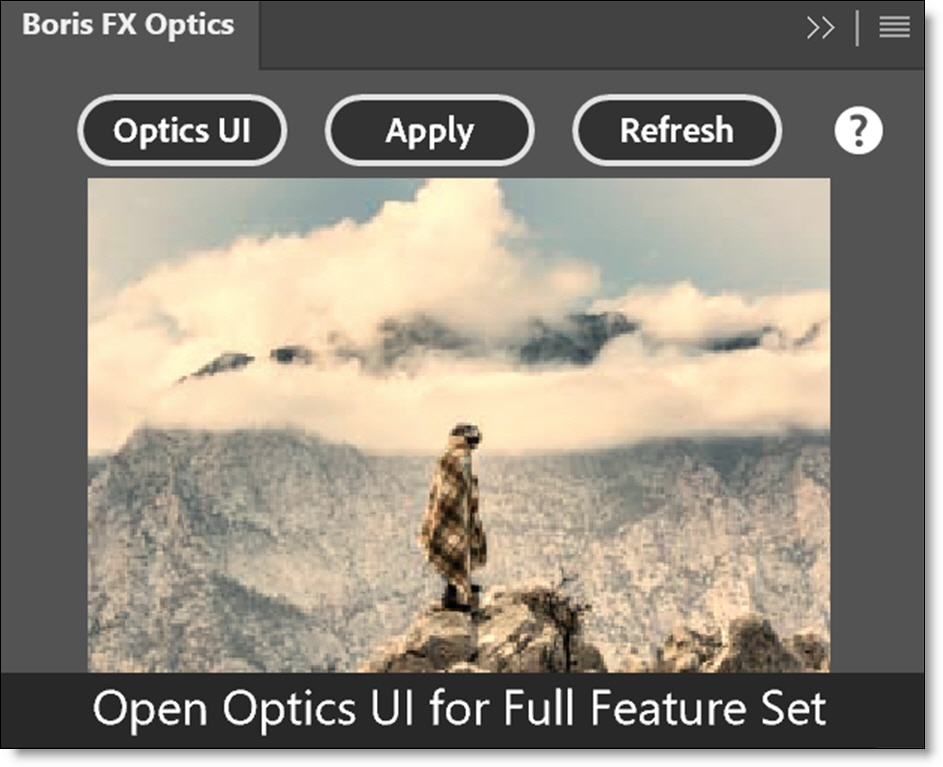
4 If you are happy with what you see in the Preview image, click the Apply button to render the currently selected filter/preset.
5 If further adjustment is required, click the Optics UI button instead of Apply. This opens the full Optics interface, giving you access to the complete set of filters and parameters.
Note: After working with an image in the panel, loading a new image into Photoshop requires clicking Refresh. Since Photoshop doesn’t automatically notify panel plug-ins when a new image is loaded, pressing Refresh ensures the panel updates to reflect the current image.