Depth Map ML
Depth Map ML analyzes an image and determines how far away each part of the scene is and creates a mask according to a particular depth level.

Leverage the depth map to selectively apply filter effects--such as blur or color correction--based on scene depth. This allows for more nuanced adjustments in both the Depth of Field and Color Correct filters.
1 Select a filter and preset that changes the image in an obvious way.
2 Click the Add Mask icon in the Layers window.
3 Choose Depth Map ML.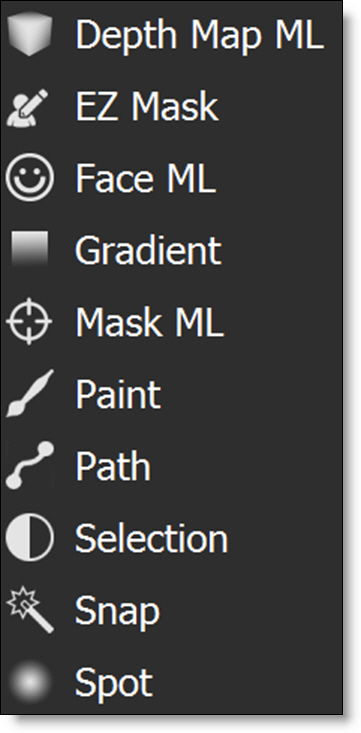
When a mask is applied to your layer, several changes occur. A mask thumbnail appears to the right of the image thumbnail, visually indicating the mask’s presence. The filter previously applied to the image is now constrained to the white regions of the mask, allowing for targeted adjustments. Depending on the mask type, additional controls are introduced in both the Toolbar and the Viewer.
When you select Depth Map ML, the machine learning model initializes and loads automatically, generating a depth map based on the Near Depth and Far Depth parameters set via the on-screen controls.
4 Press the M key to view the mask in the Viewer.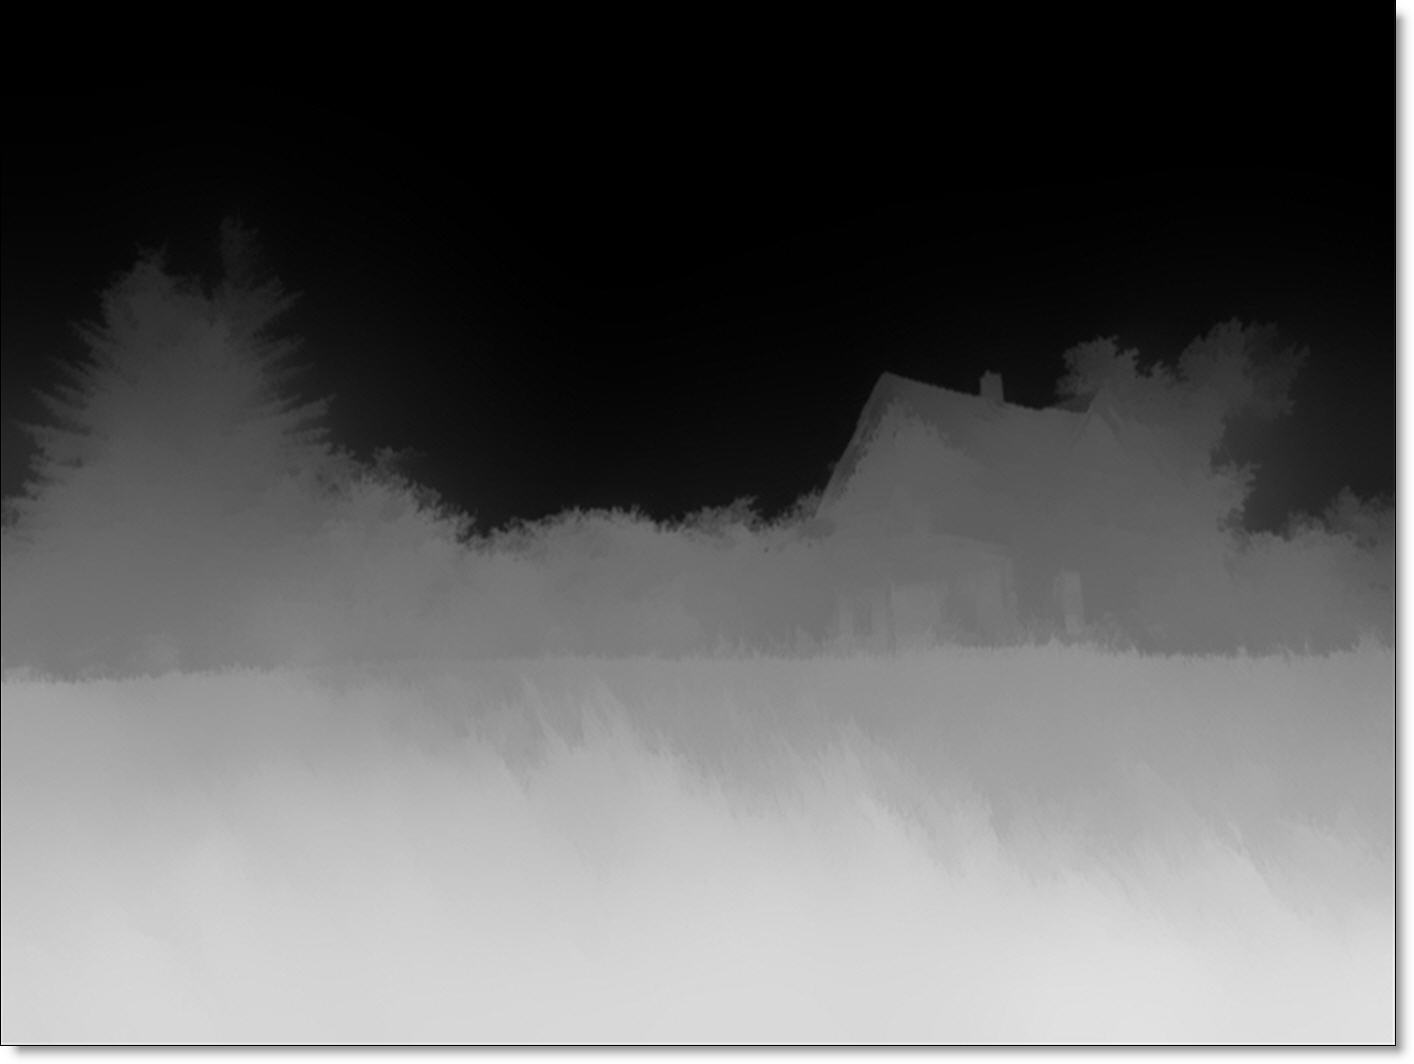
5 Adjust the on-screen controls for Near Depth (bottom right) and Far Depth (top left) to observe their effect.
6 Set the Near Clip parameter by dragging the numeric field to the right of its icon in the Toolbar.
7 Set the Far Clip parameter by dragging the numeric field to the right of its icon in the Toolbar.
8 Adjust the Gamma parameter to control how bright or dark midtones appear.